Happy Wednesday! It's Maya here on the blog today to share this home decor project featuring the family desktop frame. It's just so perfect for a family photo and I used this photo back from our wedding day with both sides of me and my husband's family.

▼ The desktop frame set comes with 1 laser cut word frame, 1 cutout, and 2 base pieces for the standing frame.

▼ I started by painting the word "FAMILY" with different pink acrylic paint. I tried to mixed the colors that match a patterned paper I chose for the cut out frame.

▼ Next, I used the cut out frame and traced on two patterned papers (one for the background and another one for the frame), cut them out and adhered with tacky glue.

▼ On the back of the cut out frame, I applied 0.25 inch double sided foam tape to adhere to the cut word frame, so a photo (with size 5.5 x 4 inches) can slide into the frame.

▼ For the two wood bases, I traced them on a patterned paper, cut them out with a carving craft knife, and adhered to the bases using tacky glue.

▼ Here is the finished look of the cut out pieces. Just assemble them together to stand it up, which is so perfect to mail as a gift.

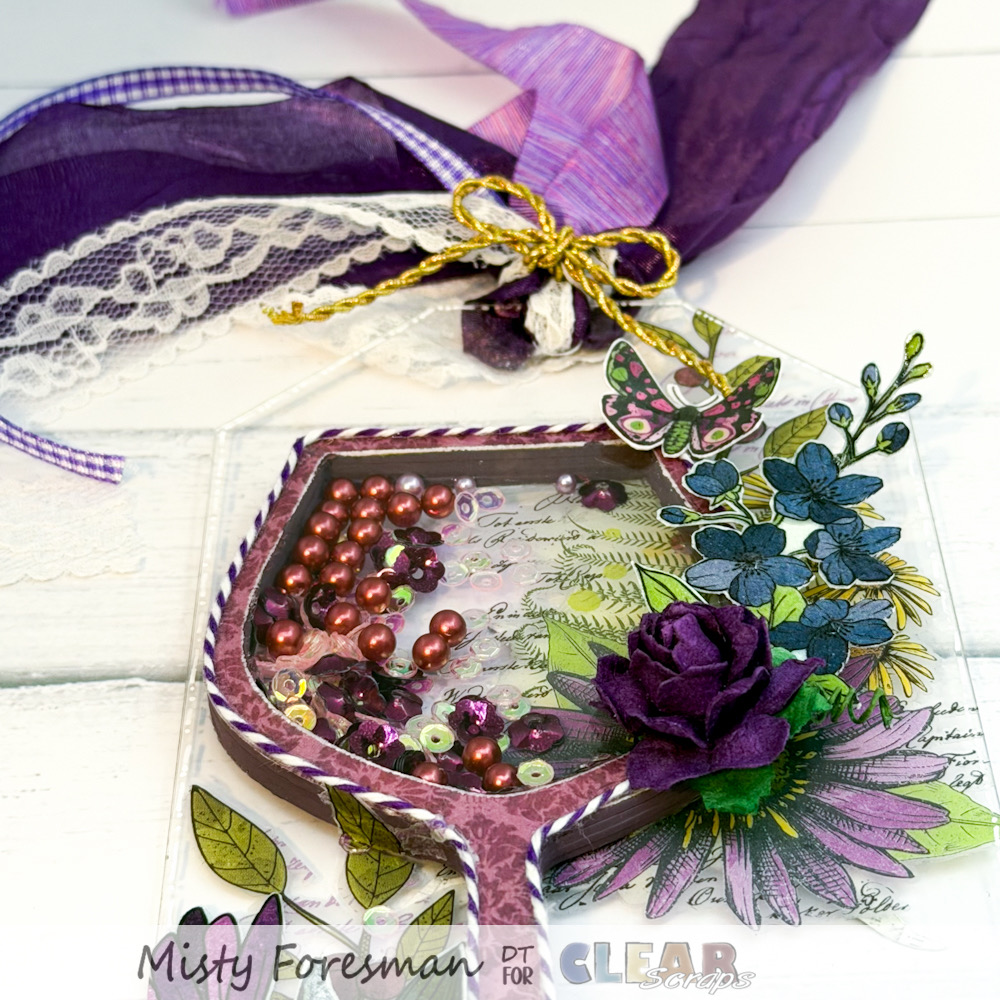
▼ To add extra touches, I cut out some elements (flowers, leaves, butterflies, a house) and glued them to the frame. I also added some pink pearls on one of the bases for a finishing touch.

Thank you all for stopping by today! Hope you are inspired to create your own home decor projects. You my check HERE for all the desktop frames from Clear Scraps.
Additional products used:
– Patterned Paper, Ephemera: Pinkfresh Keeping It Real Collection
– Acrylic Paint: Master's Touch
– Adhesive: Scrapbook.com Double Sided Foam Tape, Aleene's Tacky Glue


Leave a comment