Happy Friday! It's Jennifer on the blog today to share acrylic cards I created using Clear Scraps Chipboard Embellishment Shapes! And I'm going to show you the easy techniques I used!

For my first card, I cut a 4 1/2 x 5 1/2 piece from the 12×12 Acrylic Sheet. I removed the protective covering from only one side of the acrylic while I worked.

Using Staz On Ink in Opaque, I stamped the front of my acrylic (re-inking the stamp each time).

I set aside the acrylic to dry so I could paint the Chipboard Embellishment Shapes I planned to use. For the Clothes Hangers Chipboard Embellishment Shapes and Mother Chipboard Script Word Title, I painted each with chalk paint in light blue. I ensured that I applied multiple coats for good coverage. Once dry, I applied embossing ink followed by glitter blue embossing powder.

I adhered my chipboard using Beacon 3-in-1 Adhesive as it dries quickly and will not warp or yellow the acrylic.

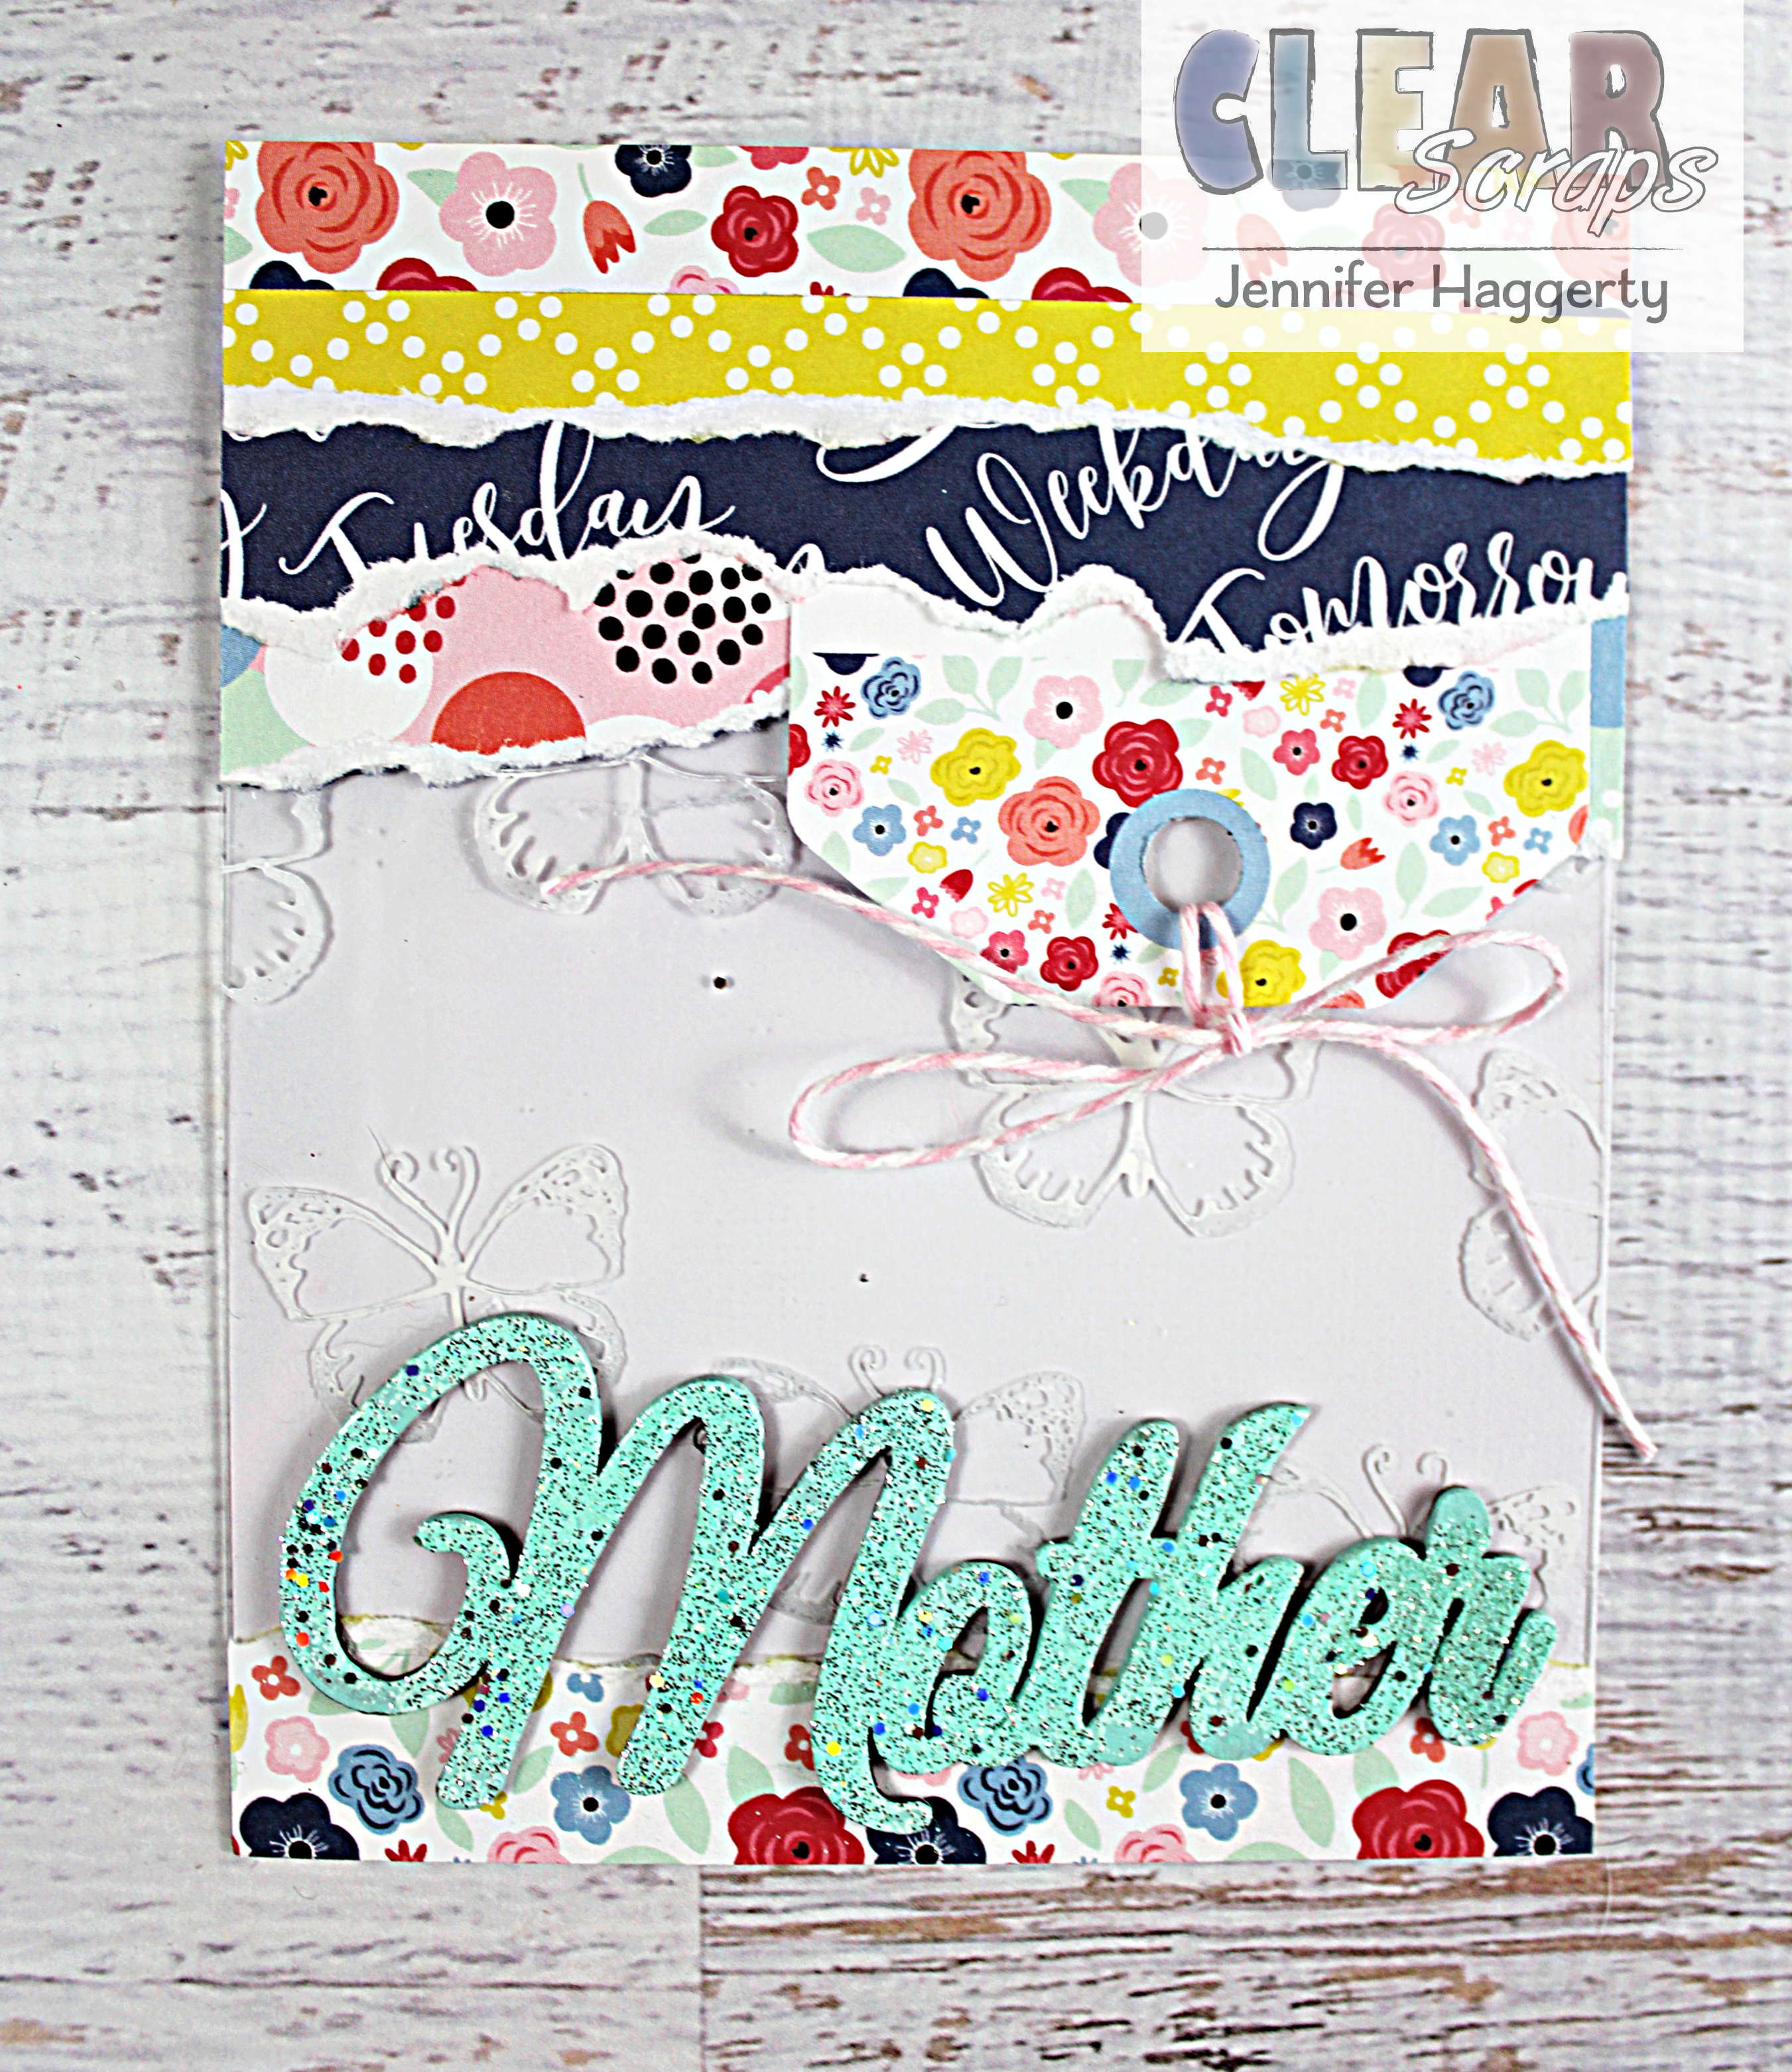
For my second card, I used the Mother Chipboard Script Word Title and followed the same techniques as my first card.

I again used Staz On Opaque to stamp the front of my acrylic but this time, I did not re ink my stamp each time. This gave a muted effect to a few of the images.

The chipboard is again adhered with my Beacon adhesive as you know you will get a good seal between your pieces!

Thank you for stopping by the blog today! Visit the Clear Scraps shop to see the variety of Chipboard Embellishment Shapes by clicking HERE. Have a great day!
Additonal products used: patterned paper, die cuts: Echo Park; cardstock: American Crafts; ink: Tsuineko, Ranger; stamps: Tim Holtz, Joy Clair Stamps; embossing powder: Recollections; bakers twine: Whisker Graphics; adhesive: Beacon, Tombow, Thermoweb; sewing machine: Janome; misc: thread.


Leave a comment