Hello Crafty Friends!
Dana here! I'm back on the Clear Scraps blog with a fall home decor project to share. I love the changing colors of the leaves and the brisk cool breezes! I enjoy decorating my home for all seasons. But Fall and Christmas are probably my favorites.
For today's project, we'll be using Clear Scraps Wood Retangles Click here these come in a 3 pack (such a great value) and you can use the others for future projects. In addition to that, we'll use the Word n Shape Fall-Pumpkin Click here

The paper collection I chose is from 49 & Market "In the Leaves" collection.
Let's begin by painting the wood rectangle shape using some Chalk Paint "Milk Jug". Let dry.

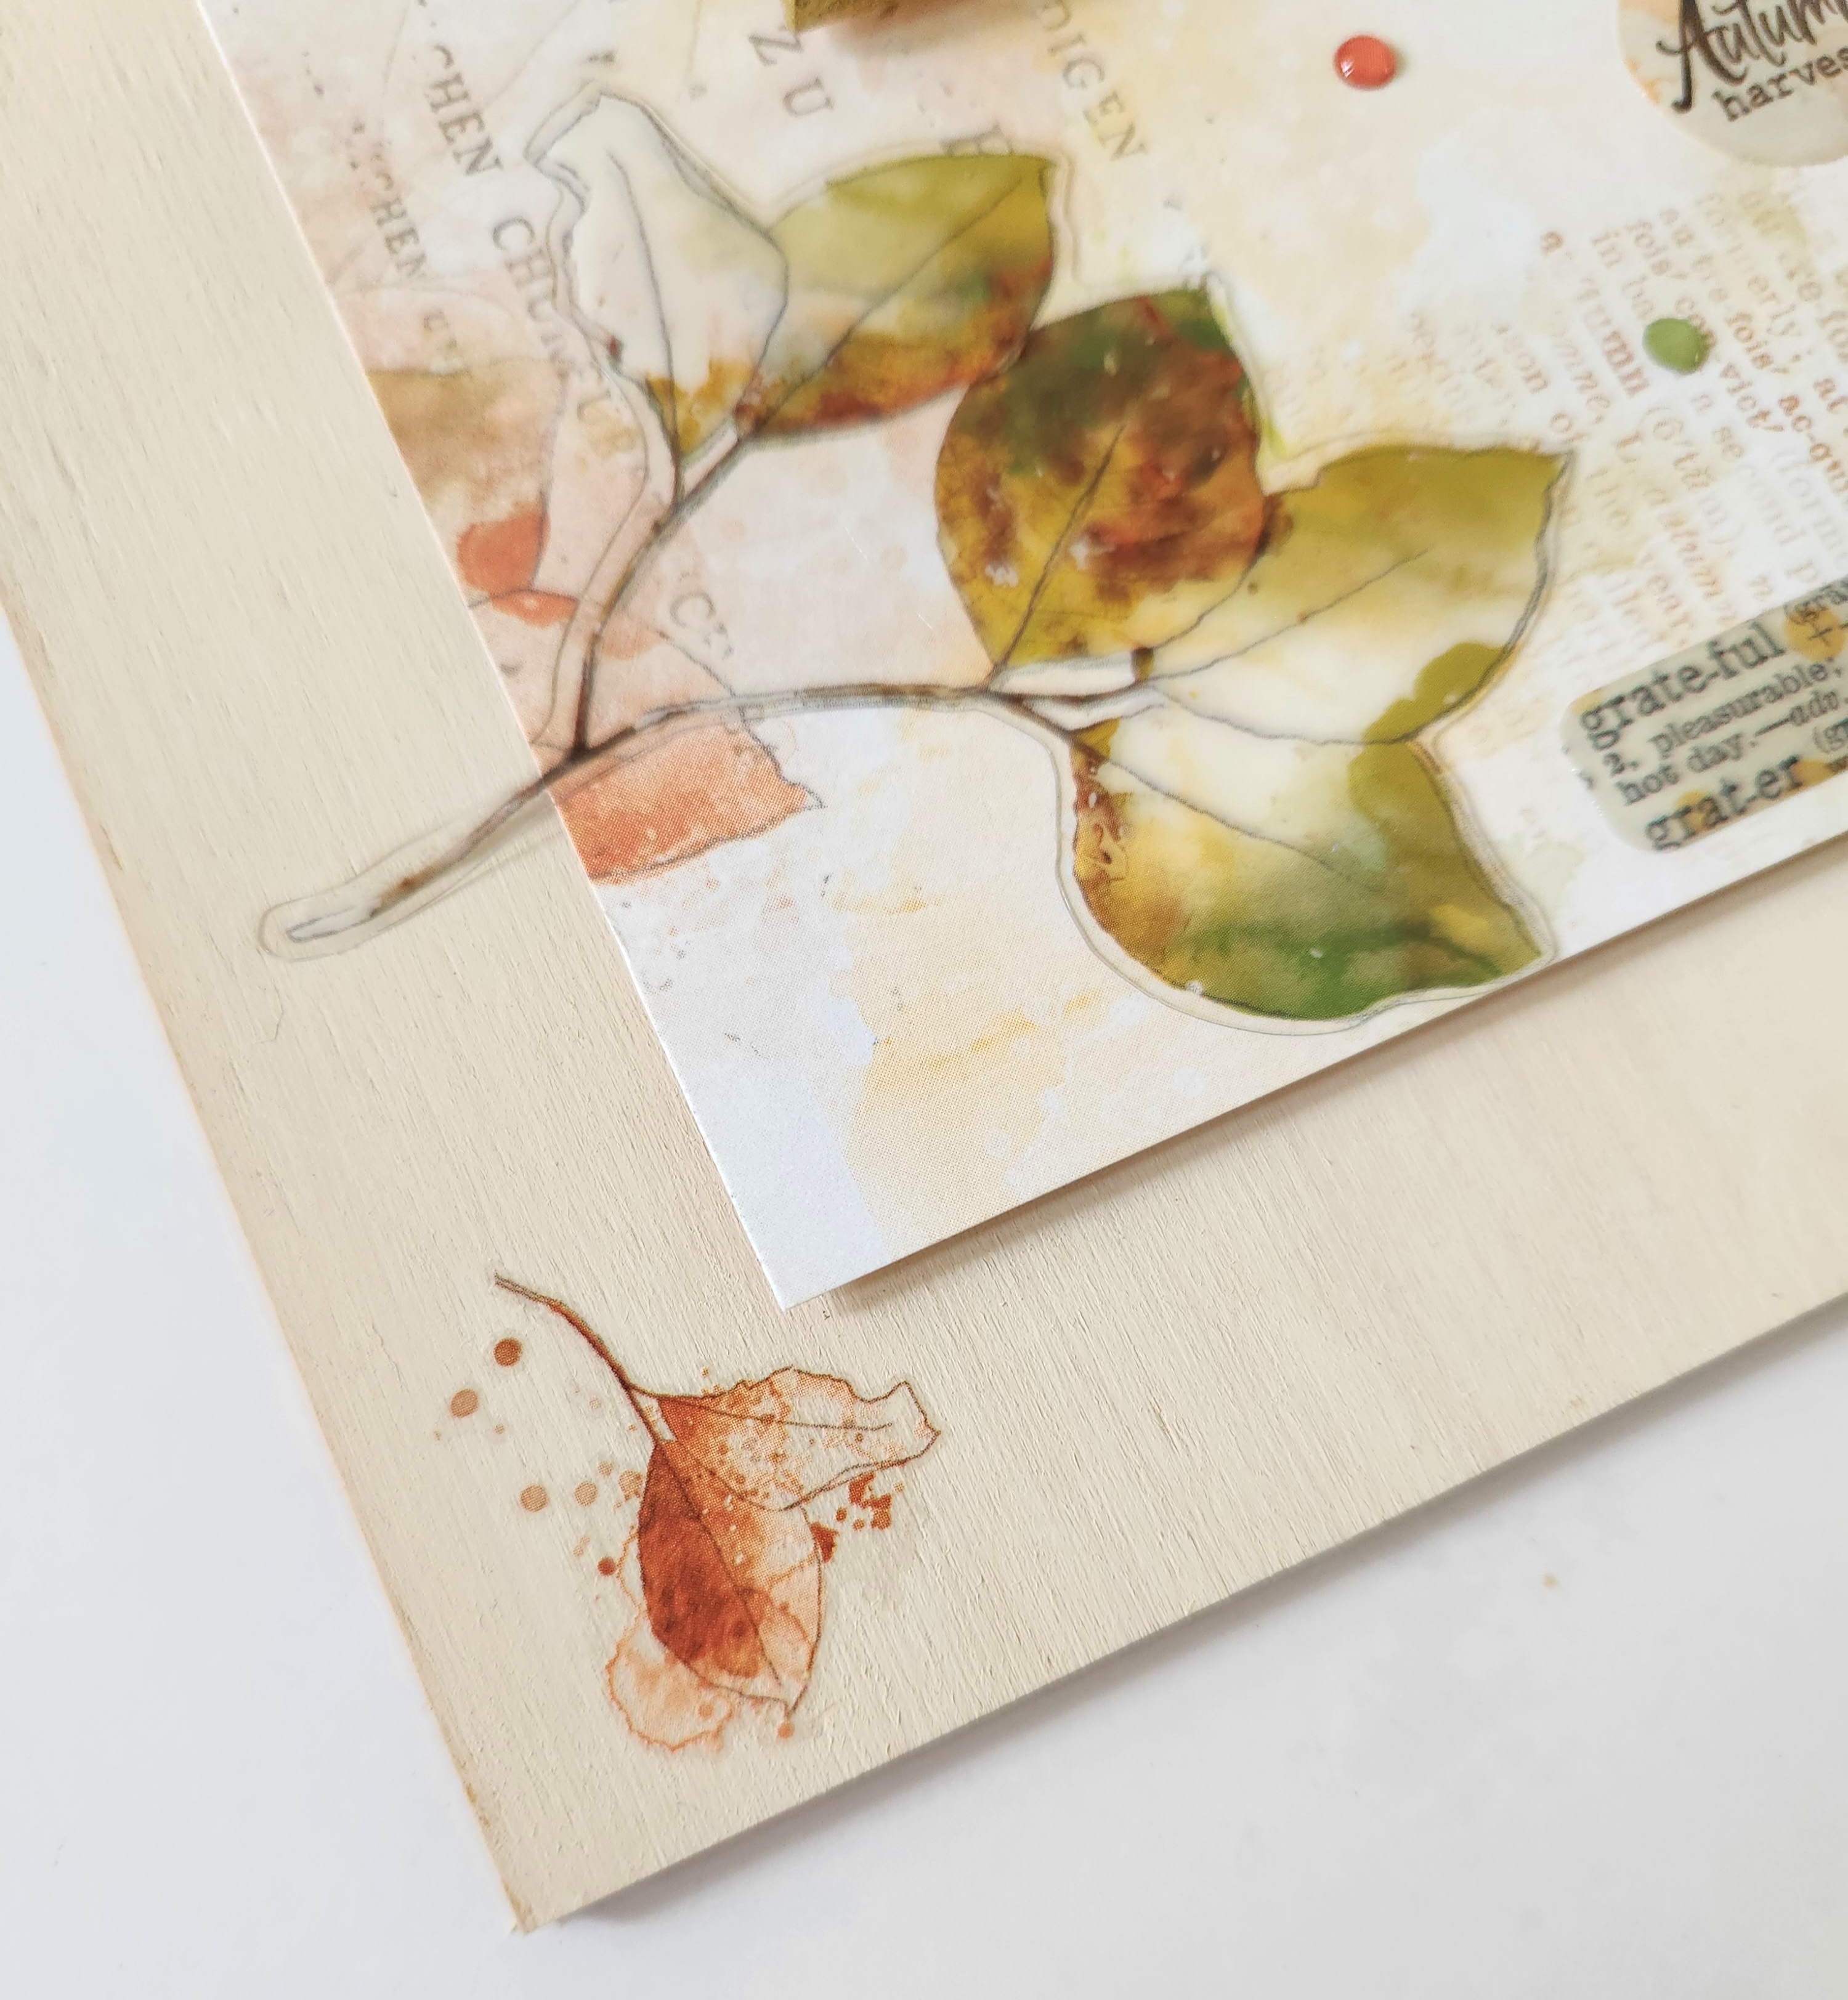
Next I chose one of the 6×8 papers to use as my background base. I adhered in the center of my wood shape using foam tape. Then I applied some of the rub-ons in scattered areas. I used some ink blotches and leaves rub -on designs to decorate the corners. From the acetate diecut package, I chose some of the leaves pieces and adhered them over the matching images on my paper.

Remove both Word n Shape pieces from your package. I painted my Fall words using Finnibair Sparks "Dragon's Eye" acrylic paint. This paint adds a nice shimmer. Set aside to dry.

For my pumpkin shape, I applied some acrylic dark green paint to the stem. And Dark orange acrylic paint on my pumpkin. Let dry. After your orange paint is dry, I brushed some Spectrum Noir Sparkle paint "Candlelight" over the top of my pumpkin. It adds a nice glittery accent!

I then took a piece of jute cord and wrapped around my pumpkin stem a few times. Add some glue to the back side to secure. Then I wrapped some coiled wire around the stem. I took one of the diecut leaves, inked along the edges using Distress Ink Rusty Hinge. Then folded my leaf shape in the center slightly to add some dimension. Then glued to the bottom of my stem. I added a sentiment piece in the center of my pumpkin shape. Then applied foam tape on the back side of my pumpkin, and adhered on the lower right corner. Here's a closeup!

Using foam dots, I adhered my Fall words in the center of my design wood base. I added a small butterfly diecut on the top of the letter A, and bent the wings slightly upward. Here's a closeup for you!

To finish decorating my wood base, I added acouple more Butterflies in scattered places. Using Stickles "Star Dust" glitter, I applied some to my butterfly wings. I also added a few sentiment babbles and enamel dots! You can added a metal hanger on the back as I did, or tie some ribbon, jute cord or tulle for hanging!

Here's acouple more closeups!


Hope I have inspired you and you'll want to create a Home Decor piece for yourself. Please share your crafty makes with us on our Facebook Clear Scraps Creative page! Be sure to visit the Clear Scraps website for all your craft supplies, plus many new products available!Click here
Thanks for stopping by the Clear Scraps blog! Until next time, Happy Crafting and hope you enjoy the fall season!
Dana
Other Supplies Used: Chalk Paint- Milk Jug, paintbrush, foam tape or dots, Finnibair Sparks paint- Dragon's Eye, Spectrum Noir Sparkle paint-Candlelight, 49 & Market "In the Leaves" 6×8 paper pad, rub-ons, babbles and acetate diecuts. Shamrock green acrylic paint, Dark Orange acrylic paint, Tim Holtz Distress Ink Rusty Hinge, Stickles glitter Stardust.


Leave a comment