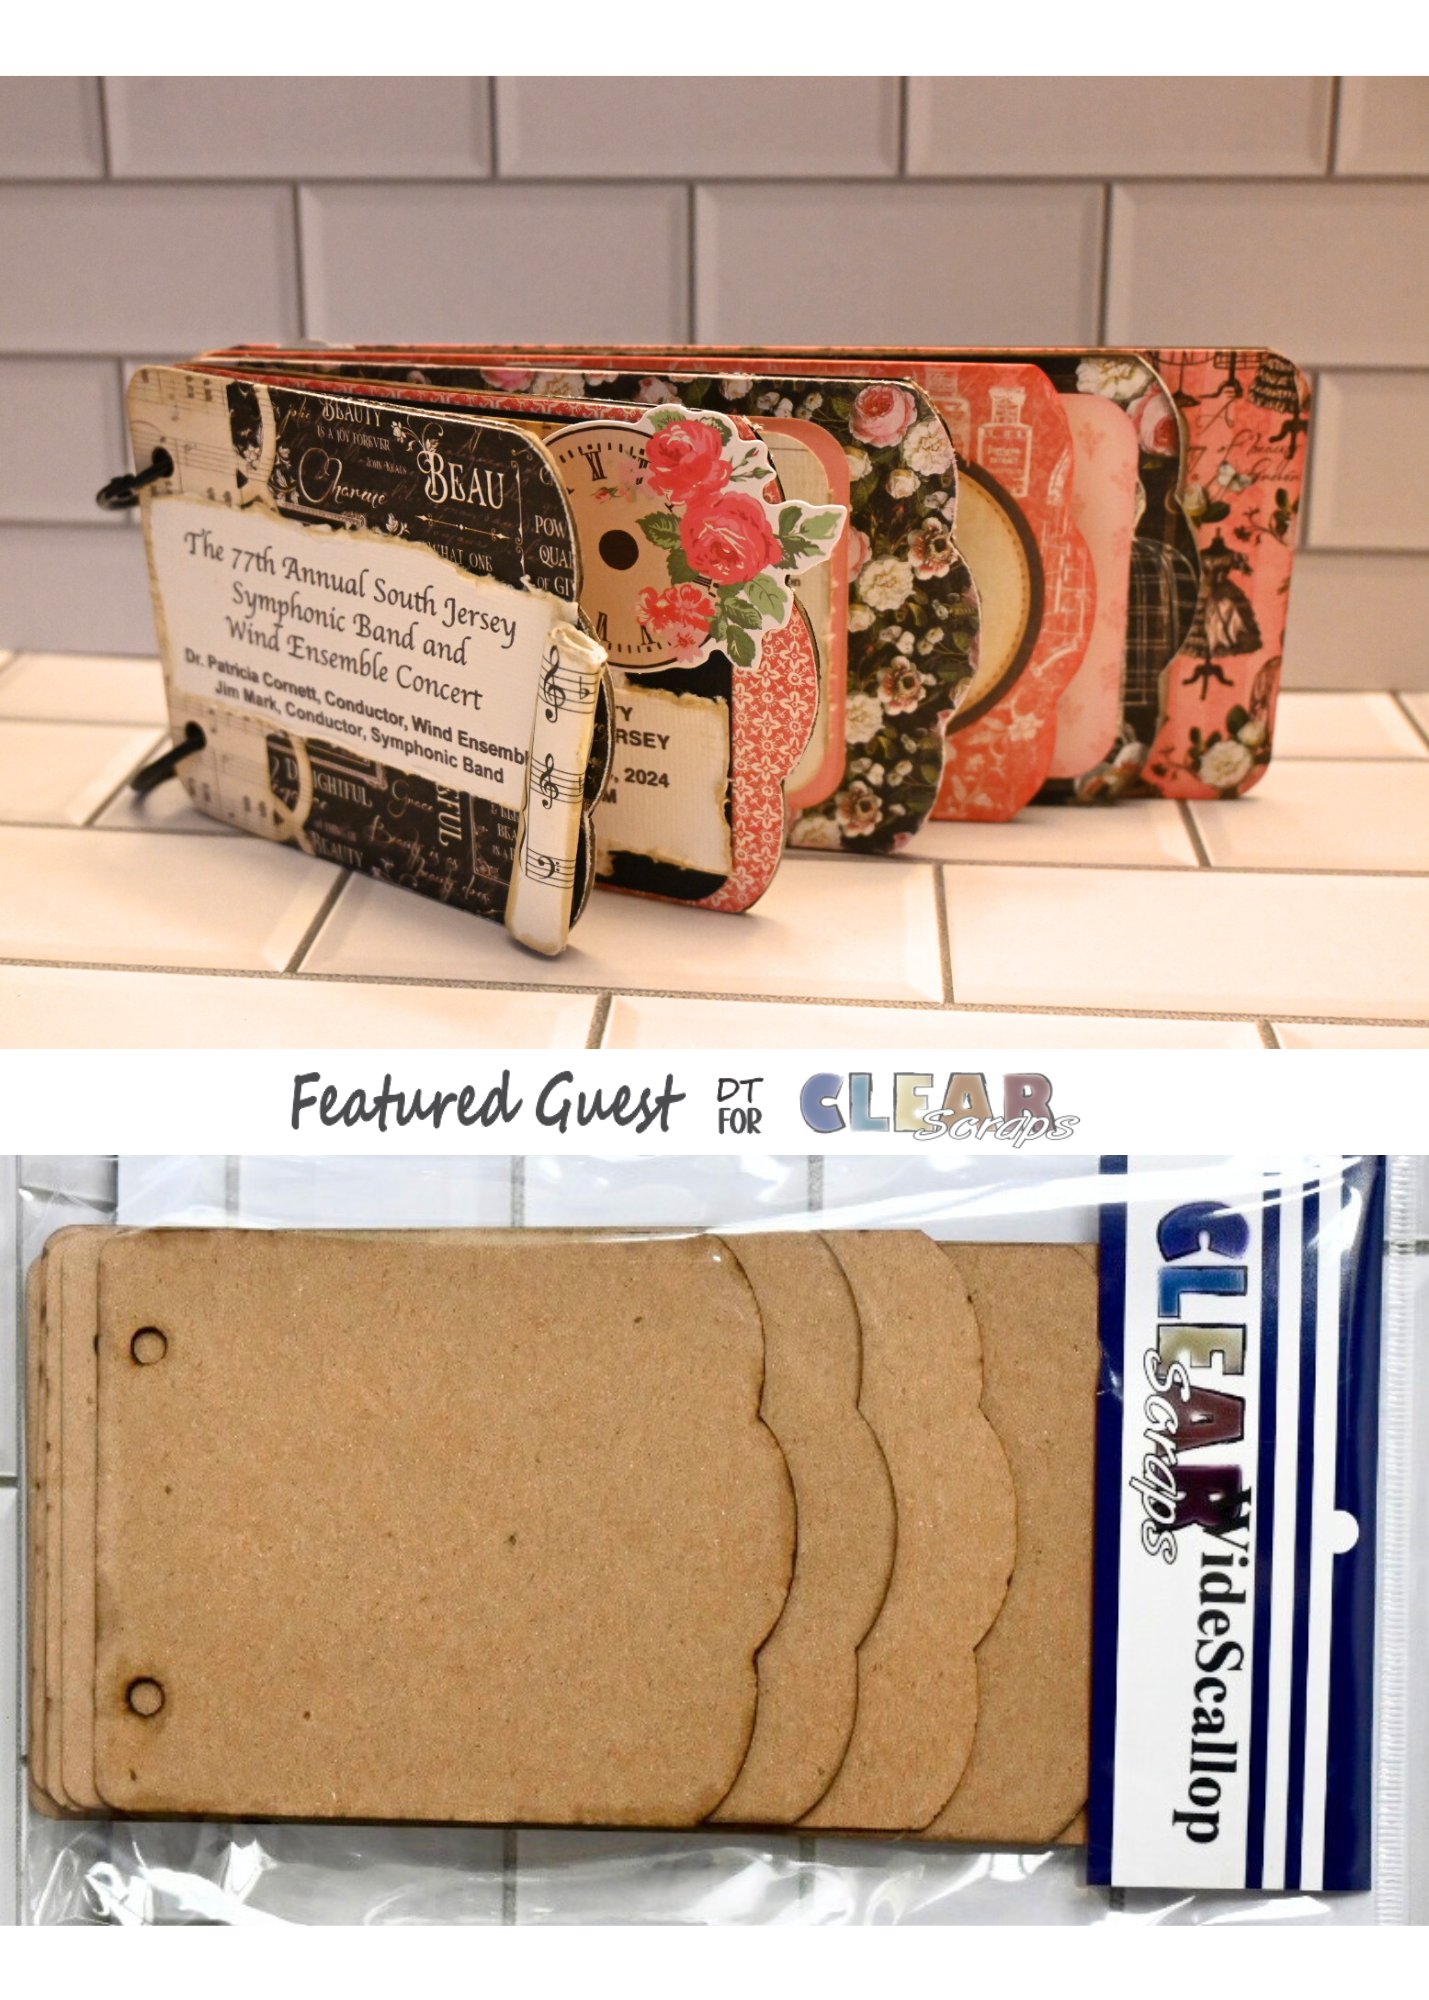
Hello All, Kelly here with my very first post. I hope I get it all just right, but if I don’t please comment and let me know! I don’t know about you, but I love the minis. They are my favorite project to work on…primarily because I can capture an event or a trip in a small package. I often use them as part of my seasonal décor. It’s fun to trot out a themed mini on my coffee table because friends and family pick it up to skip through it. So for today’s project, I’m using the wide scallop album, which is such an adorable size!


Since the album measures 3×8 inches, an 8×8 pad is just perfect for this project. I had saved this one for just the right project. So, I started by finding alternating pages with blush and black, I love that layered look in the waterfall of the scallop. I then traced and cut the bases with my trusty Fiskars and cutter bee scissors.


Then once I have my pages cut, I plan and play with them before gluing. This is work at a snail’s pace, but then I don’t have regrets.


After I have an idea of a layout, I take photos with my phone to remind myself what I had in mind in case I put the work away for a while. I often change it up during the gluing stage, but I like to see where I was. Next up gluing my bases. I use double-stick tape and Beacon adhesive to keep a firm hold. I ink the edges before using adhesive, but sometimes afterwards too. The only page bases I didn’t glue yet were front cover and back of page 2. You’ll see why in a couple photos…

So now I go back to my planning pictures and see if I want to add or take away anything. I did do the same paper on the front cover and make cover, because I think it gives minis a cohesive look, but that’s a matter of taste. I also usually set aside the front cover to do last—leaving it unglued and apart from the rest of my pages. So starting with inside page one, I started with this:

I liked it, but I wanted a little something extra, so used my martha stewart punch on that music paper to create a mini doily. I placed that under the black cardstock and inked the edges of the mini program, gluing all to the page.

Page 2 was another snippet of the program, some calendar ephemera, flowers and a little ticket with music notes on it for another collage in miniature. On the back of that page, I wanted to incorporate a tuck spot. So I used a corner die that I had from crafter’s companion and proceeded to trim and fold it down by about 1.25 inches to fit snugly. I used double stick tape to adhere to the flip side of the page paper and then set the whole page down onto the album.

Then it’s just layering my photos, mats and bits of interest on each of these mini pages. I made a photocopy of the program and then miniaturized it. I think snippets included look really cute, plus I preserved the original for her to save. I had this cute pocket tag die for page 3.


I used a Tim Holtz edger to scrape up the bits of copied program I was using to give it a shabby chic look. I was hoping it didn’t look like I simply copied this onto cardstock with my printer, but you be the judge! 😊

And while my impulse at start was to use a bunch of flowers or some on each page, I decided leaving the front page with that special extra made more sense.


And then to finish it off, I bound the album with metal rings and used some ribbon that I had in my stash. Has anyone noticed the prices of ribbon these days? But using just bts on the end of minis means I keep my rolls for years, thank goodness. 🙂

I hope you enjoyed going through this wide scallop mini with me. Clear Scraps makes the best chipboard albums. They are always a staple in my stash and have been for more than a decade. I hope you pick one up to make your own today! Thanks for bearing with me in my first post, and I look forward to returning next month with another project! Kelly


Leave a comment