Ok, I know today is the 4th of July and I should be sharing a patriotic project, but it’smtime to get a head start on holiday crafting!
Hi there! Judy here with an advent banner project using a new product from Clear Scraps.

This is the Interchangeable Banner Advent Set. Included are 4-wood pennant shaped banners total, approx. size 4.0”x5.75”. 2 of the 4 wood banners come with ring to hold interchangeable discs. Use removeable glue dot to hold disc in place. Use wood glue to adhere the ring to wood banners with hole for the interchangeable disc placement. Also included in kit will be extra disc for each number. Total of 12 wood disc. 1- 5×8 chipboard number punch out set.

I decided to use digital papers and embellishments for my banner and found a cute scrapbook set on Etsy that included traditional red and green papers and cute bears for embellishment.

The first thing I did was print the papers I chose to use and traced the 2 solid banners onto the backside. I’ll be adding 2 papers on these, so I traced 1/2 of the banners on each paper. Cut papers.

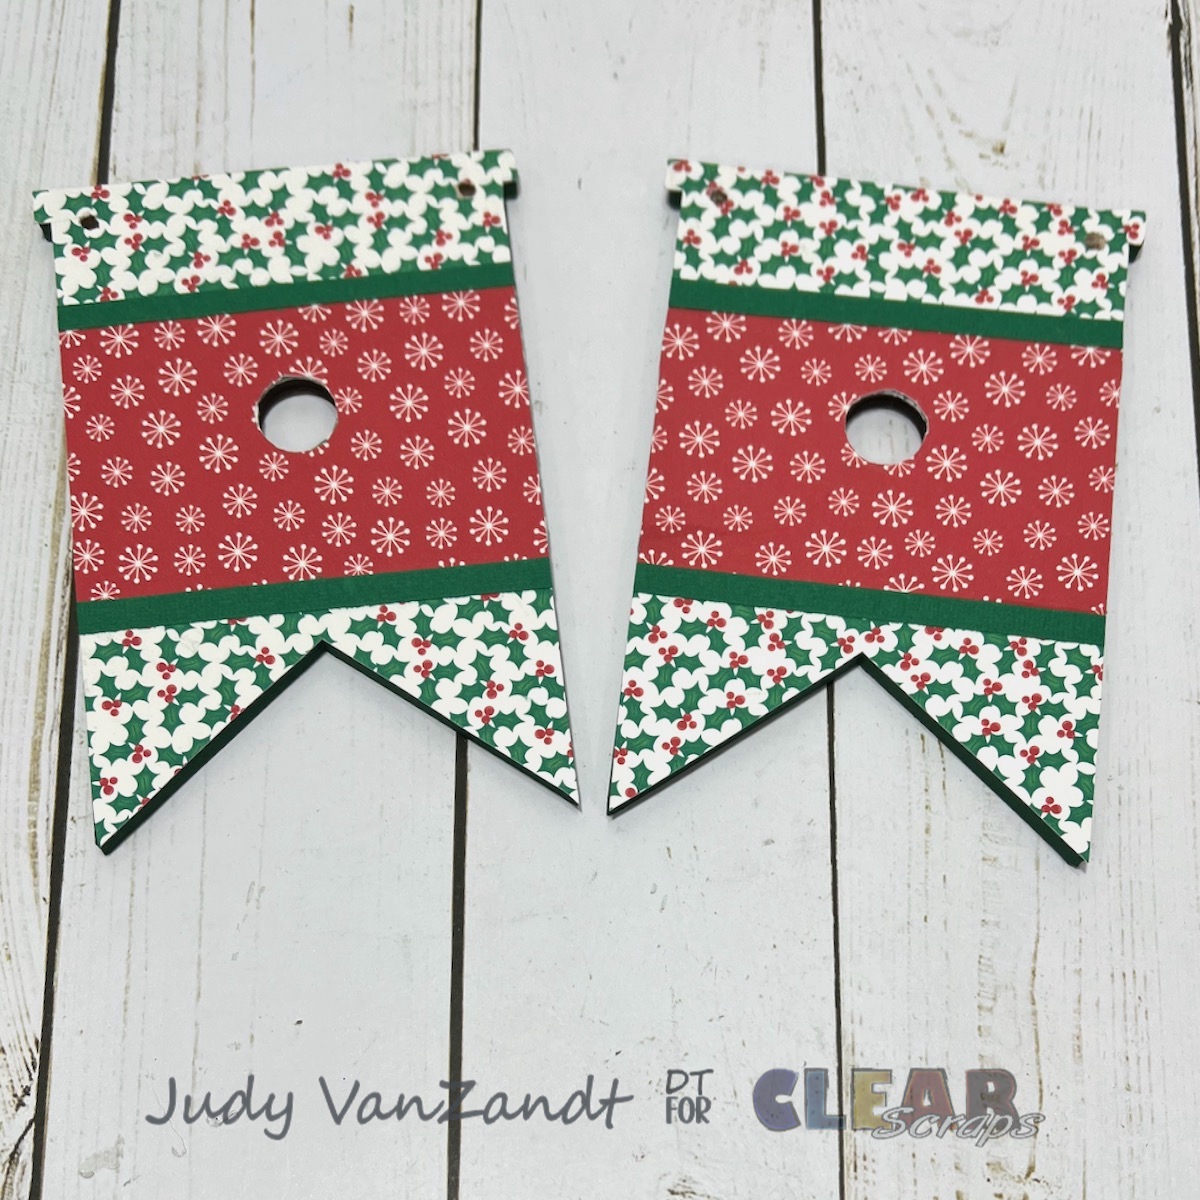
Paint the edges of all 4 banner pieces with green acrylic paint.

Trace the banners with holes onto the backside of pattern paper. I also cut a rectangle piece of coordinating paper to go over the center. Cut papers.

Adhere papers to front of banners. I added strips of green card stock.


Paint the discs white, the 2 rings red and the chipboard numbers red.

Adhere the numbers to the discs.

Green card stock circles with the centers open, were added to the center of the banner pieces with holes. Glue the rings to the banners. The photo shows discs inserted into the rings.
I added "Happy Holidays" die cuts.

Add embellishments to the other 2 banner pieces.

Tie the banner together red ribbon and add numbered discs.


Thanks for taking a look at my Cute Bears Advent Banner project.
Be sure and check out more Clear Scraps inspiration by following on social media


Leave a comment