Clear Scraps Acrylic flip album
My first project this month uses an acrylic album and a picture frame to make a fun pet flip album.
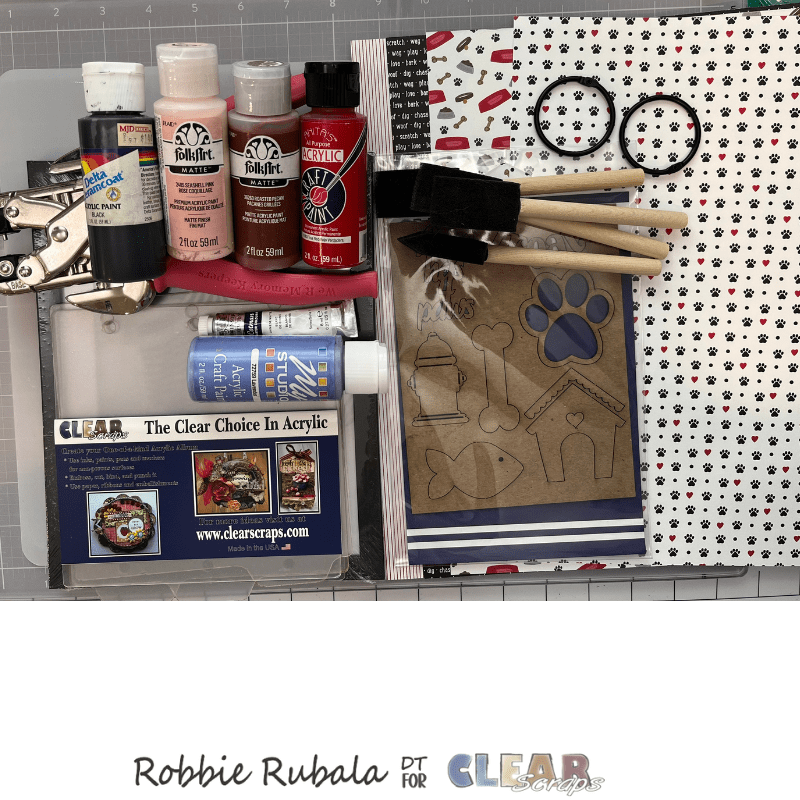
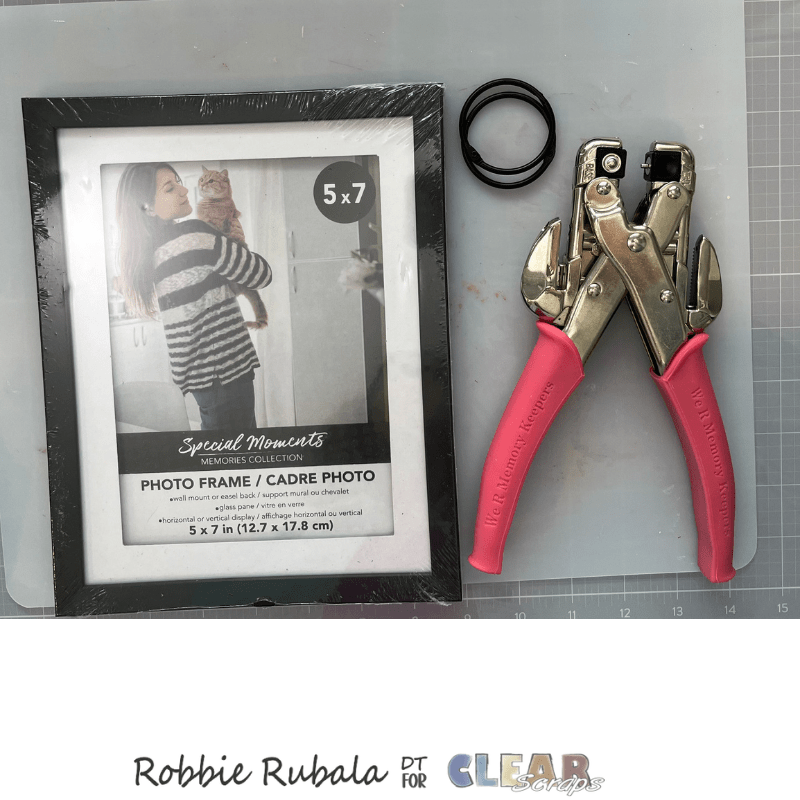
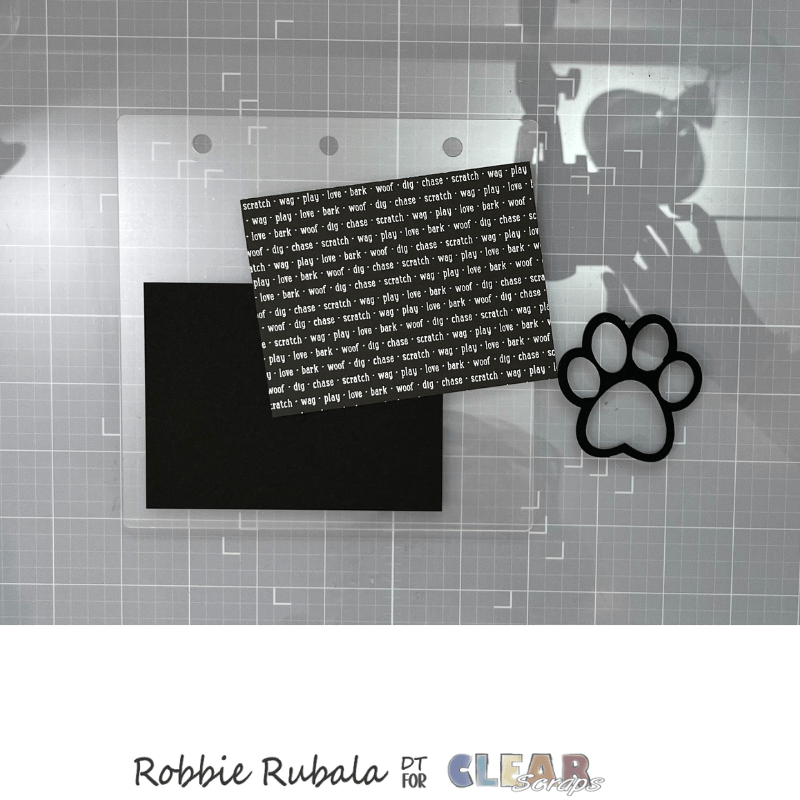
The supplies you will need are Clear Scraps 6 x 6 tab album, 7 x 9 picture frame, Treats chipboard embellishments, scrapbook paper, cardstock to match the scrapbook paper, acrylic paint to go with the scrapbook paper, three 2″ rings (I chose black to match my frame), crop-o-dile, and foam brushes.
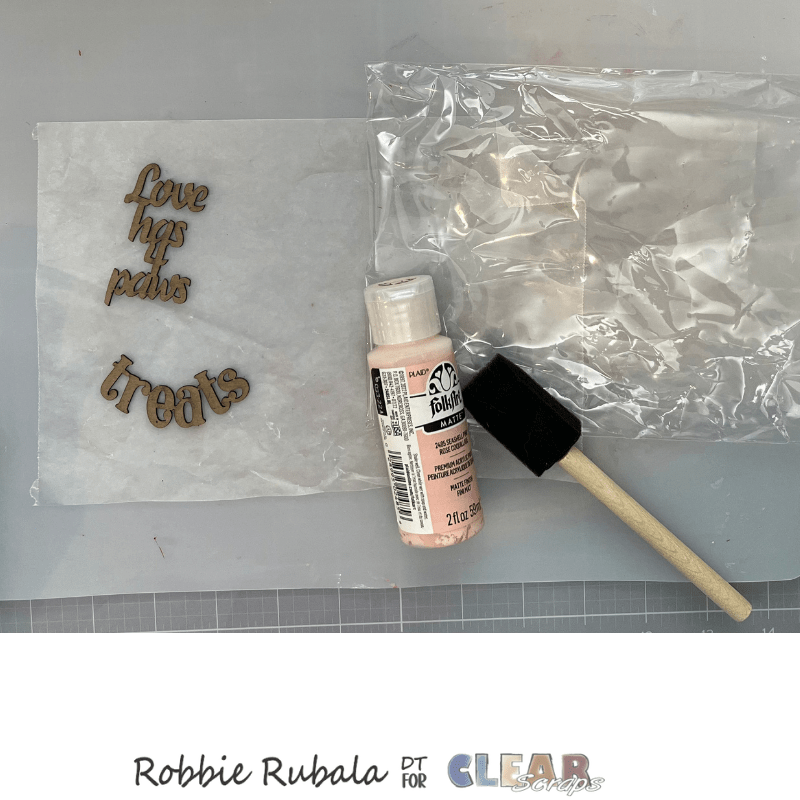
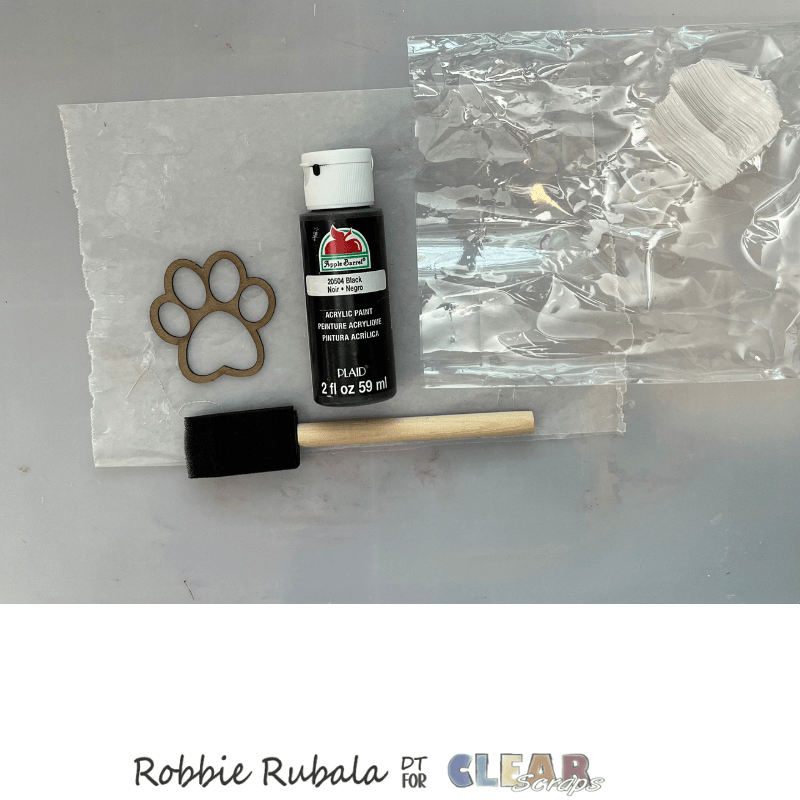
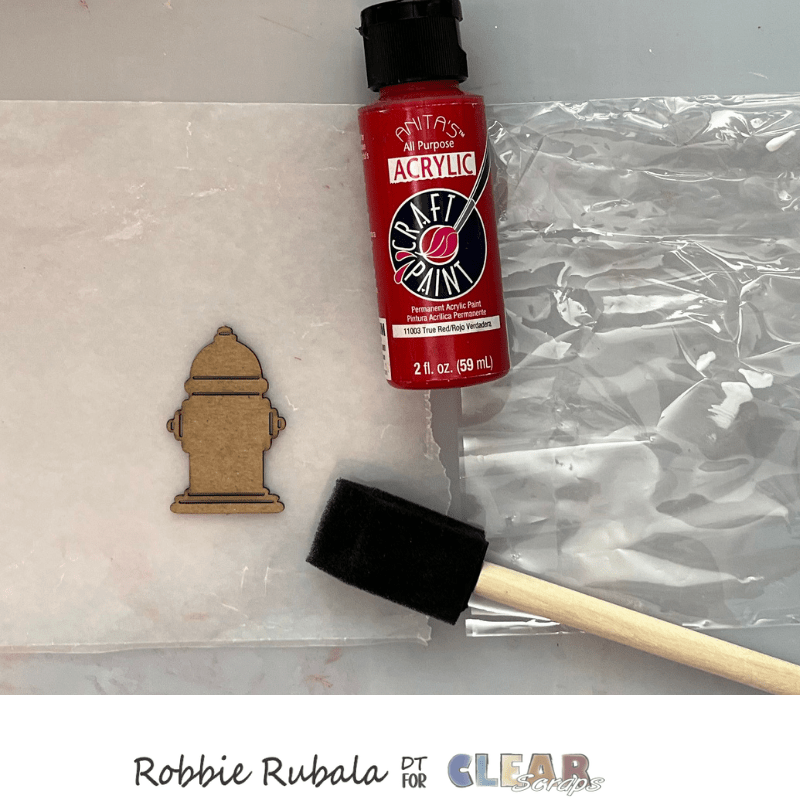
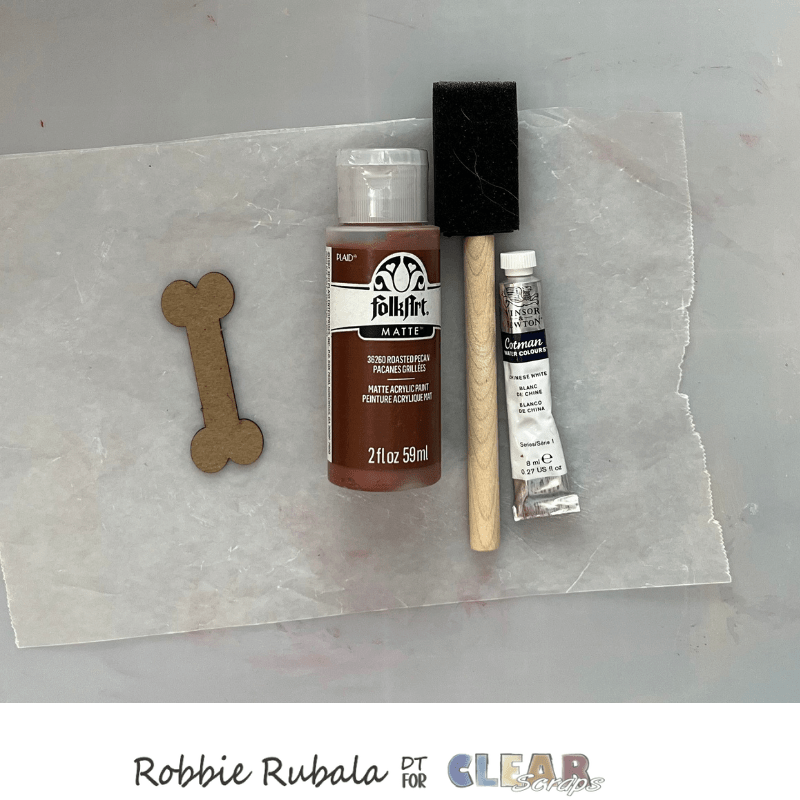
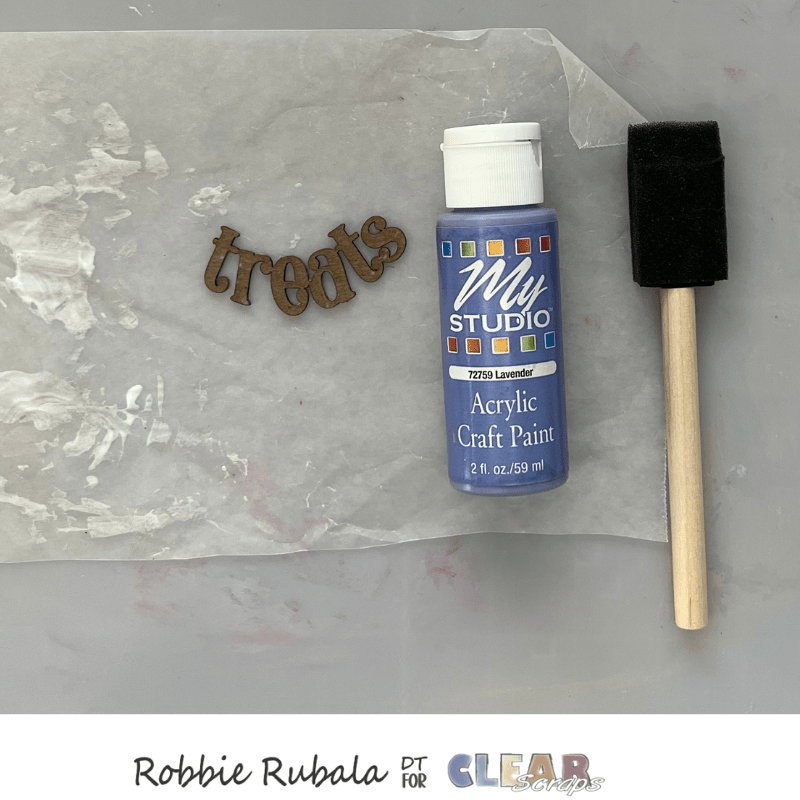
To begin punch out the images you will use from the Treats chipboard embellishments. Then take the color you want and paint it. For the lighter colors I did add a coat of Gesso first as the light color would not show as well. Here are the images I used and the colors I painted them.
While the images are drying, we can work on the holder. For the holder you will use your frame, some rings, and a crop-o-dile.
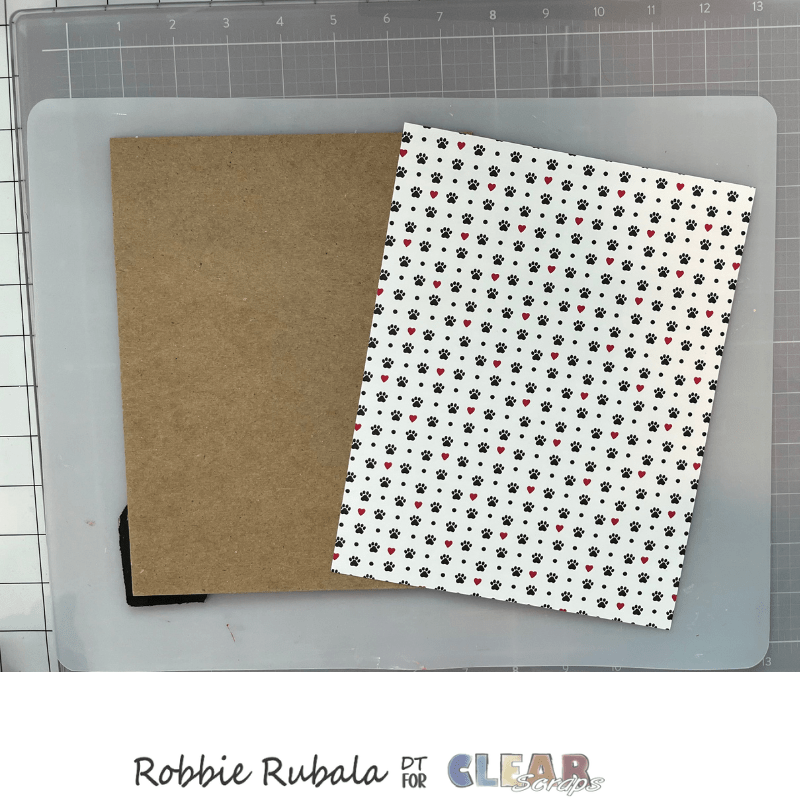
Take your frame and remove all the background pieces and the glass front. My backing was flimsy so I cut another piece of chipboard and glued the 2 together. I then chose my background paper and glued it to the backing.
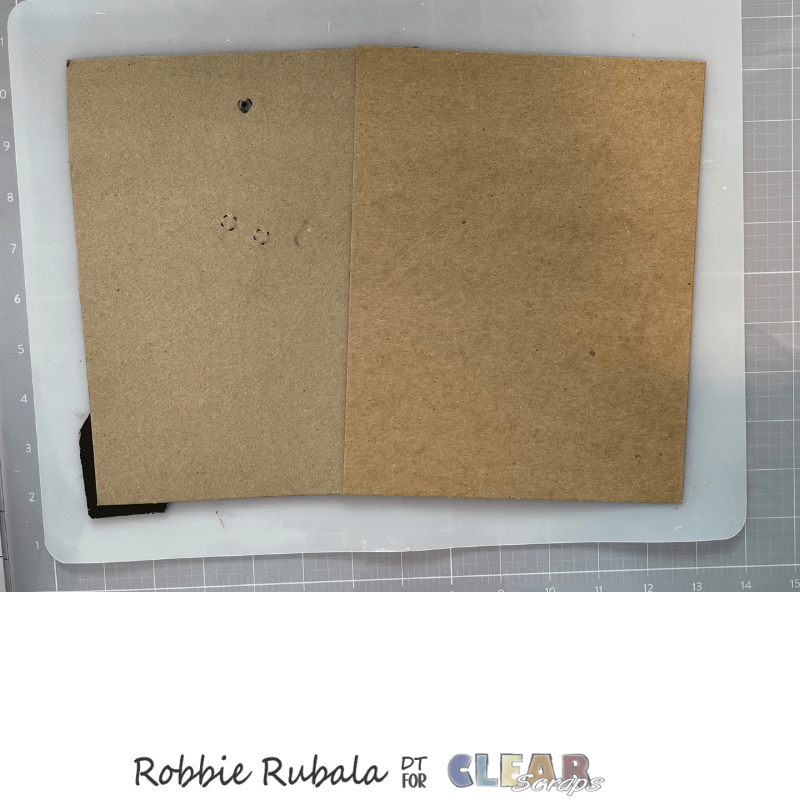
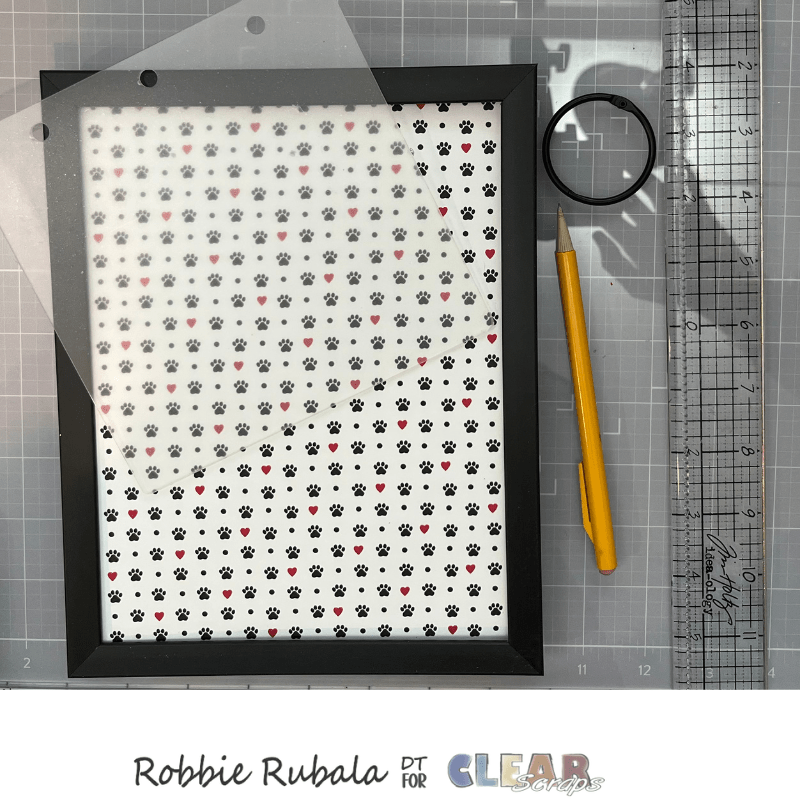
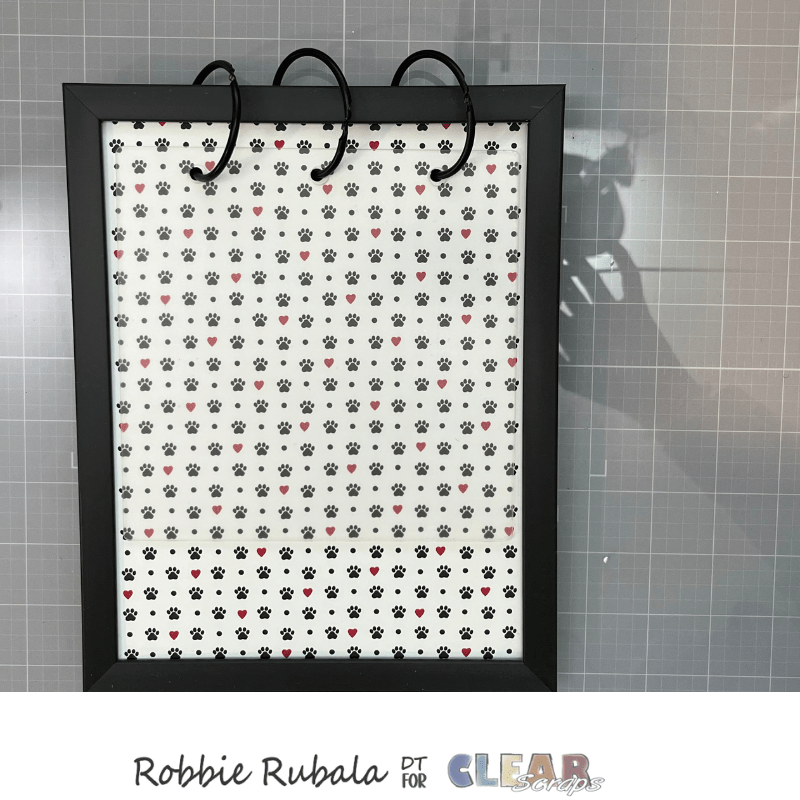
To determine where to add your rings, place your backing into the frame and measure how wide the rings are. Mine were 1 1/2″ in the center of the ring so I measured down 1 1/4″ from the top of the frame. Take your tabbed album panel and center it on the pattern paper and have the holes for the panel at 1 1/4″ from the top. Make a mark with your pencil at each opening. Remove the backing from the frame and use your crop-o-dile to punch a hole where the marks are. Put the backing back in the frame and secure it in place using the metal tabs on the back of the frame. Insert your rings in the hole.
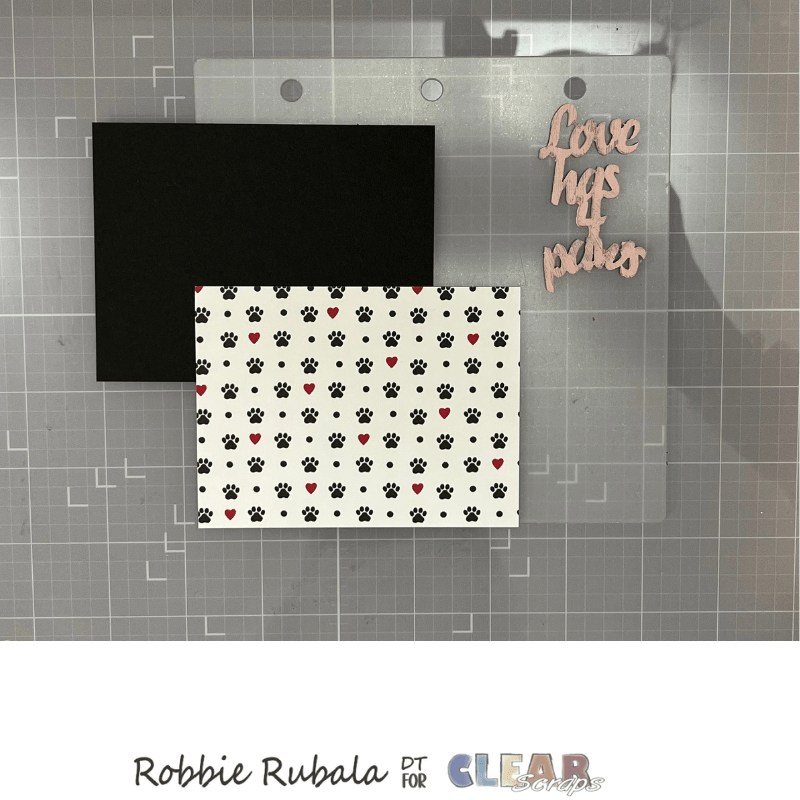
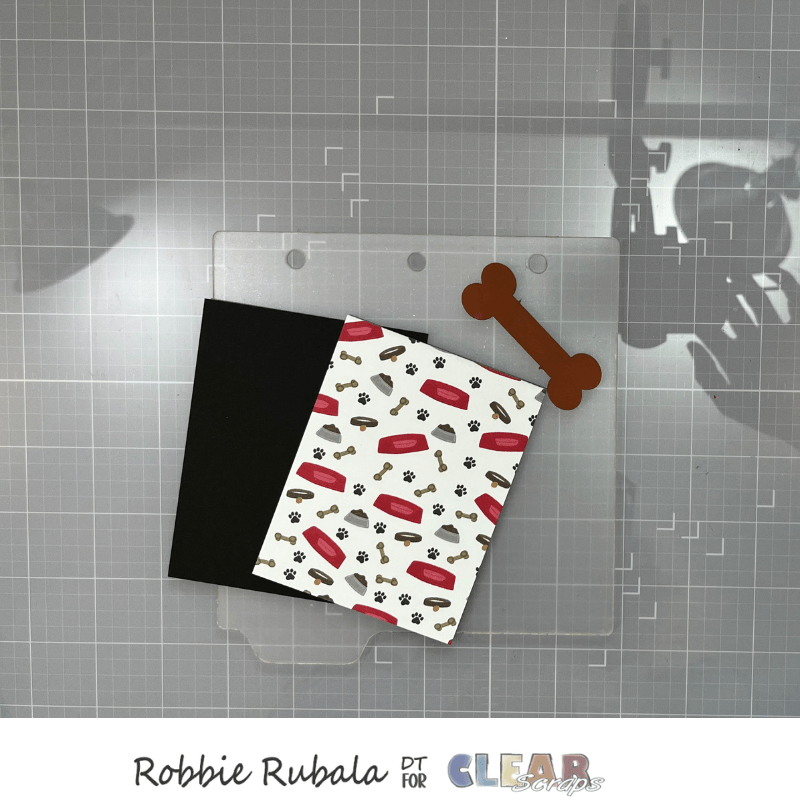
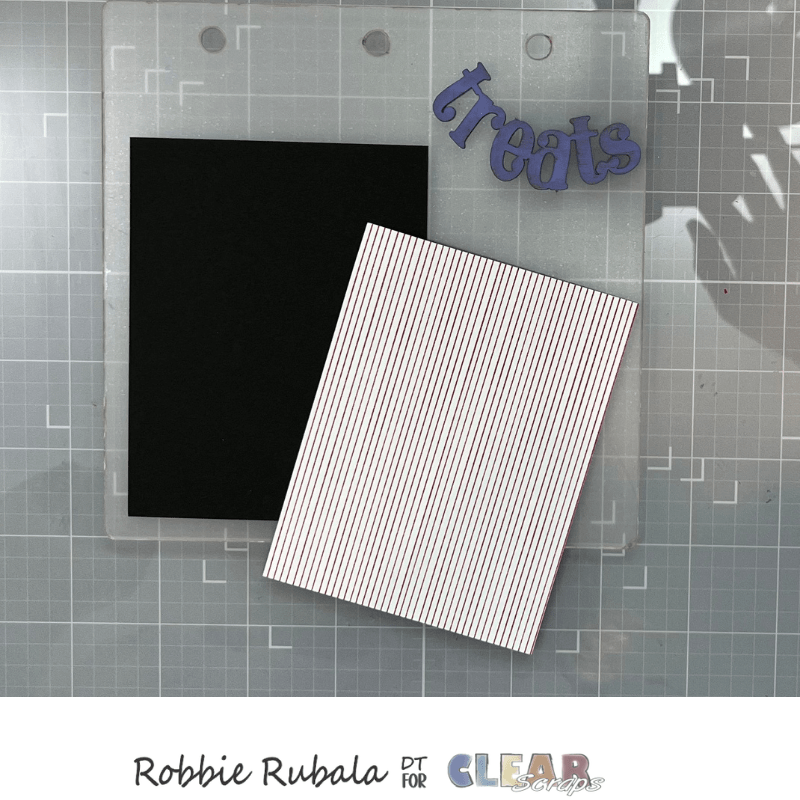
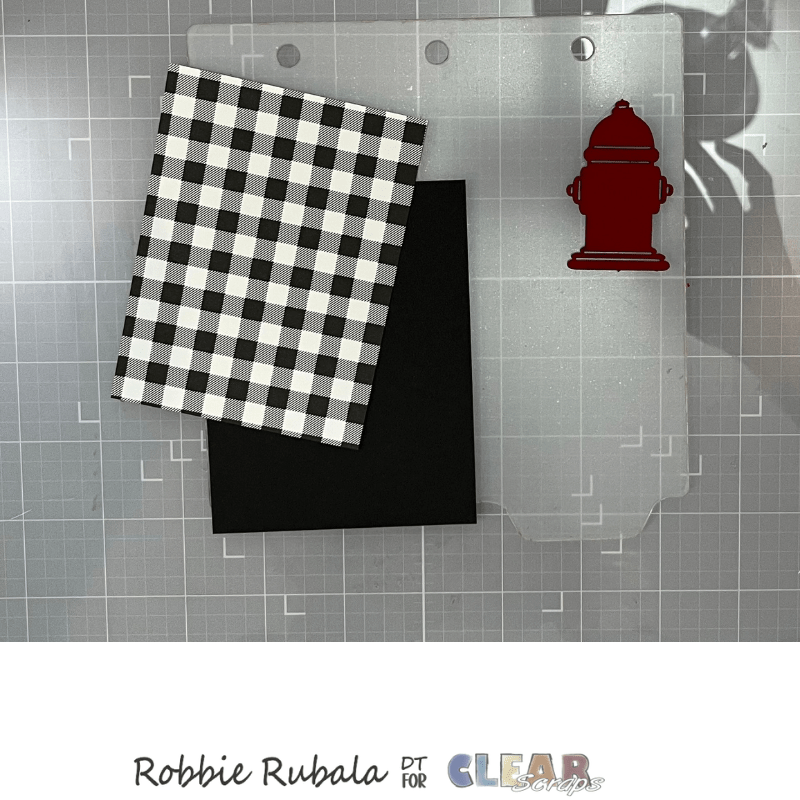
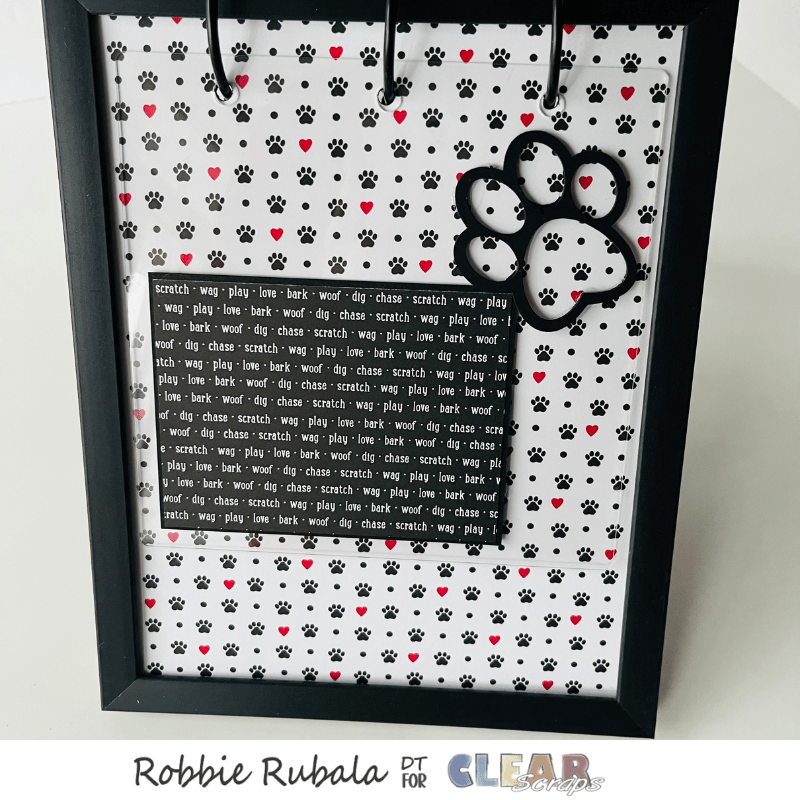
Gather some pet pattern paper and a coordinating cardstock for a backing. You will now use the pattern paper and the painted chipboard pieces to make your pages. Make sure you use a strong glue as you will be gluing everything to the acrylic pages. I have included photos of how I assembled my pages. Note – I cut my pieces to fit a 3″ x 4″ photo so the black mat is 3 1/4″ x 4 1/4″. The pattern paper is 3 1/8″ x 4 1/8″. I will cut my photo to be 3″ x 4″ giving a small border for all layers.
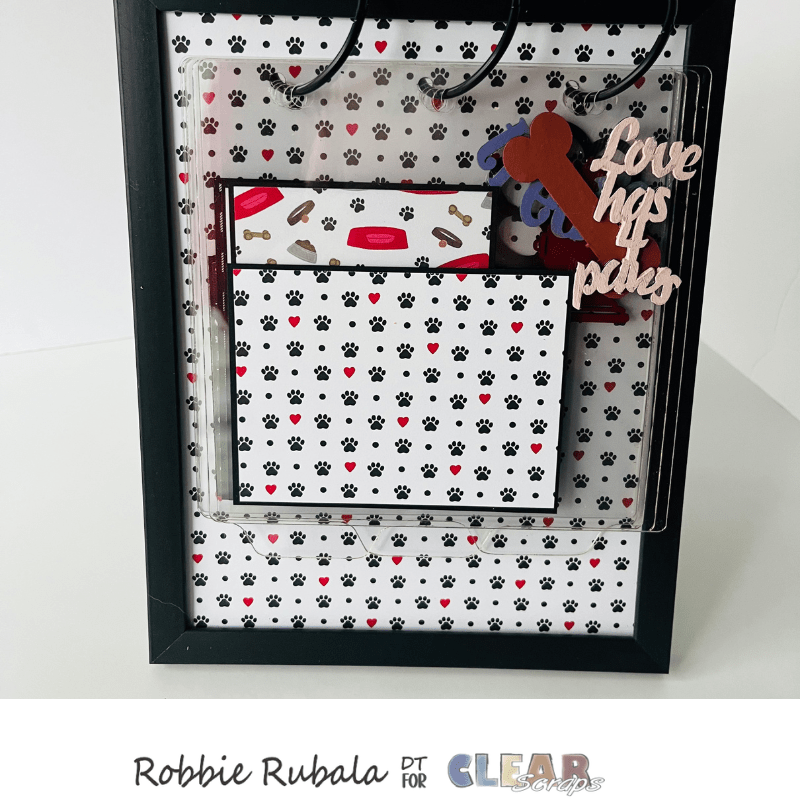
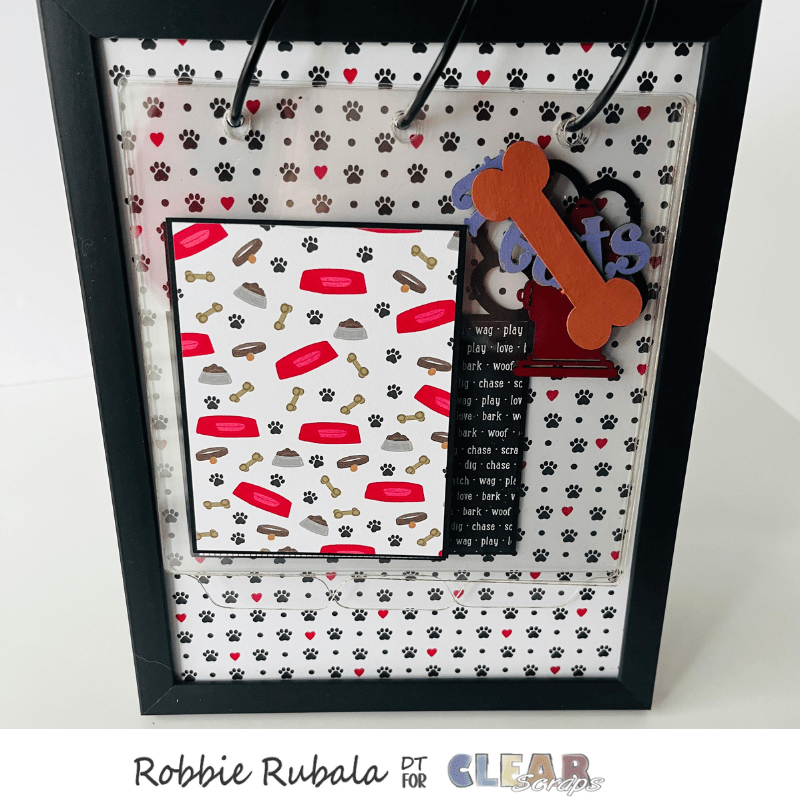
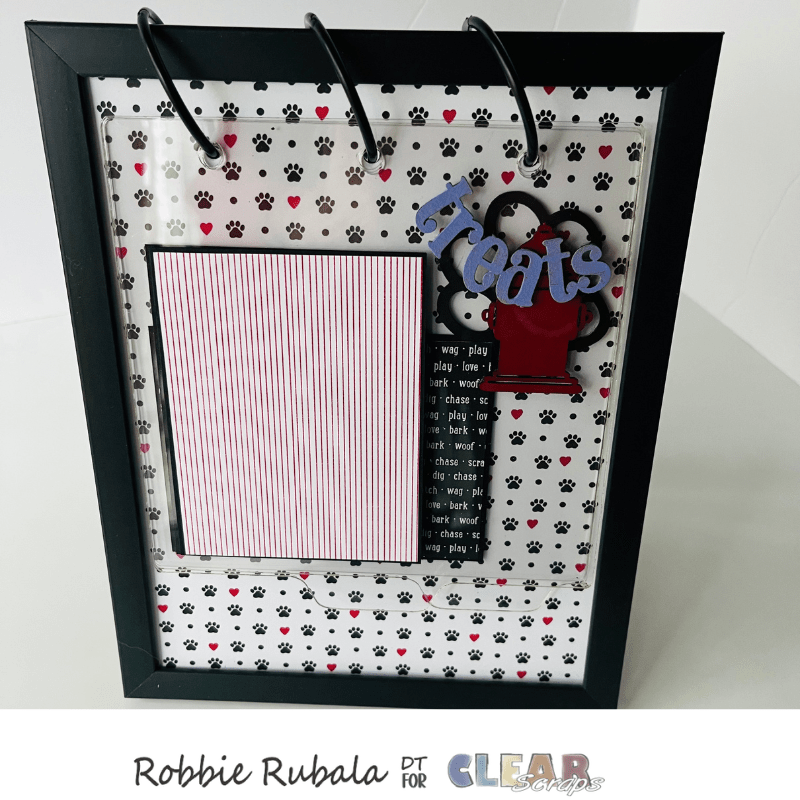
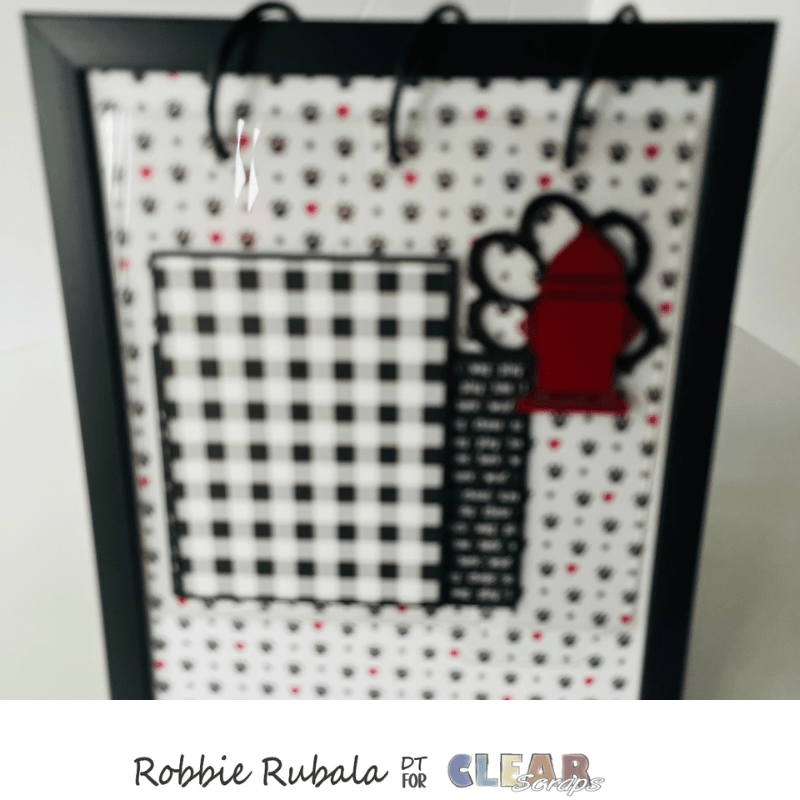
Once you have all your pieces glued to the acrylic panel and the glue has dried you can add them to your holder. Here is what my frame looks like with each page.

I had so much fun making this acrylic album using a picture frame. These would be fun to do and make a fun home decor display piece.
Have a Terrific Tuesday!


Leave a comment