Winter wall hanging
When I saw the Mason Jar extra circles and the Warm N Cozy chipboard embellishments I just knew I wanted to make a wall hanging. Check out what the final product looks like.

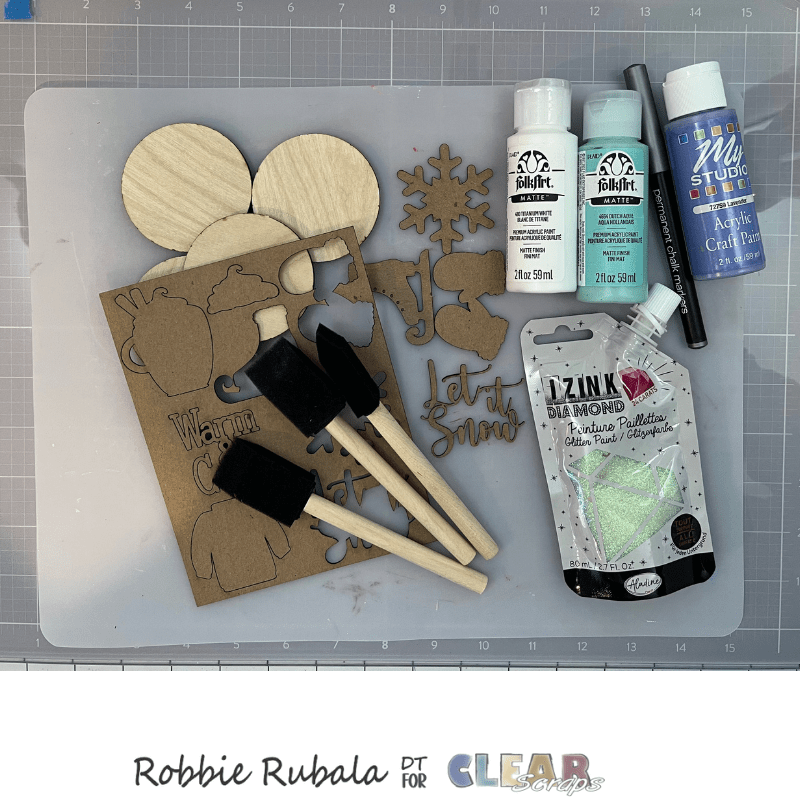
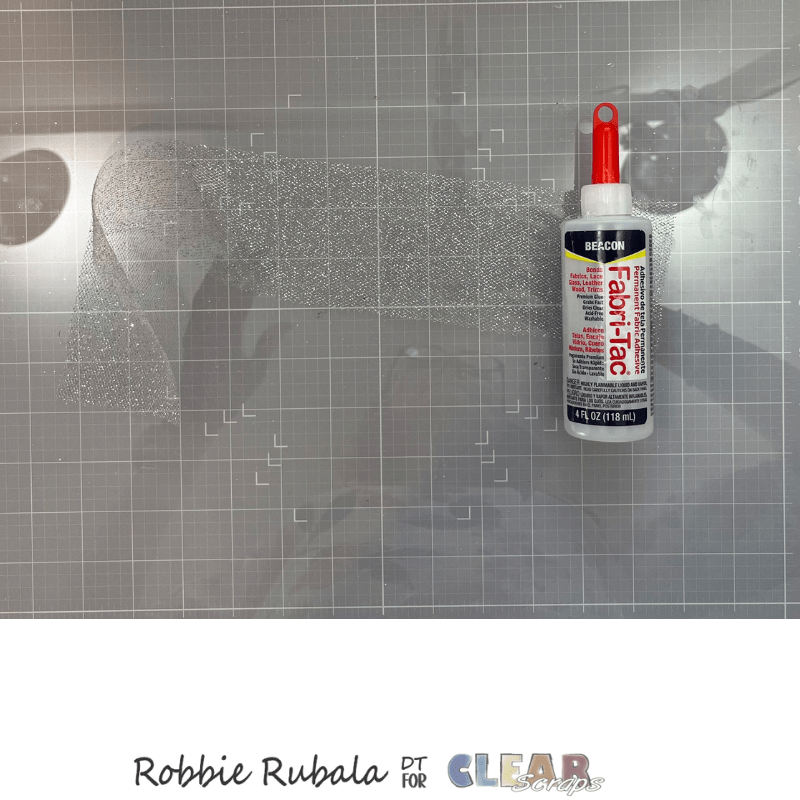
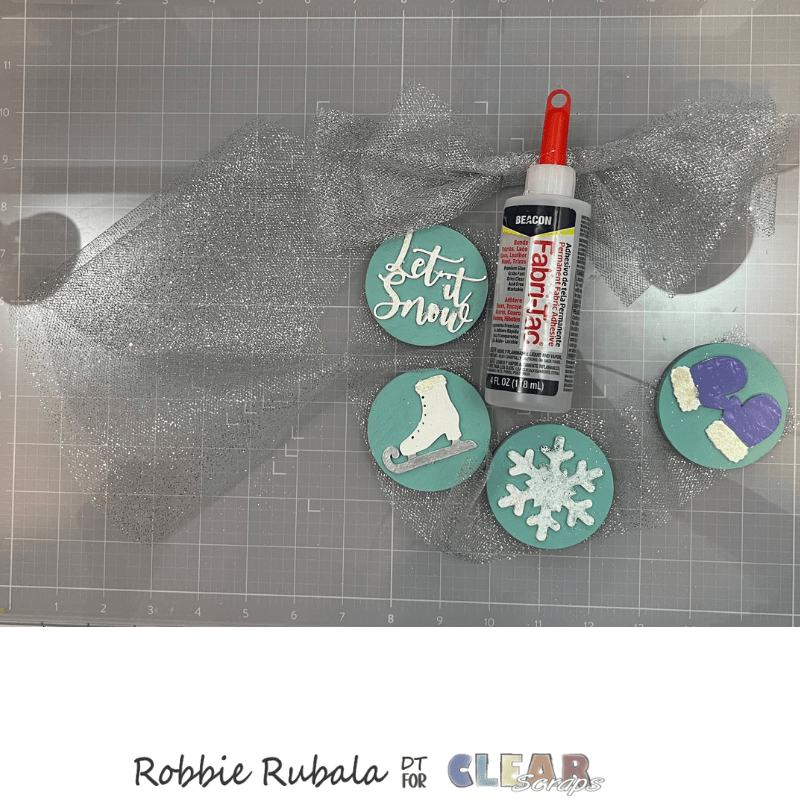
To make this project you will need Mason Jar extra circles, Warm & Cozy chipboard embellishments, white – teal – purple acrylic paint, silver watercolor paint, glitter paint, and foam brushes.
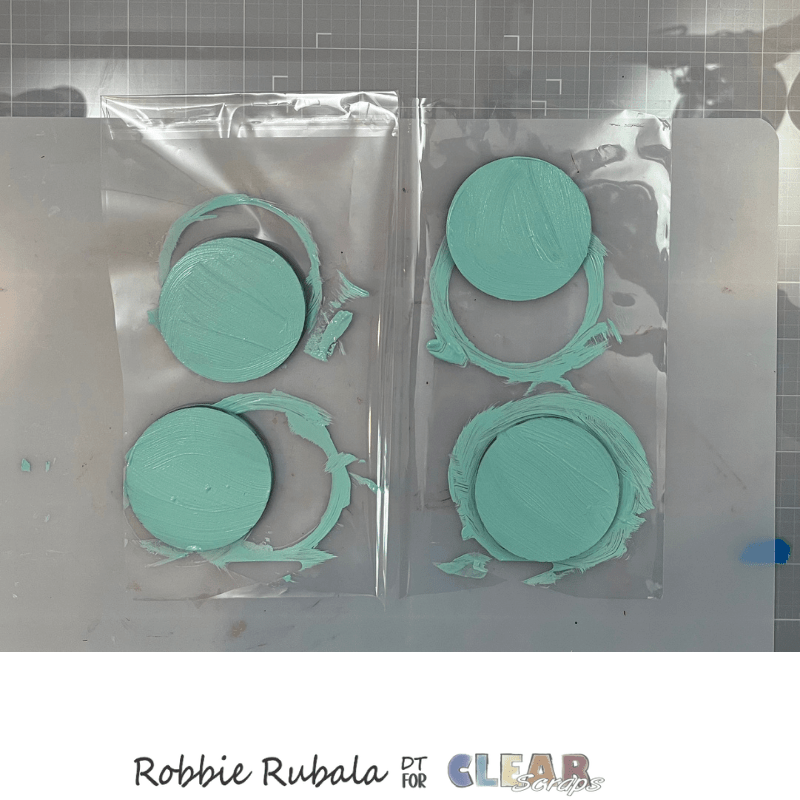
Take 4 of the mason jar circles, the teal paint, and a foam brush to paint both front and back and the edges of the circles. Set aside to dry
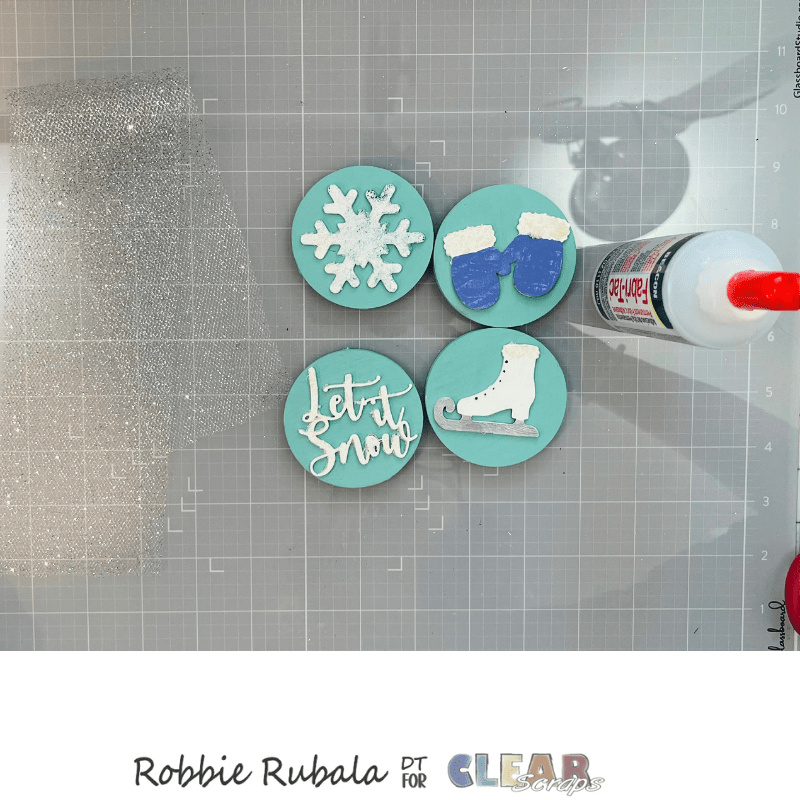
Take the snowflake, skate, mittens, the sentiment Let it Snow from the chipboard punch outs and the white acrylic paint and a foam brush and paint the the front and edges. Set aside to dry. Add a second coat to ensure the punch out is bright white.

When the snowflake and sentiment are dry, take the glitter pain and a foam brush to add some glitter.

Use the silver watercolor paint and the skate to paint the blade silver. Use the glitter paint to paint the cuff of the skate.

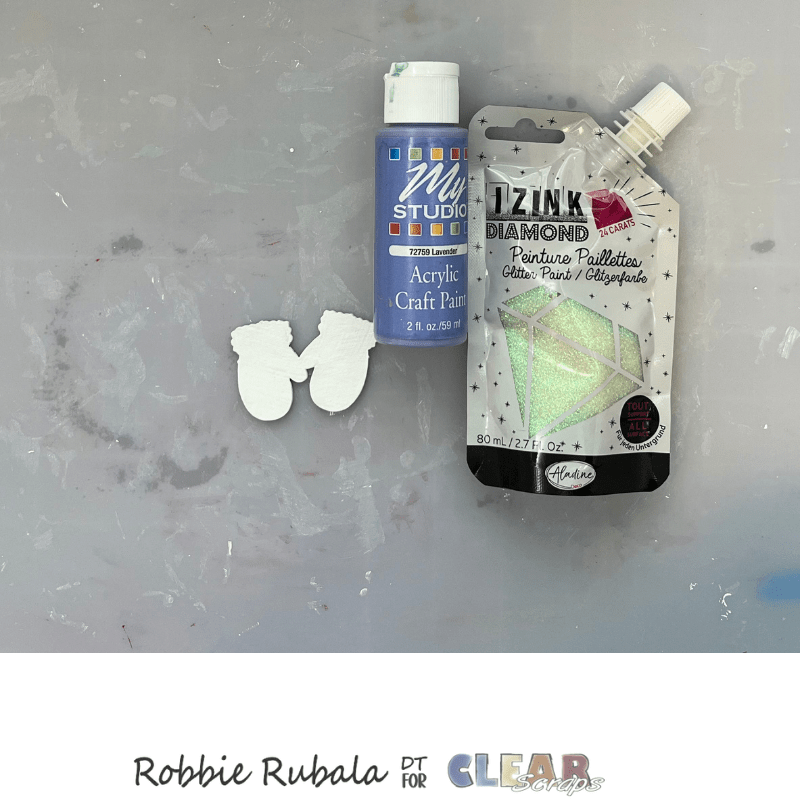
Take the mittens, purple acrylic paint, and glitter paint to paint the mittens purple and the cuff with the glitter paint.
Use the painted circles, painted chipboard pieces, and a strong glue to add the chipboard pieces to the circles. Set aside to dry.

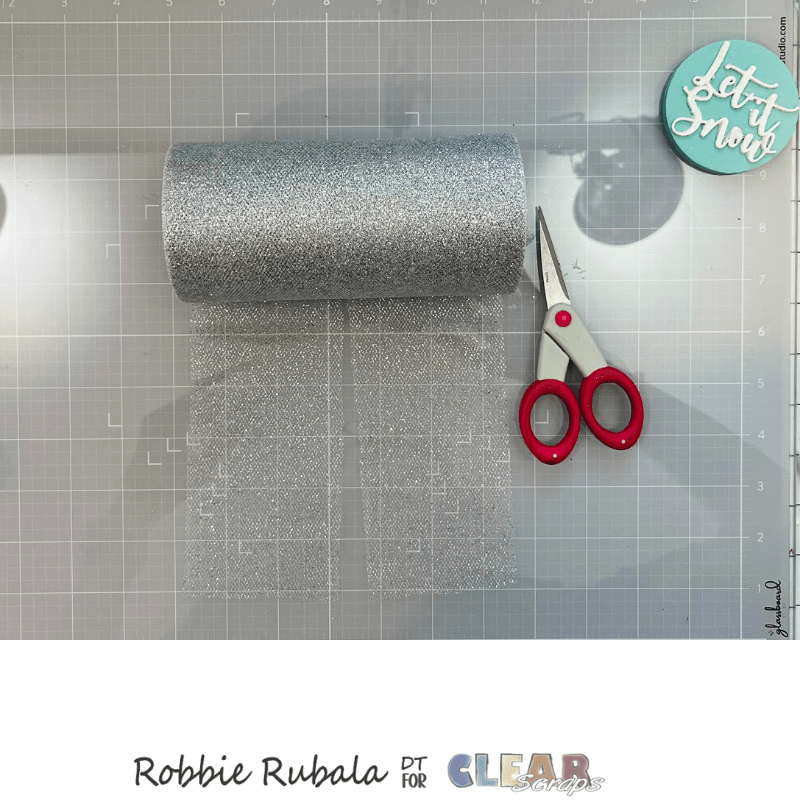
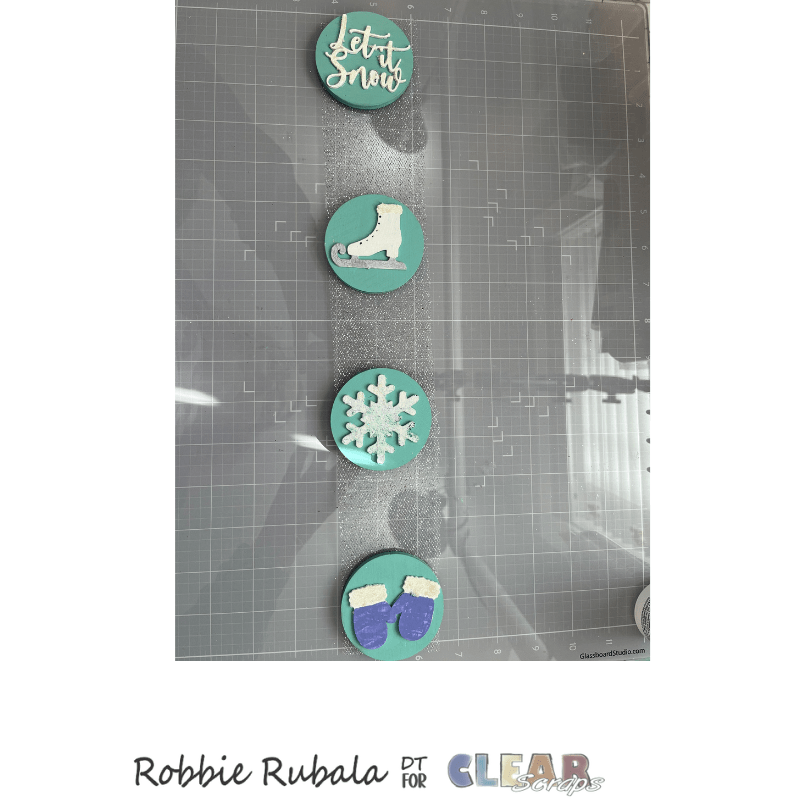
Use some glitter netting to cut a piece of that is 17″ long. I only had 6″ wide netting so I cut mine down to 2″ which is the width of the circles.
Take the strip of netting, the decorated circles, and a strong glue to add the circles evenly spaced on the netting. Set aside to dry.
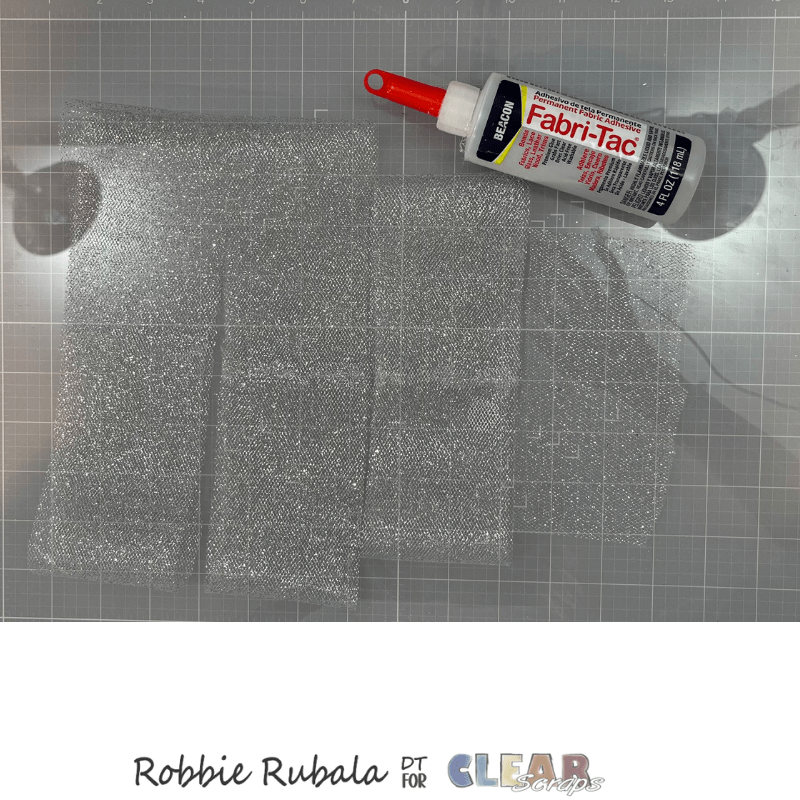
Cut 2 pieces of netting that is 16″ long and 1 piece that is 14″ long to use for the bow. Take some strong glue and glue the 2 ends together of each piece of netting to form a bow. Let dry.
When the glue is dry, stack the 3 loops on top of each other with the small one on top. Pinch the 3 loops in the middle and take a 6″ piece of netting to wrap around the middle. Add some strong glue to hold the end of the wrapped netting together. Place a piece of plastic overtop the glue and add something heavy to help hold the bow together. Let dry.
Take a piece of 11″ netting and form a loop. Gather the ends and glue them to the back of the top circle on the strip. Cover with some plastic and add something heavy to hold it in place. Set aside to dry.
Use the strong glue to add the bow at the top of the circles. Use something heavy to hold the bow in place while the glue dries. Your wall hanging is now ready to hang and display during the Winter season.

This such a fun wall decor piece and is easy to make. Grab your supplies from the Clear Scraps store and make yours!
Have a Marvelous Monday!


Leave a comment