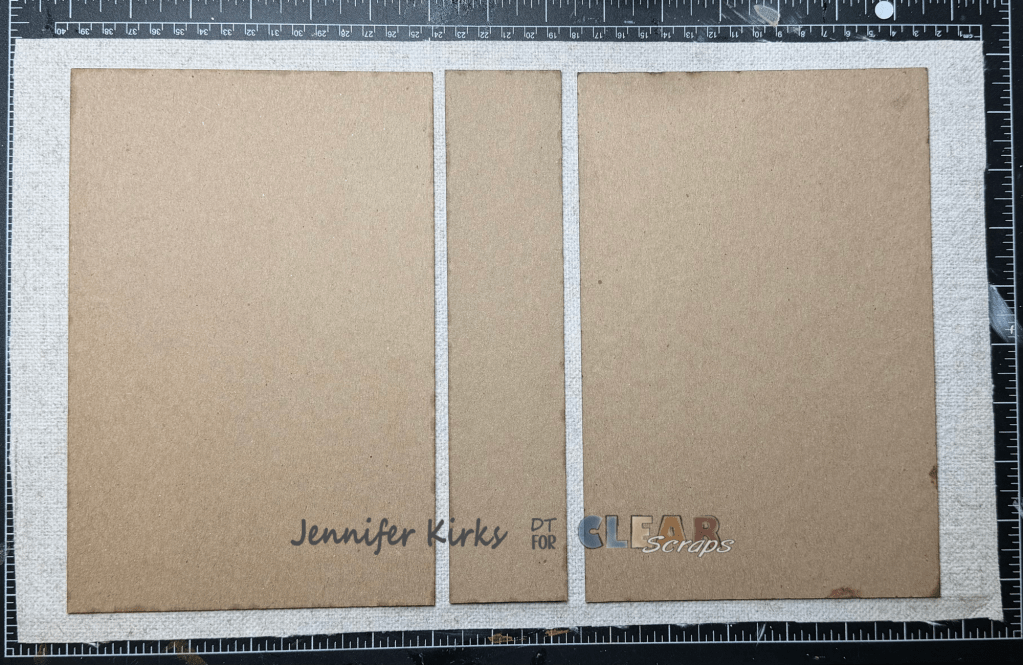
I absolutely love junk journals. They’re the perfect way to use up leftover scraps, bits and pieces lying around your craft room, and the best part? There are no rules! Junk journals can be messy, mismatched, and completely unique.
These blank chipboard journal covers are so versatile and a great starting point for creating something that’s truly your own. Thanks so much for stopping by—I hope this inspires you to dive into junk journaling and create something magical!
Let’s Get Started
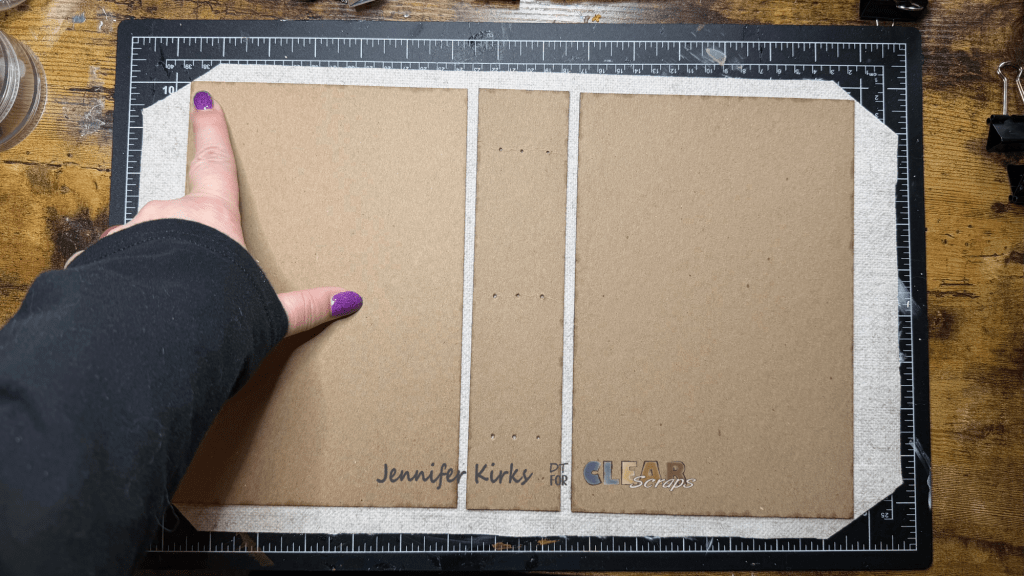
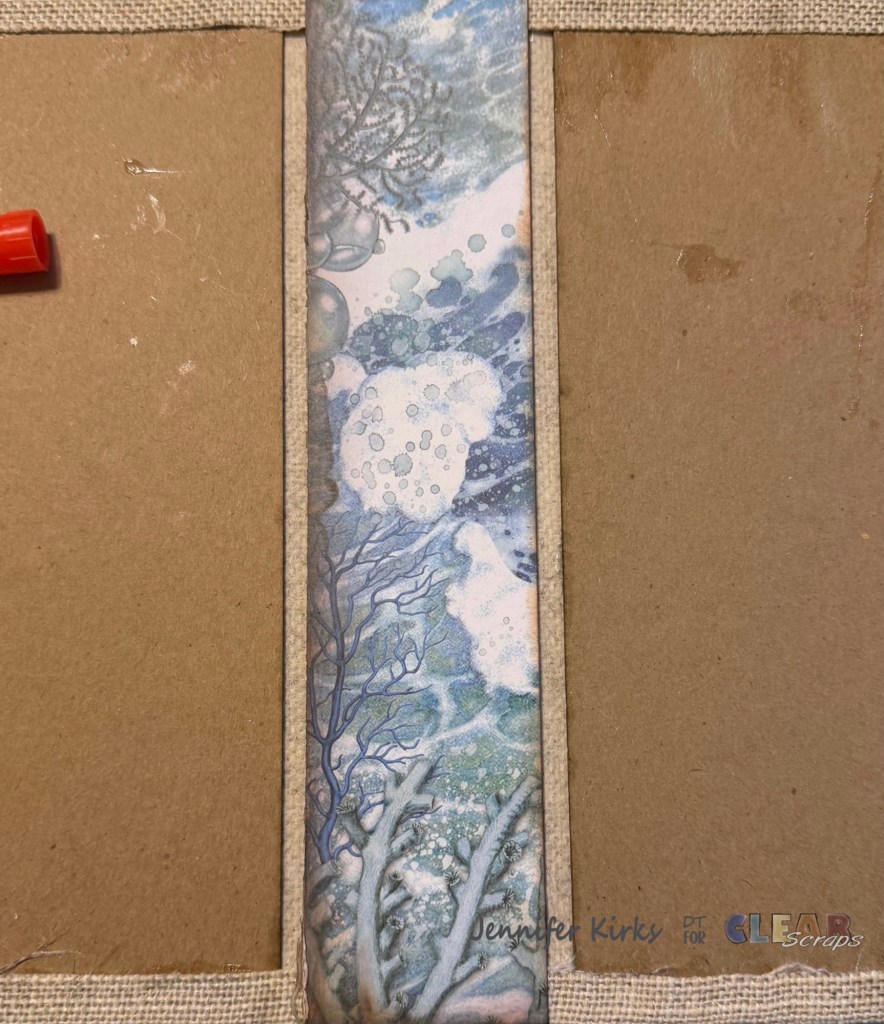
To begin this journal, I started by covering the chipboard covers with a piece of fabric from my stash. I cut the fabric about an inch larger than the chipboard on all sides so I could fold it over to create a clean, wrapped cover.
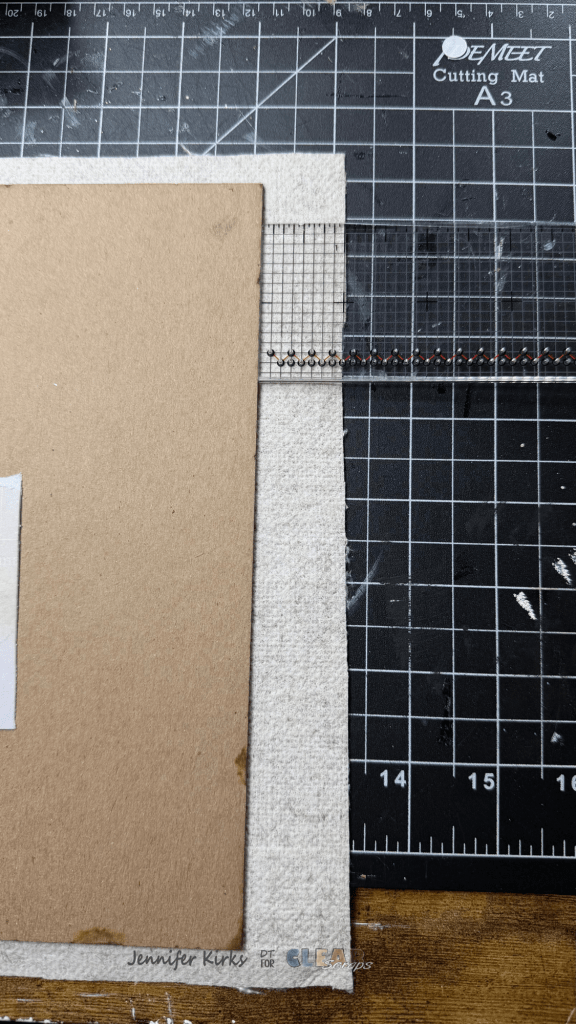
I laid out the three pieces—front, back, and spine—on the fabric to make sure everything lined up correctly, then used 3-in-1 glue to adhere the chipboard pieces to the back side of the fabric.
I cut the 4 corners at an angle so when I glue the sides over the corners don’t become too thick since I usually add metal confer protectors
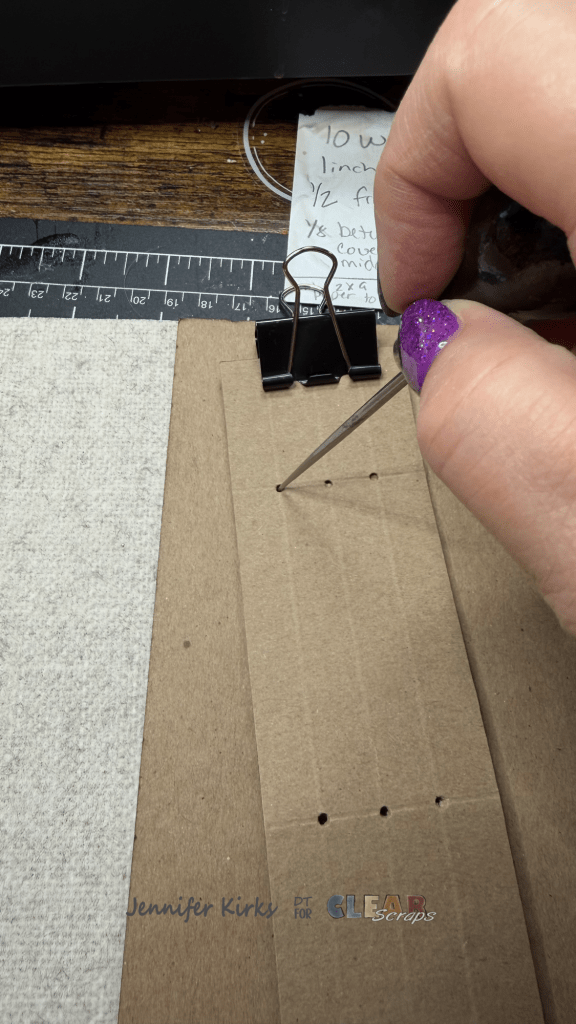
Prepping the Spine for Sewing
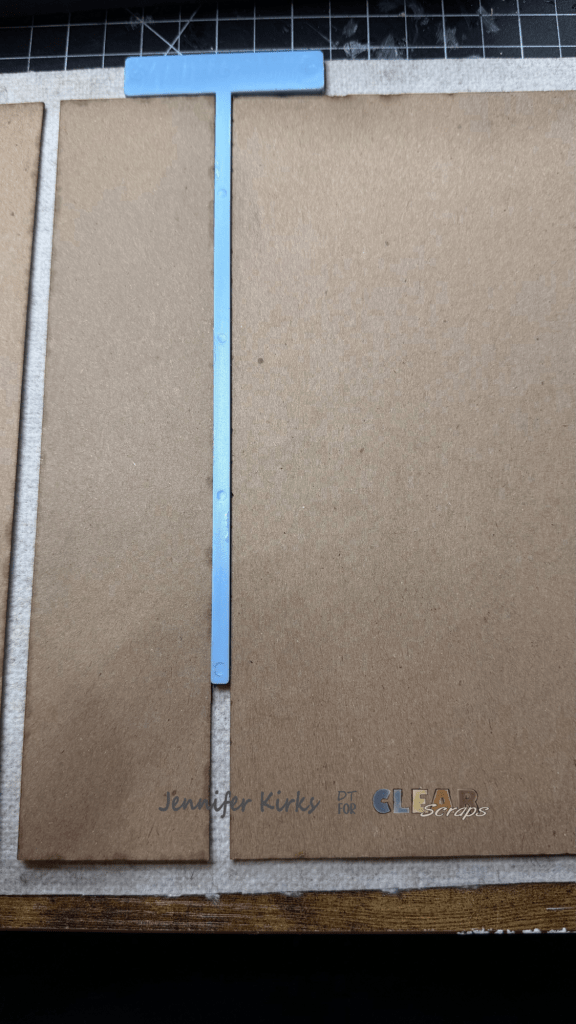
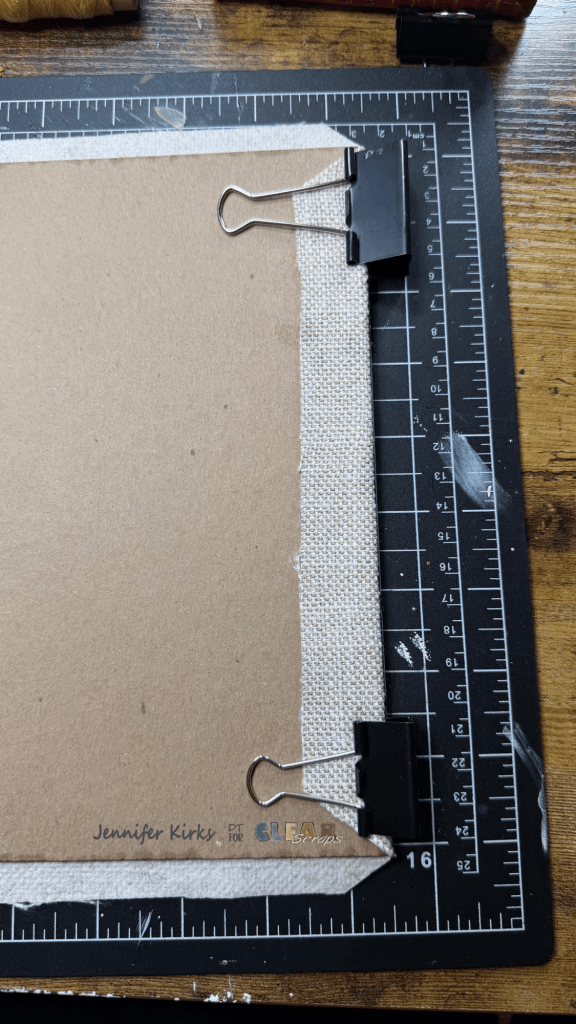
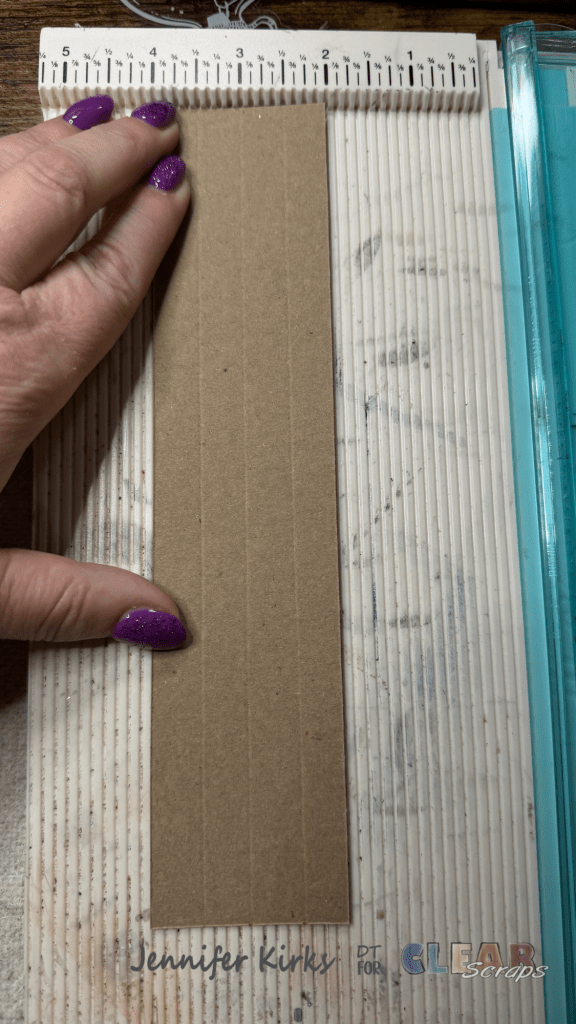
Before gluing down the spine, I measured and marked a grid: every 2 inches horizontally and every 1 inch vertically. Where the lines intersected, I poked holes to create a guide for sewing in my signatures later.
(If you’re new to junk journaling: A signature is a group of folded papers sewn into your journal. I typically use 4–5 pages per signature and include three signatures in each book.)
You can use anything in your signatures—scrap paper, envelopes, burlap, fabric, you name it. Let your creativity lead!


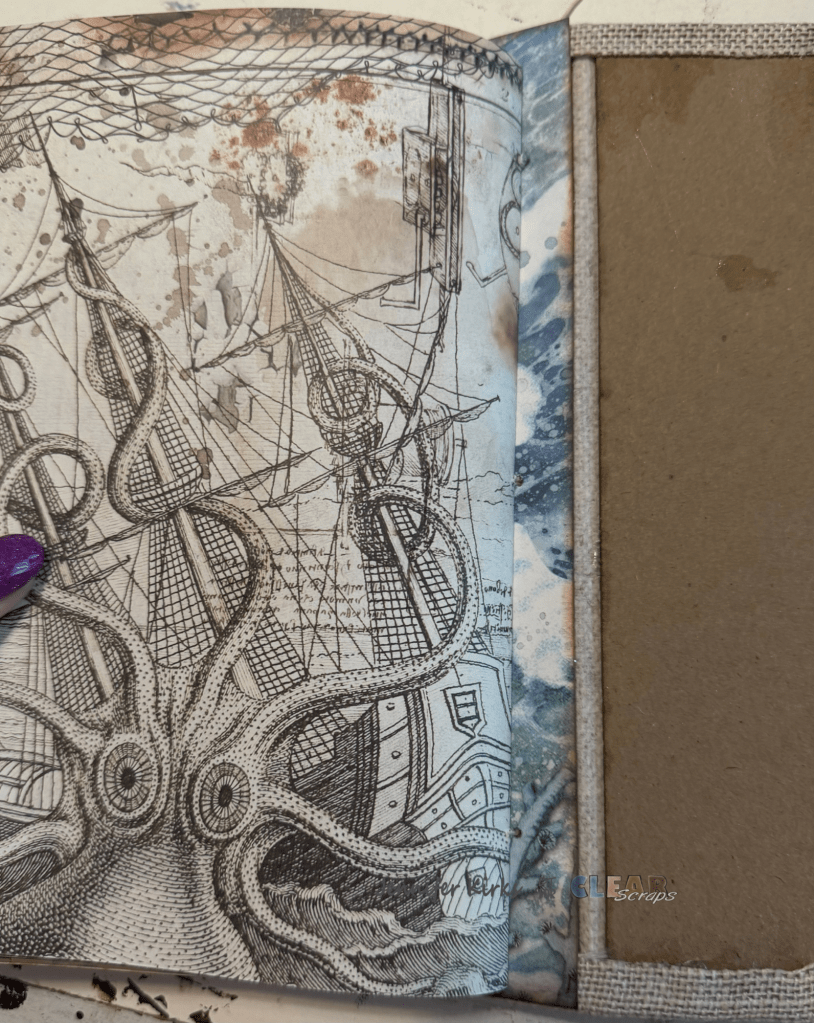
Assembling the Cover
Next, I glued the spine between the front and back covers. Using an awl, I carefully poked holes through both the fabric and chipboard to line up with my signature sewing holes.

Sewing in the Signatures
This is my favorite part! Before sewing, I make sure the signature pages are neatly aligned. I use alligator clips to hold them in place, then poke holes along the center fold.
To stitch them in:
- Start from the middle hole inside the signature.
- Go out through the spine, then up to the top hole and back inside.
- Go down through the center again and out the bottom hole.
- Bring the thread back in through the bottom and tie the ends in the center.
I repeat this for each signature.
Optional Tip: I like to add beads to the spine while stitching—it hides the thread and gives the outside of the journal a decorative touch!

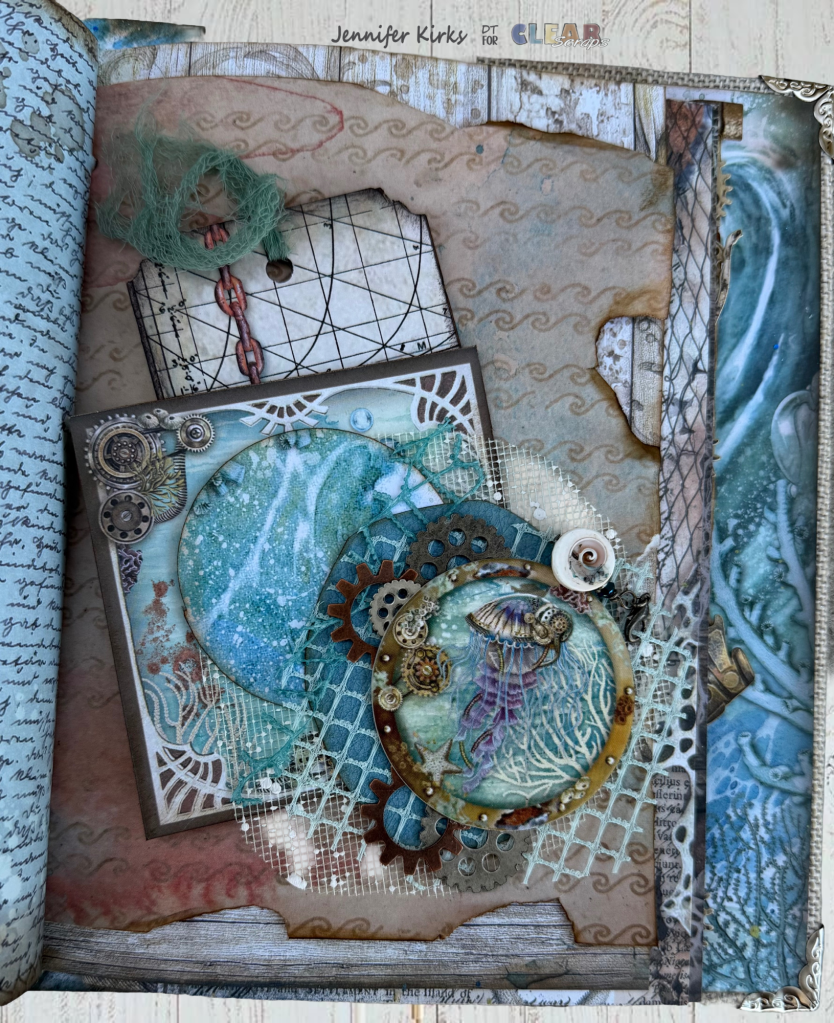
Decorating the Inside
Now for the fun part—decorating! I added:
- Belly bands with tucked-in cards and journaling paper
- Bookmarks with windows and pressed flowers
- A shell to hide the middle of the signature and all sorts of creative pockets and tags
- Lace and ribbon along the outer edges for a delicate touch
- Charms scattered throughout the pages
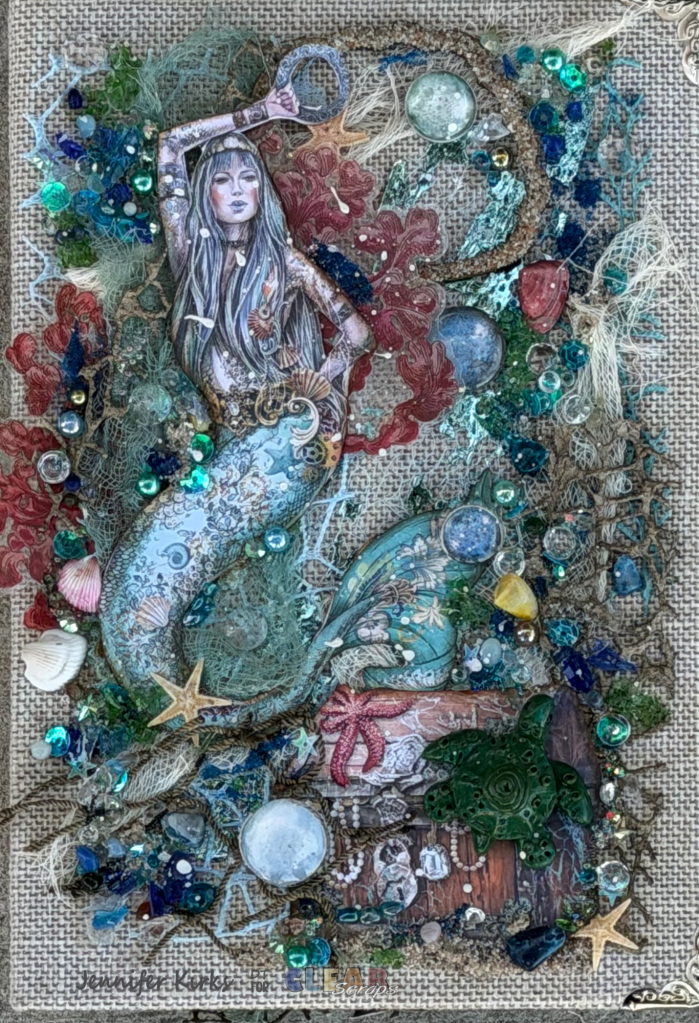
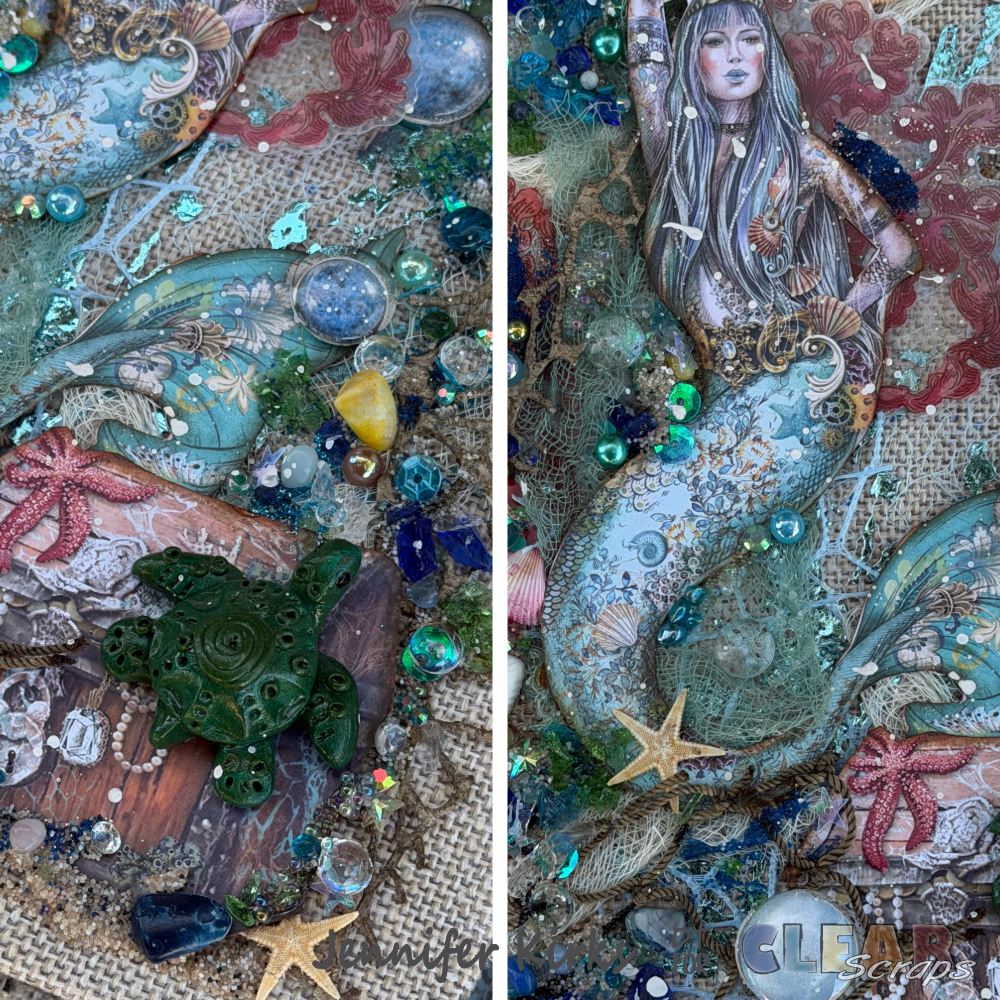
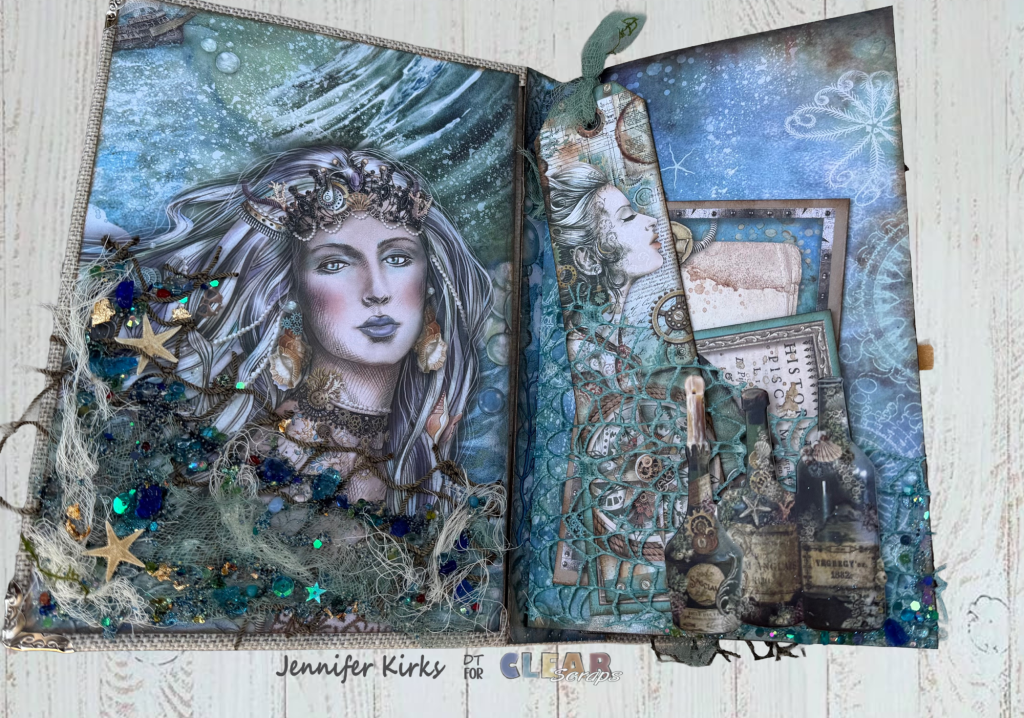
To finish the journal, I decorated the front cover with a chipboard Mermaid and chest, broken glass, sequences, beads, fishing net and white and blue cheese cloth.
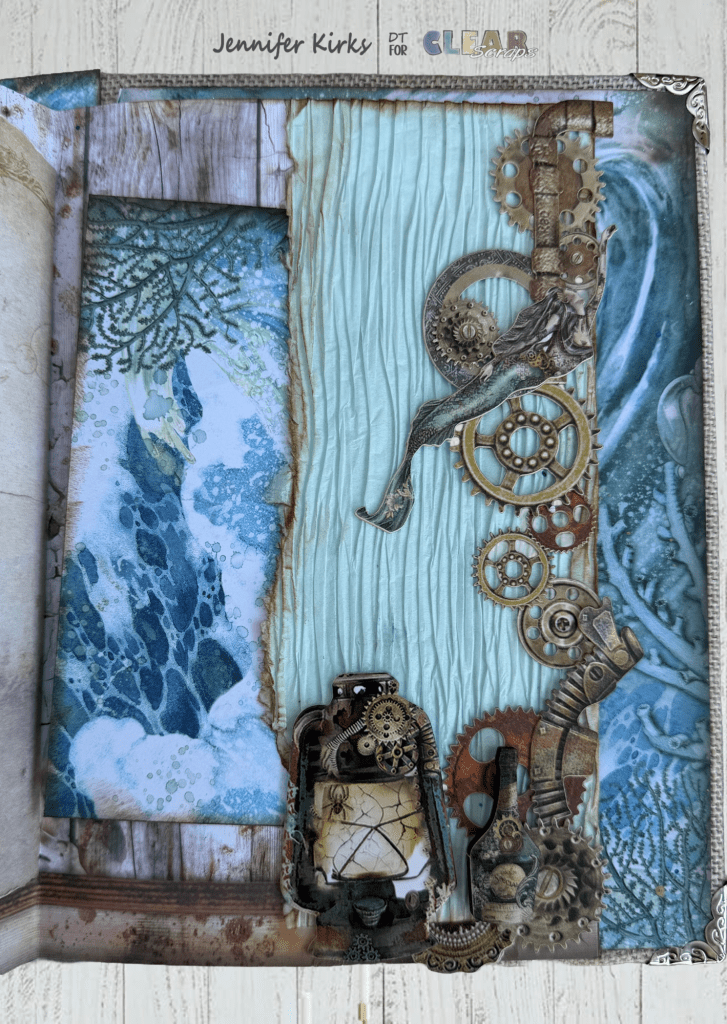
On this page, I used different textured papers and added metal gears and chipboard pieces to create a pocket. I glued the right side and bottom, leaving the top open so I could tuck a couple of tags inside.
I also created a belly band on this page. Belly bands are great for tucking in larger pieces of paper or holding special pictures or letters. I glued only the top and bottom so items can easily slide in.

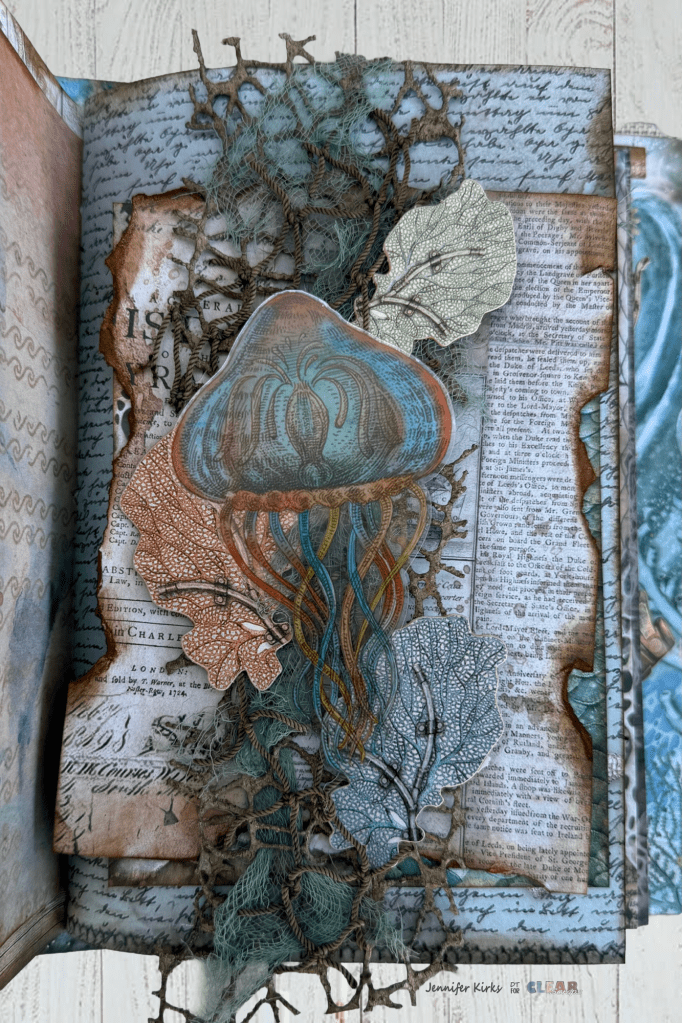
I wanted to cover the inside of the first signature, so I drew and cut a shell shape from paper. I added netting, beads, sequins, and other embellishments similar to what I used on the front and inside cover. I glued down the center of the shell shape to create pockets on either side of the pages.

For the second inside signature, I grabbed a few pieces of ephemera and decorated around them using moss, beads, sequins, and netting to add texture and dimension.
On this page, I created a side pocket. I decorated the edges and bottom, then glued only the top, right side, and bottom, leaving space to tuck in a few pieces of paper.
The options, ideas, and techniques are truly endless. I can’t wait to finish her, but I wanted to share the starting process and a few of the pages I’ve completed so far.
Thank you for stopping by. I hope you have fun creating your own junk journal..
Jennifer


Leave a comment