Hello Crafty Friends! I'm happy to be back on the Clear Scraps Blog with a easy card making project using one of the new Clear Scraps Stencils. Who doesn't enjoy a cup of tea while cardmaking!
Supply List:
White heavy cardstock, watercolor card or blank 8×8 card base
Clear Scraps "Tea Time" Stencil (6×6 size) is what I used for my project. You can find it here Tea Time Stencil
Spectrum Noir Harmony Inks in Fushia,Plum Pudding and Oasis
Diecut sentiment or stamped sentiment (I used a diecut from Crafters Companion Vintage Tea Party)
Ink dabbers, Washi tape or painters tape to hold stencil in place
Paper trimmer, diecutting machine, ribbon or tulle, crystal gem, corner edge stickers, foam dots and glue
Assorted colored and or glitter cardstock

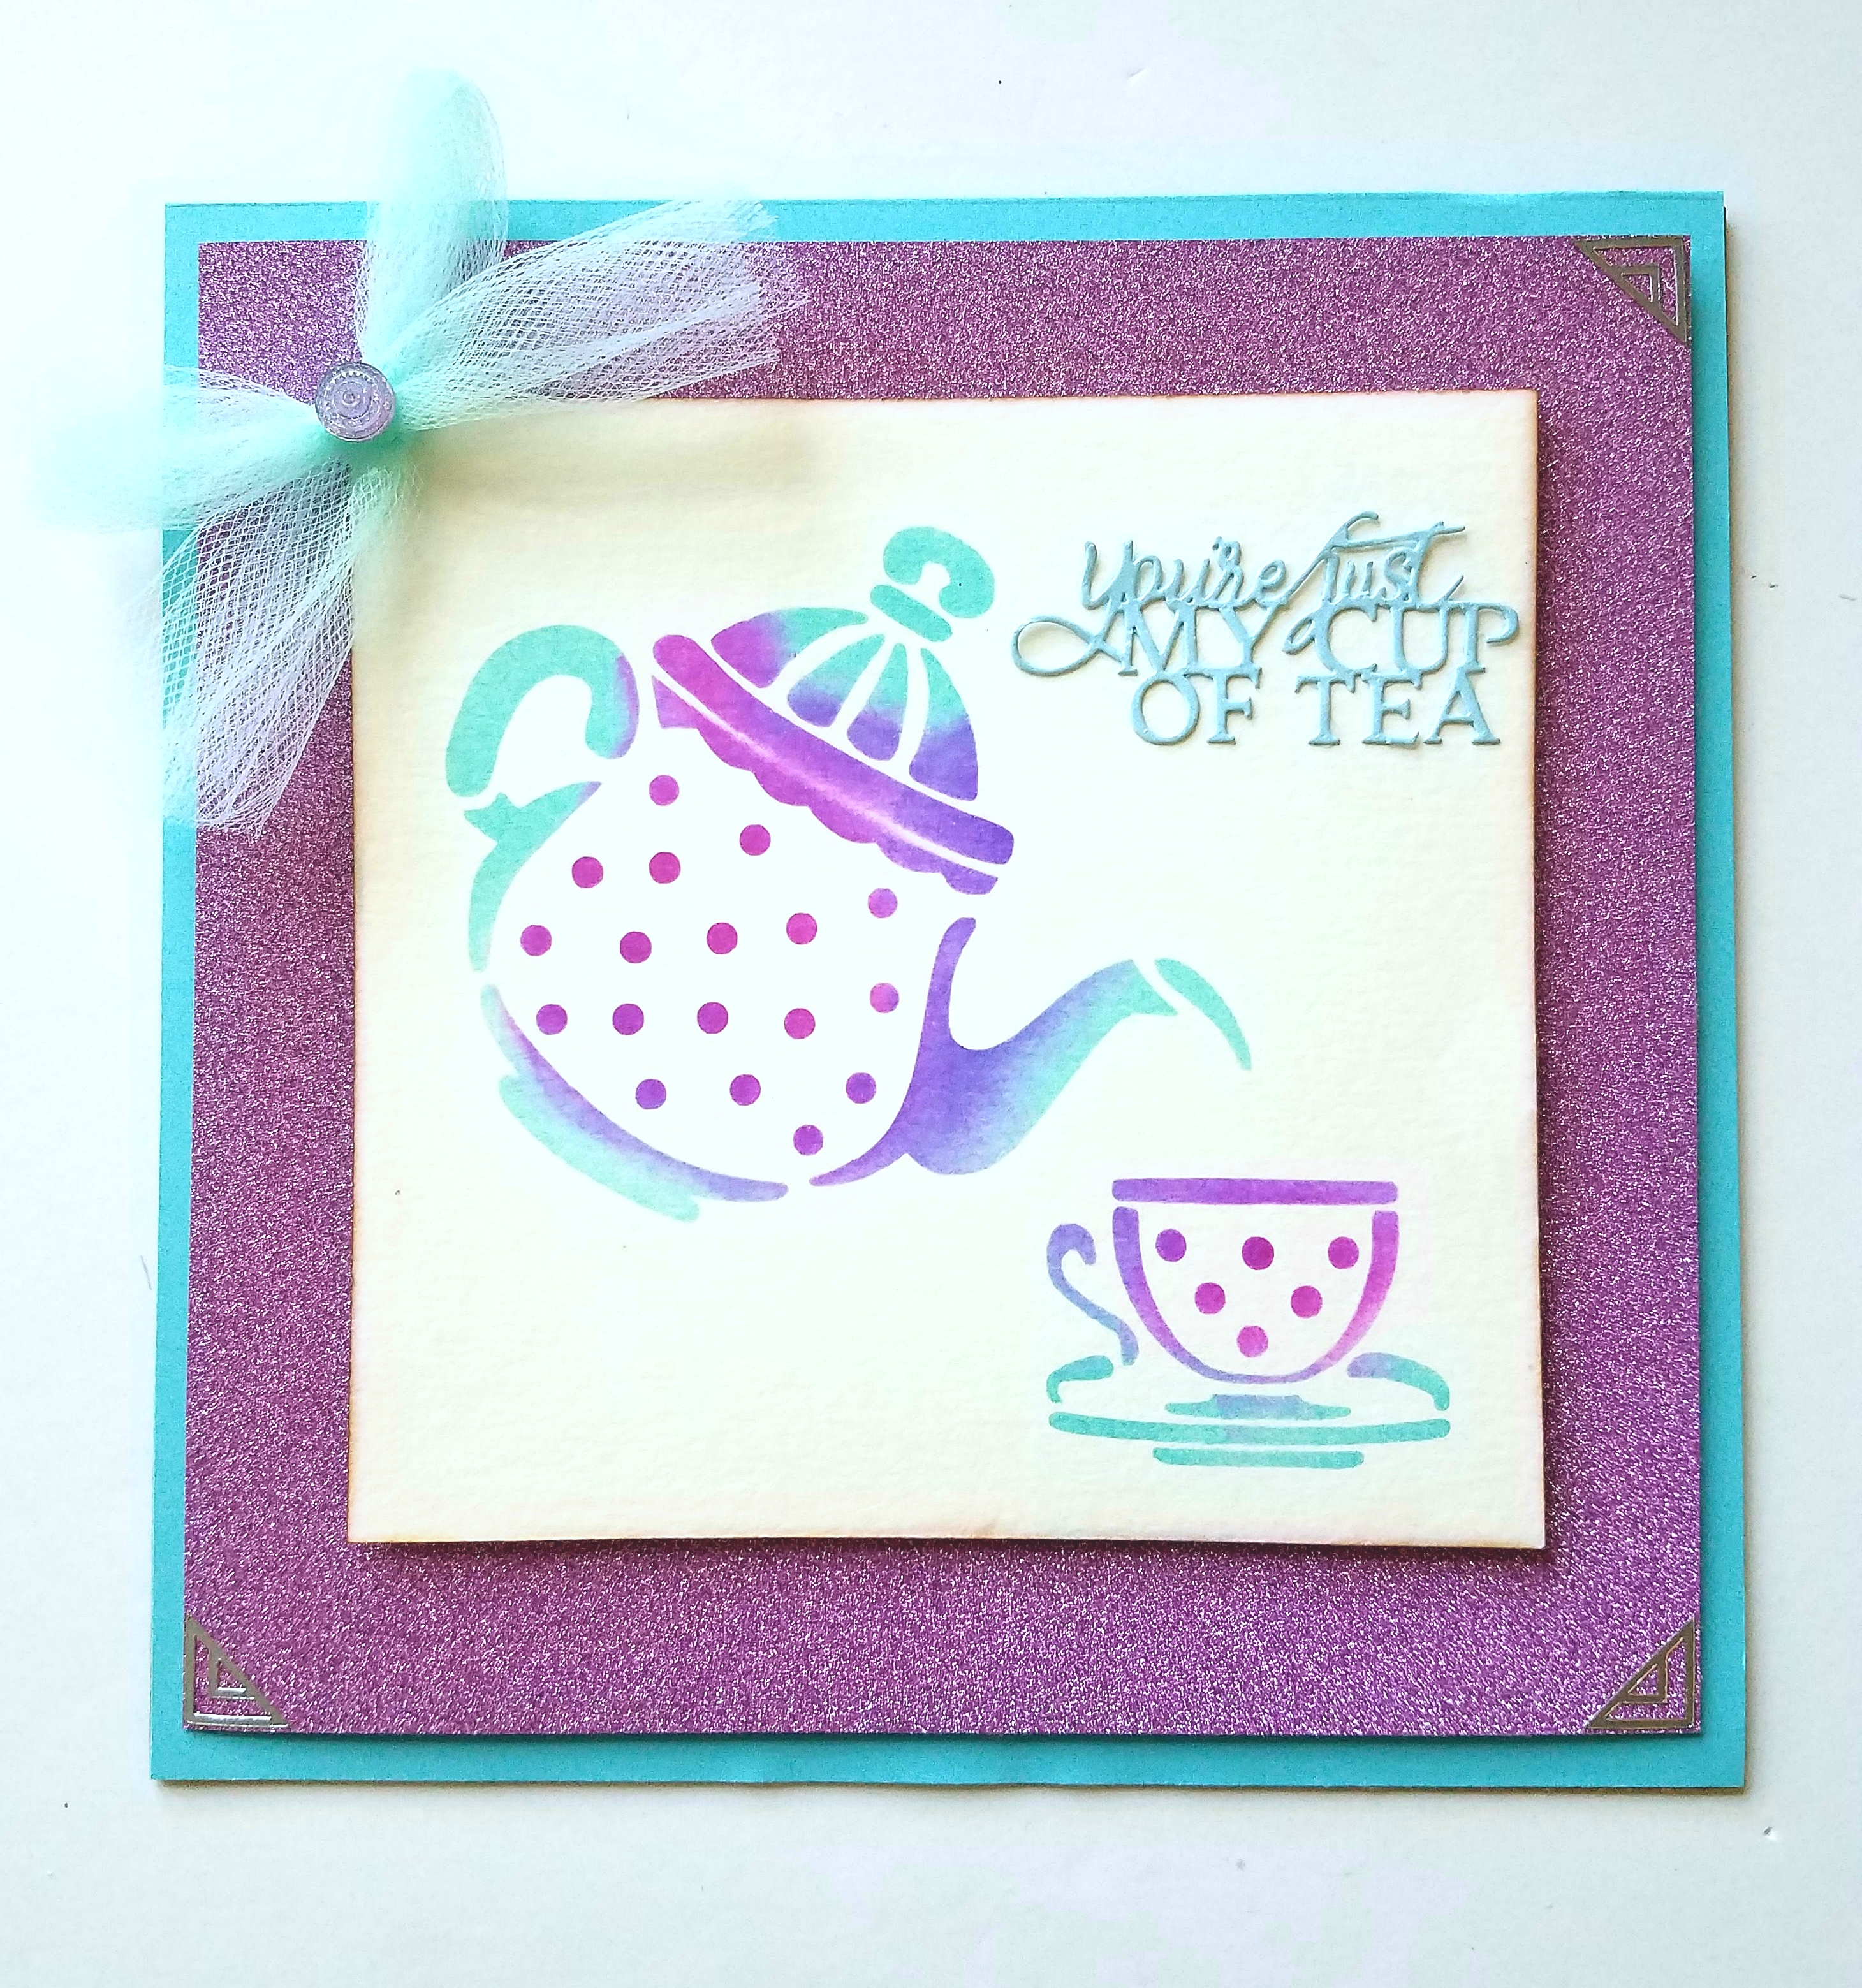
To begin I cut my white card to measure 6×5 3/4 and applied tape around all edges of my Clear Scraps stencil to hole it in place. I then took my ink dabber and Spectrum Noir Oasis Harmony ink, rubbed off the excess on a piece of scrap cardboard, then in a swirling motion, I applied ink over my stencil. Continue adding the other two inks and go over the stencil image, until you get the look you want. Harmony Inks blend pretty easily and you don't need too much.

When finished carefully remove your stencil from your card base. Let dry.
Next chose two coordinating papers to mat your card. For the turquoise paper I glued down onto my card base. I chose some glitter card for my second layer and I cut to 73/4 inches, leaving about 1/4 inch border of my turquoise base card visible. Then I applied foam dots to the back of my glitter card before adhering on top of my turquoise layer.

Take your stencil layer card and add foam dots to the back and then adhere this on top of your glitter card. On 3 of the glitter card corners I added some silver edged corner stickers.
Next I diecut a sentiment and glued it to the top right corner of my card. You may use one of favorite stamped sentiments or sticker if you prefer.
Lastly I tied a piece of Turquoise Tulle into a bow and glued it to the upper left hand corner of my card. I glued a purple sparkle gem to the middle of my bow!


I hope I have inspired you today to try making some of your own cards to send out to your friends and family. Don't forget to check out all the great styles of stencils and crafting supplies at Click here
Thank you for stopping by the Clear Scraps Blog! Happy Crafting! See you soon.
Dana


Leave a comment