Are you into junk journaling? Hey there, Judy here with my latest project created for Clear Scraps! And, it is a Mini Junk Journal. Clear Scraps has a great variety of chipboard journal covers that are so fun to create with.
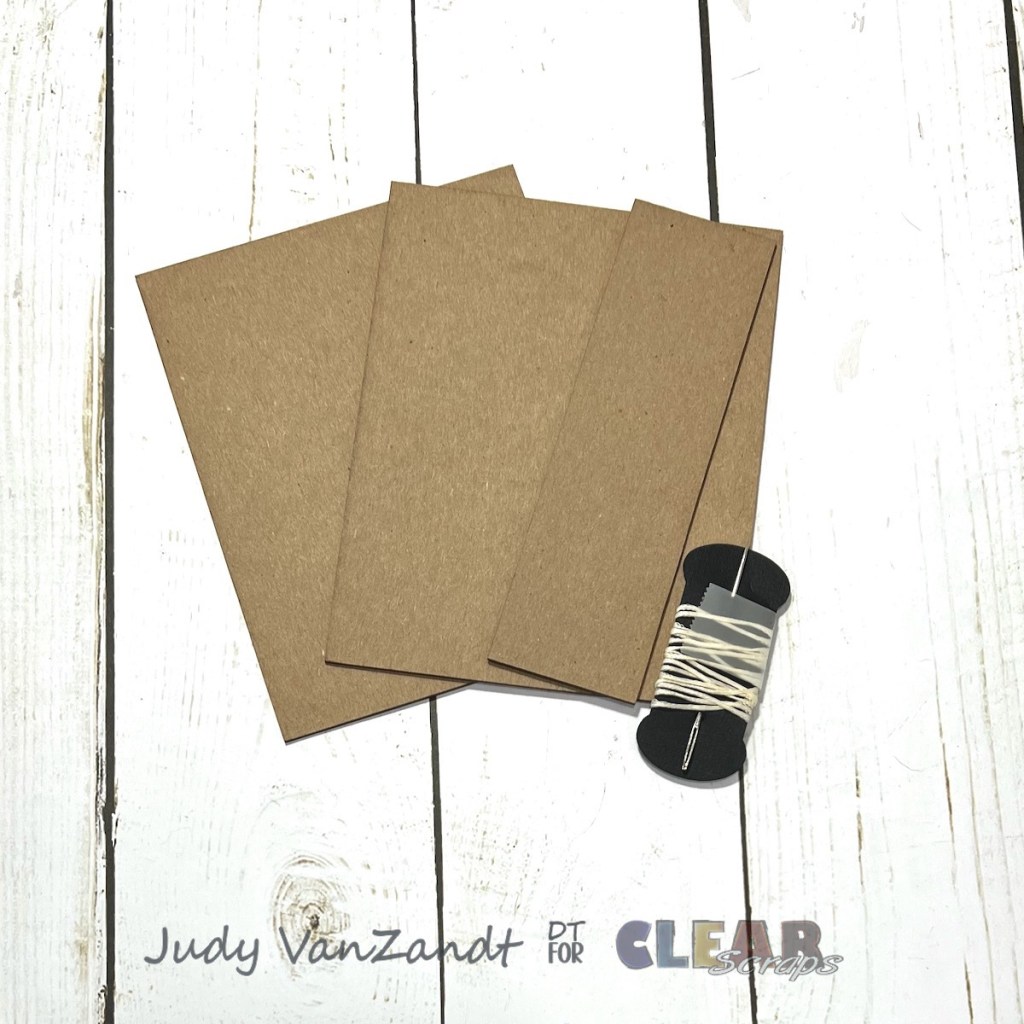
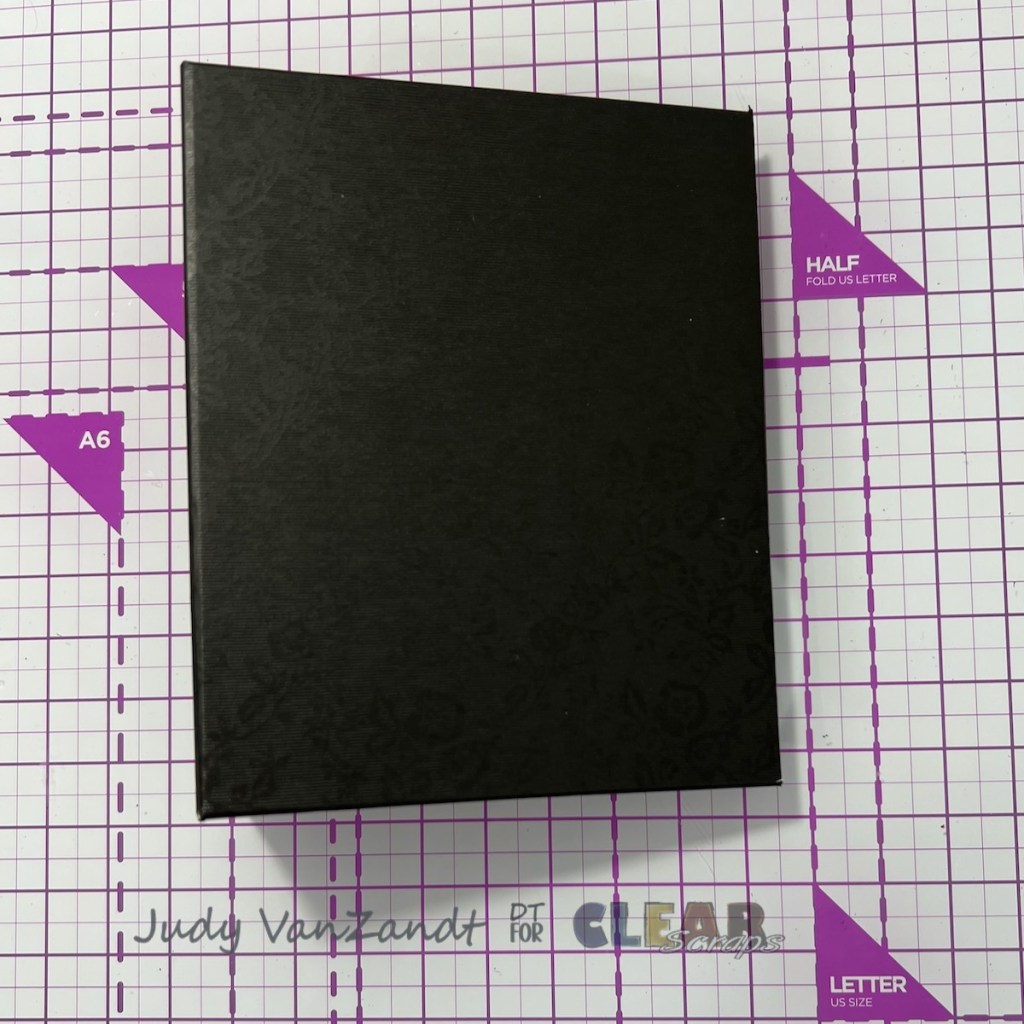
I am using the Small Rectangle Journal Cover. It measures approximately 4 x 5 inches with a 1 1/2 inch spine. This cover also comes with a needle and thread.
Cover Base
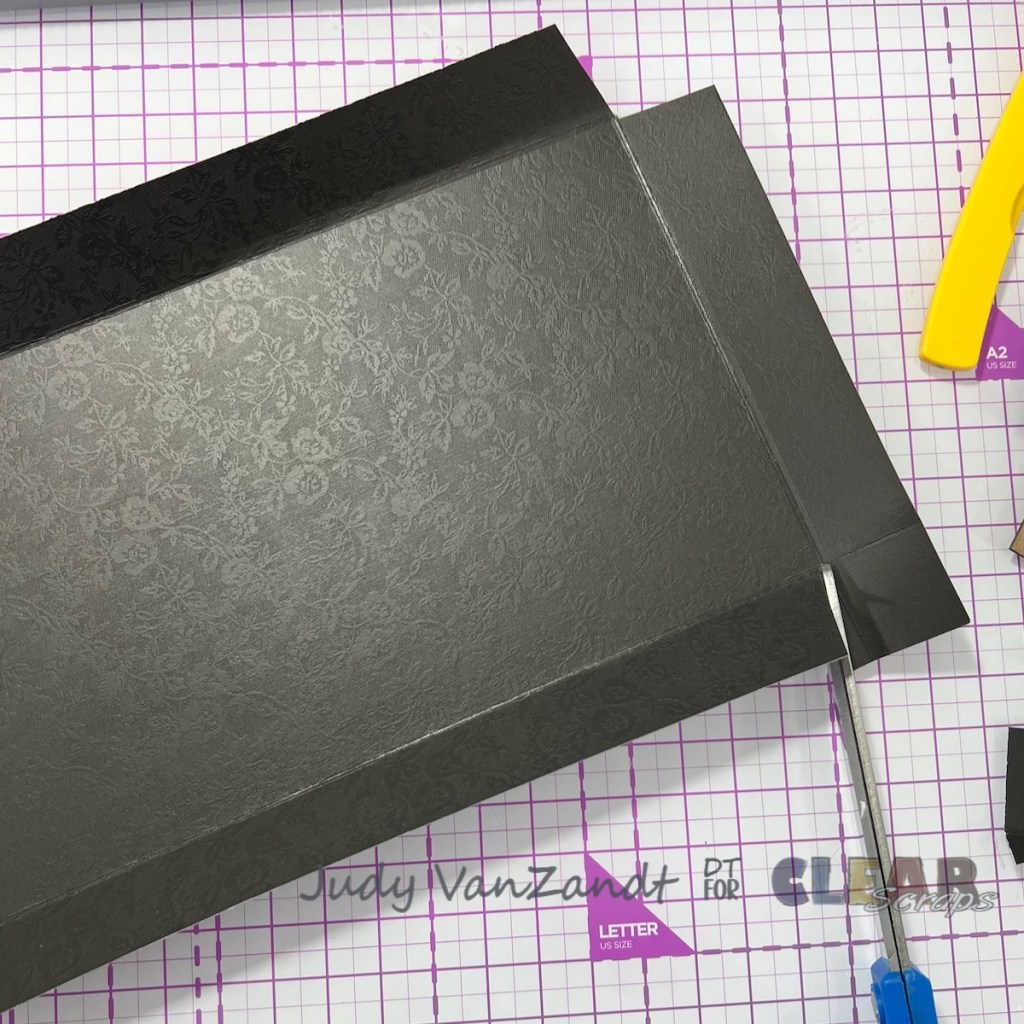
To get started, decide what to cover the journal cover with. I am using a pretty black paper that has sort of a brocade finish.
Cut the paper to 7 x 11 5/8 inches. Score at 1 inch on all 4 sides. Remove the squares on the 4 corners by cutting at a slight angles.
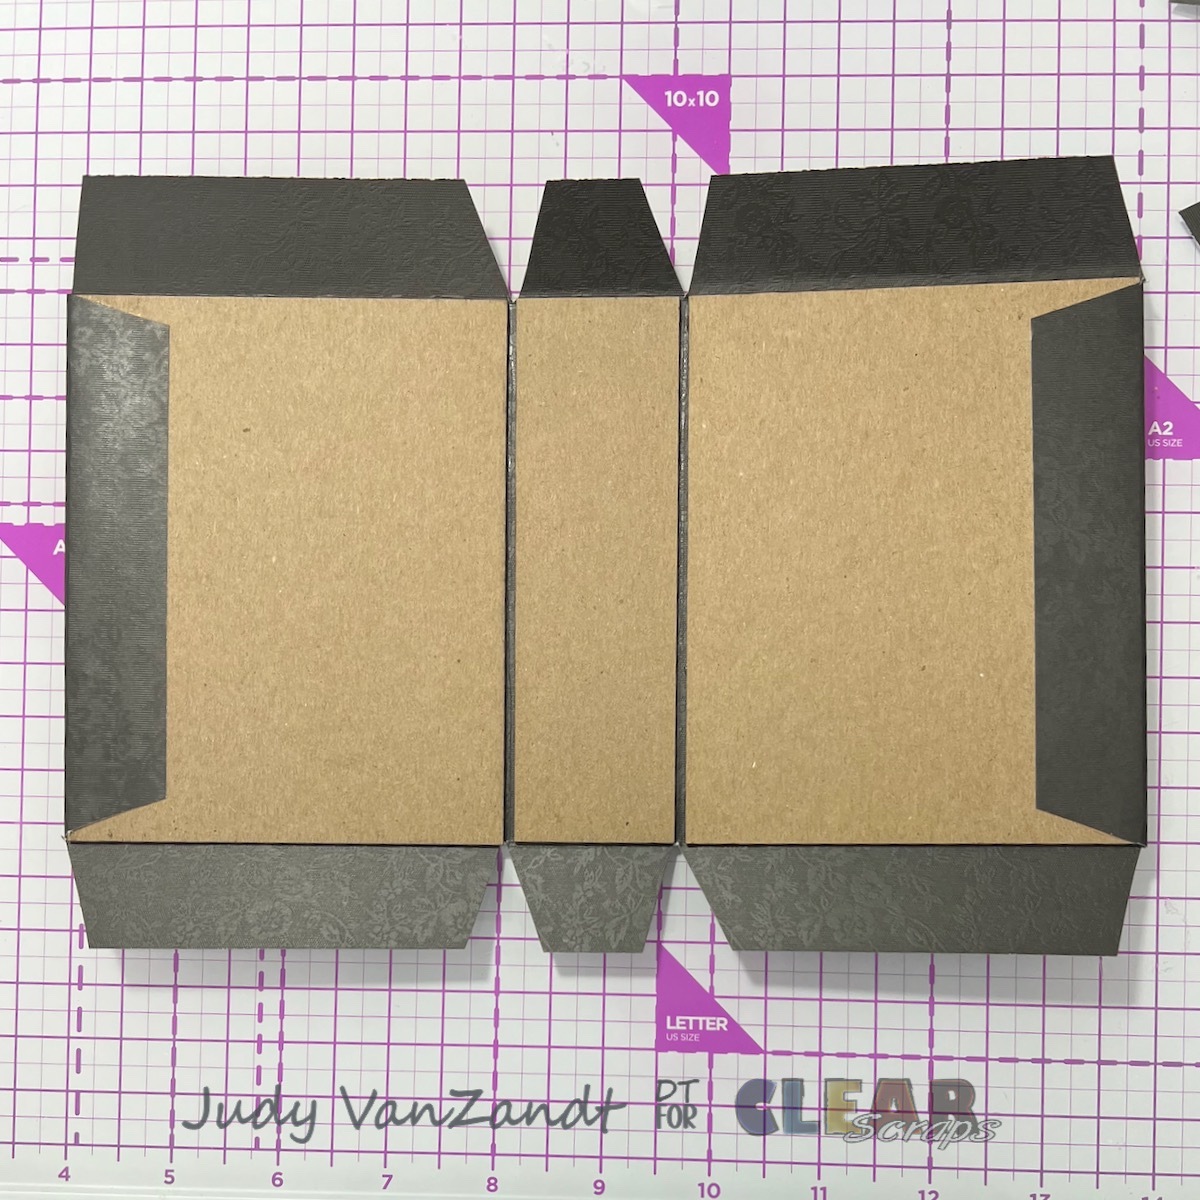
Line up the 2 larger chipboard pieces against the outer score lines and adhere. Center the spine piece between the larger and adhere. Create center tabs by cutting “v’s” above and below the spine.
Fold over the score lines and adhere.
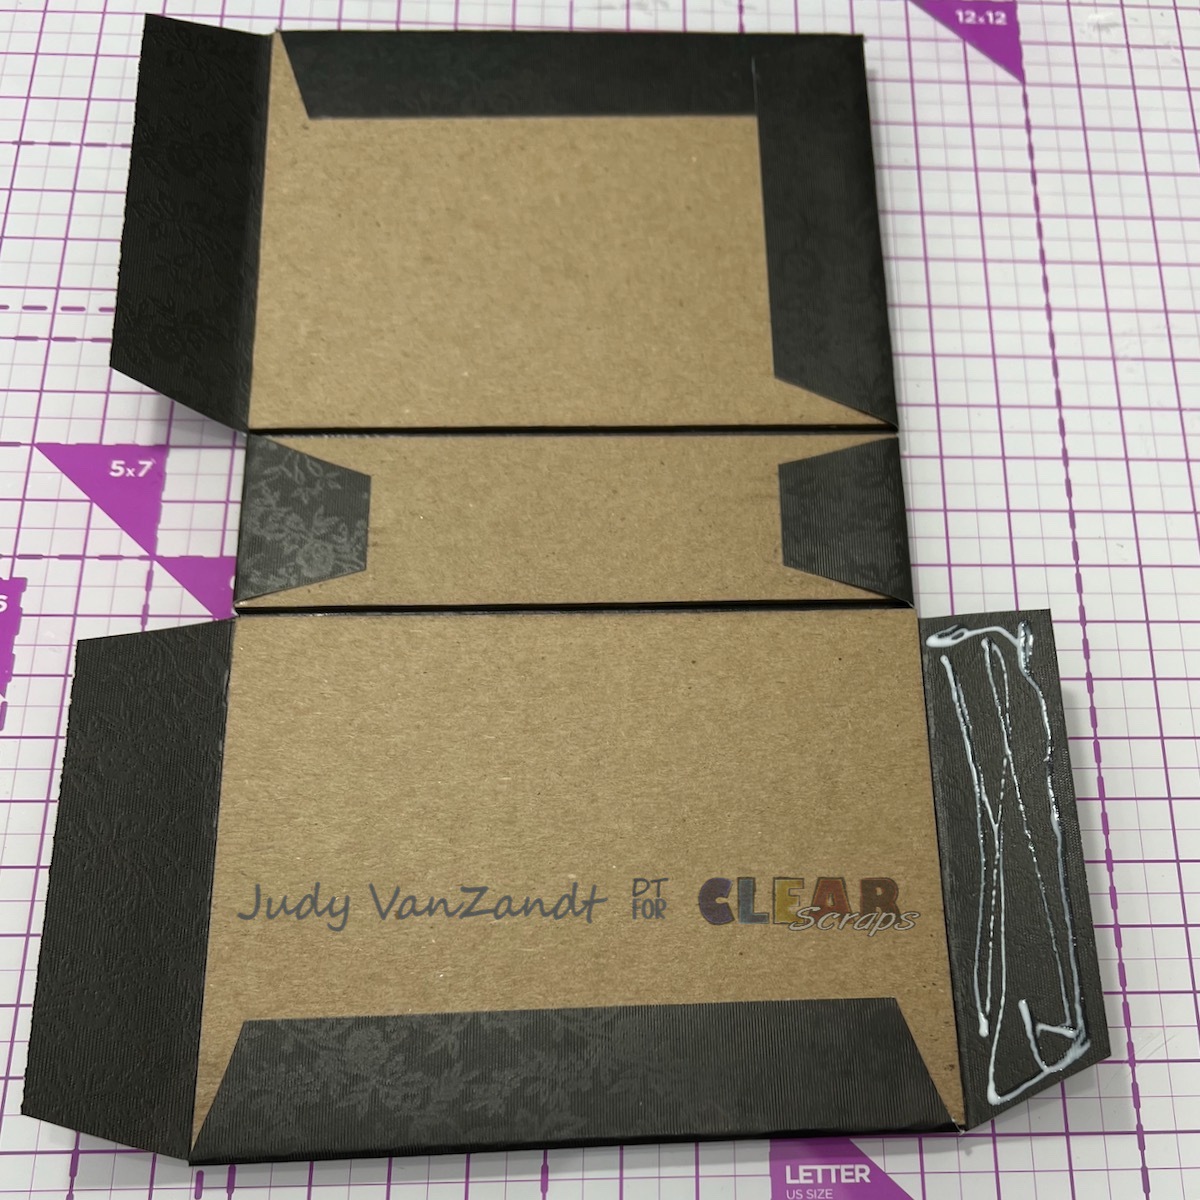
Run a score line on either side of the spine. Close.
Signatures
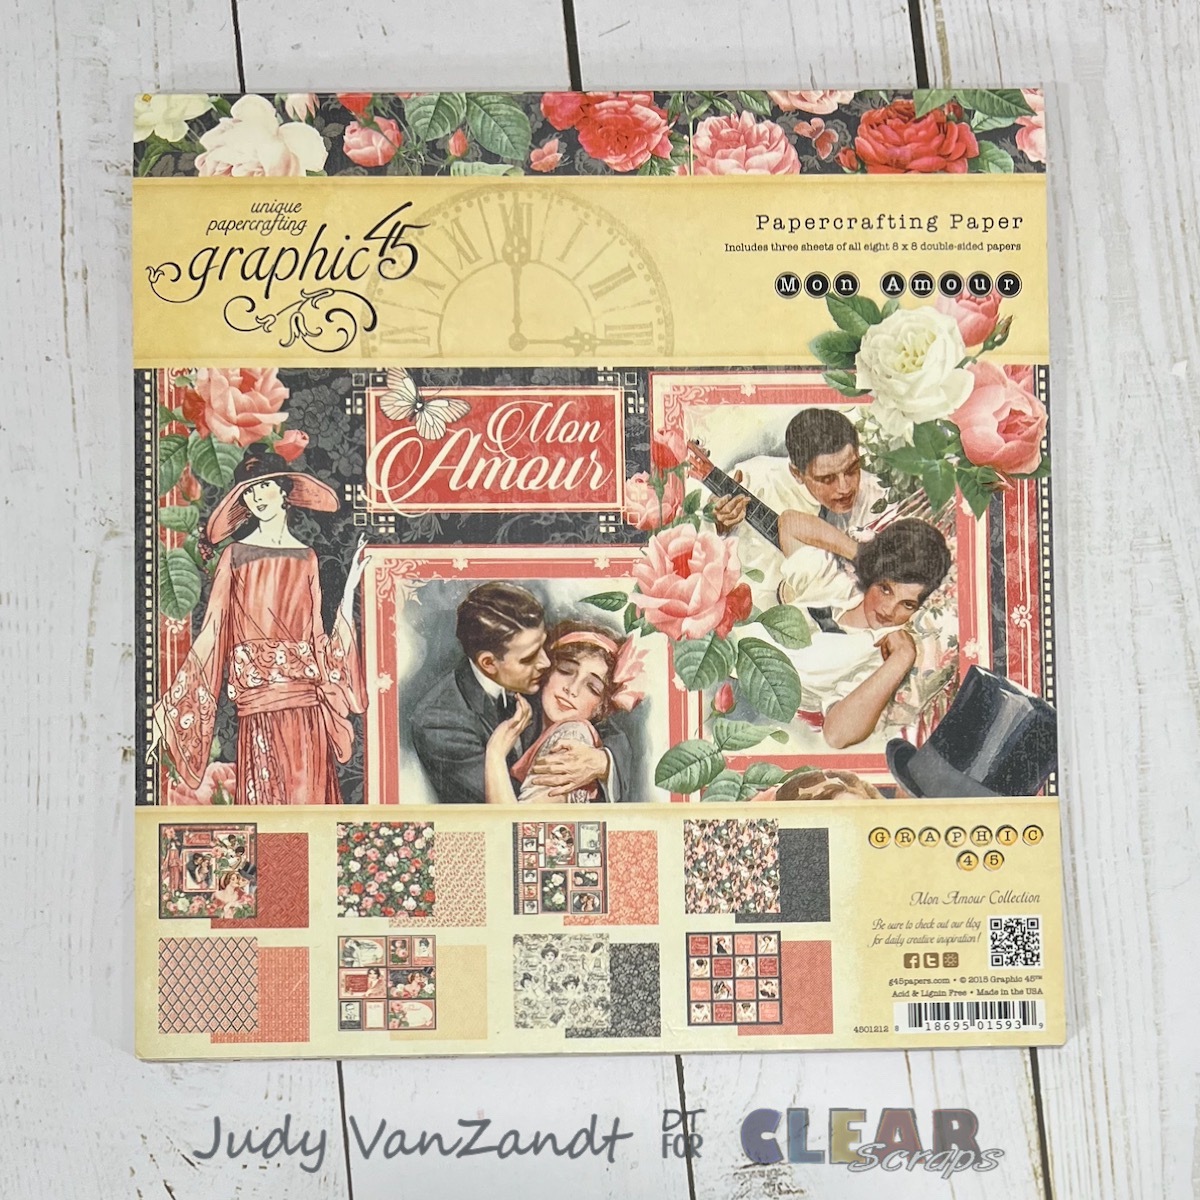
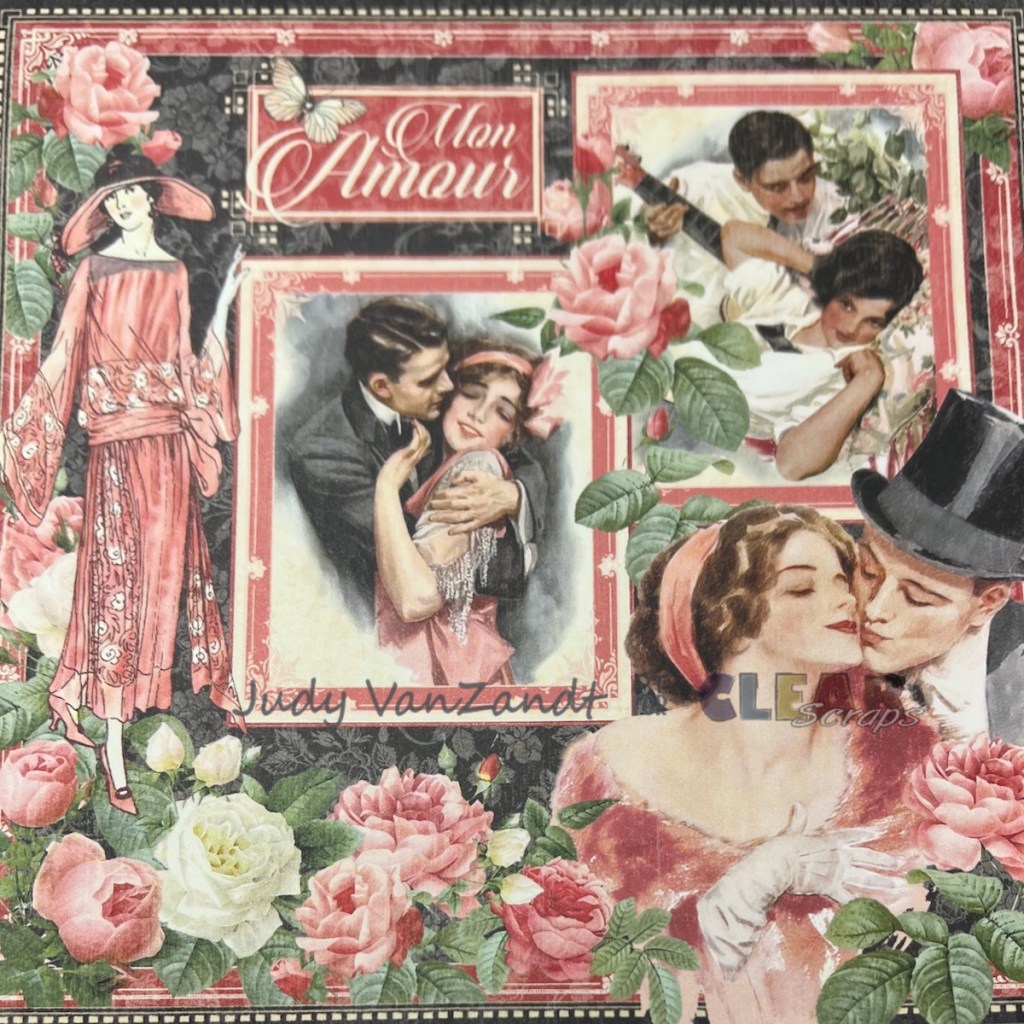
Choose patterned papers for 3 signature covers. I am using papers from Graphic 45 Mon Amour 8 x 8 paper pad.
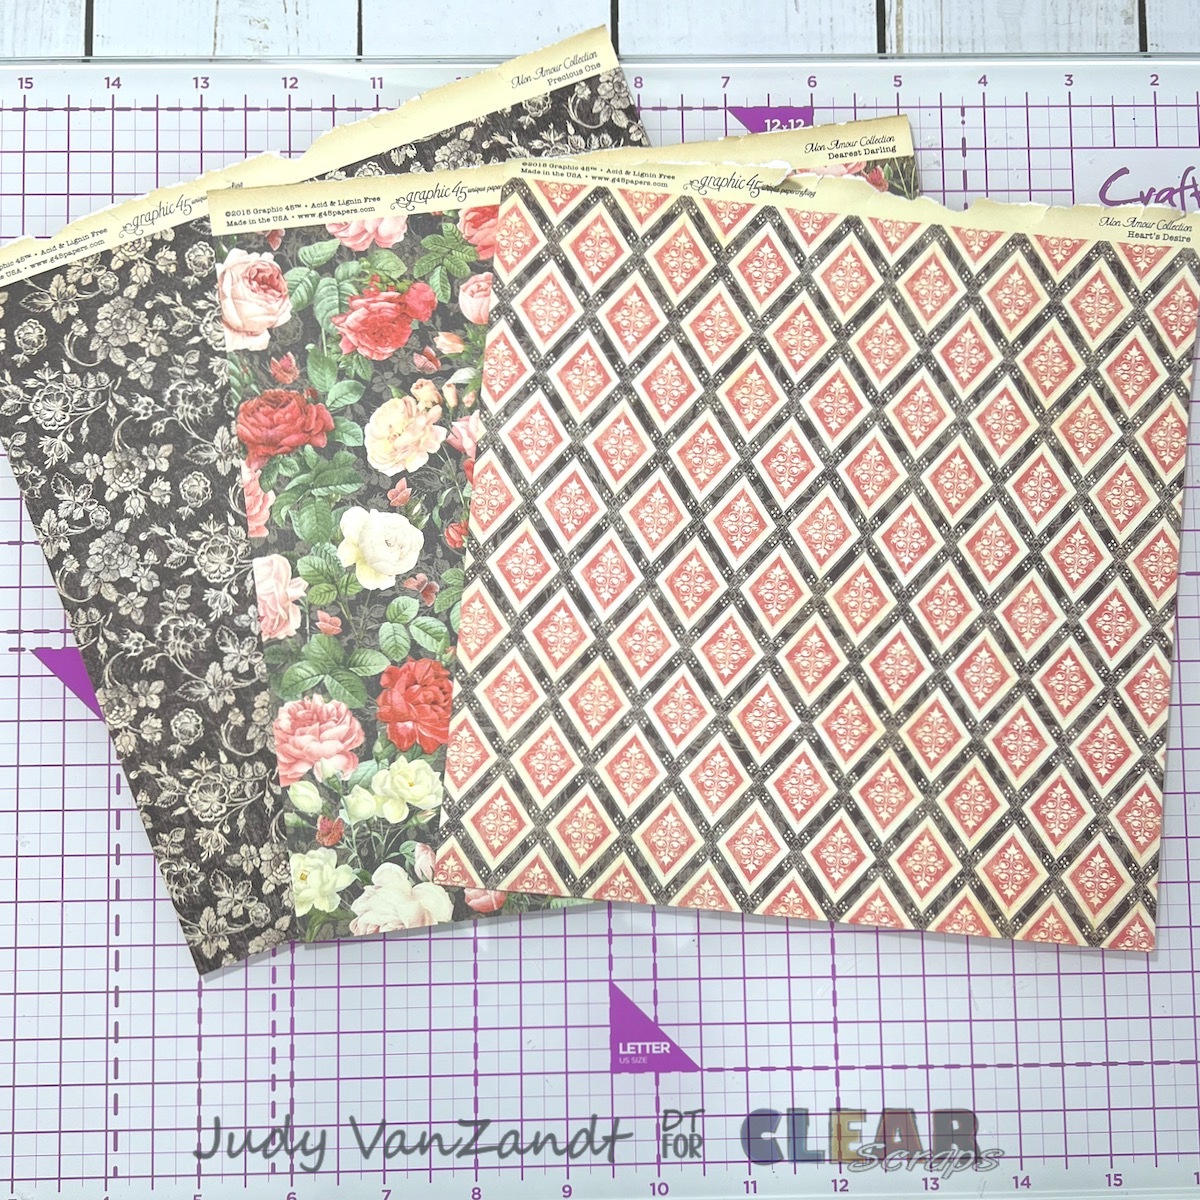
Cut them to 4 3/4 x 7 1/2 inches. Score and fold at 3 3/4 inches.
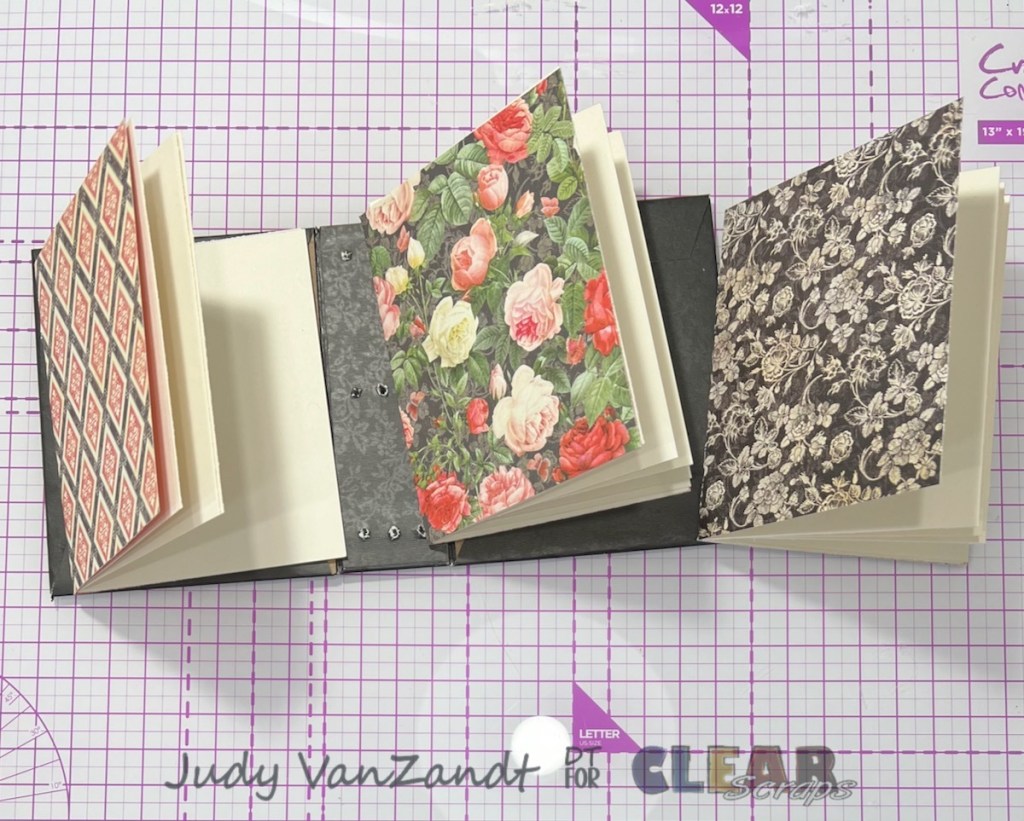
I also cut 3 pieces of ivory cardstock for each signature to 4 3/4 x 7 1/4 inches. Fold these in the center. They will give us 6 pages to fit within the covers.
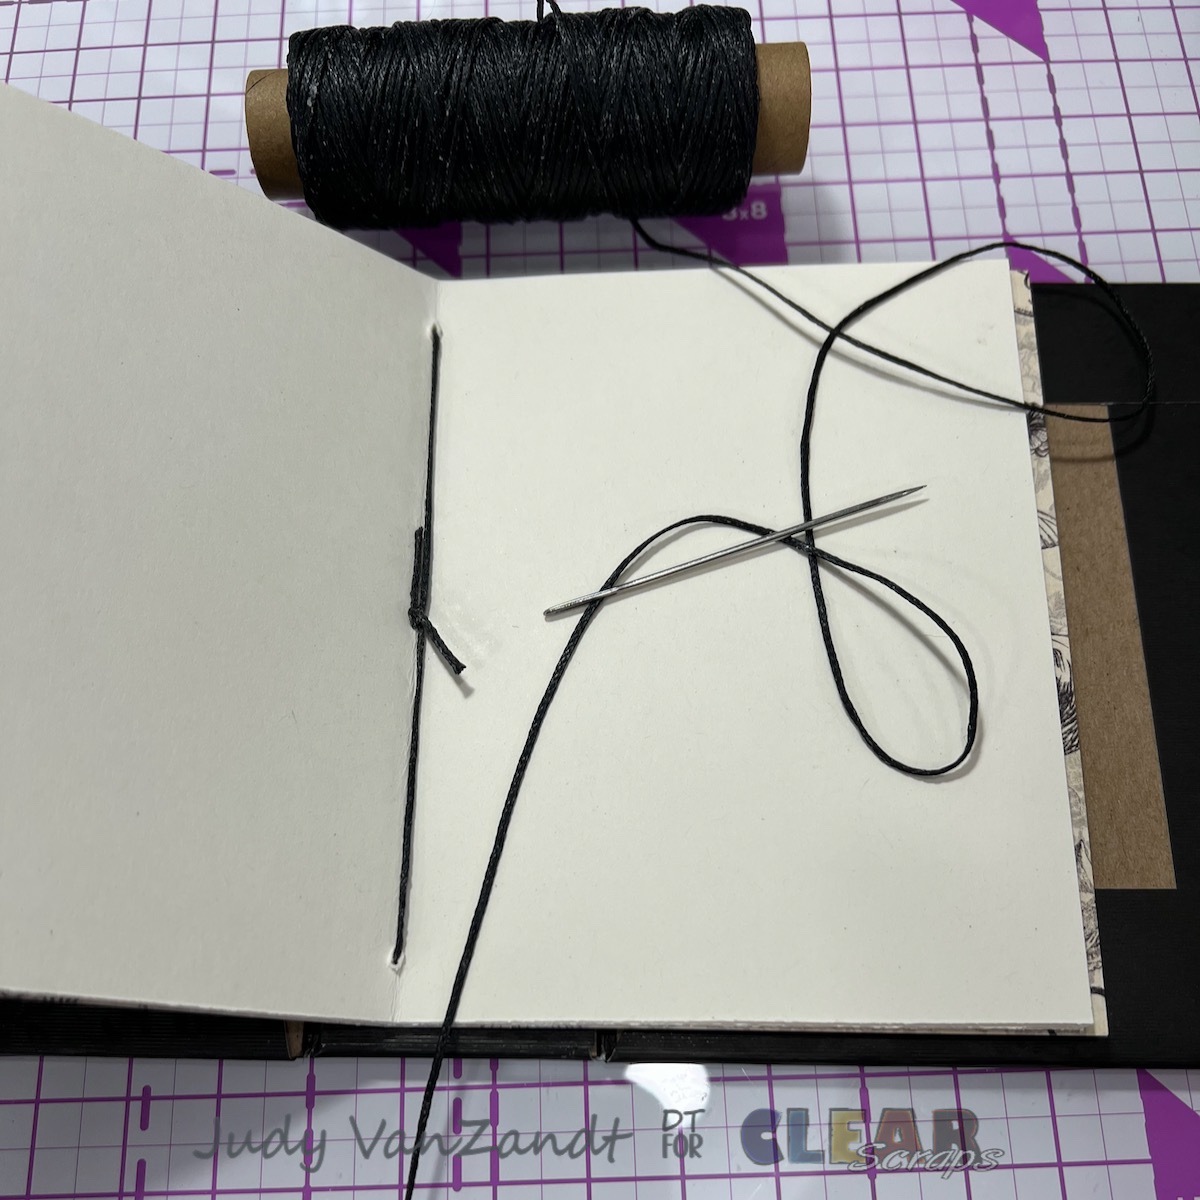
The signatures are sewn into the cover binding. 3 holes are punched down the length and width of the binding with an awl. Creating a template with equal measurements make it easy for placement of the holes.
I used black thread from my stash with the needle included with the cover to sew the signatures to the cover. Run the thread from the inside through the center hole. On the outside run the thread up to the top hole. Back in to the inside, out the center hole again. Take the thread down to the bottom hole. Run it back in to the inside and up to the center and tie.

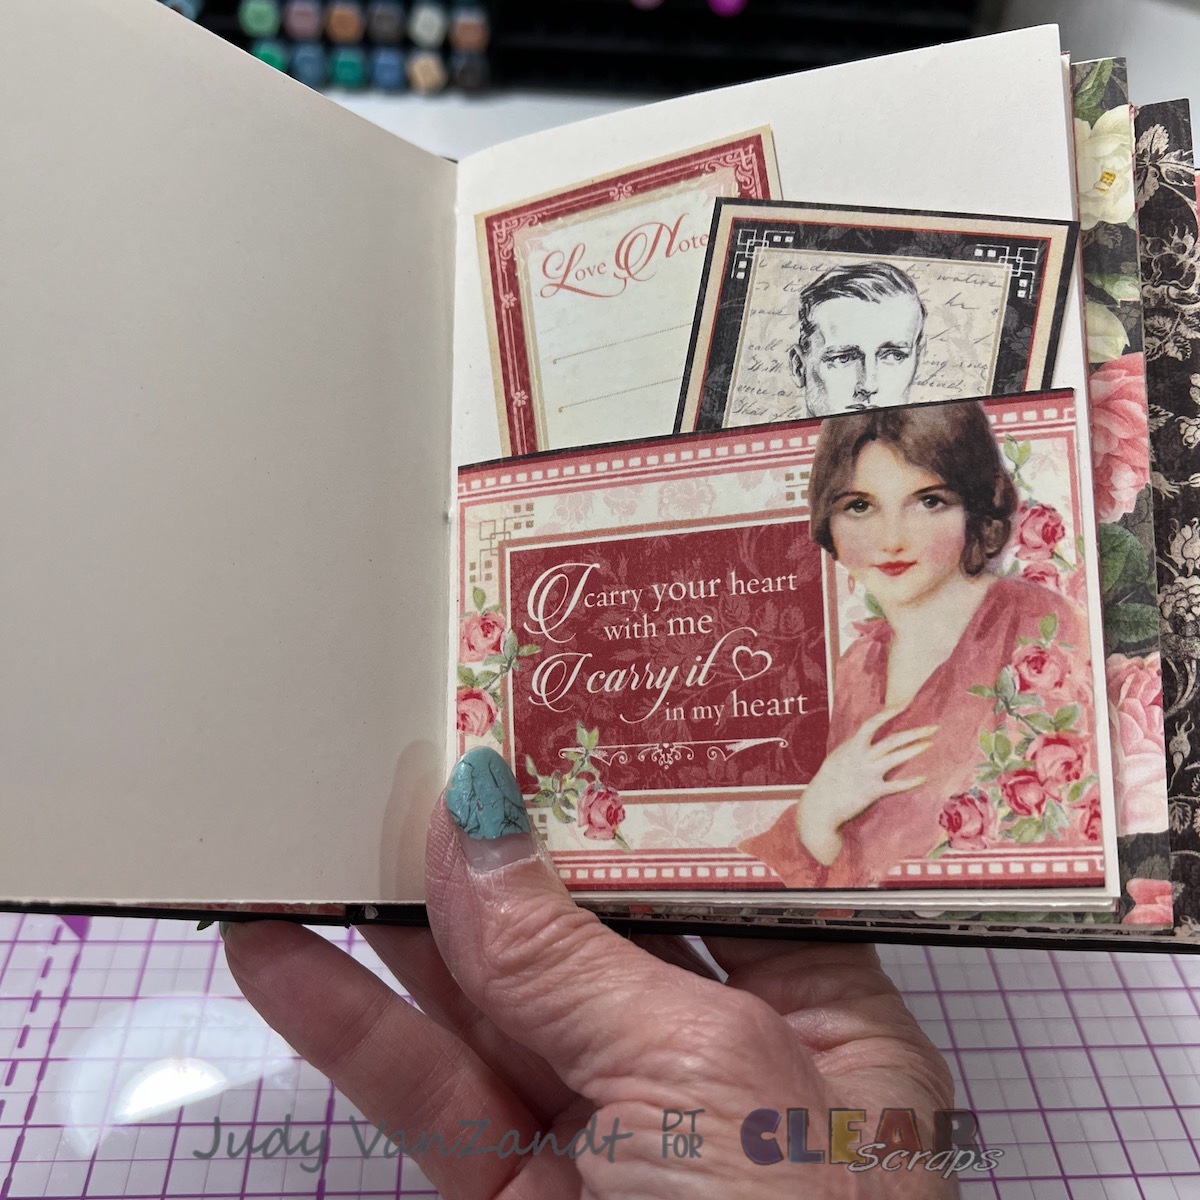
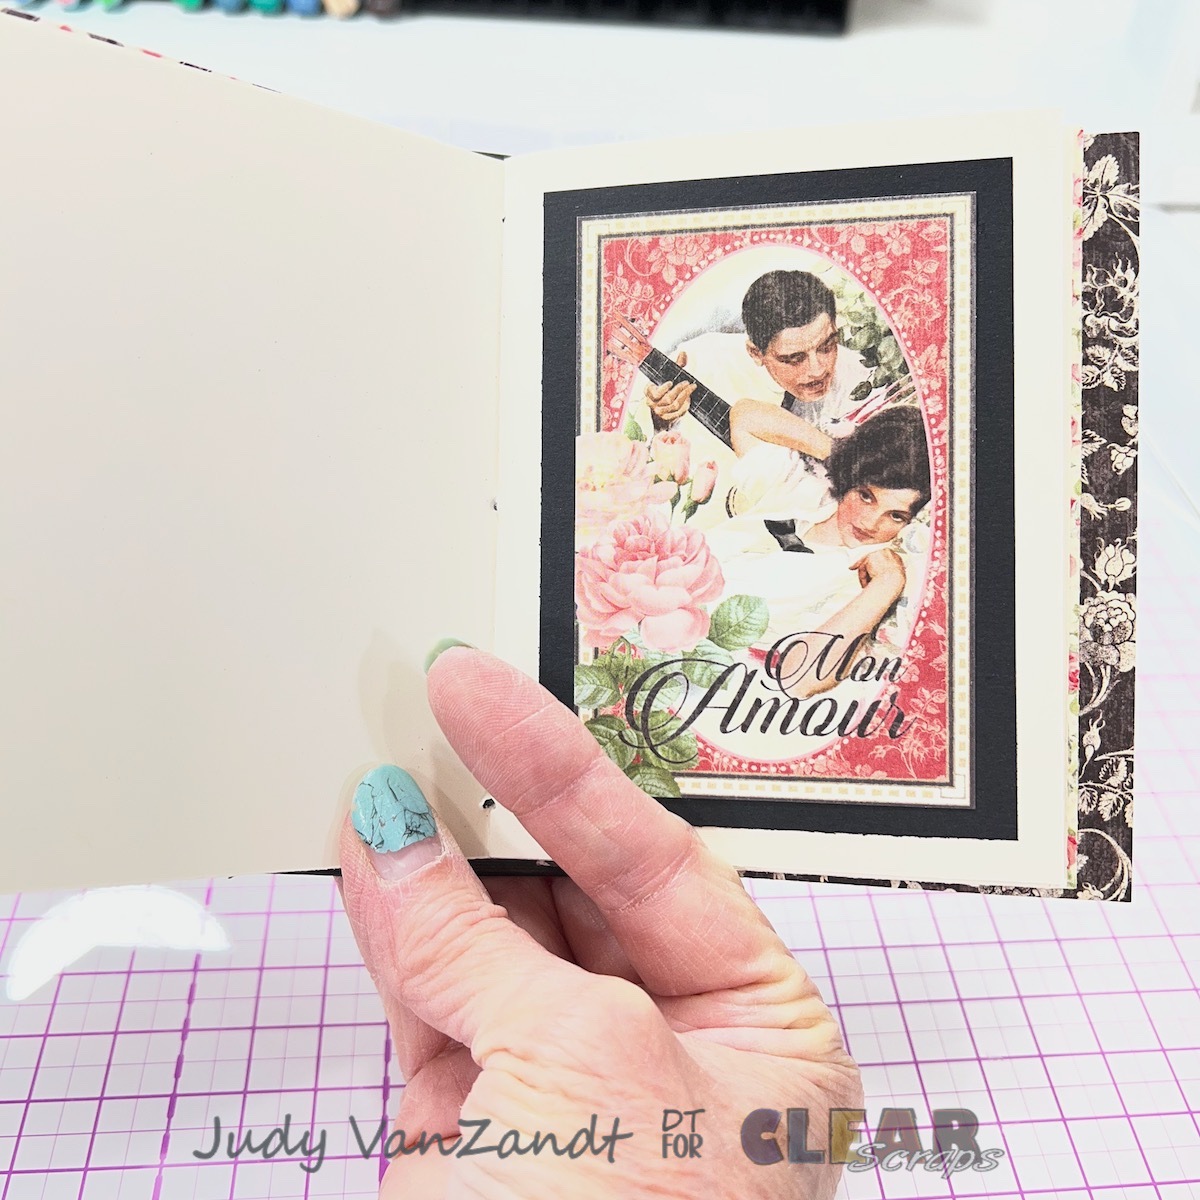
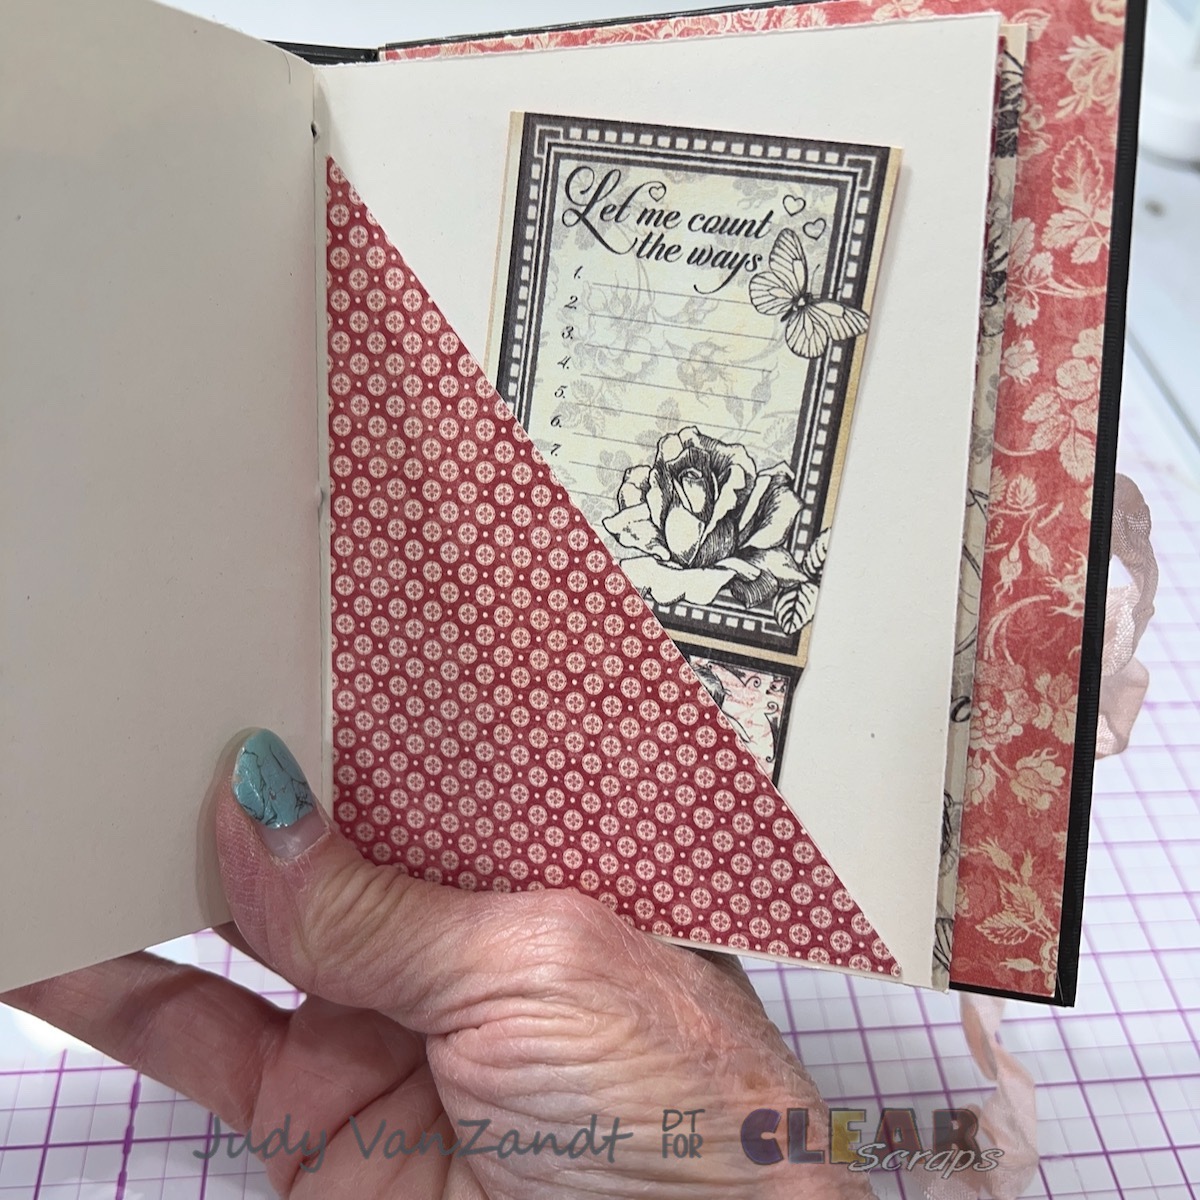
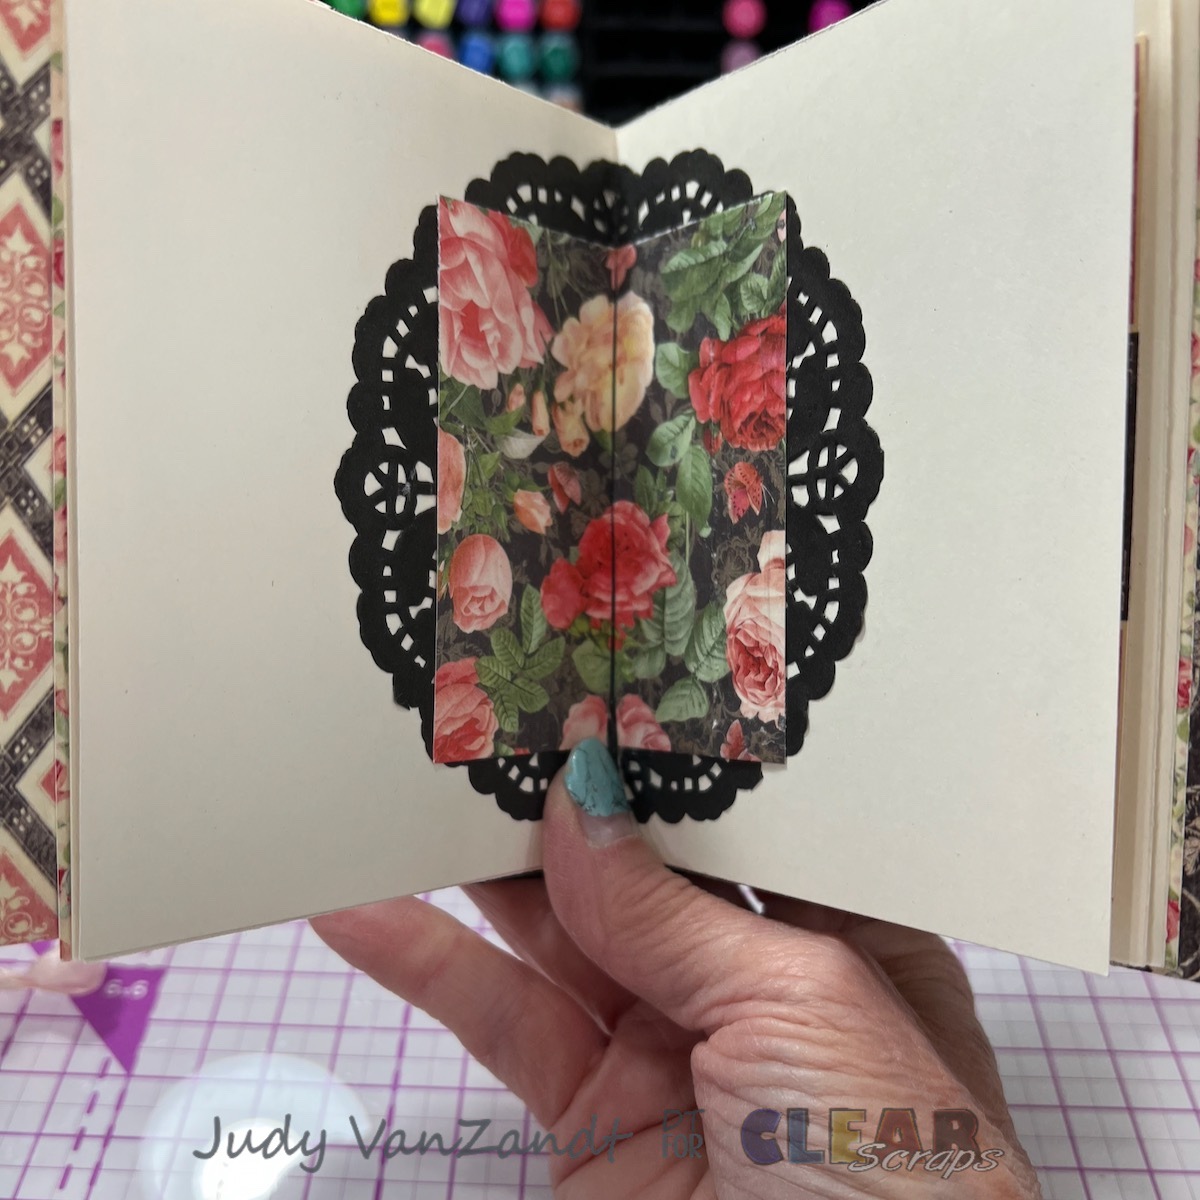
Embellishing Signature Pages
I covered the inside front and back covers and added cut-aparts and pockets to the plain pages in the signatures. The thread in the center of each signature is covered with a doily and pattered paper.
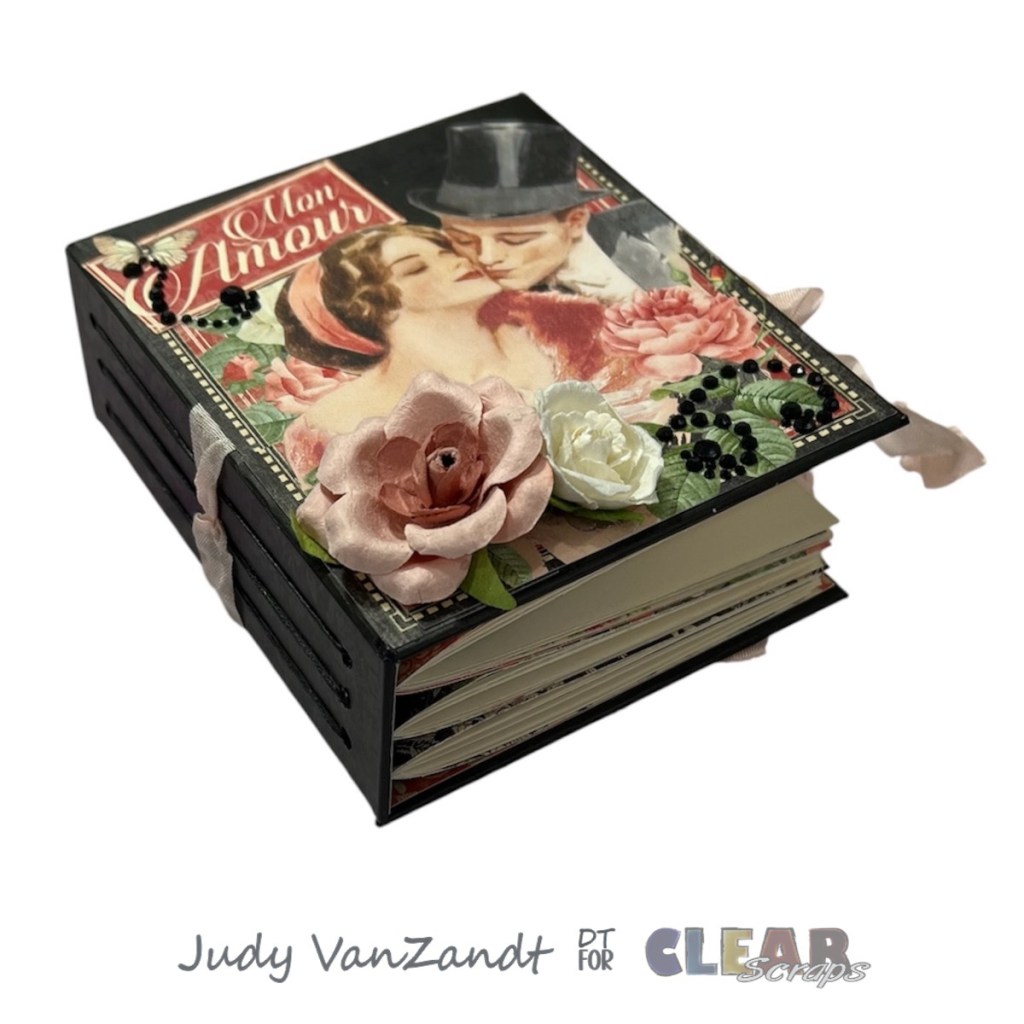
Finishing
Finishing the outside is the last step.
I adhered a piece of seam binding around the front, spine and back with enough length to tie the journal shut.
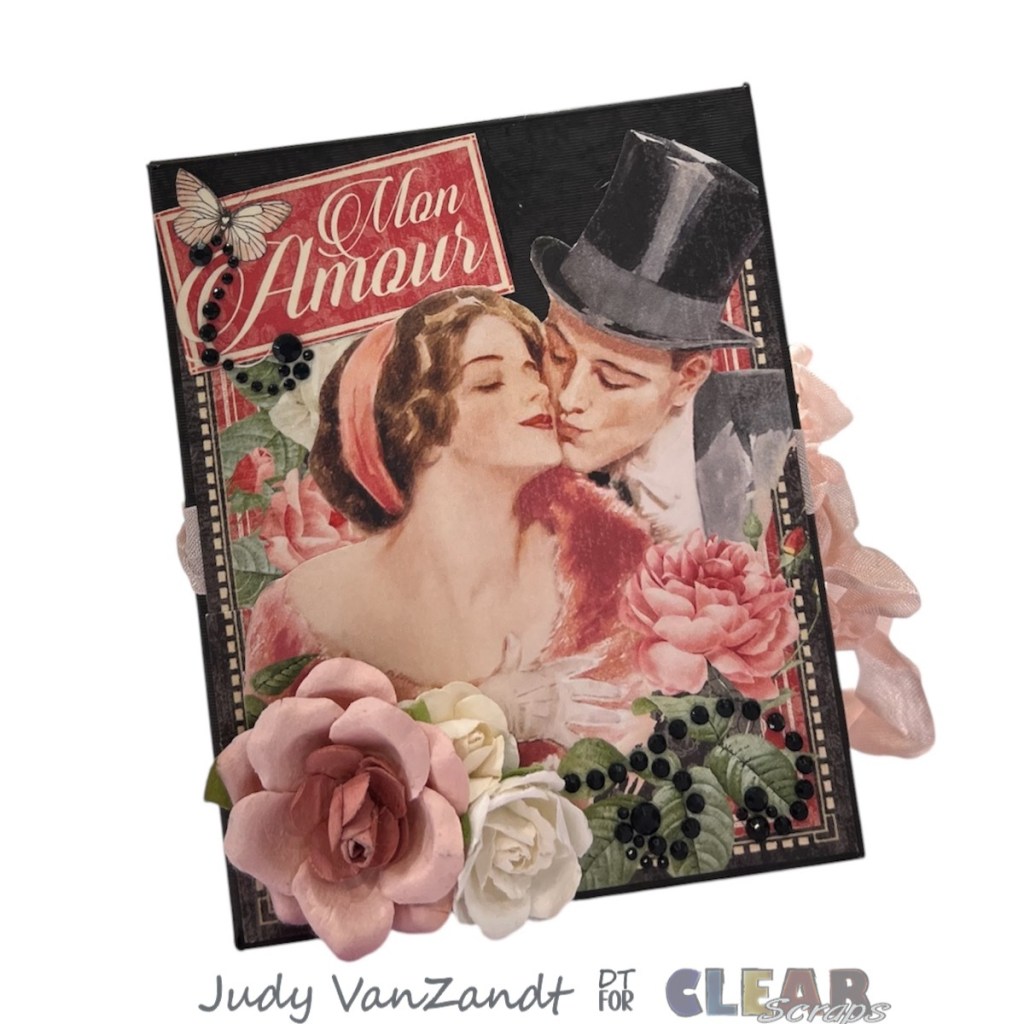
I chose a patterned paper for the front.
A lot of fussy cutting was done and pieced together on the front. Black gem flourishes and paper flowers were added to embellish.
I added a piece of patterned paper to the back to complete.

Thanks so much for taking a look at my project! I really loved putting it together!


Leave a comment