
Back in September Susan from Clear Scraps challenged the Design Team to create Christmas themed projects using Clear Scraps Acrylic sheet or tags. Well since I didn't have any pre-cut tags I decided to create my own from Clear Scraps Acrylic Sheets.
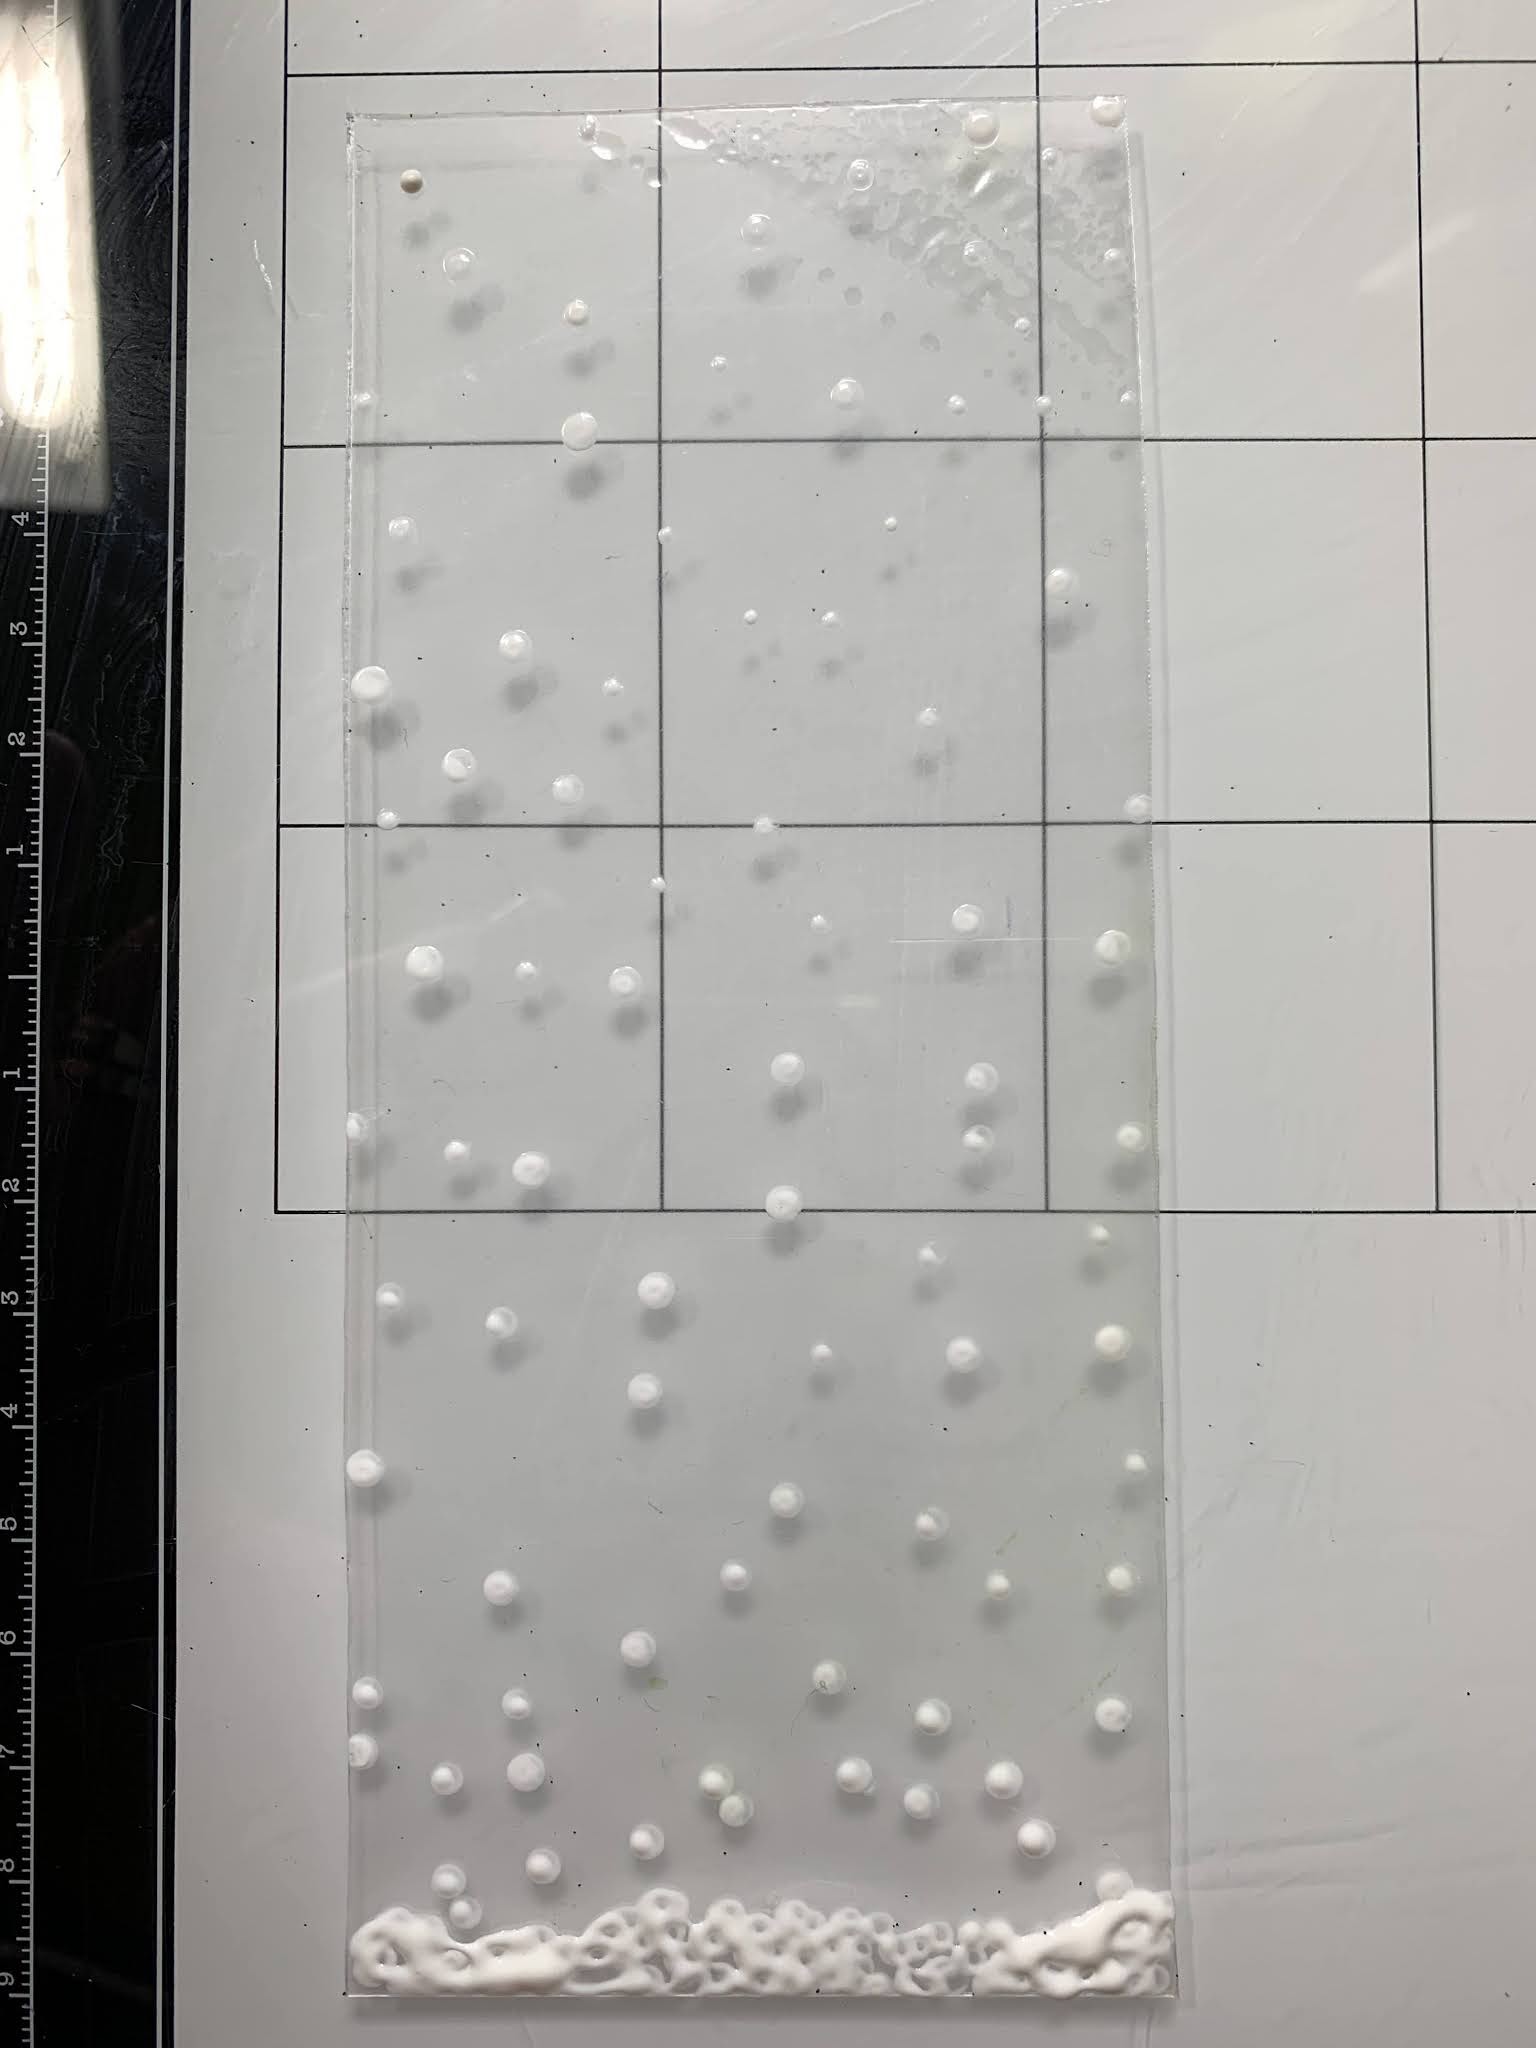
Start by cutting your acrylic to your desired tag size. Remove protective film from front of tag. (I left the film on back while I was creating on my work space.)

Apply Nuvo drops or other dimensional paint to front of tag. Let Dry. Keep Adding "snow" dots as desired.

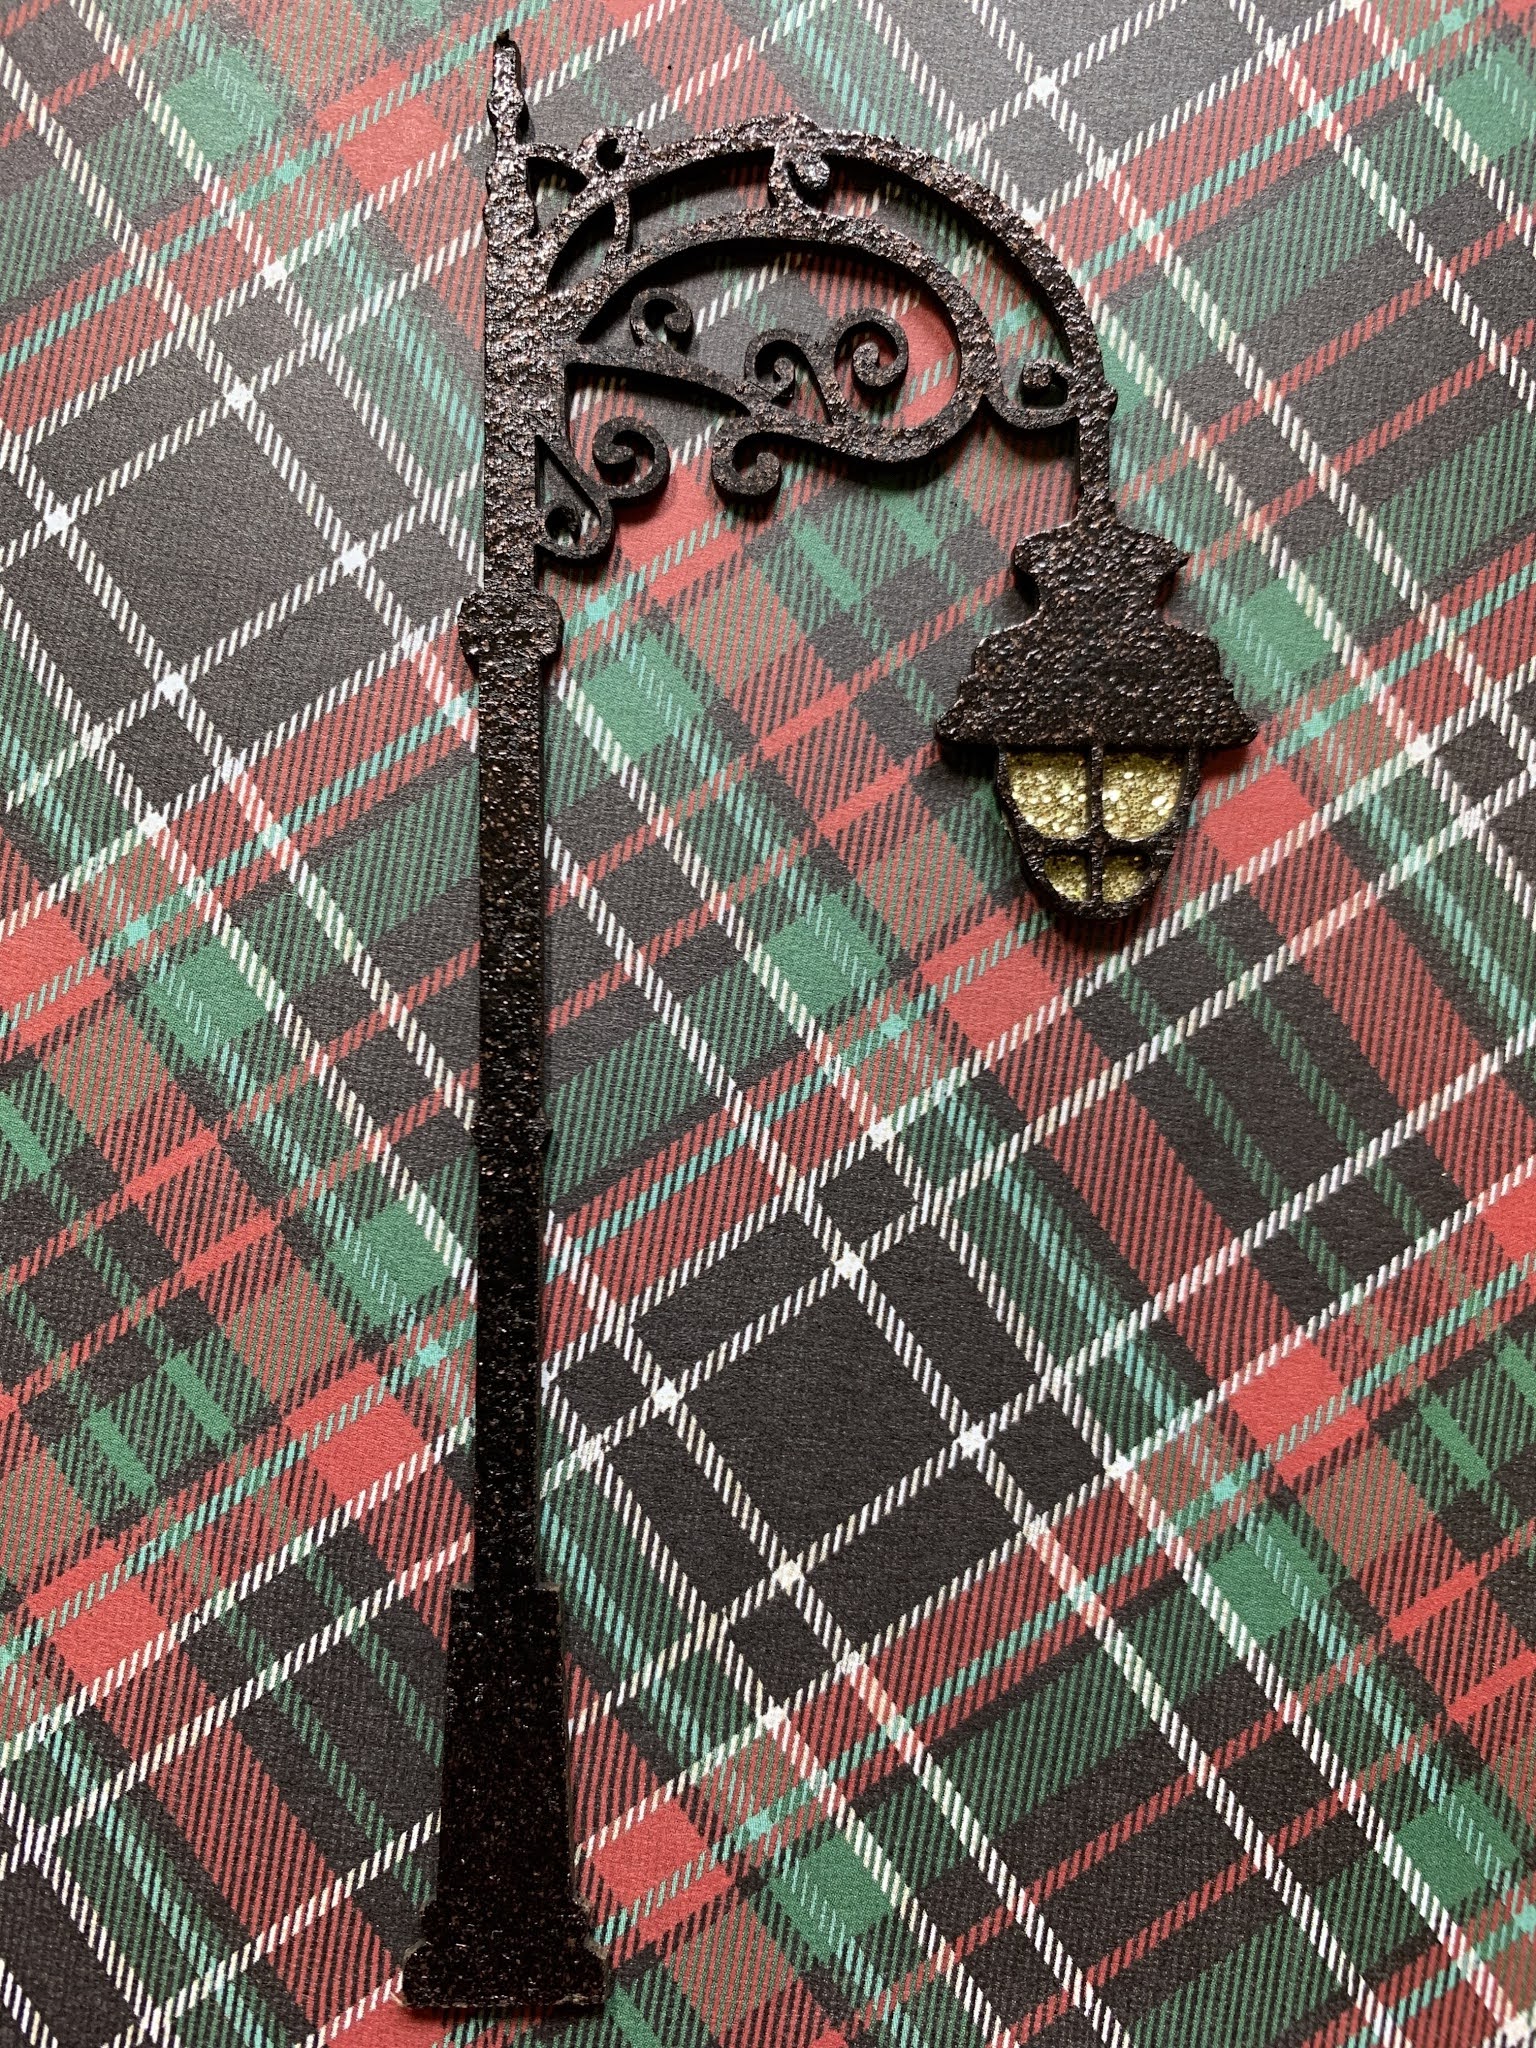
While your tag is drying, Heat emboss street lamp from Clear Scraps Street Lamps Chipboard Embellishments.

Cut gold cardstock to fit "lamp"
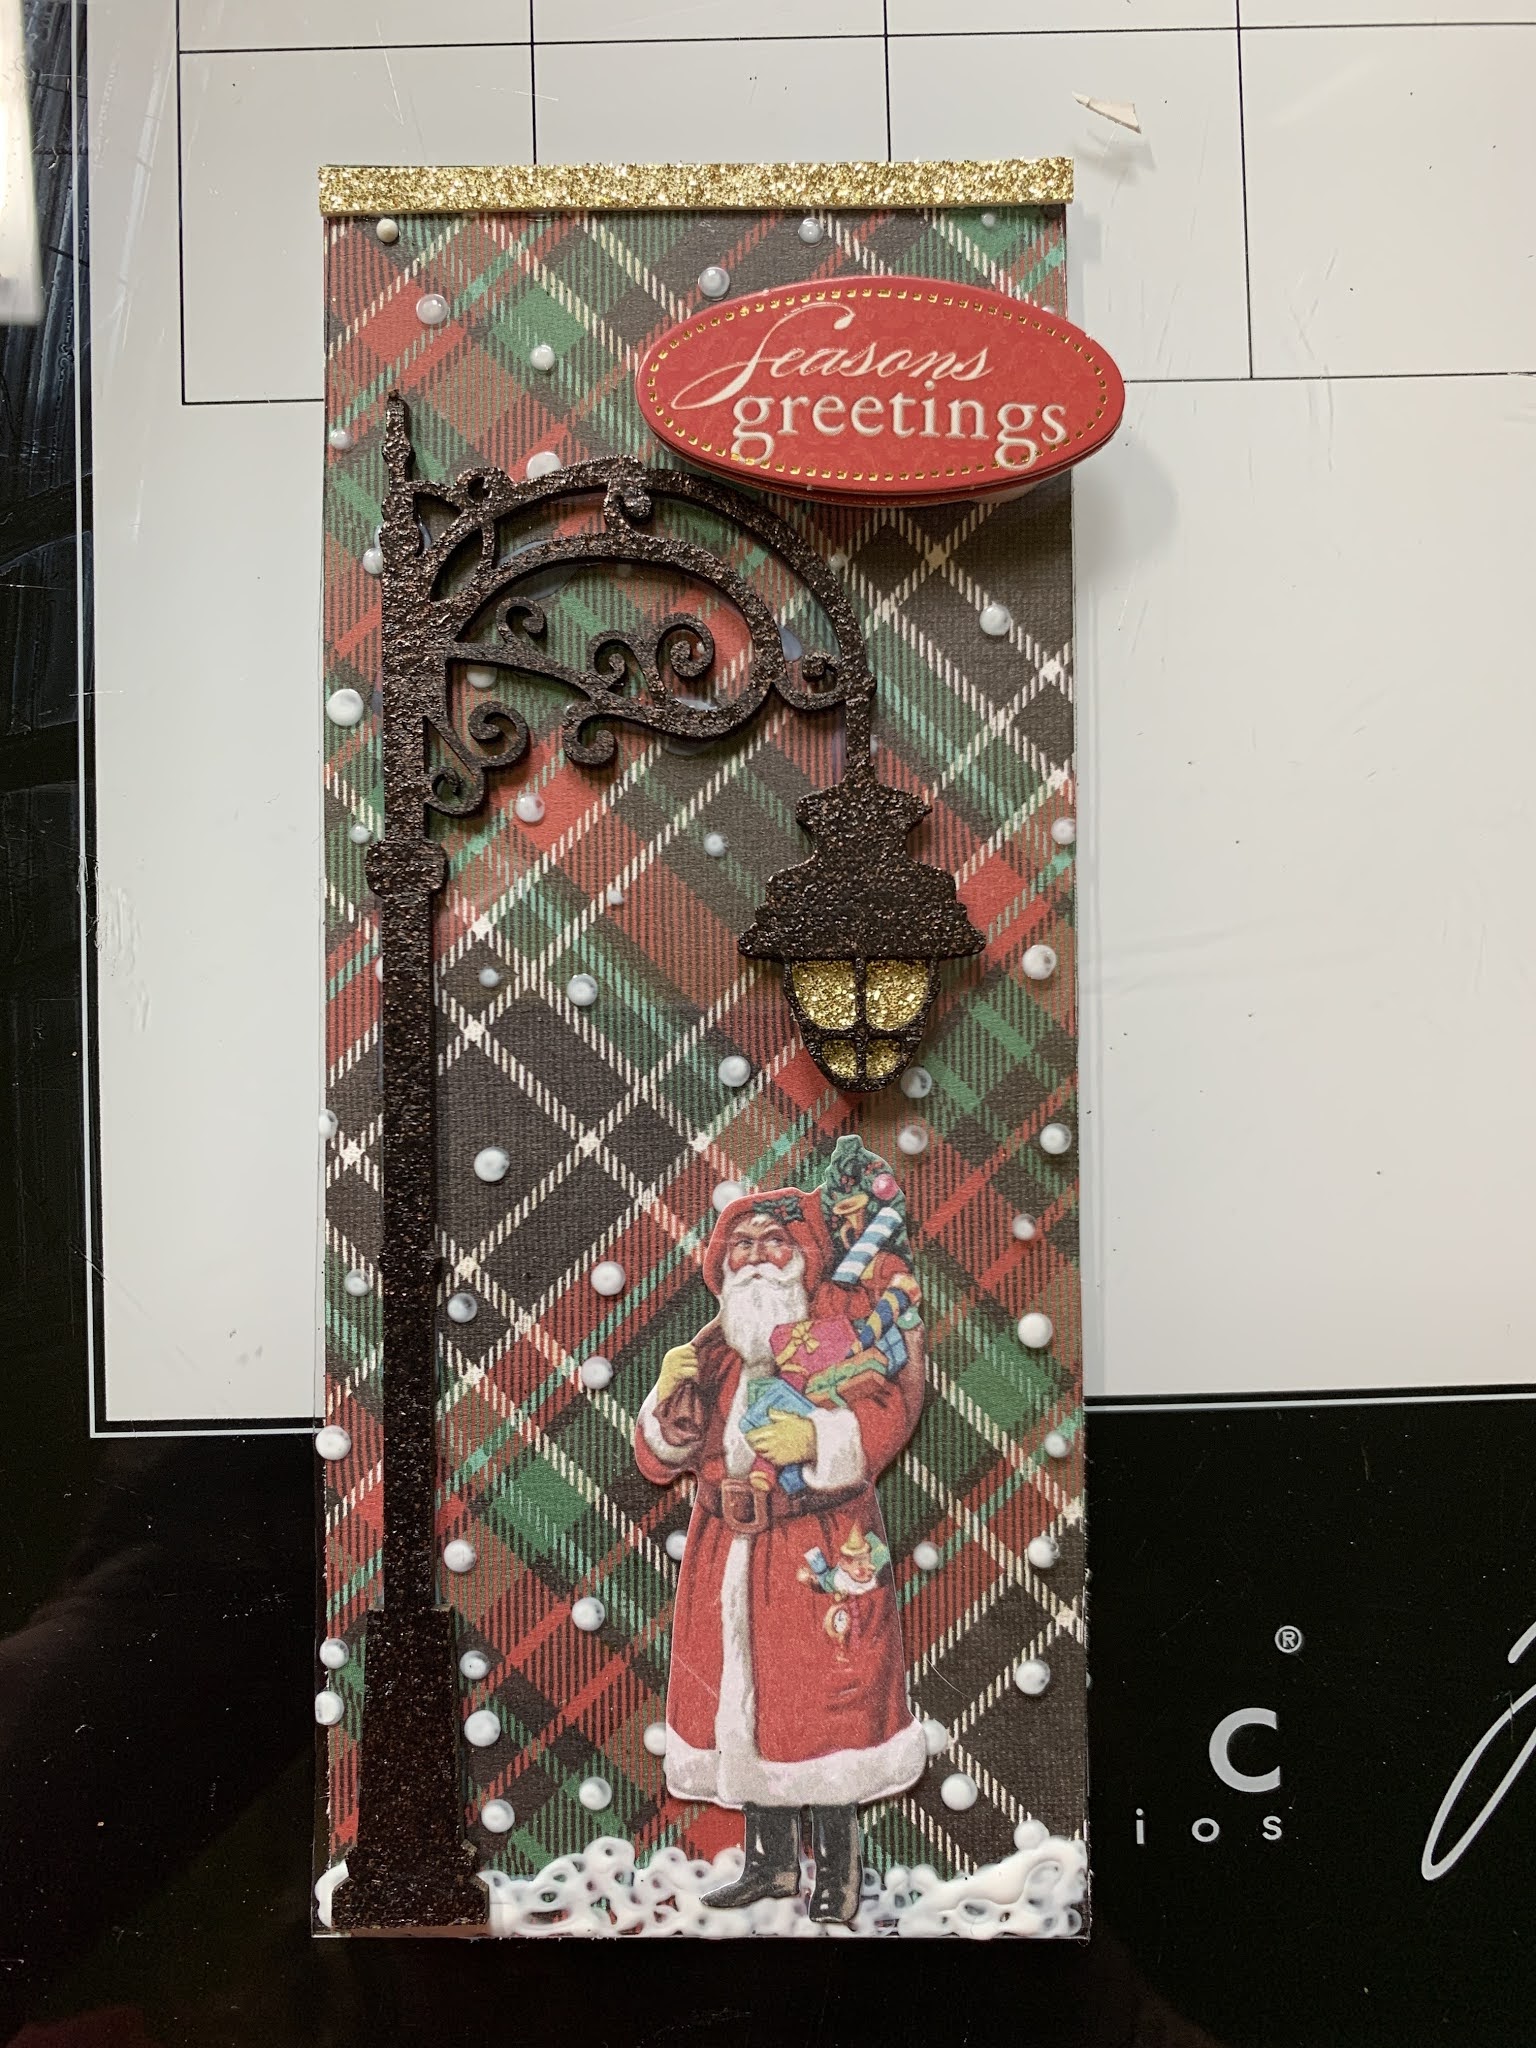
Add streetlamp to tag.

Add die cut Santa and greeting to tag fron.

Remove protective film from back of tag and add patterned paper backing. Add gold card stock trims to finish.
I hope you are inspired to get creative with your Clear Scraps Acrylics!


Leave a comment