Hello and good morning to you, This is Dora, and I hope you are in great spirits this morning!! We are going to build a simple family frame with the square Printer Tray Frame.
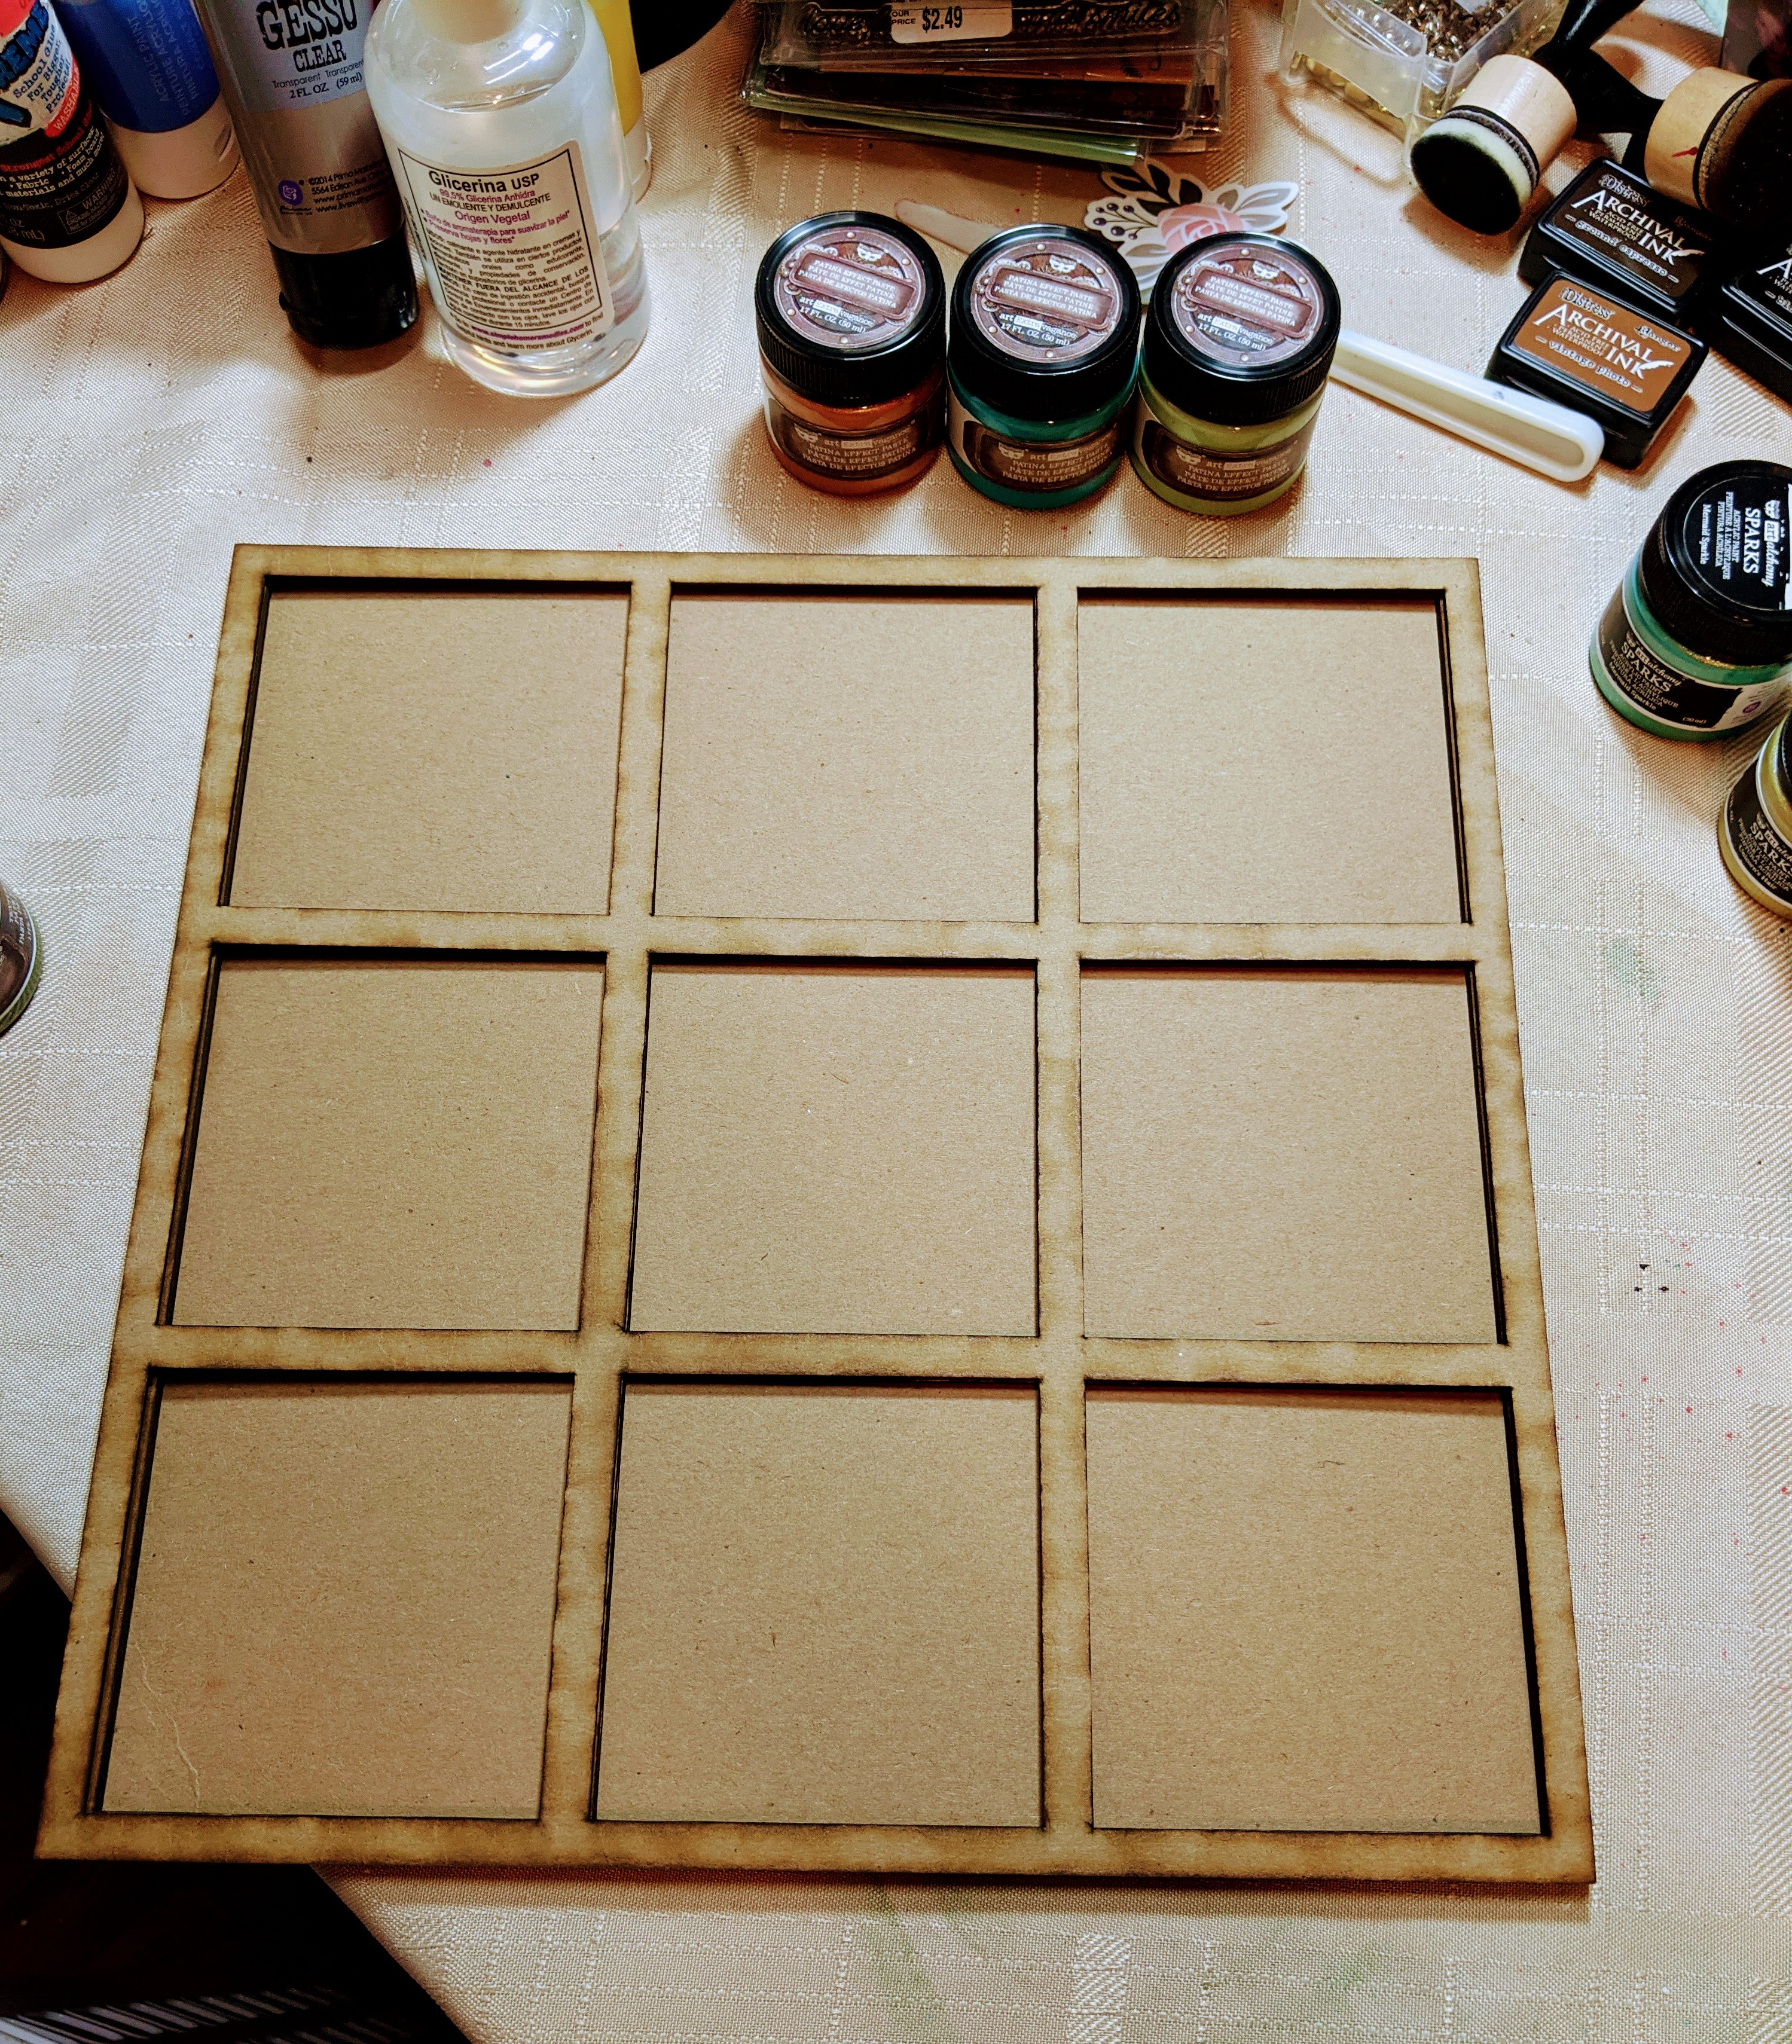
This will be super easy and quick. Makes a wonderful gift for someone you love or a close friend. The tray comes with the back piece and three layering pieces. For future reference, we are using one of the layering pieces at a time when adding embellishments or photos to give a staggered look. Hope you enjoy and let's get started!!
Here is a close up of the final frame….

For this project, I did not use the acrylic piece that comes with it. I left it out, because I wanted everyone to see the depth in the frame.
First I took the very top layering piece and painted it bronze. Very easy – very simply.

Next – I took the back piece and a sheet of 12×12 scrapbook paper (my favorite autumn colors), measured, cut, and glued it to the back piece. This will show through in the spaces without photos.

Here I have chosen the photos and the cut-out images from the paper pad to add some autumn flare to the piece. I have arranged them in the boxes I would like to see them in. The first (not the one we painted) layering piece, I have glued to the background. Before adding the next one, I am making sure this is where I want the other pieces. Once they are set, I add a matt to the back of the photos I want on this section and glue them to the layering piece. I them add one of the cut-outs in the top left corner.

As you can see with the photos, I am doing the layering in stages to give it that depth. Now that the top left, top center, and bottom center are in place, I glue another layering piece (not the one we painted) on top. Once that is dried, I now add photos to the middle left and the middle right. Along with those, I am have added an image cut-out on the bottom right corner, to balance out the frame.

When everything is ready to go, I have now glued down the final layering piece, yes now the one we painted lol !! I have added some clips to ensure it stays in place!

The final step is to embellish the frame and you may do so however you like. I have kept this simple and neat. Just a few autumn embellishments to bring the colors together. I have it hanging in my Livingroom right now and love how it looks against the beige colored walls.


Thank you so very much for joining me this morning and I hope that you had as much fun as I did creating something beautiful. I hope you have a very blessed day! Be sure to check out ClearScraps and all their new goodies on the website! Until next time, think outside your box, and remember – if you don't like to color in the lines – make your own lines!


Leave a comment