
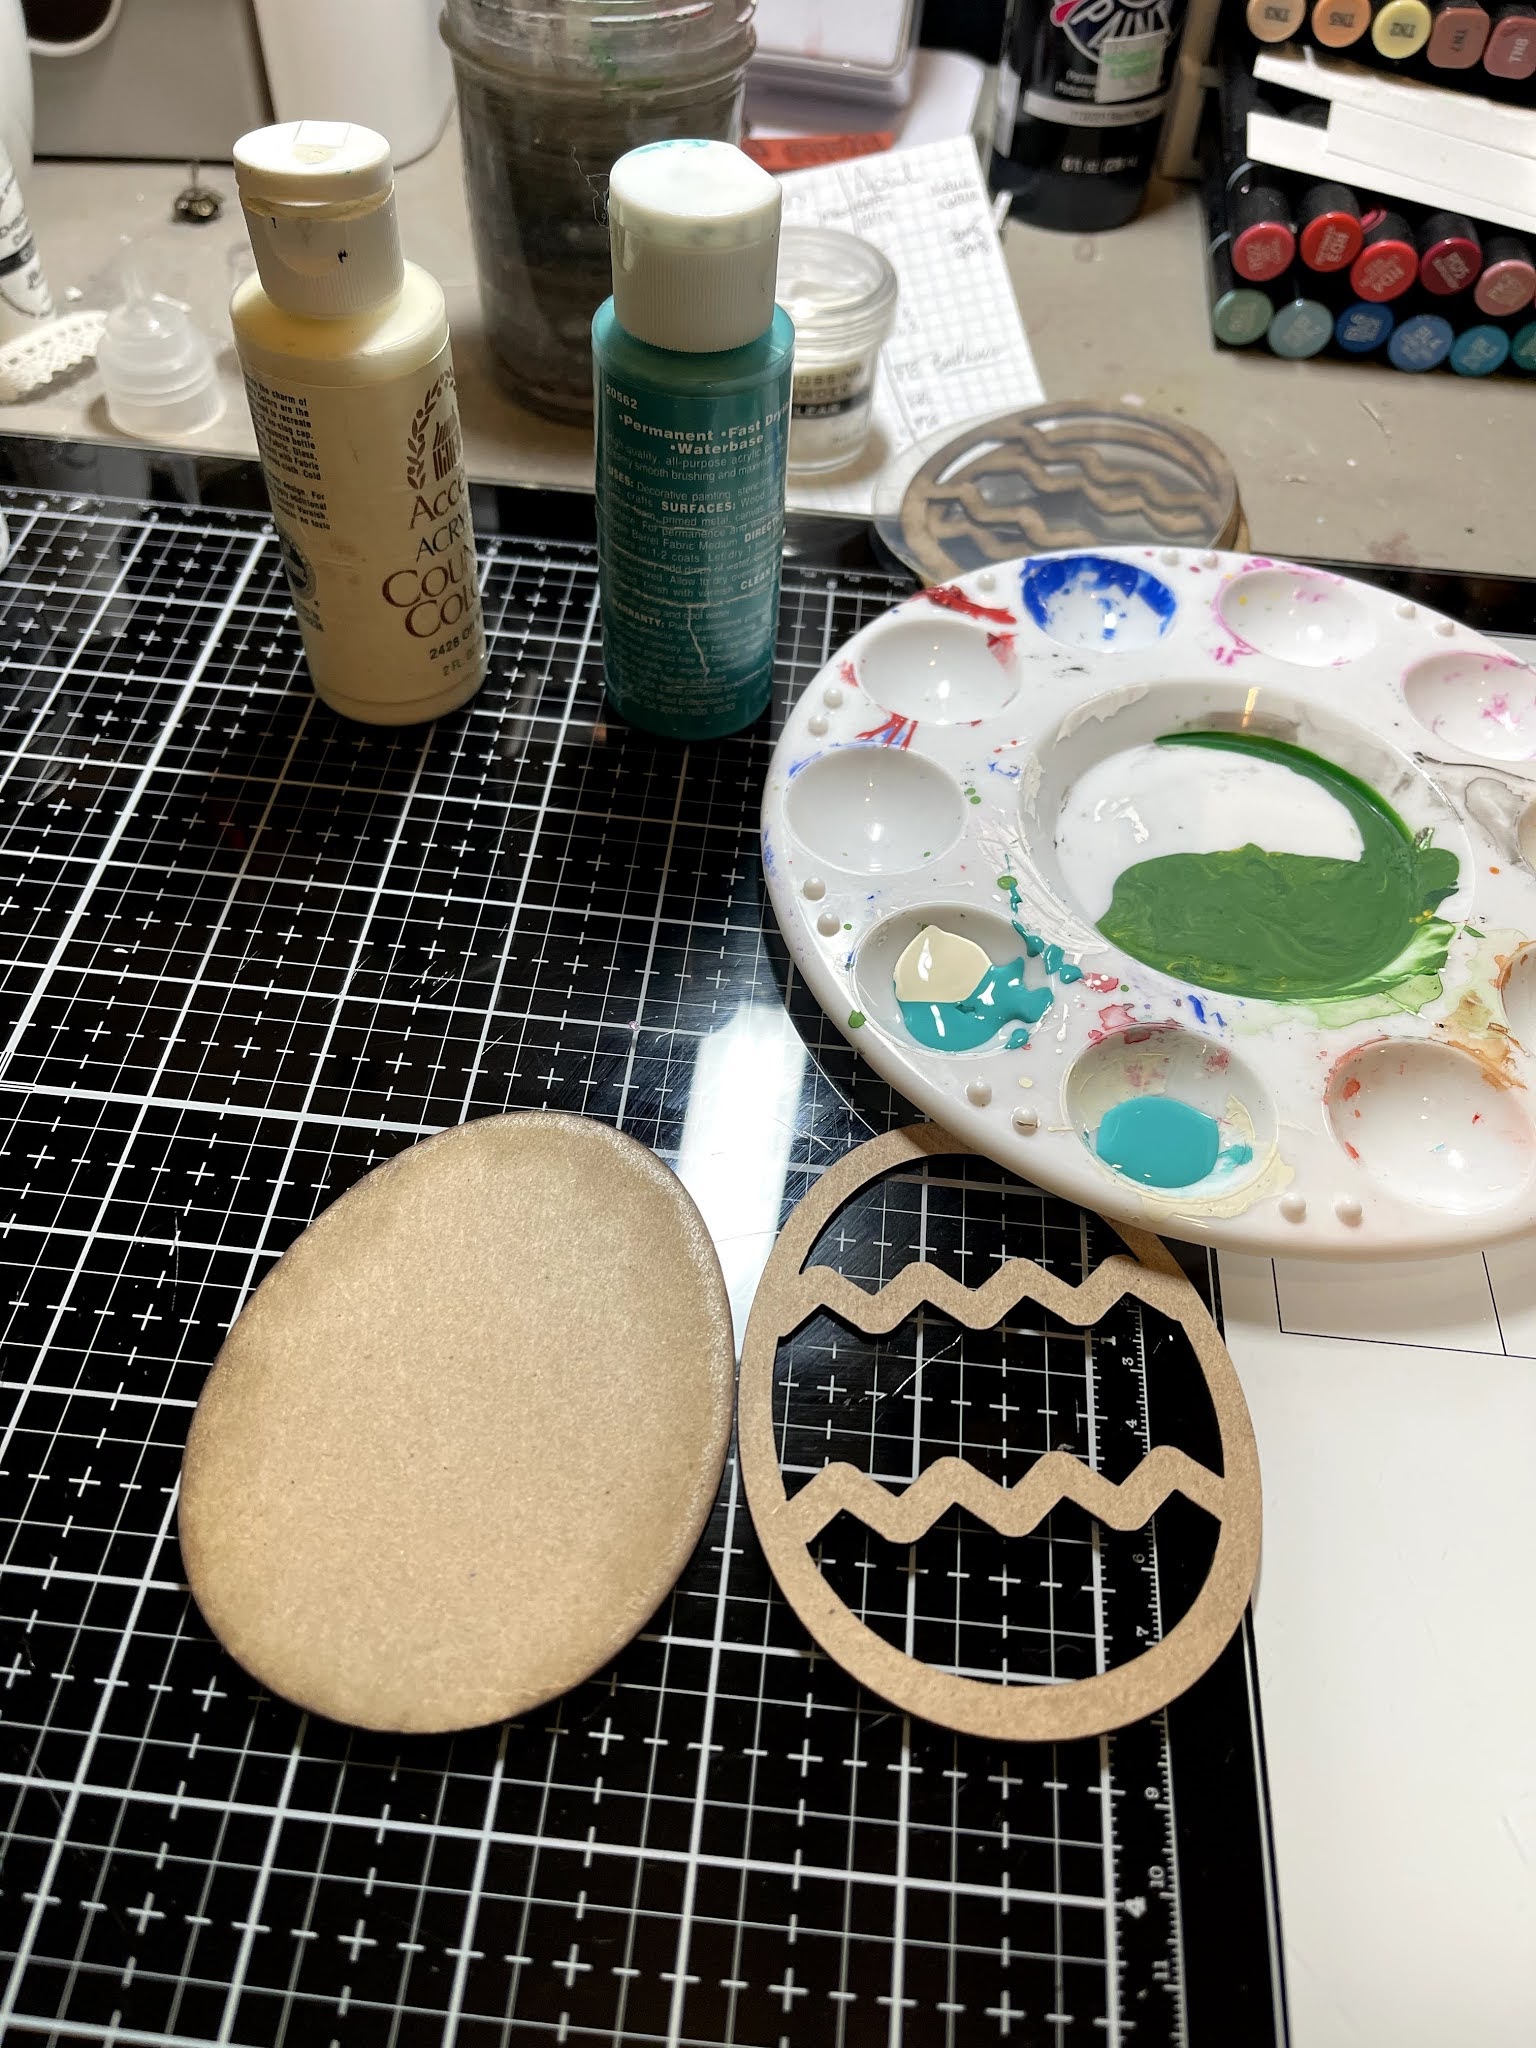
Easter Greetings! Today I am excited to share this cute Shaker Egg I created to adorn my fridge! Featuring the Clear Scraps Mini Shaker Easter Egg, I love that this shaker allowed me to embellish each section differently!
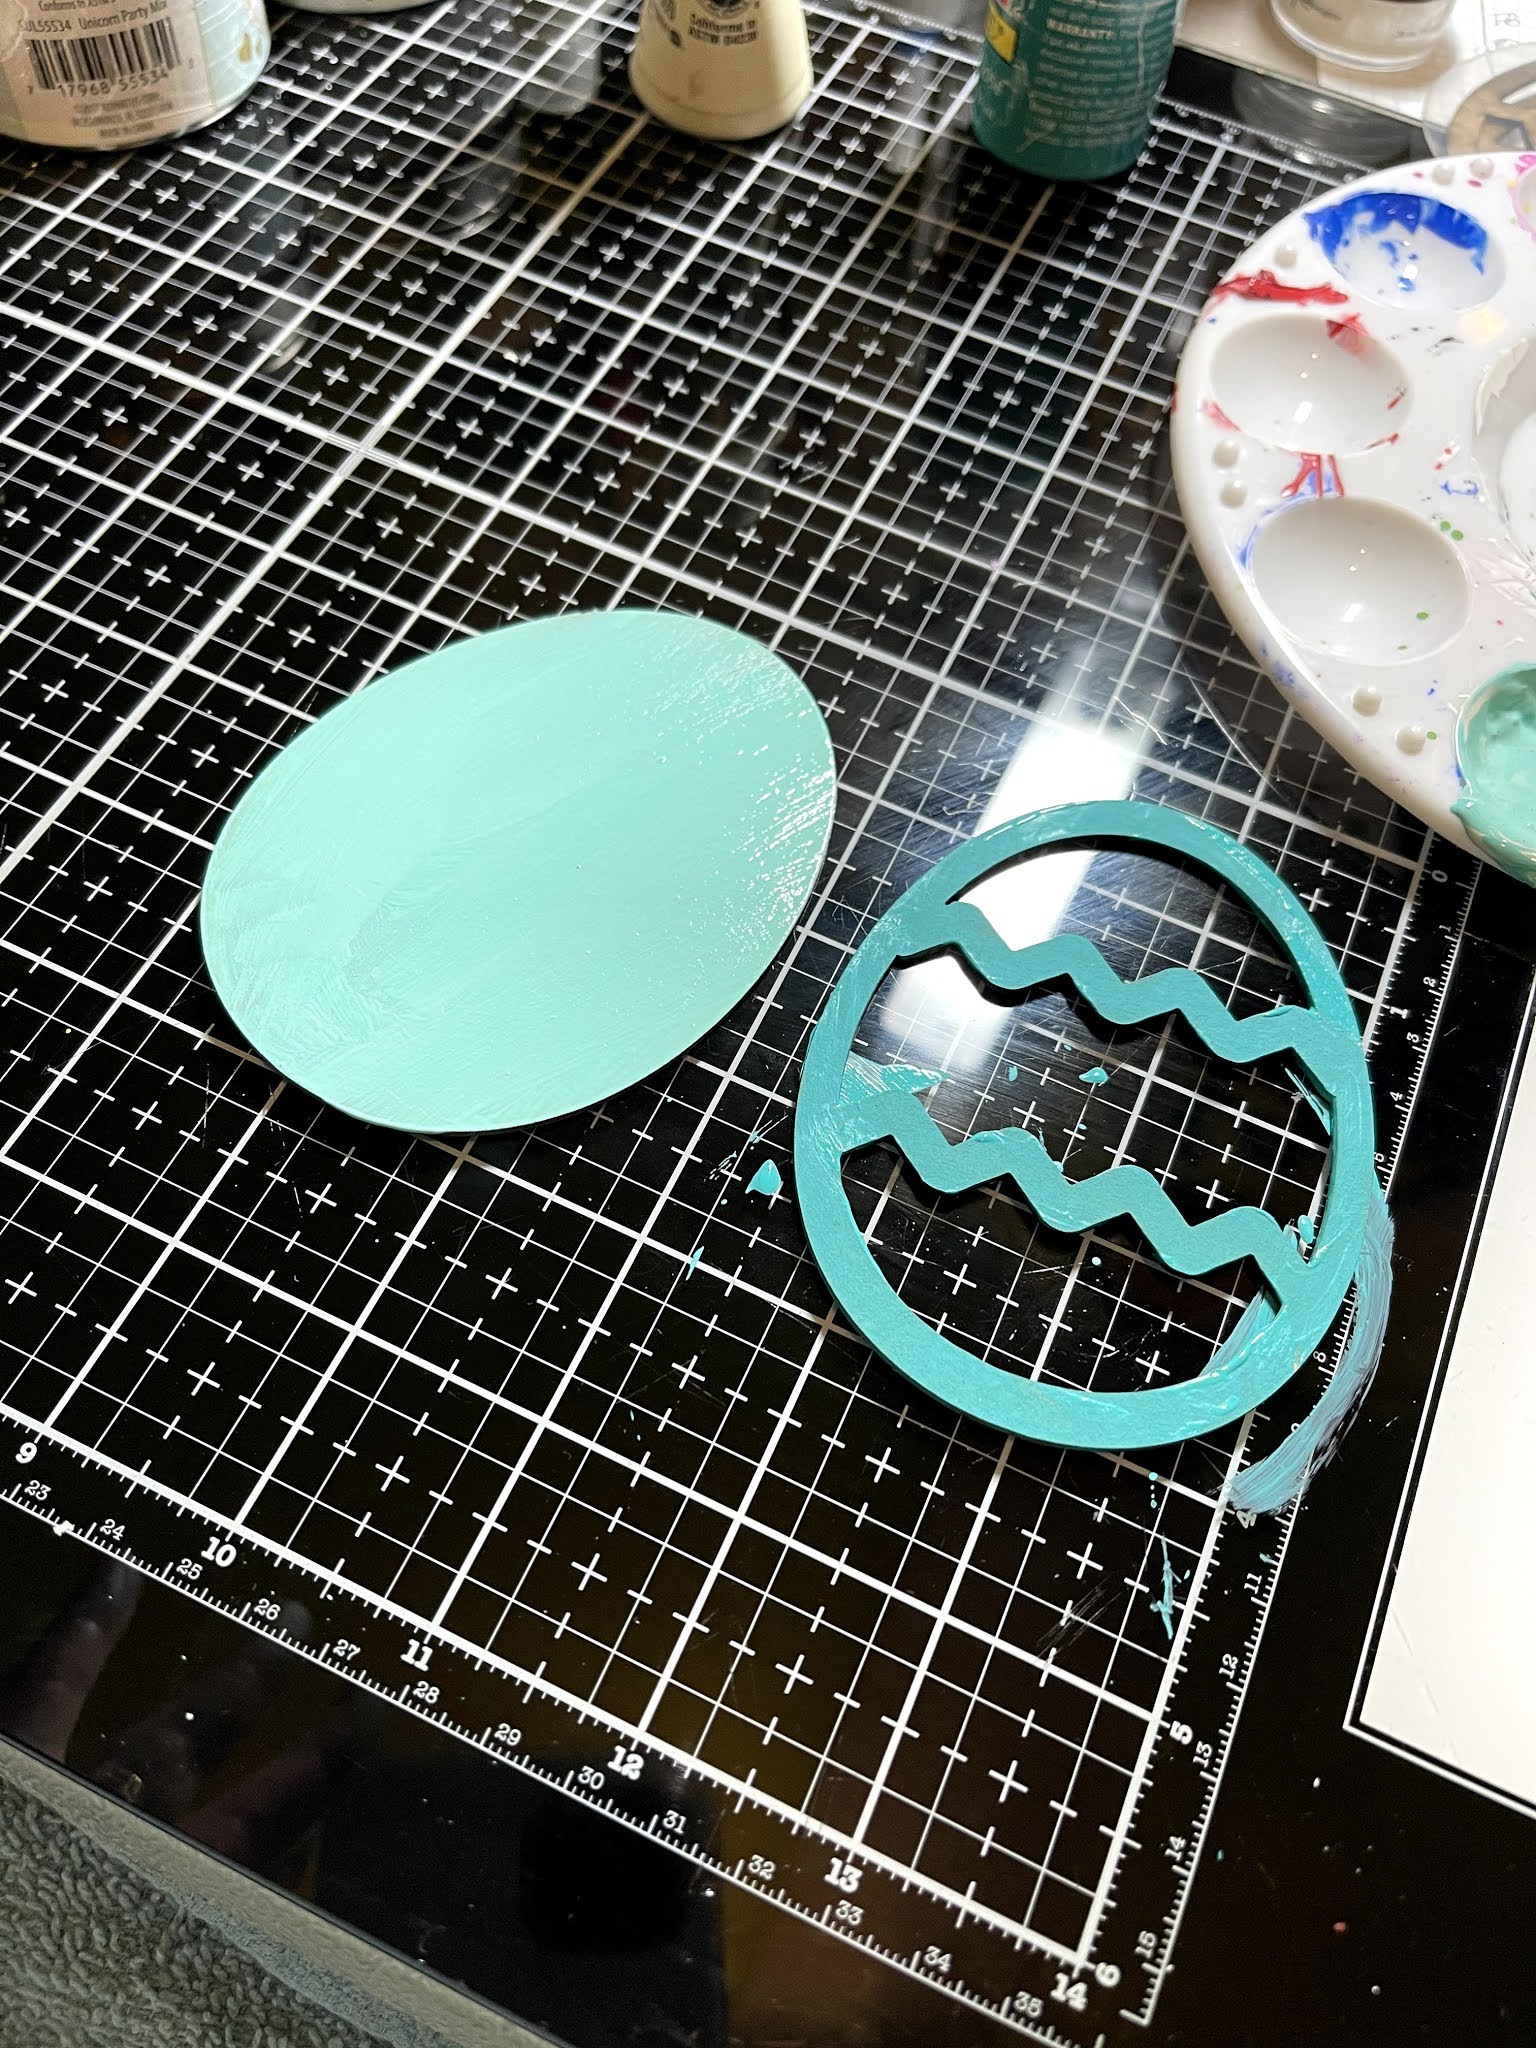
Start by painting your Clear Scraps Mini Shaker Easter Egg. I painted the base several shades lighter than my top.
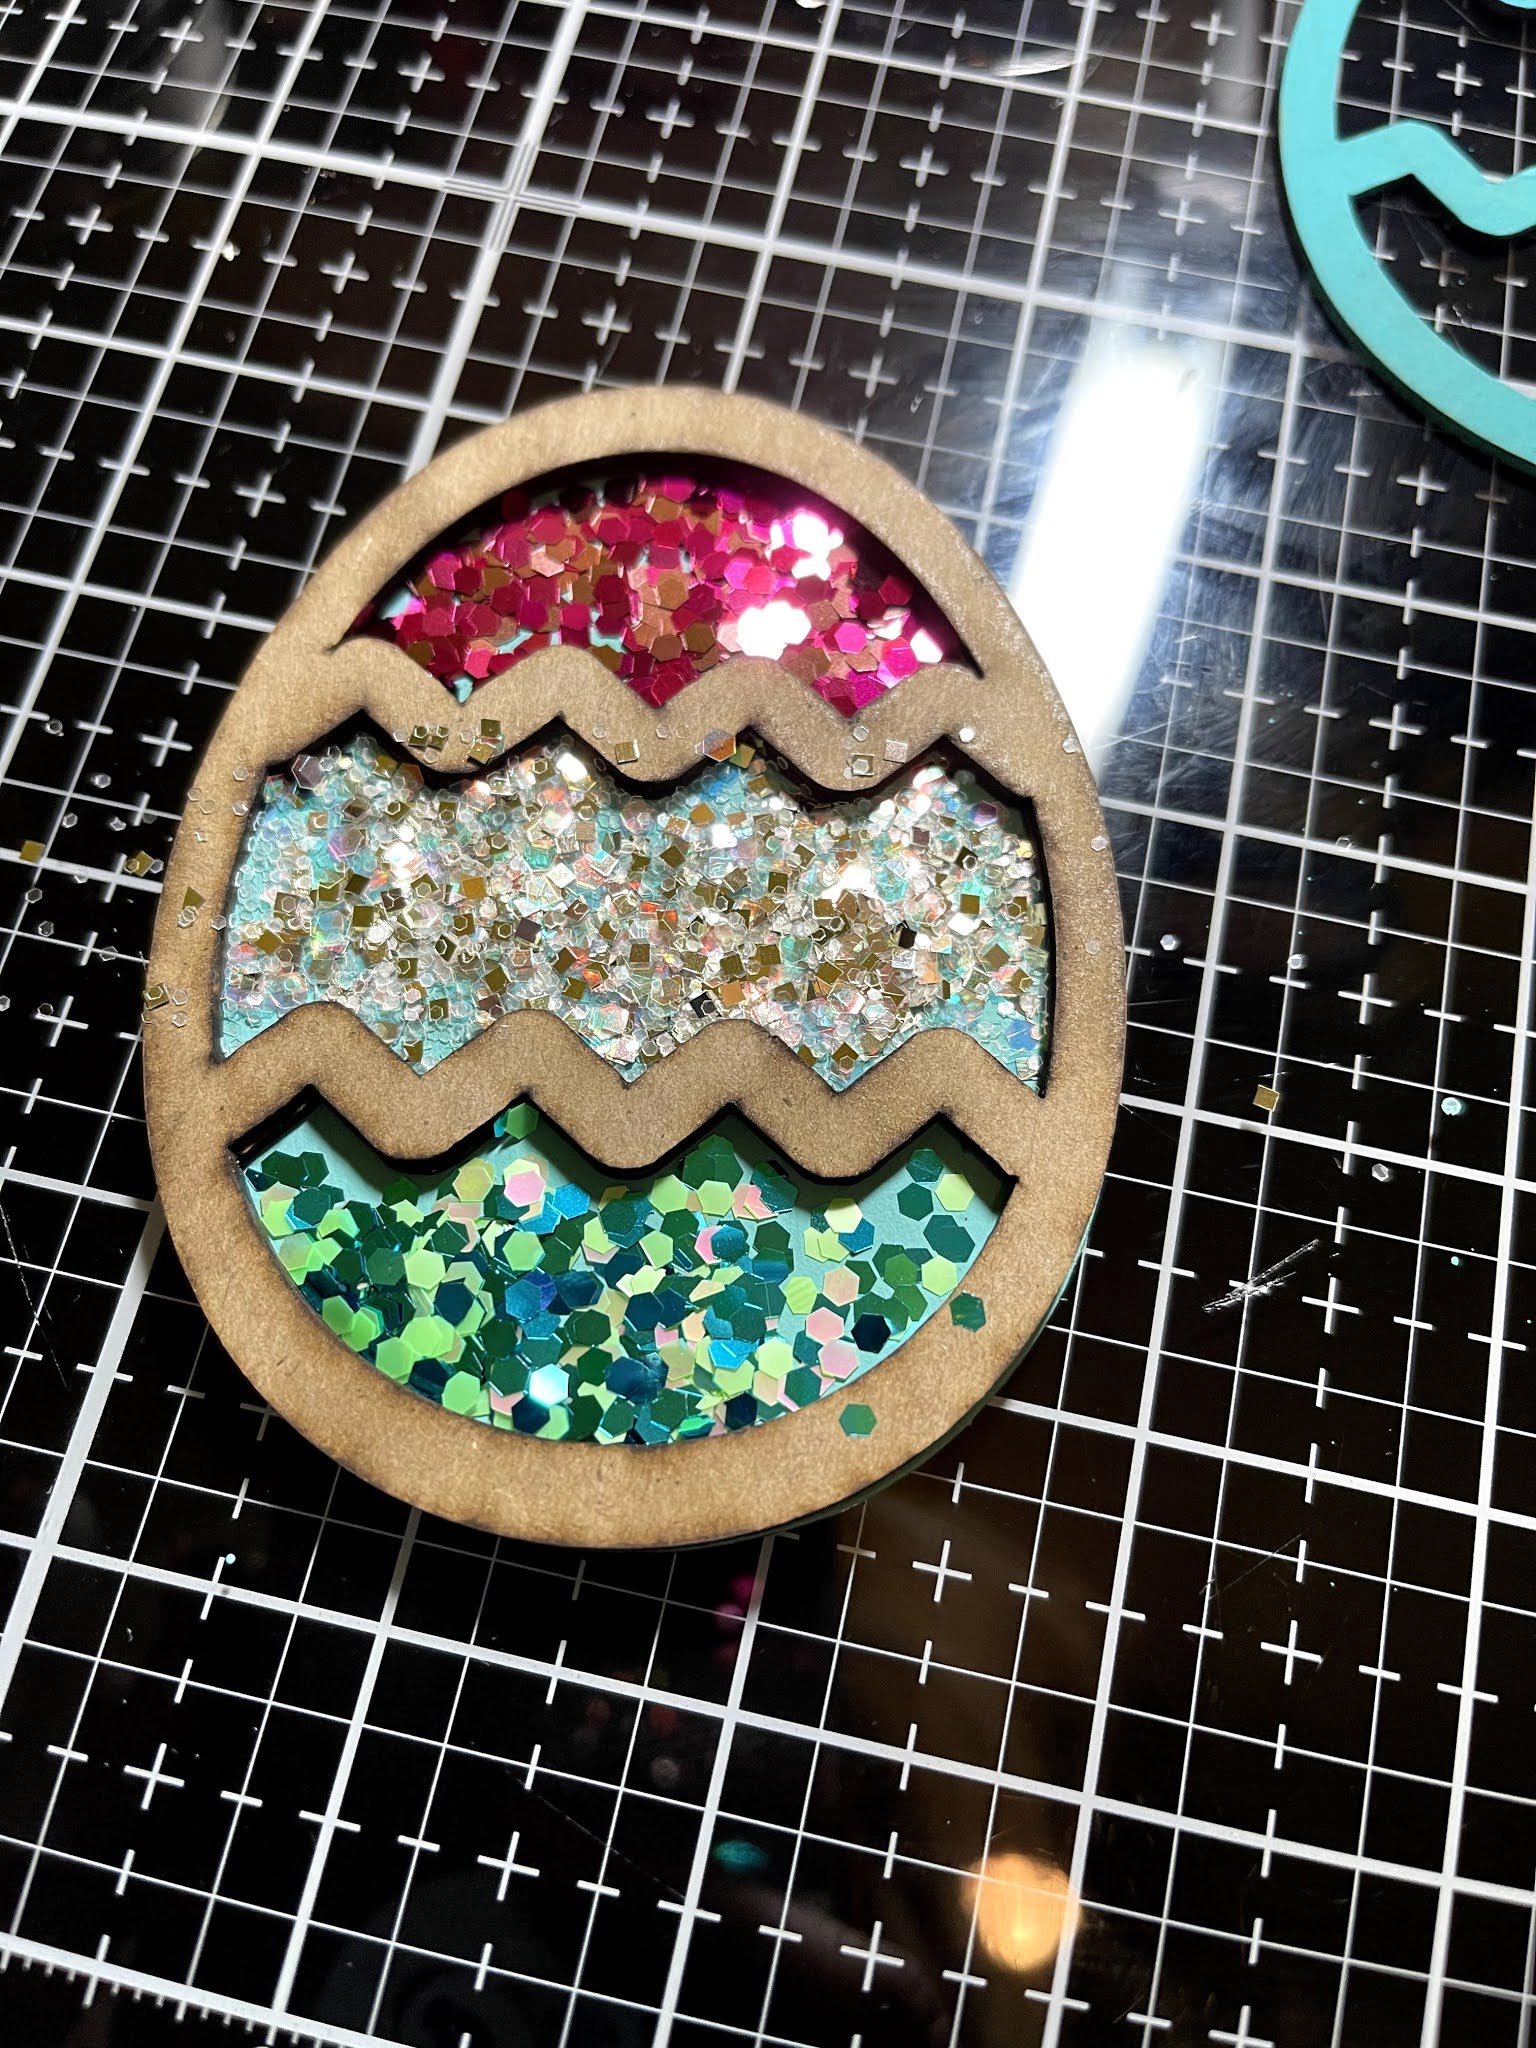
Once dry, Assemble your middle layers of your Clear Scraps Mini Shaker Easter Egg.
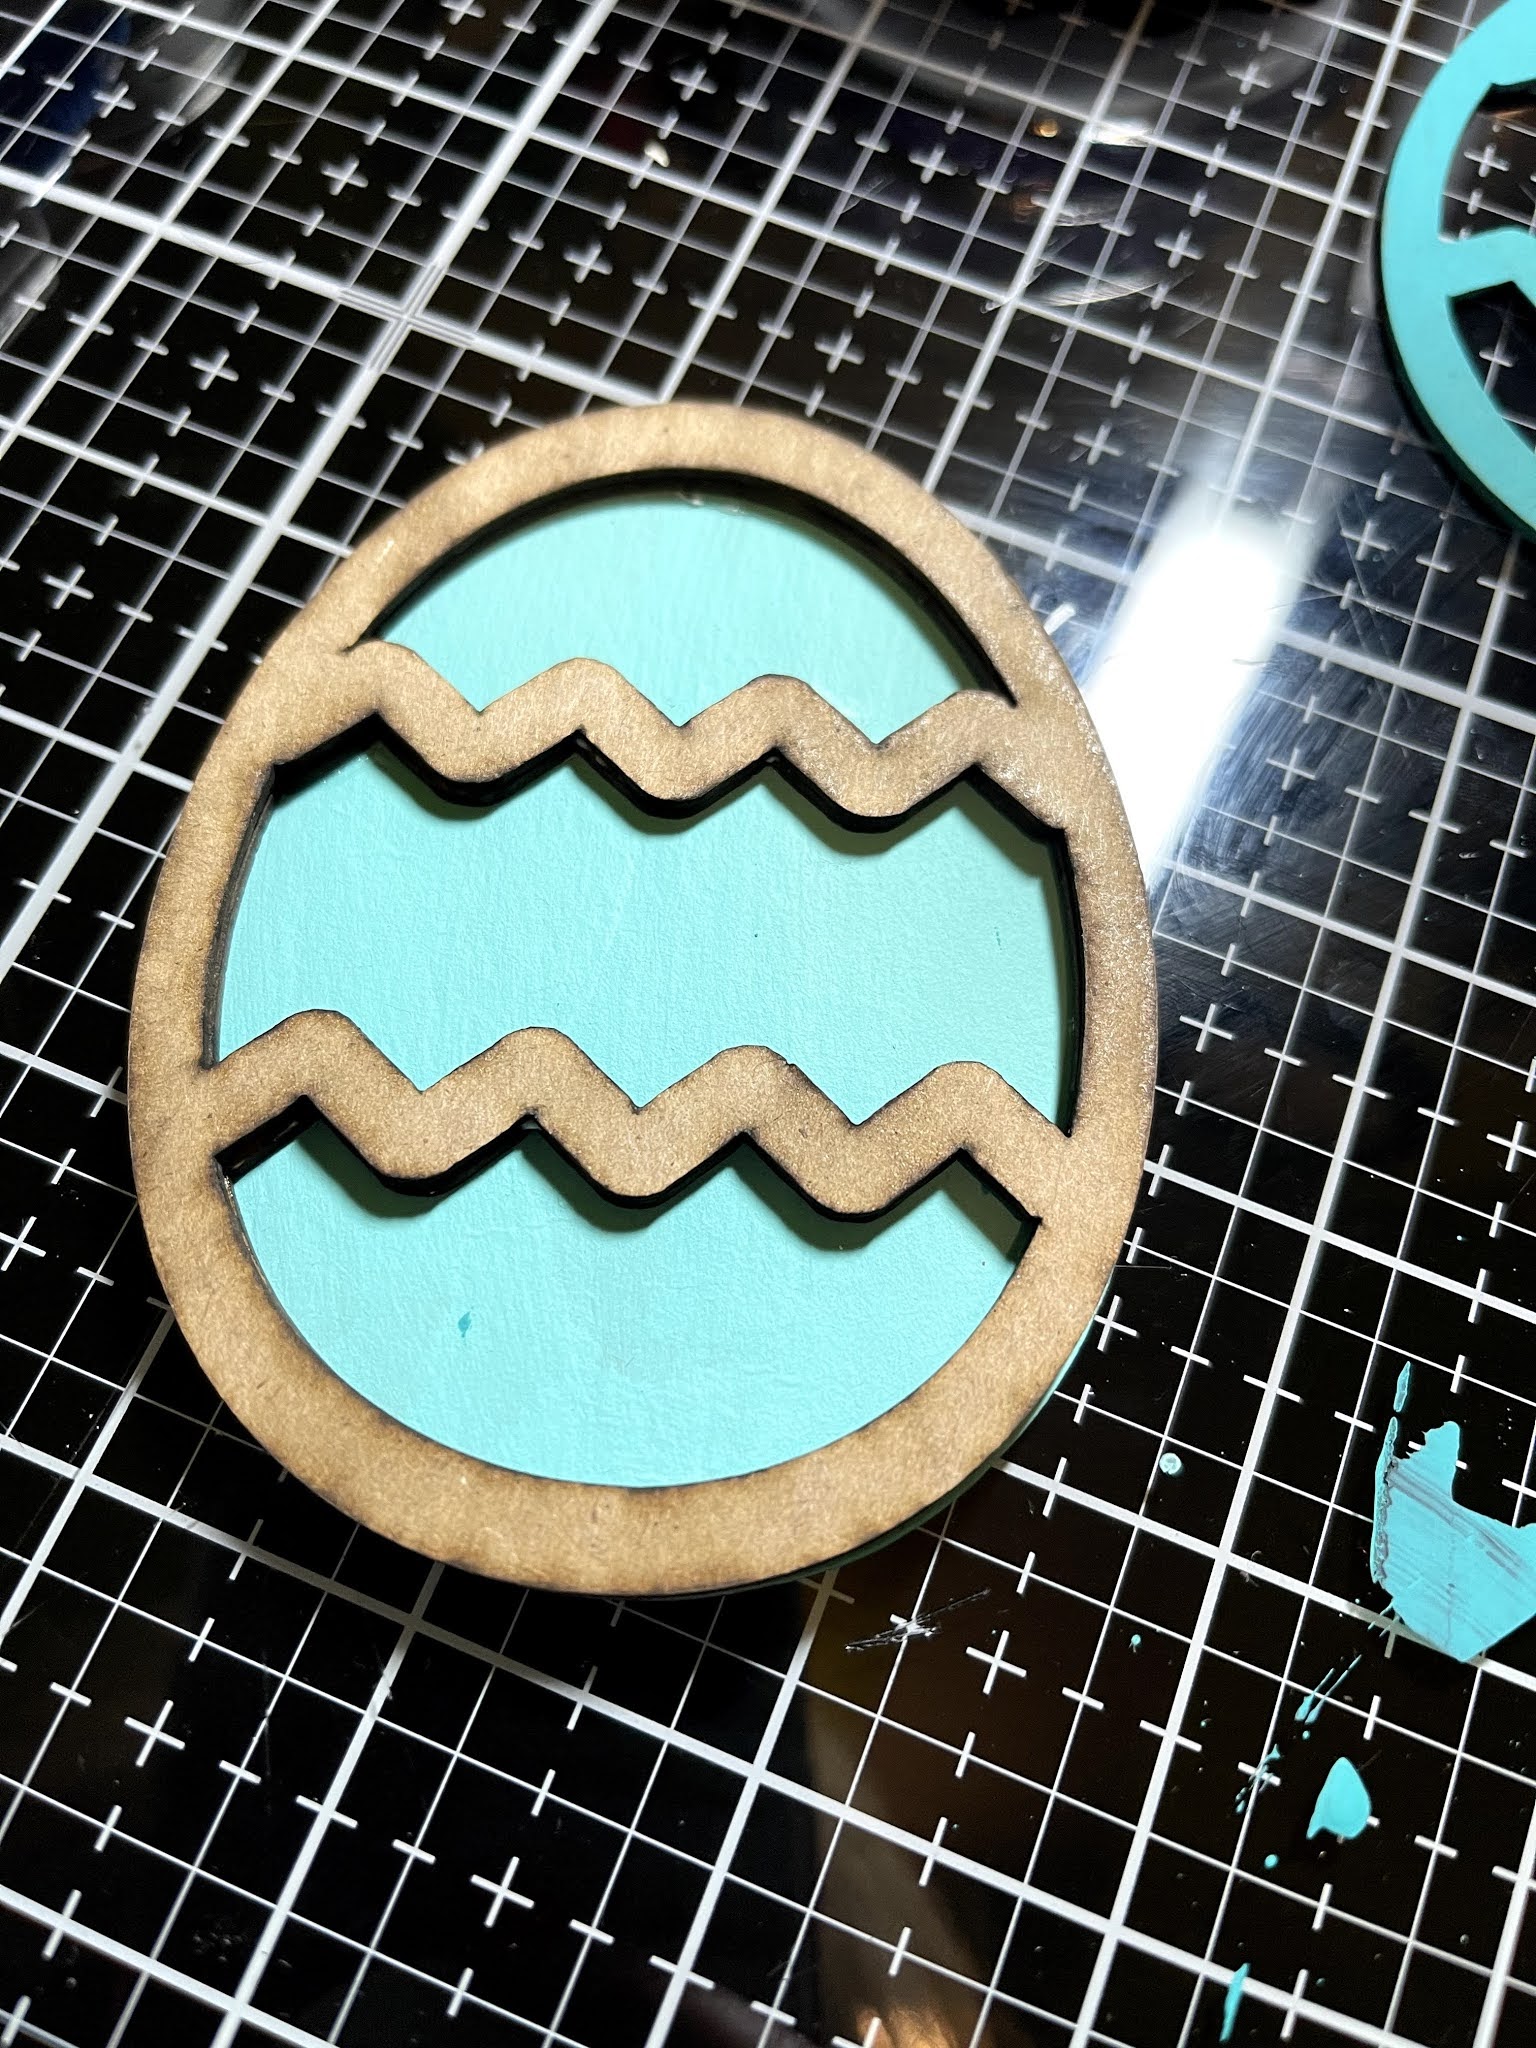
The zig zags in the Clear Scraps Mini Shaker Easter Egg create 3 different sections you can fill. Fill each section as desired, covering the other sections to create the 3 different colored sections.

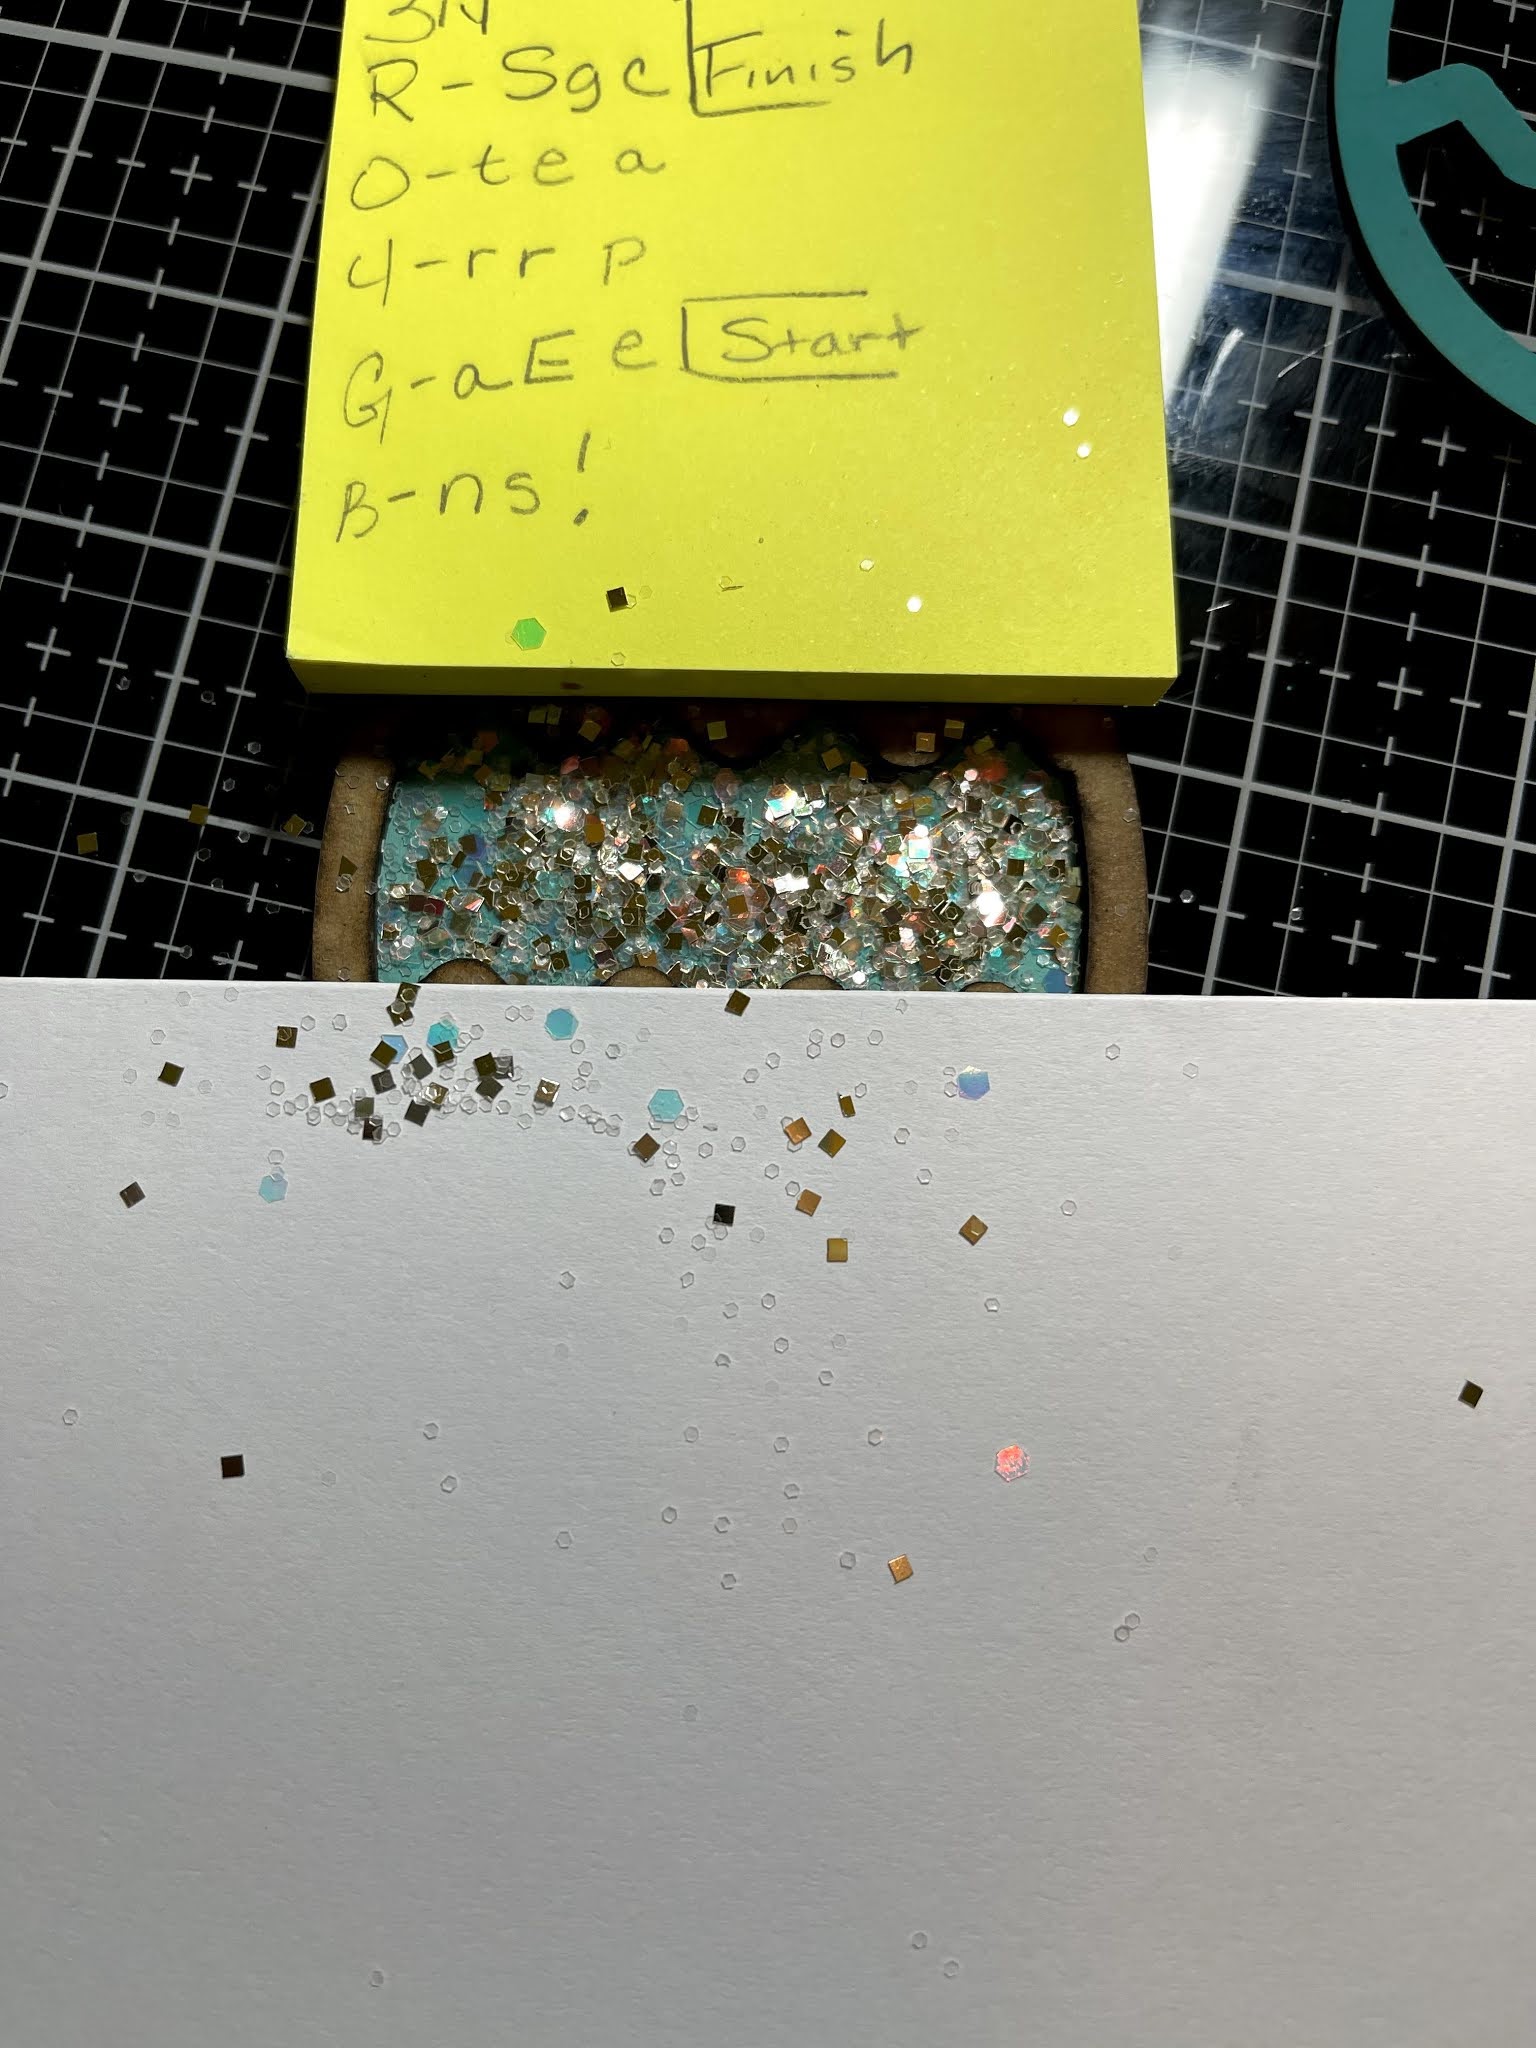
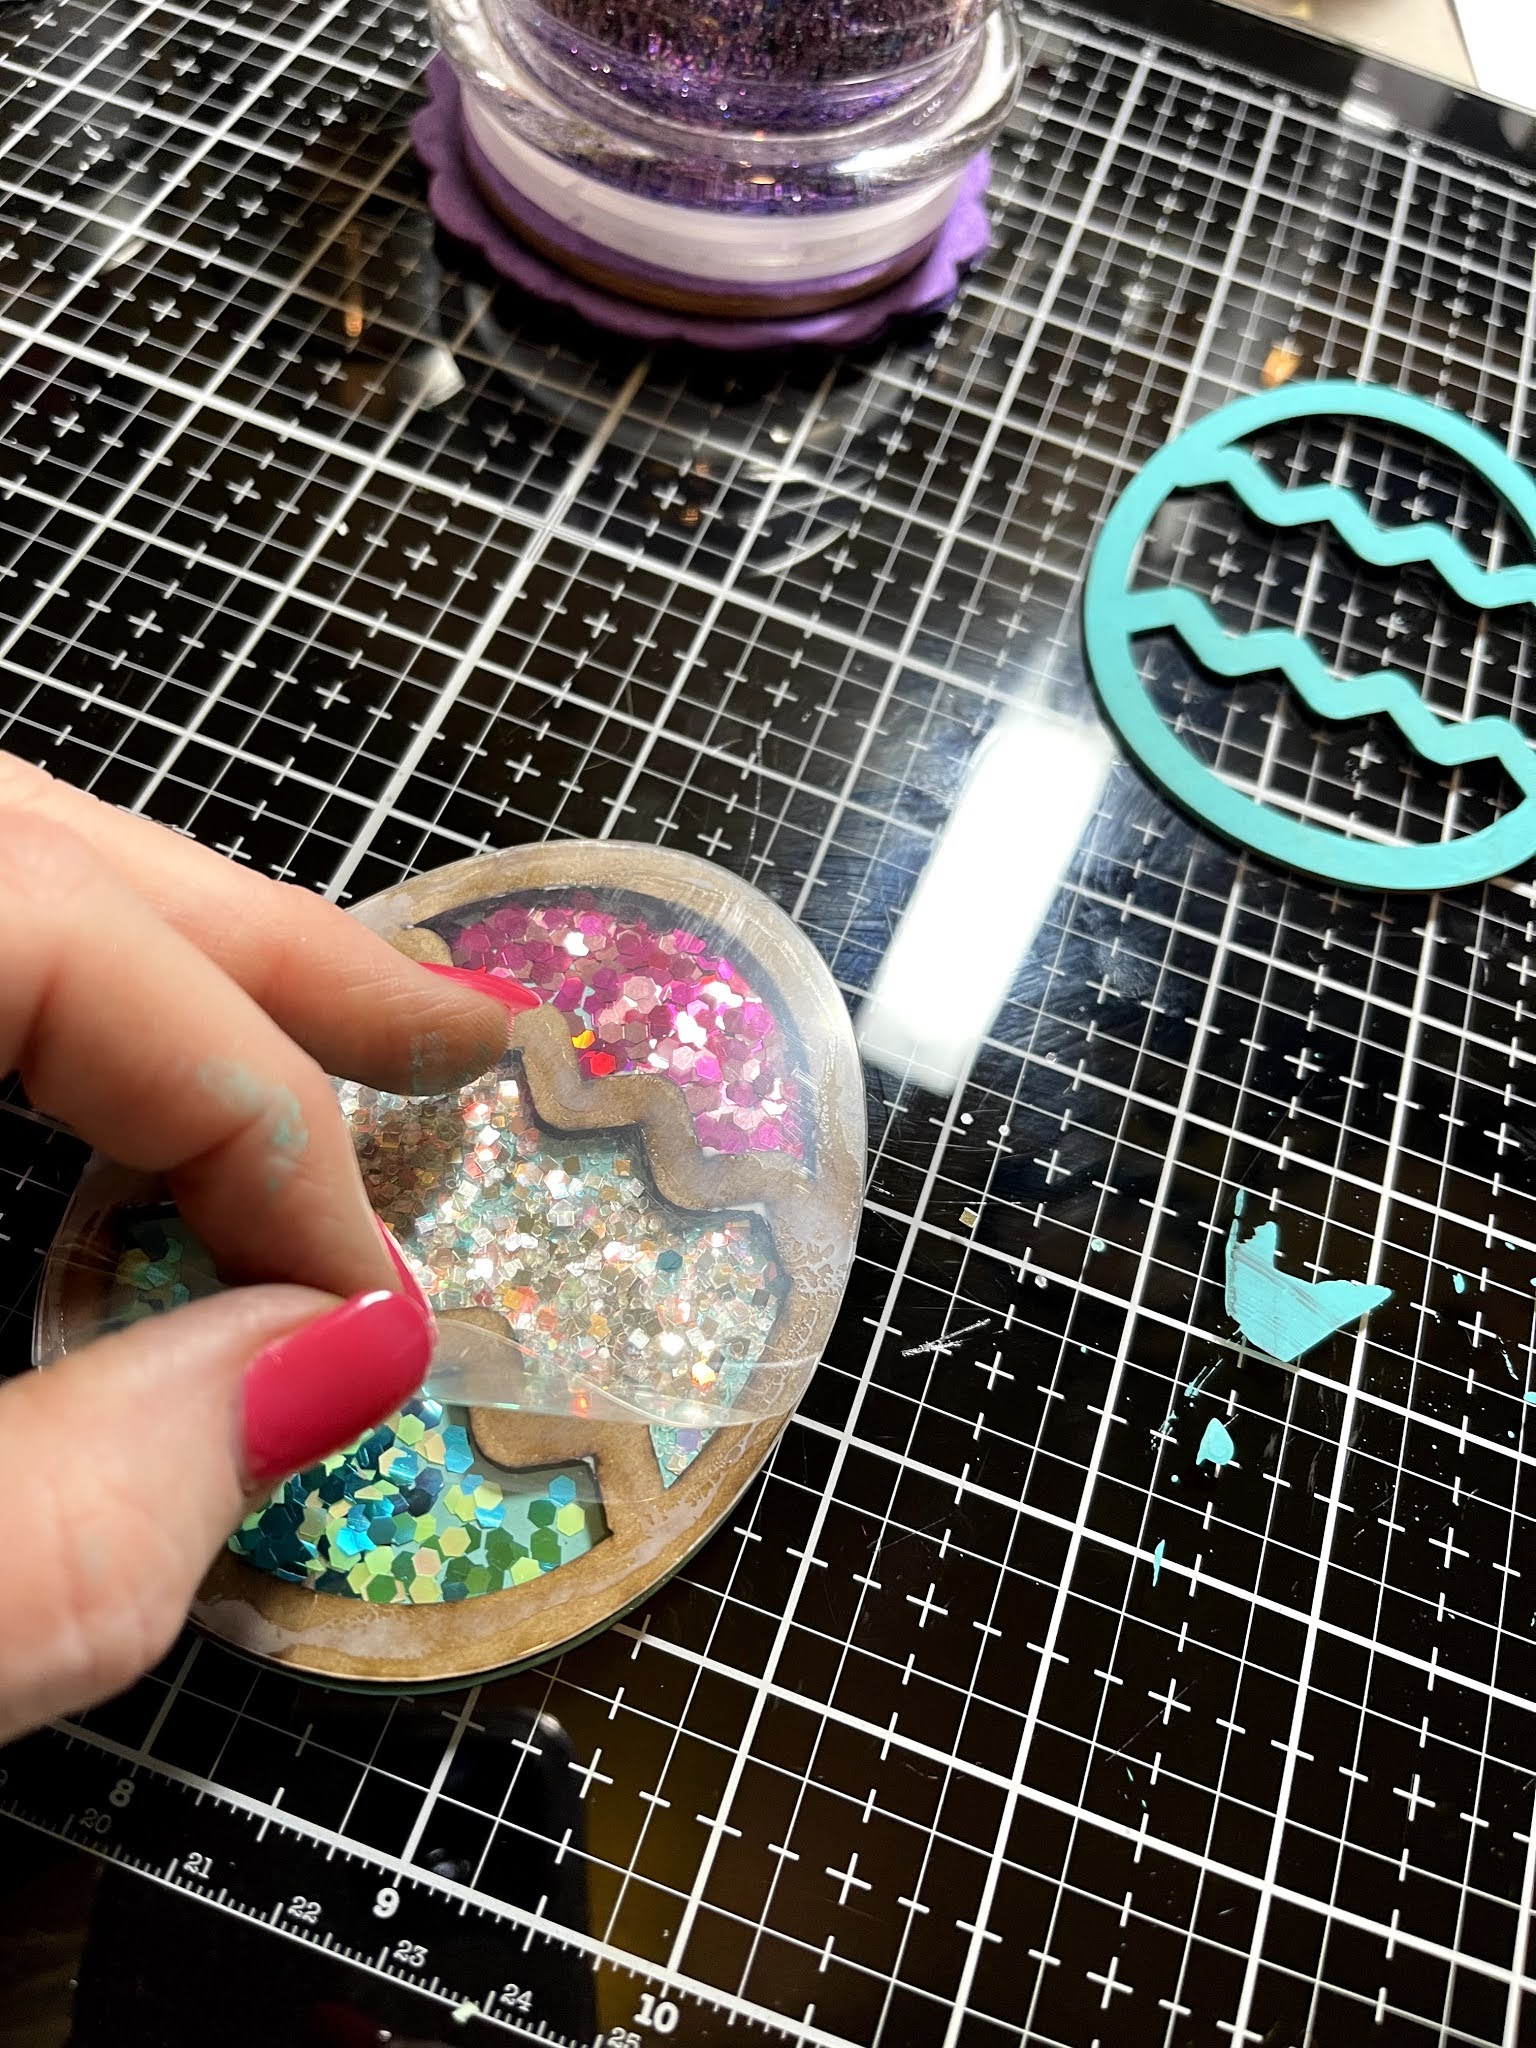
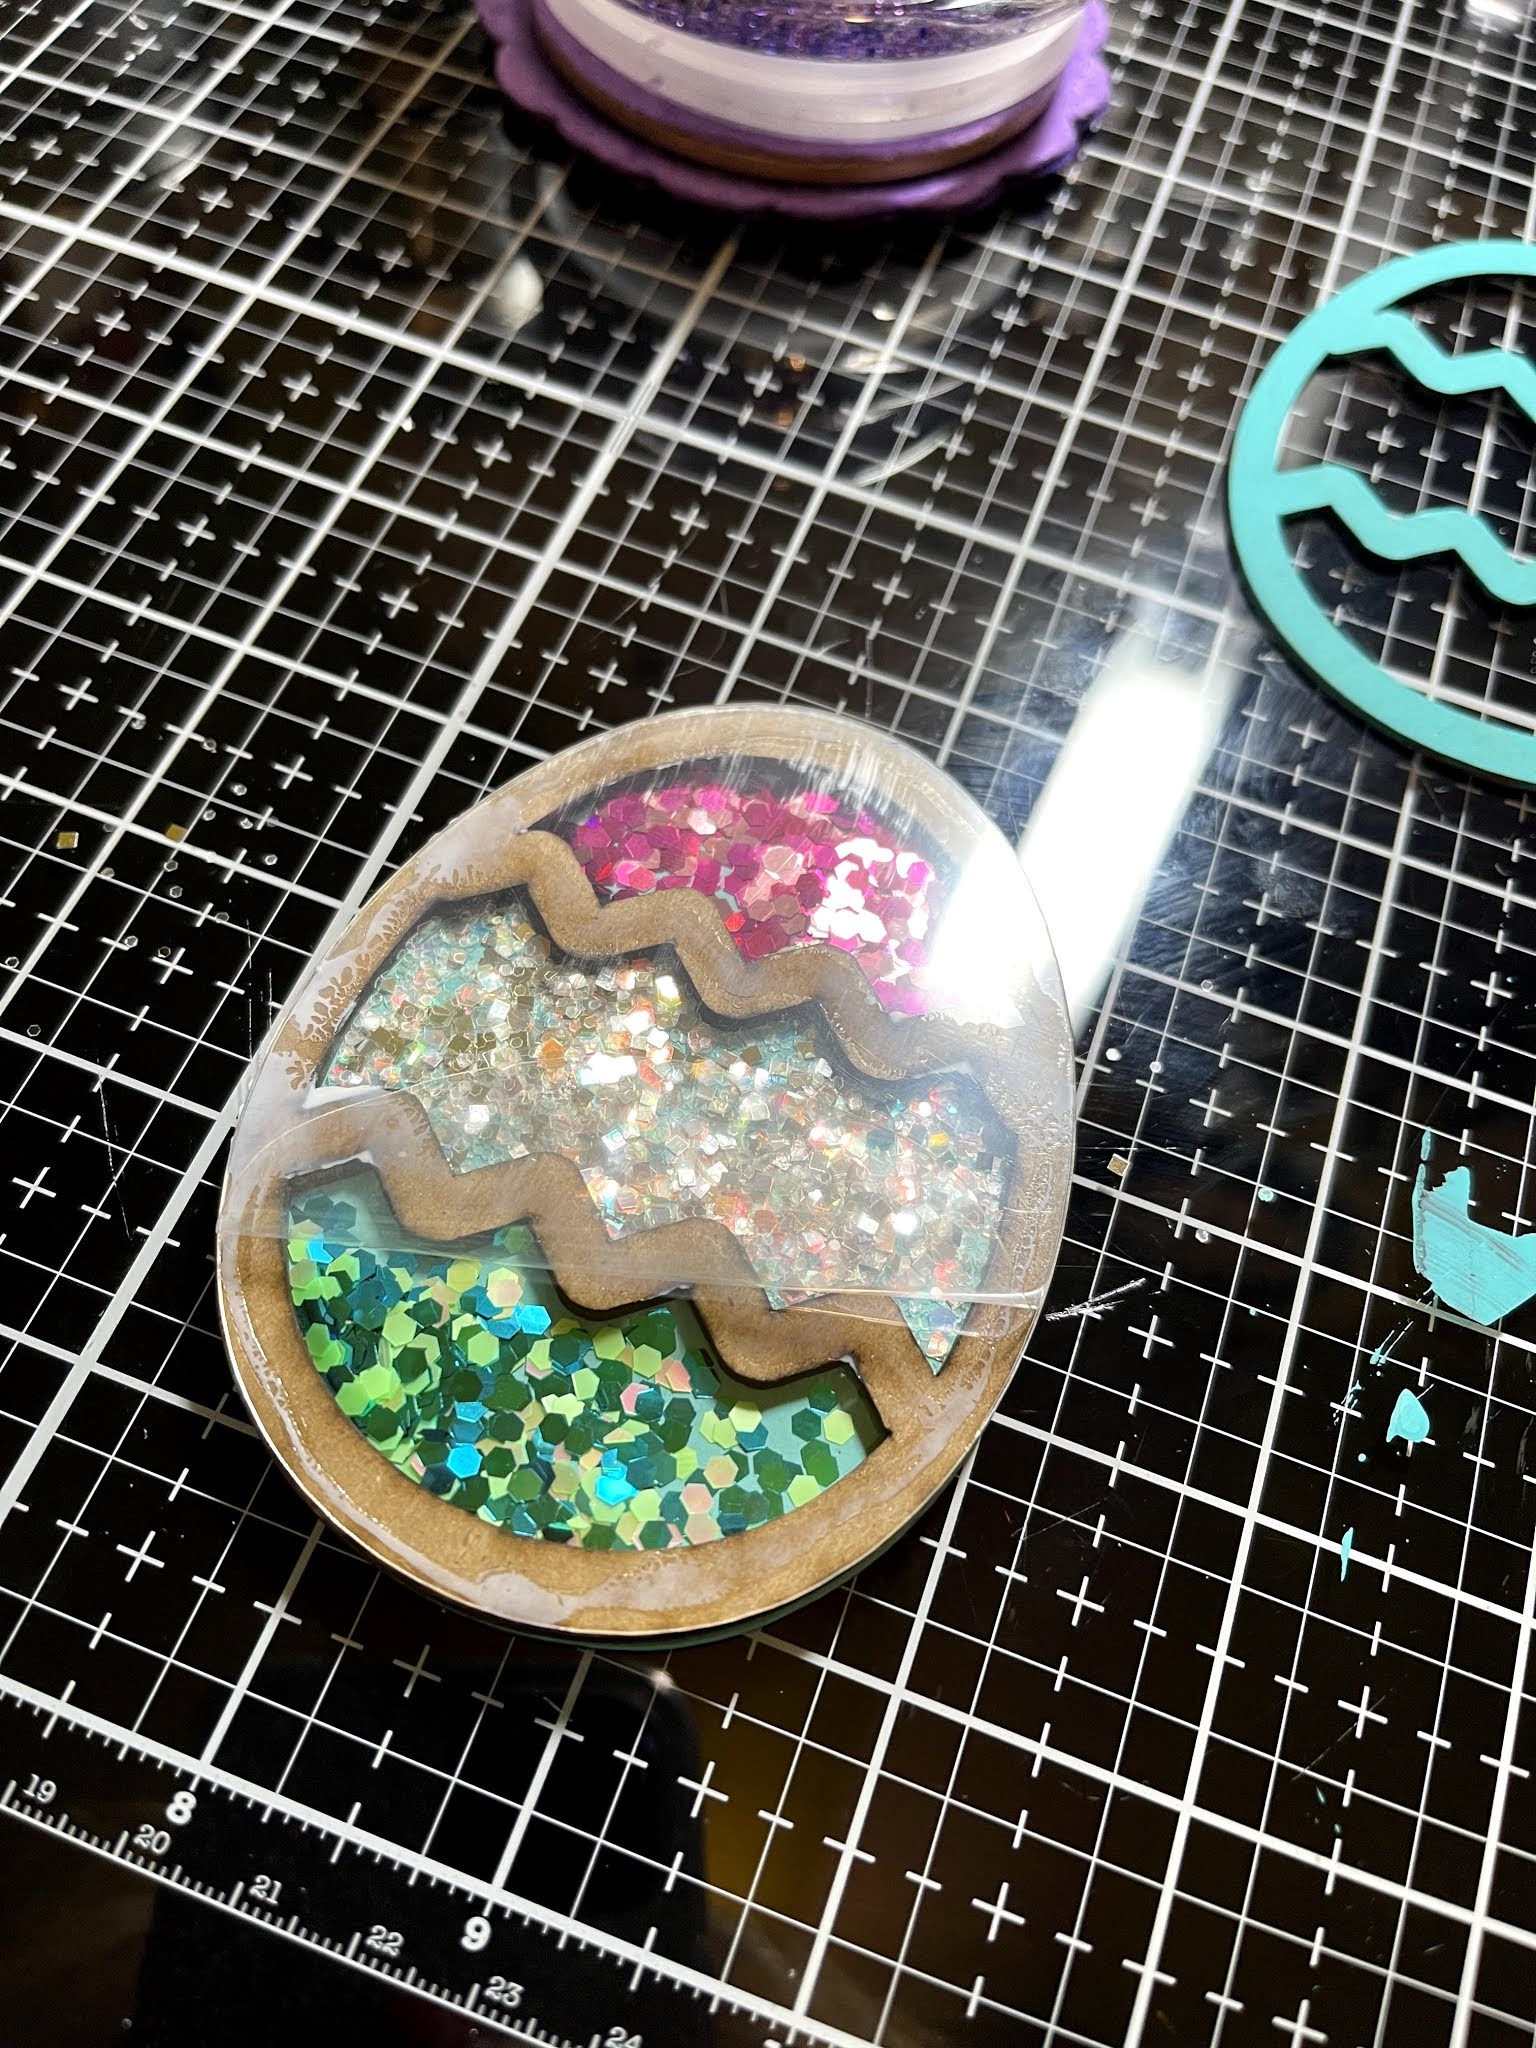
Add your clear acrylic to your shaker box. Don't forget to remove the protective cocering from both sides of the acrylic.
Add painted top layer and a sticker sentiment to the front. You can then add to a card, a layout or attach a magnet to the back and hang on your fridge! I hope you are inspired to get creative with your shakers!


Leave a comment