Hi friends! It's Jennifer here on the blog to share a spring time project with you! I love the colors of this time of year and even more creating projects that incorporate spring themes! For today's post, I used the Flower DIY Wood Shapes to create a mini album and am going to share the techniques I used!

All of the DIY Wood Shapes come in a pack of three so you can use one solo shape or do as I did, and create a mini album or even a banner! I painted the edges of both sides with chalk paint in patina; a nice blue spring color! I love using chalk paint with the birch wood because it dries quickly as well as gives it a classy look.

Next, using my Silhouette I cut 6 inch circles out of patterned paper to fit the pages of my book. I applied each background piece using my Beacon 3-in-1 Adhesive as it dries fast and you won't have to worry about paper or wood warping in the future. I then secured the 4×6 Butterfly Flock Stencil to the front with washi tape then blended in different Distress Inks over the top.

Here is a close up of the end result! I love the way it turned out!

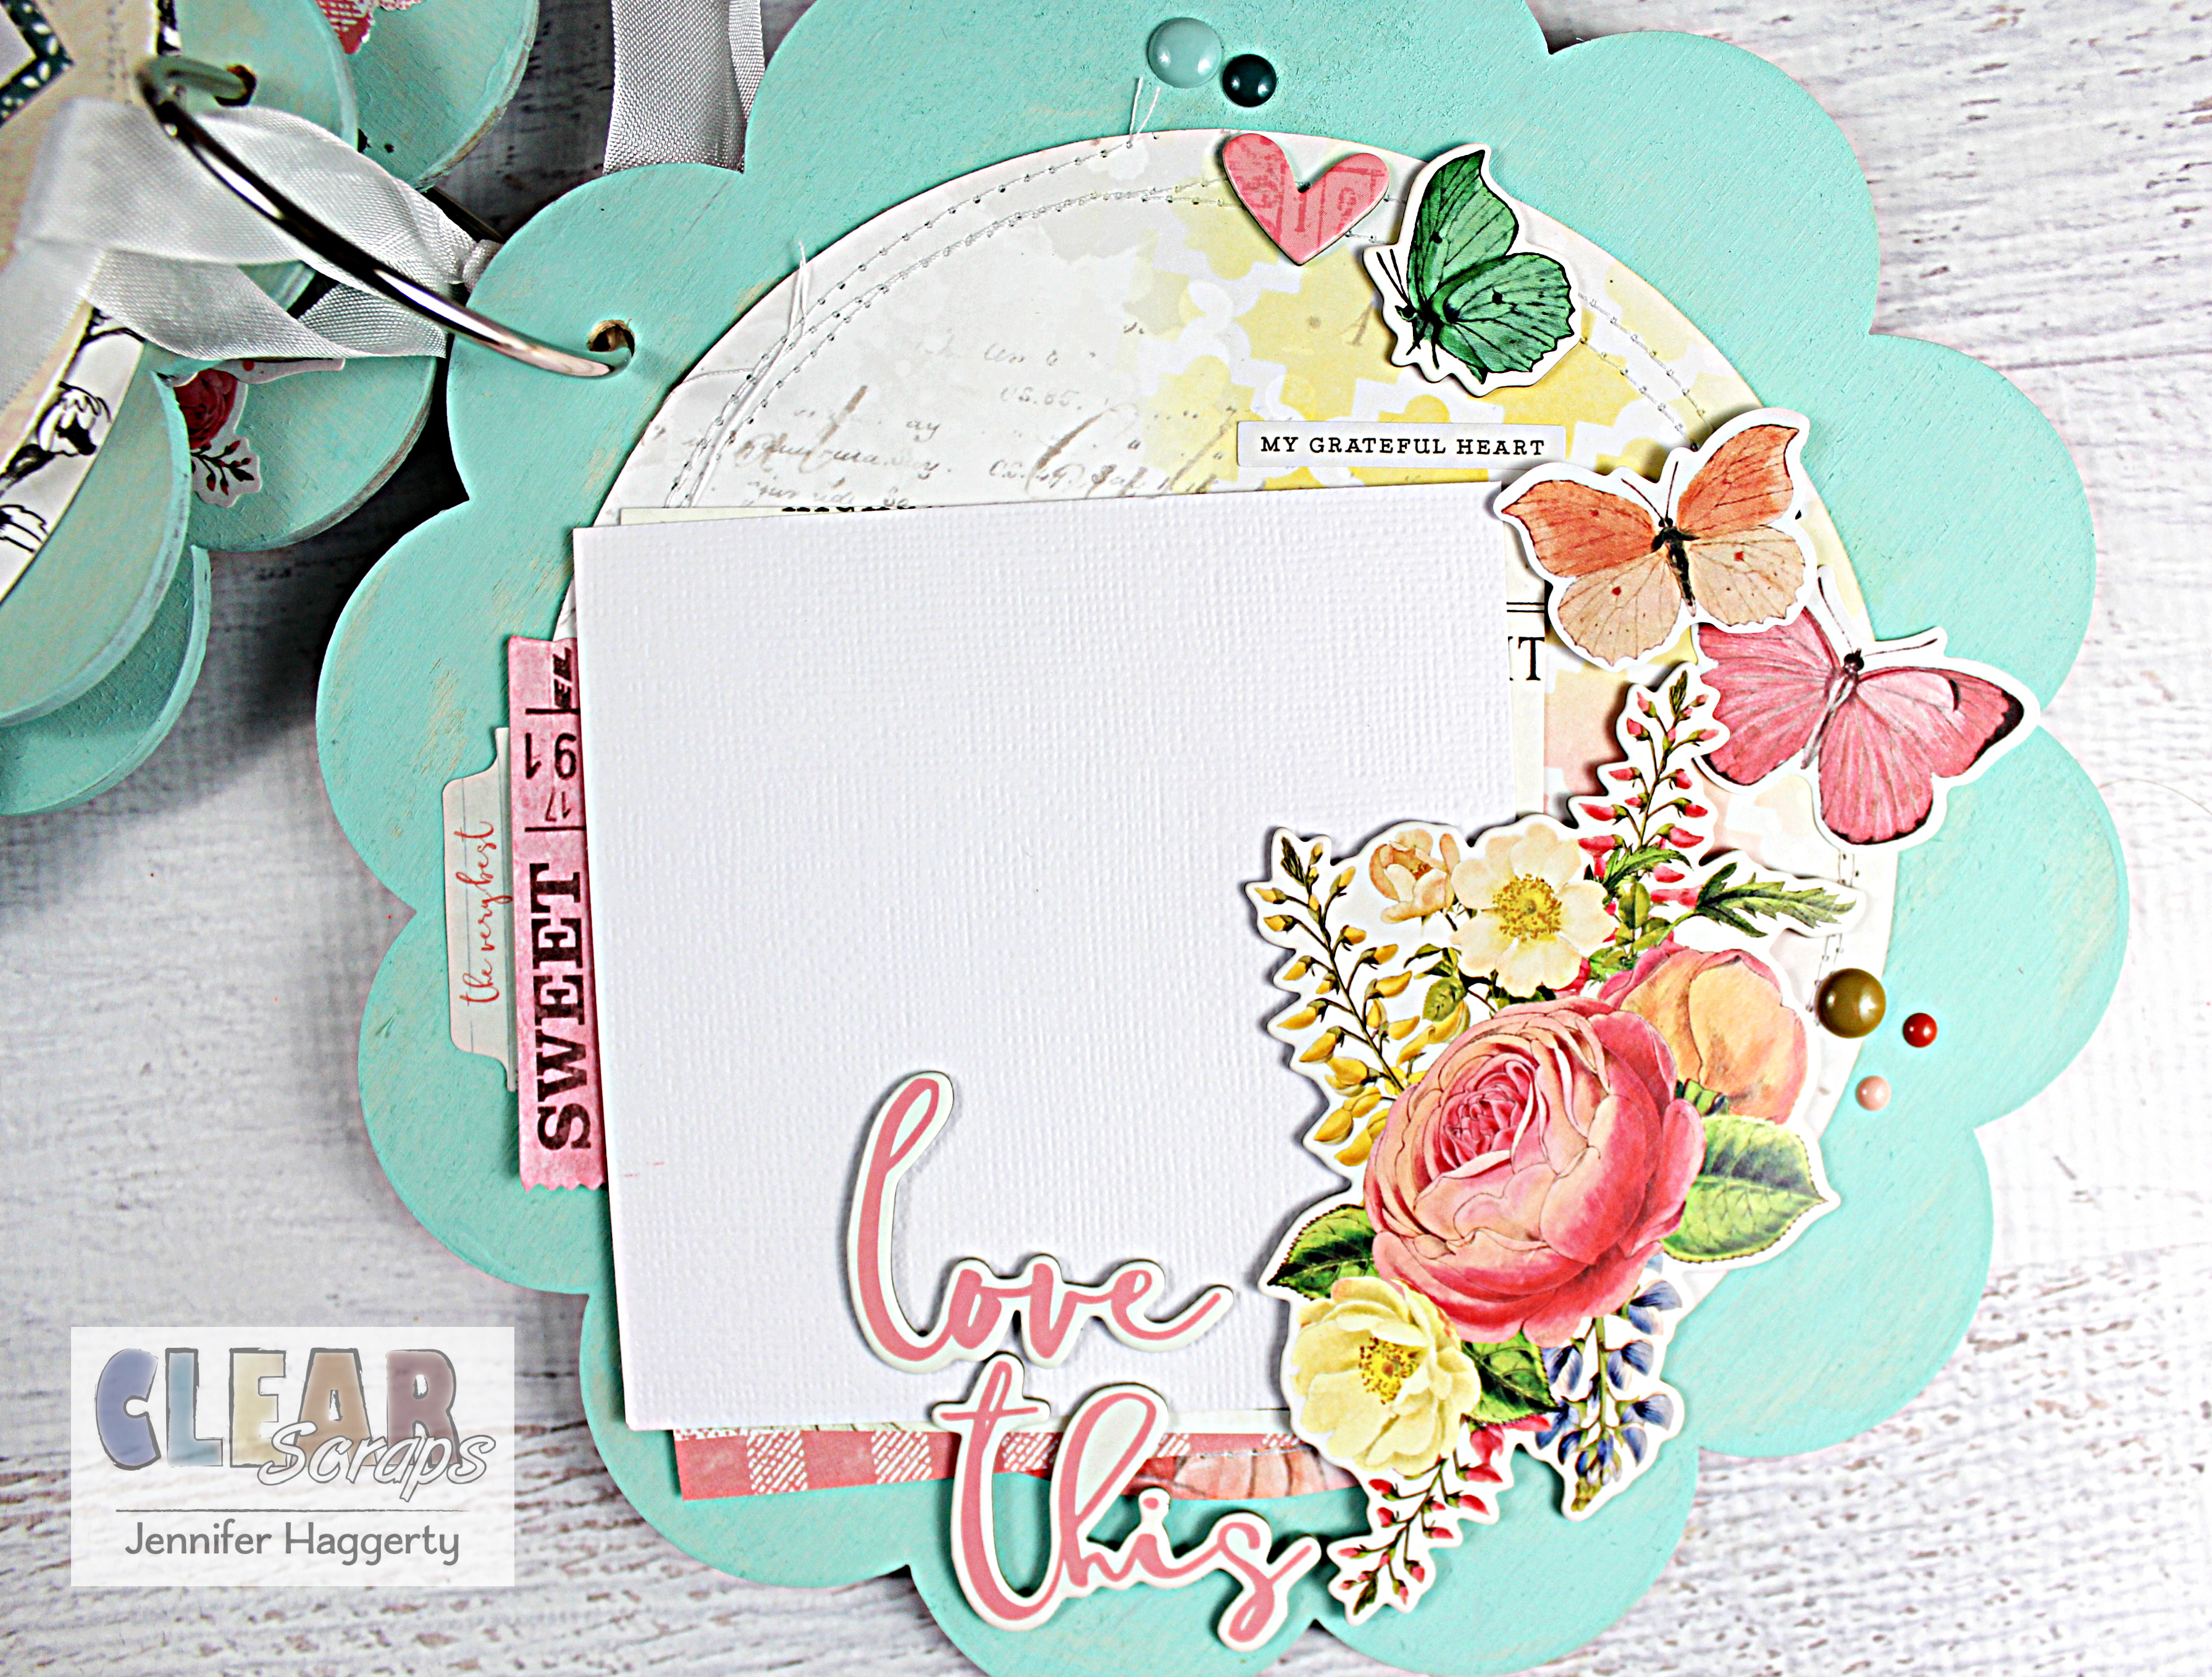
For the remainder of my pages, I added a 6 inch patterned paper circle with a 4×4 space for a future photo.


For this page, I used the 4×6 Quaterfoil Stencil with my Distress Oxide inks over my patterned paper.


Thank you for reading today! You can visit the Clear Scraps shop by clicking HERE! Please check out what is new while you are there! Have a great day!
Additional products used: patterned paper, die cuts, chipboard stickers, stickers, washi tape: Simple Stories; cardstock: American Crafts; enamel dots: Echo Park; border punches: EK Success, Fiskars; paint: FolkArt; adhesive: Beacon, Tombow, Thermoweb; die cut machine: Silhouette; sewing machine: Janome; bakers twine: Whisker Graphics; ribbon: Snug Hug; misc: chrome book ring, thread, cut file.


Leave a comment