Hi Ya!
Tami here with you on the blog today with a Father's Day card to share.
I wanted to design something using one of Clear Scraps' new Chipboard Borders; they come in 5 different designs. They measure 11" long so they are a perfect fit for Clear Scraps' new Slimline Albums. They are also great to use on slimline style cards, or— if you cut them in half you get 2 – 5 1/2" pieces which fit exactly on a standard 4 1/4 X 5 1/2" card.
While looking the borders over, I thought that the semi circle cut outs on the Curves Chipboard Borders might be interesting to play with.
I needed a card for my hubbie for Father's Day, so I decided to pull out some cardstock, inks and trim in blues and browns along with some Father's Day stamps.
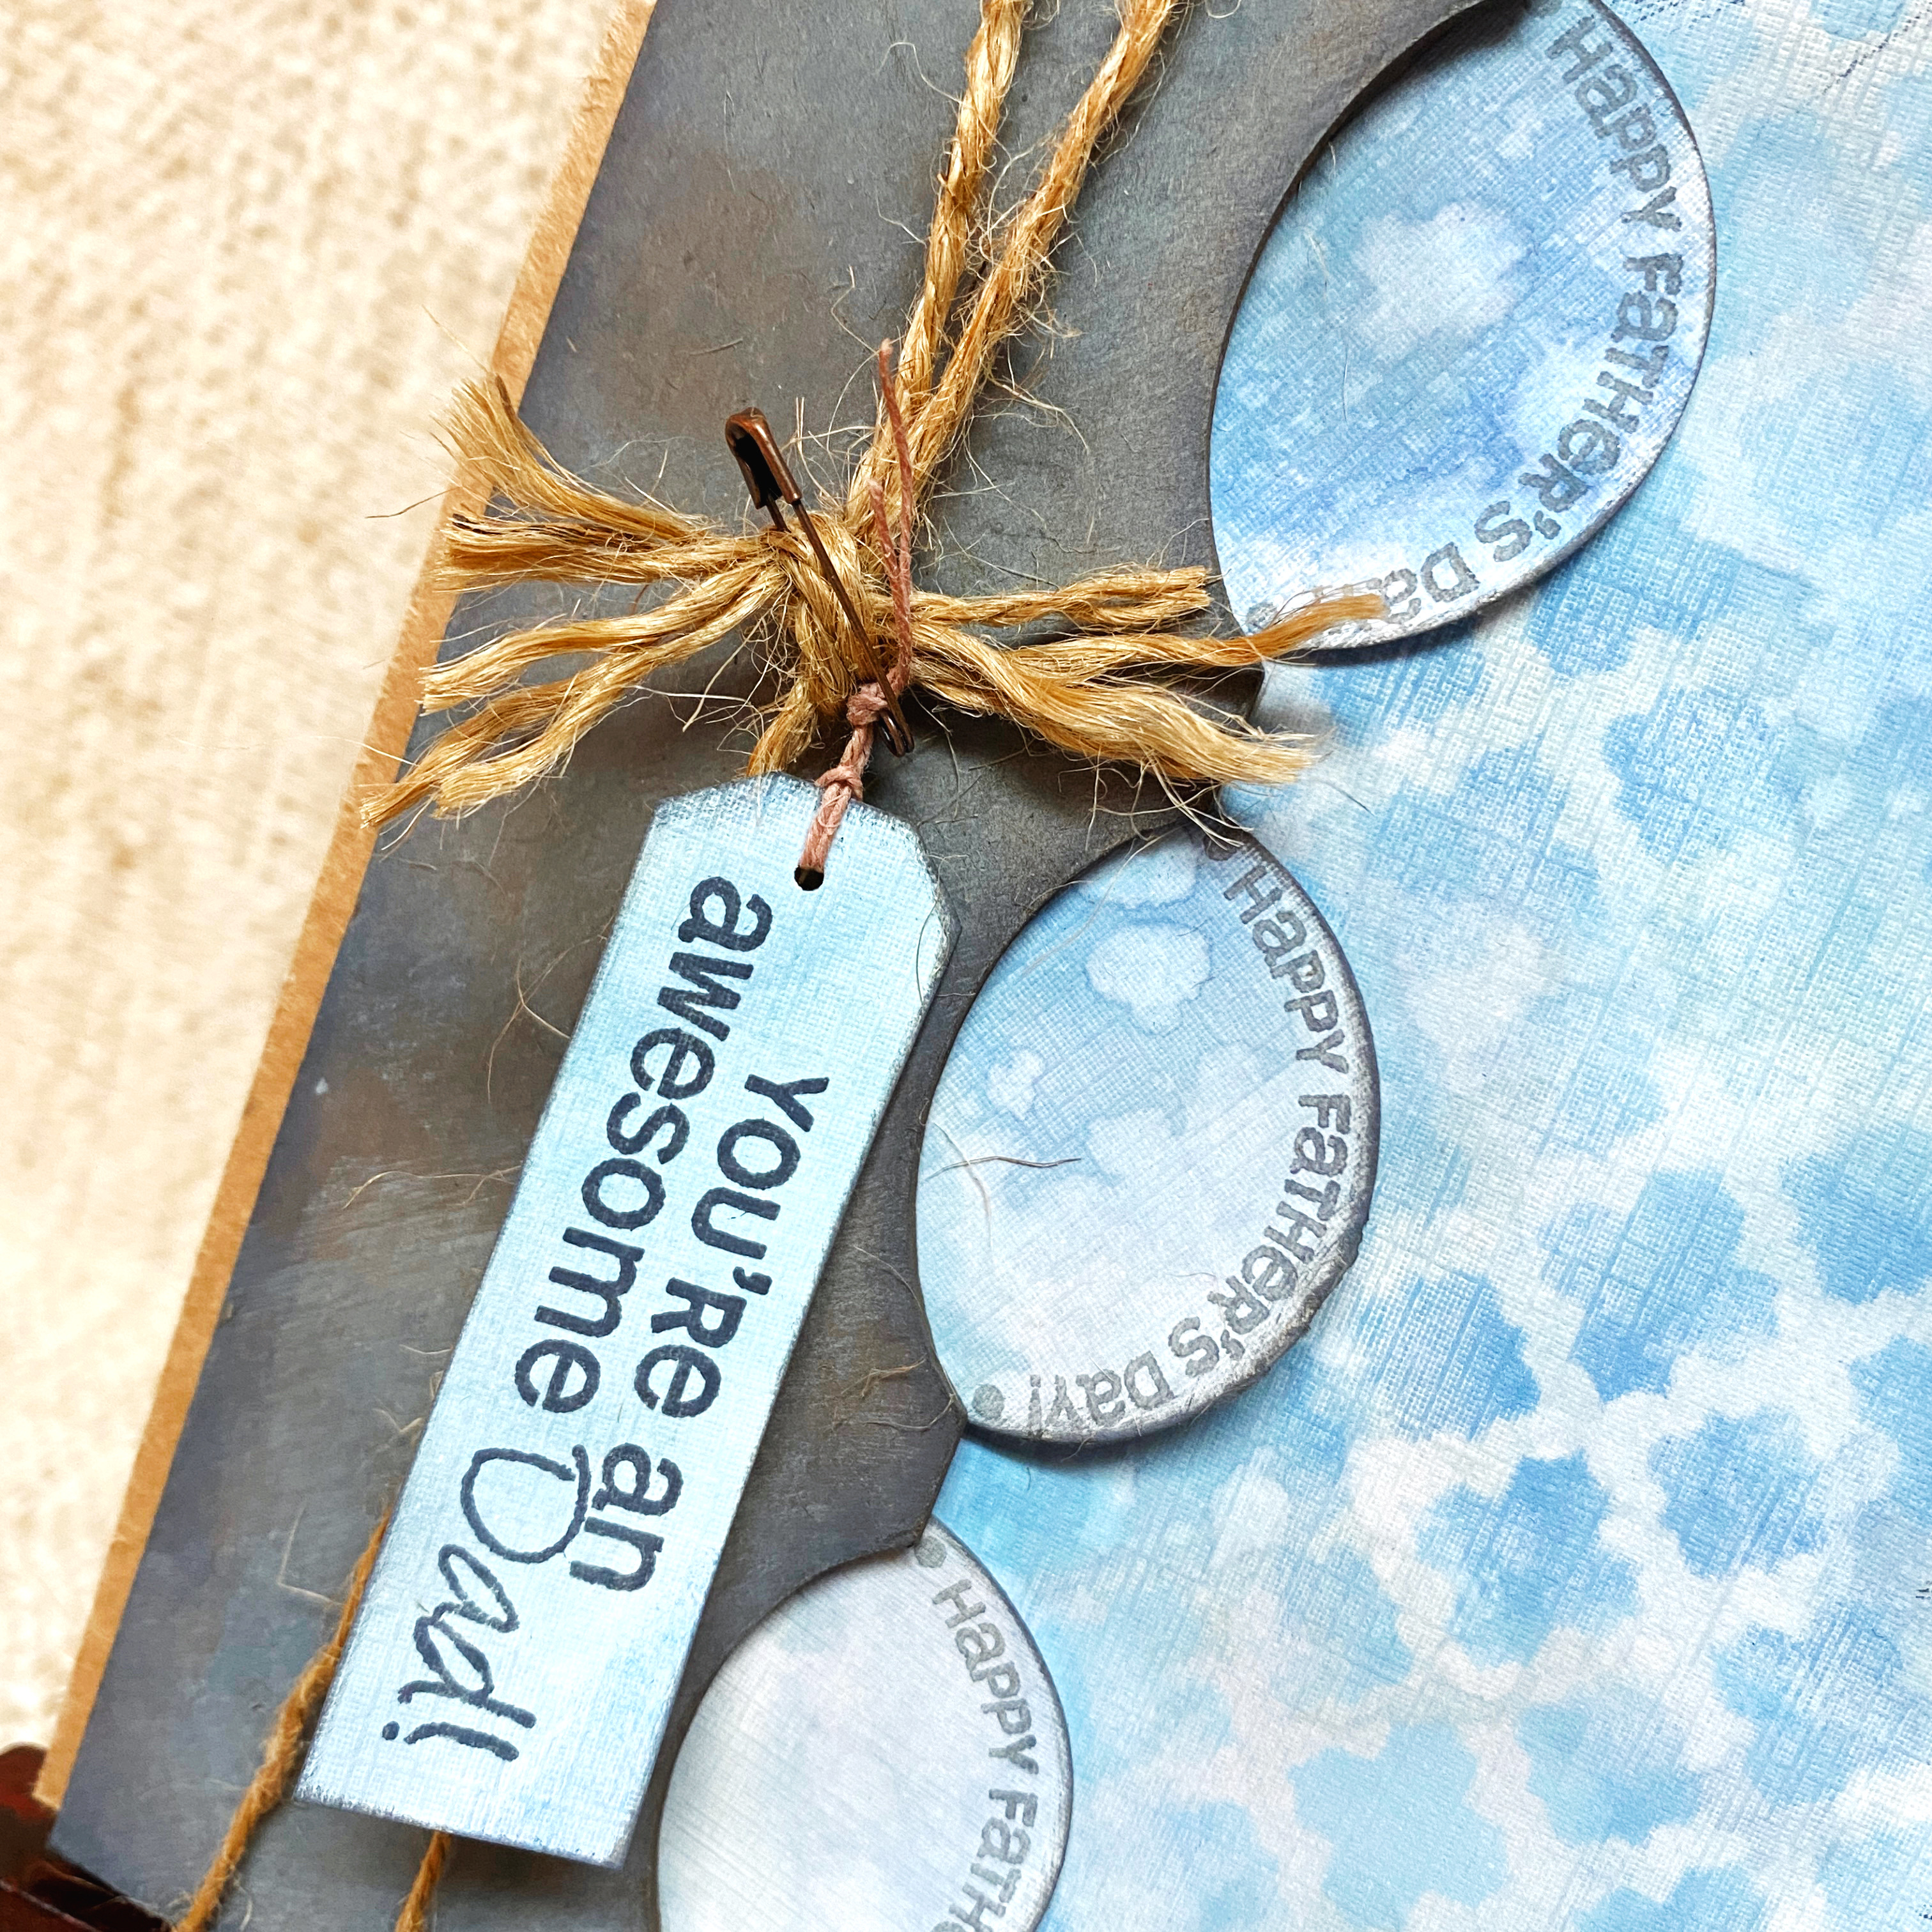
The stamp set had a circle Happy Father's Day sentiment that seemed to match up to the size of the cut outs in the borders, so I started there, and kept adding!
Here's how the card turned out…

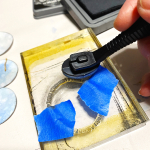
Here's how I made it… first, I cut one of the borders in half then inked with several different shades of blue and brown ink…

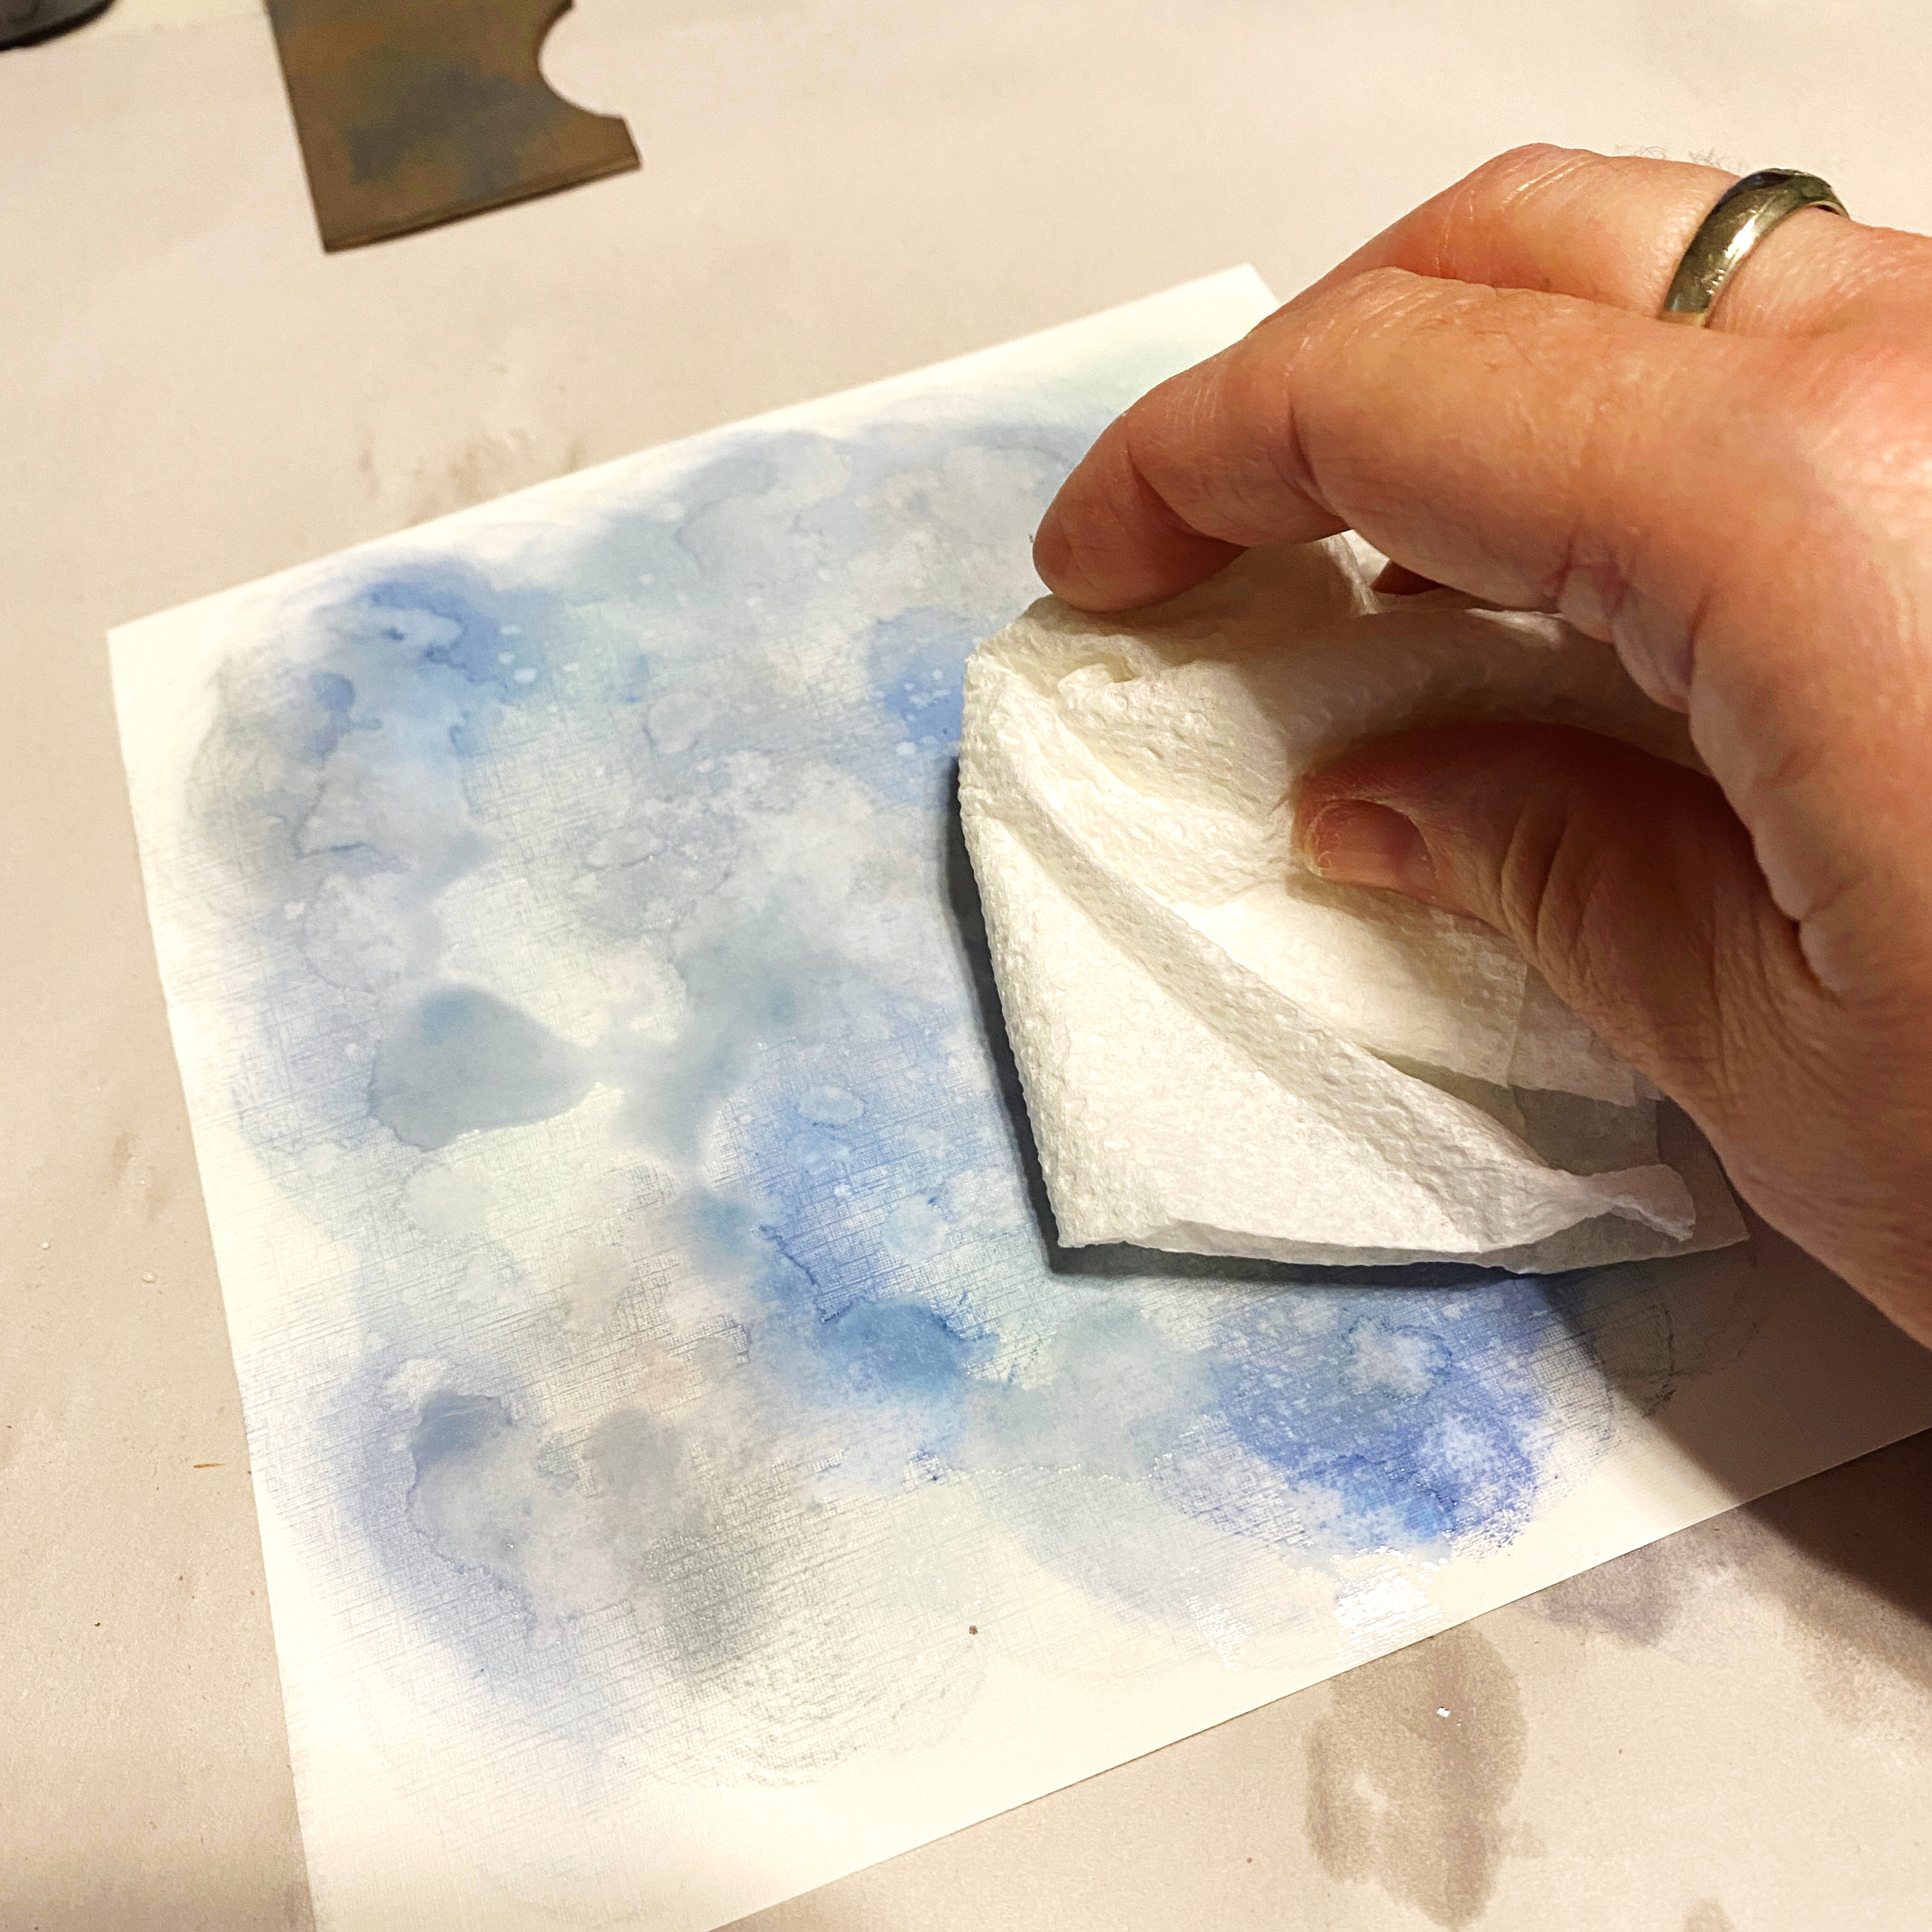
Next, I inked up a piece of white cardstock in different shades of blue, spritzed it lightly with water, blotted gently and set it aside to dry…


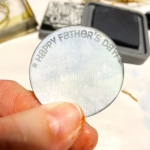
Once the cardstock had dried, I cut a 3 1/2 X 5 1/4" piece and punched out 3 circles…

I masked off the bottom of the circle sentiment, inked the stamp, removed the mask and stamped at the top of a circle; repeat for other 2 circles…
I also stamped the sentiment for the card on a leftover piece of the inked paper and hand cut it in the shape of a tag…


I adhered pieces of twine on the ends of the back of the border with double sided tape, then tied the towards the top…


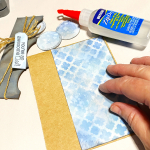
Then it was time to assemble, I started by adhering the inked paper towards the right side of a 4 1/4 X 5 1/2 kraft card base, then adhered the circles to the back of the border before adhering it towards the left of the card base. Attaching the tag with thin twine and a tiny pin finished the card…
Supplies:
Clear Scraps: Curves Chipboard Borders and 6" Quarterfoil Stencil
Other: Ranger: Distress Oxide Inks, The Stamps of Life: All Star Dad Stamps, Beacon Adhesives: Zip Dry, Clear Snap: ColorBox Stylus & Tips, Pionerr: Double Sided Tape, Cardstock, 1 1/2" Circle Punch, Jute, Twine, Tiny Safety Pin and Blue Painter's Tape


Leave a comment