Hola!
Tami here with you on the Clear Scraps Blog today with another Fall project to share with you.
Is your house all decked out in fall colors? Are you hosting Thanksgiving Dinner? Do you need a table decoration? Or if you are attending rather than hosting Thanksgiving, do you need a gift for your hosts?
This decor piece is quick and easy thanks to Clear Scraps 6" Pumpkin Stencil…

I used the Deco Wood Shape as a base and added the Blessed Chipboard Word Title to accent the piece.
Let me show you how I made it step by step…
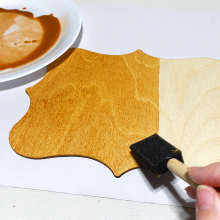
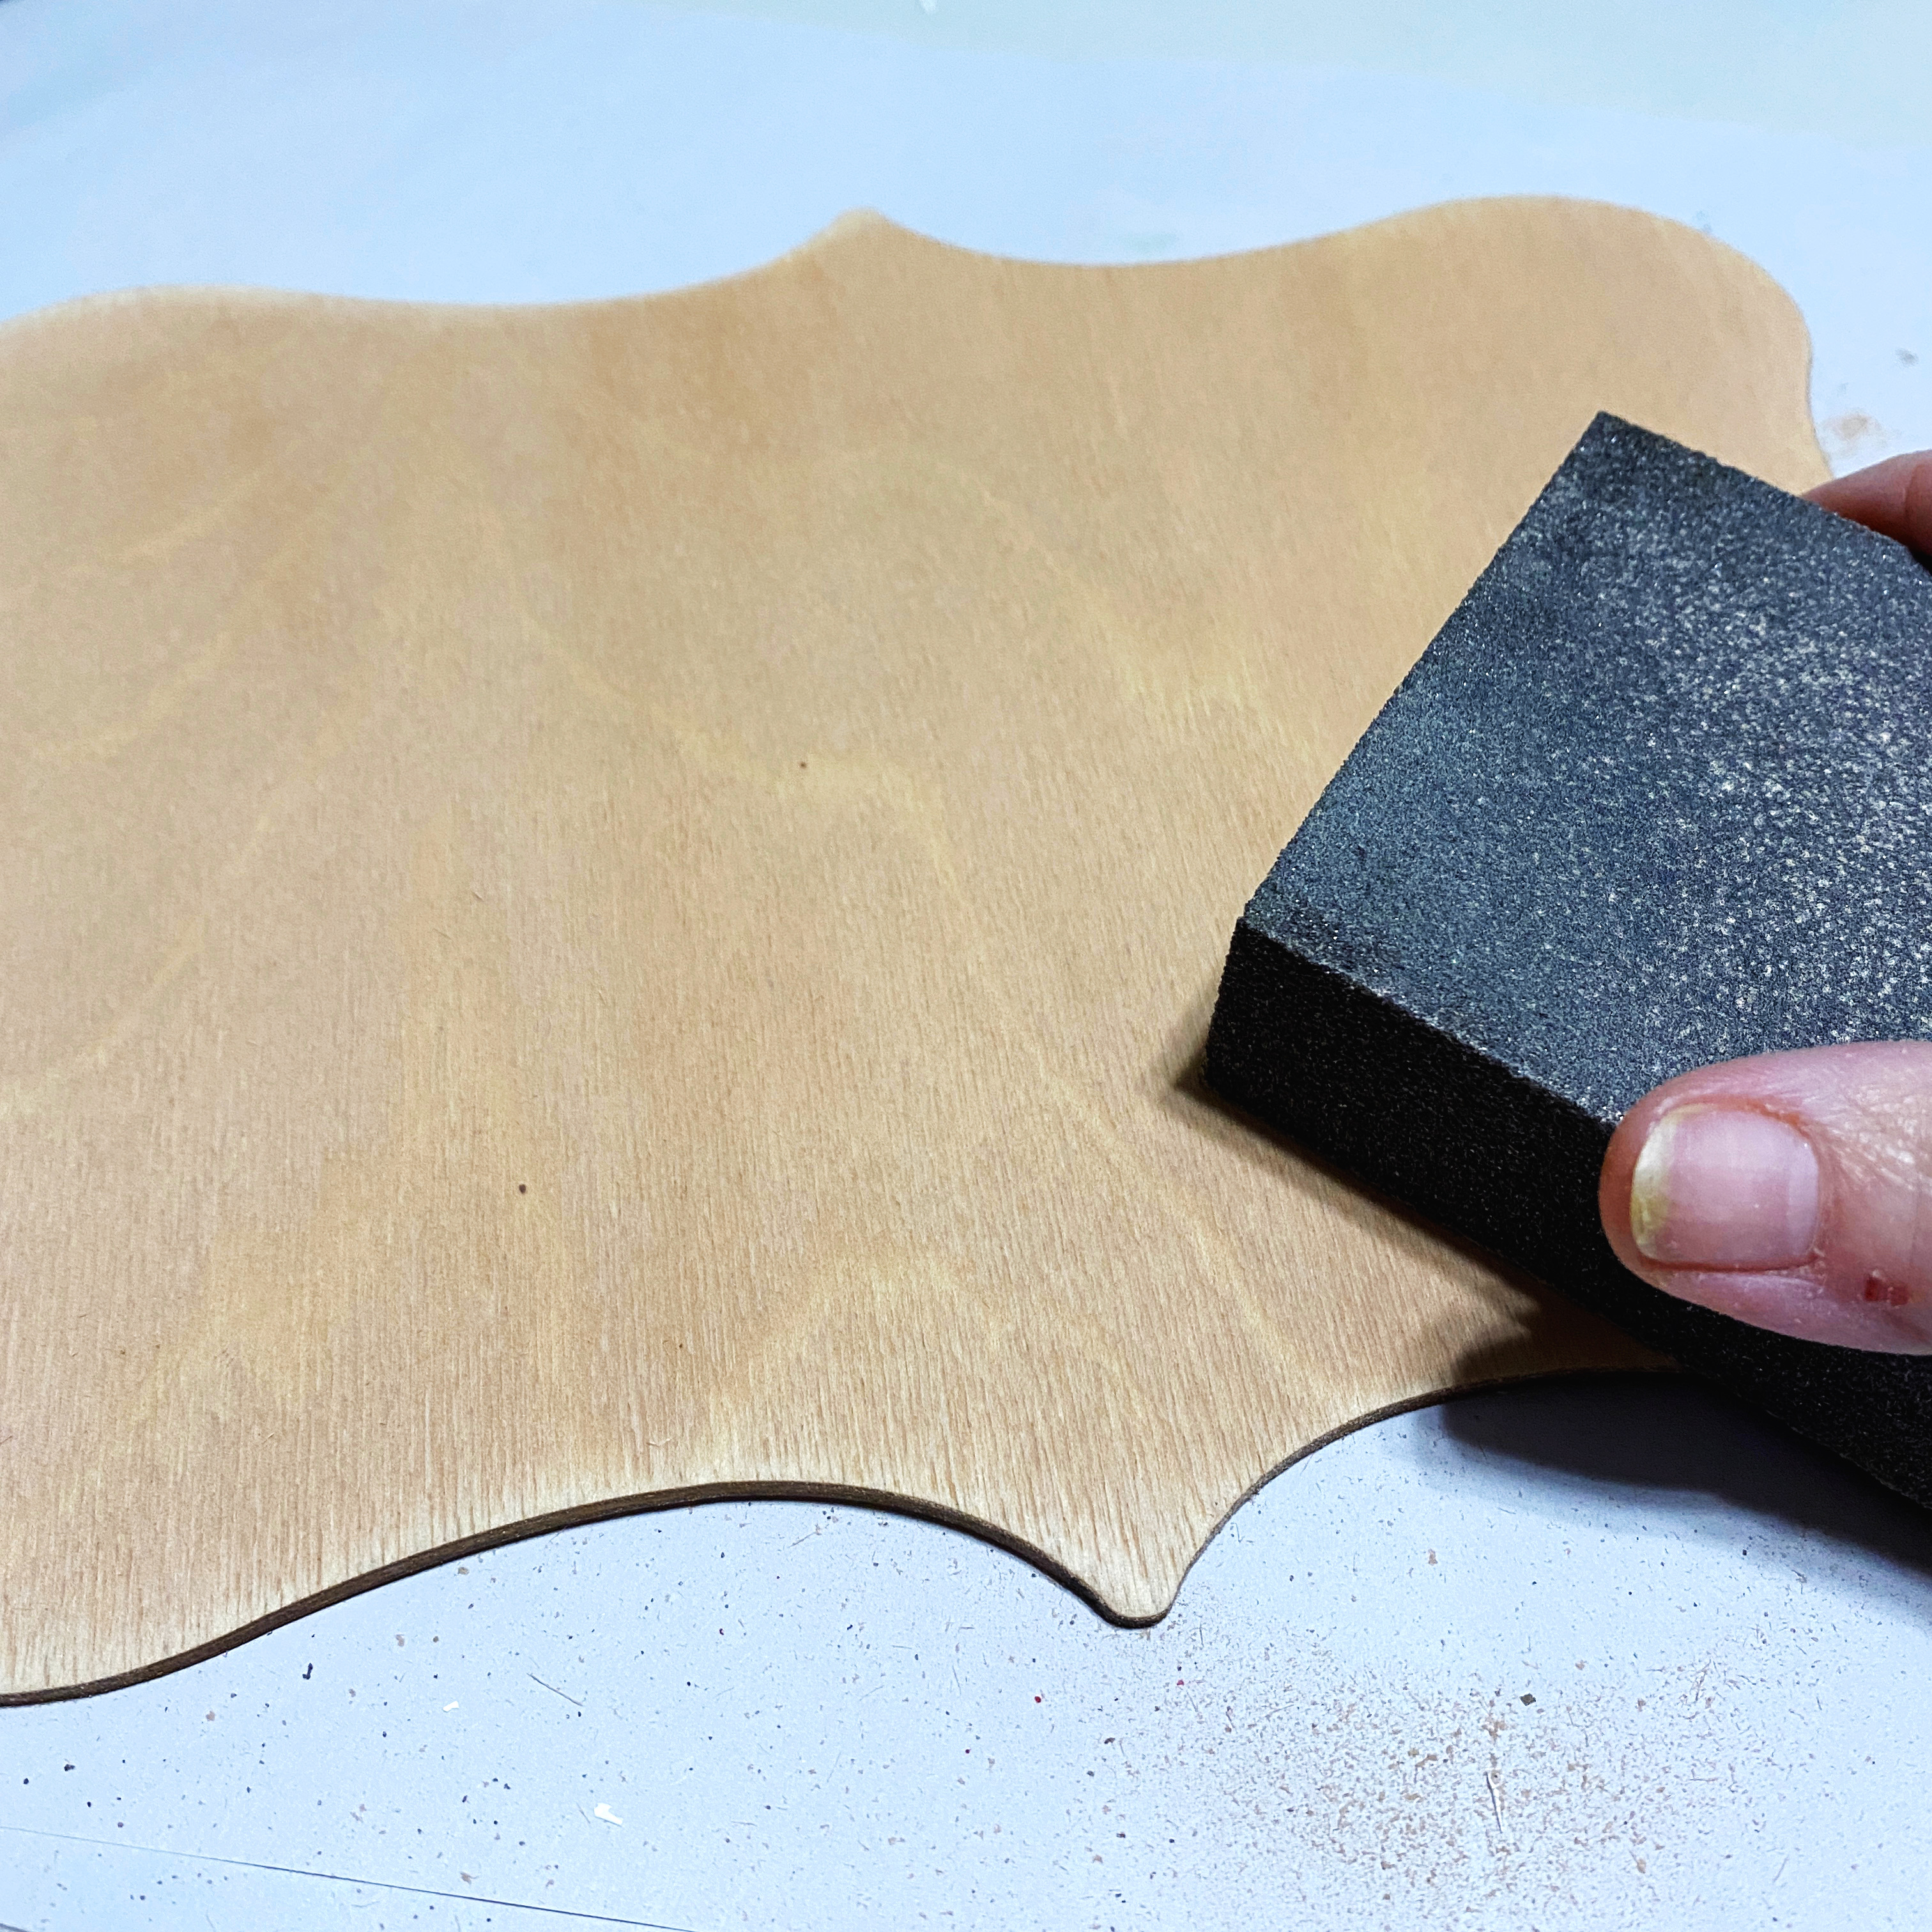
First I used diluted brown paint to stain the wood base, then after it dried, I used a sanding block to distress it…
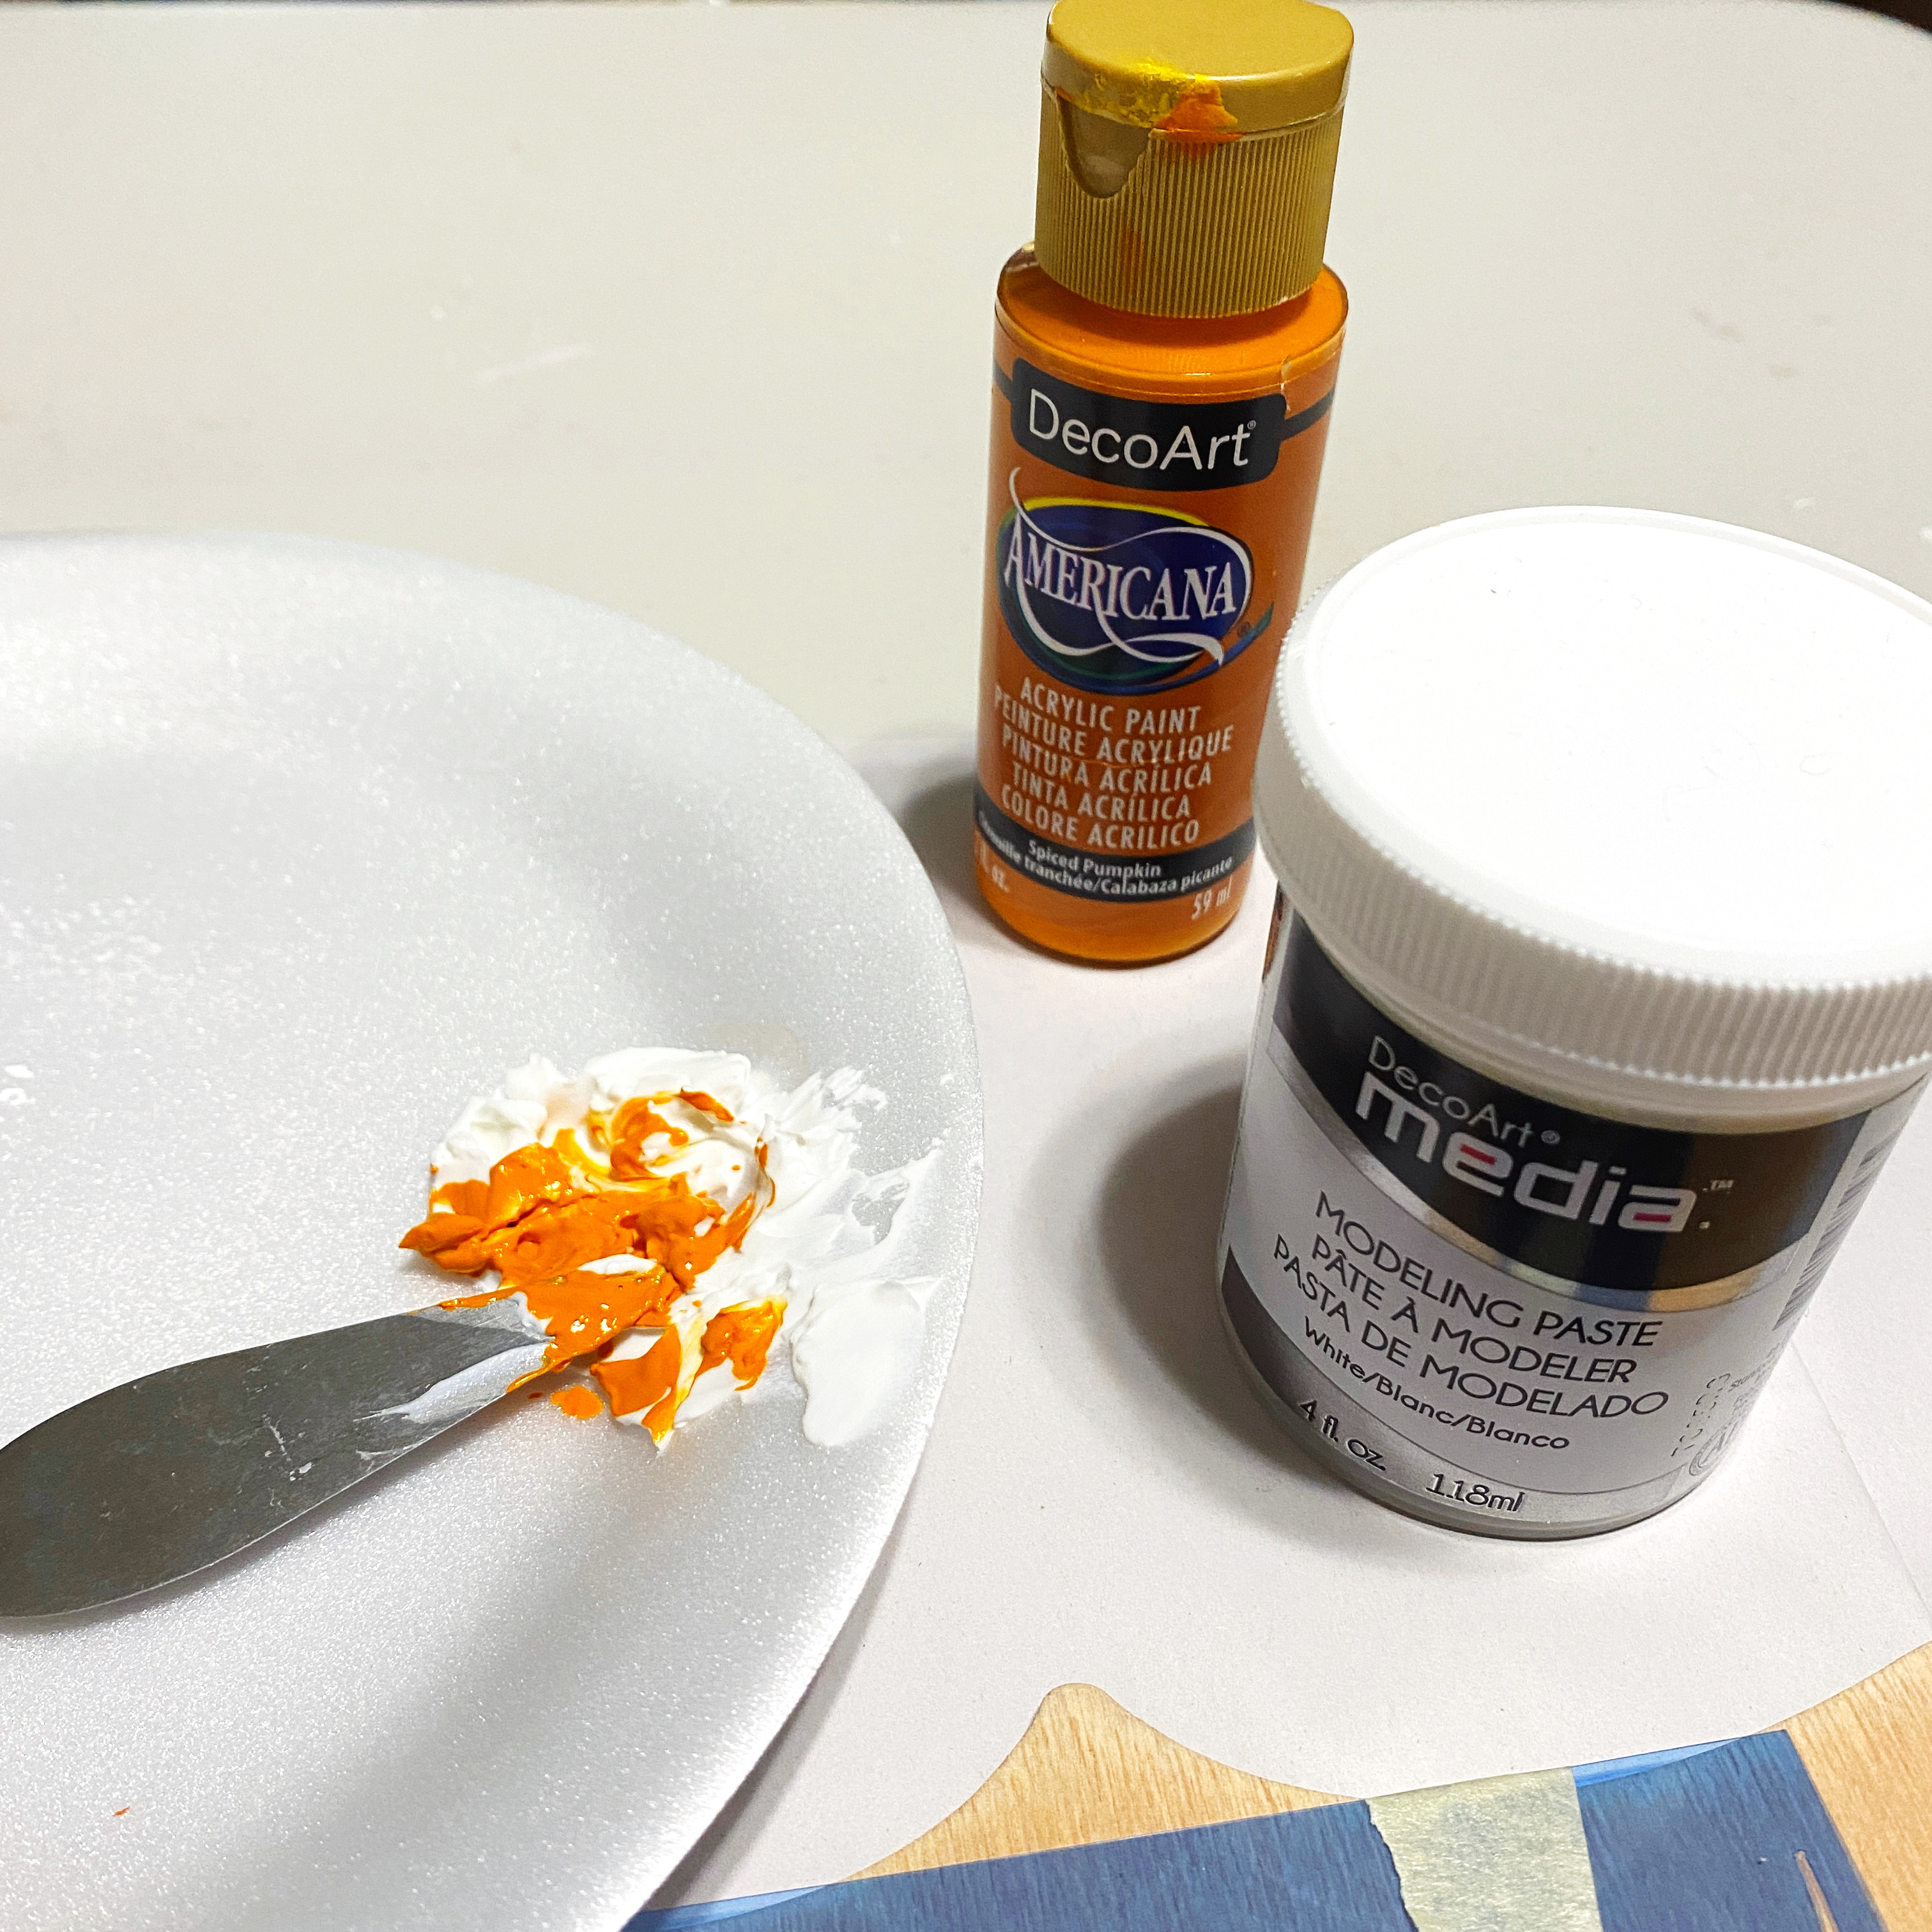
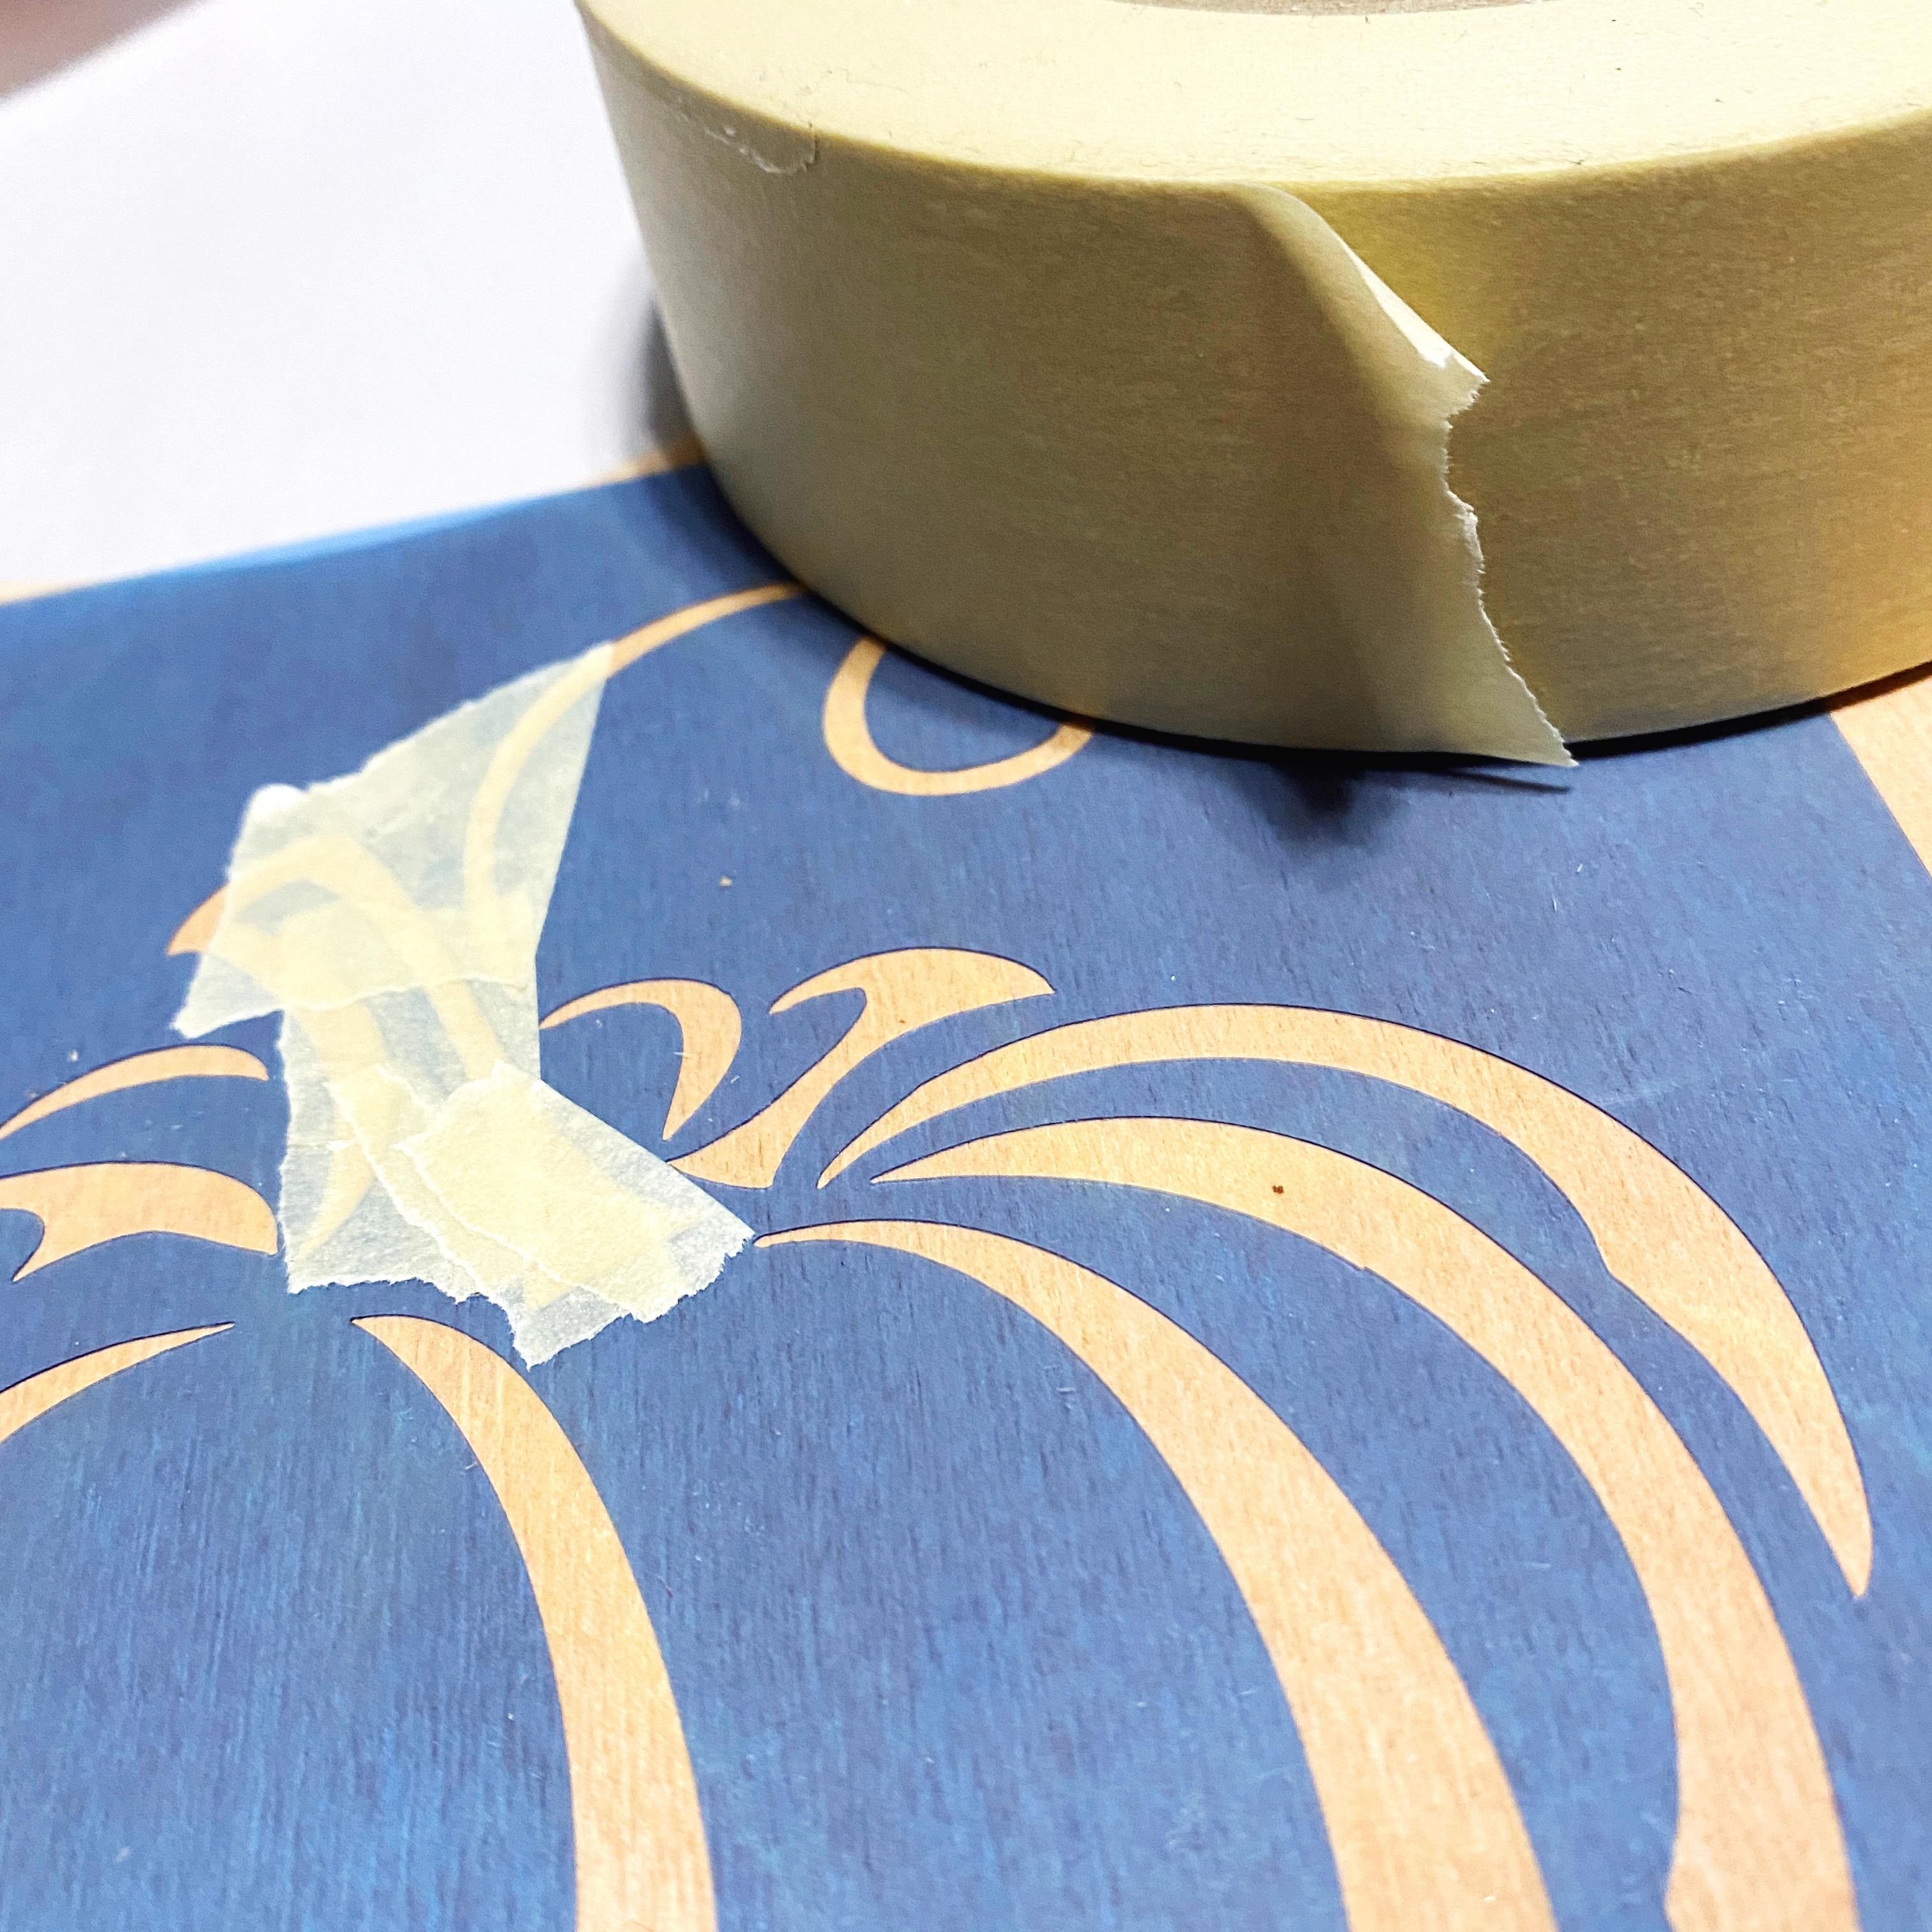
Next I mixed a little orange paint into some modeling paste. Then I taped the pumpkin stencil to the wood and used a pallet knife to apply the modeling paste to the pumpkin portion of the stencil. HINT: also tape off any areas close to the pumpkin that you don't want orange. Modeling paste was tinted brown and green to do the stem and vine…


Once all the modeling paste has been applied, lift the stencil and let the paste dry. After it is dry, fill in the pumpkin using a lighter shade of orange…

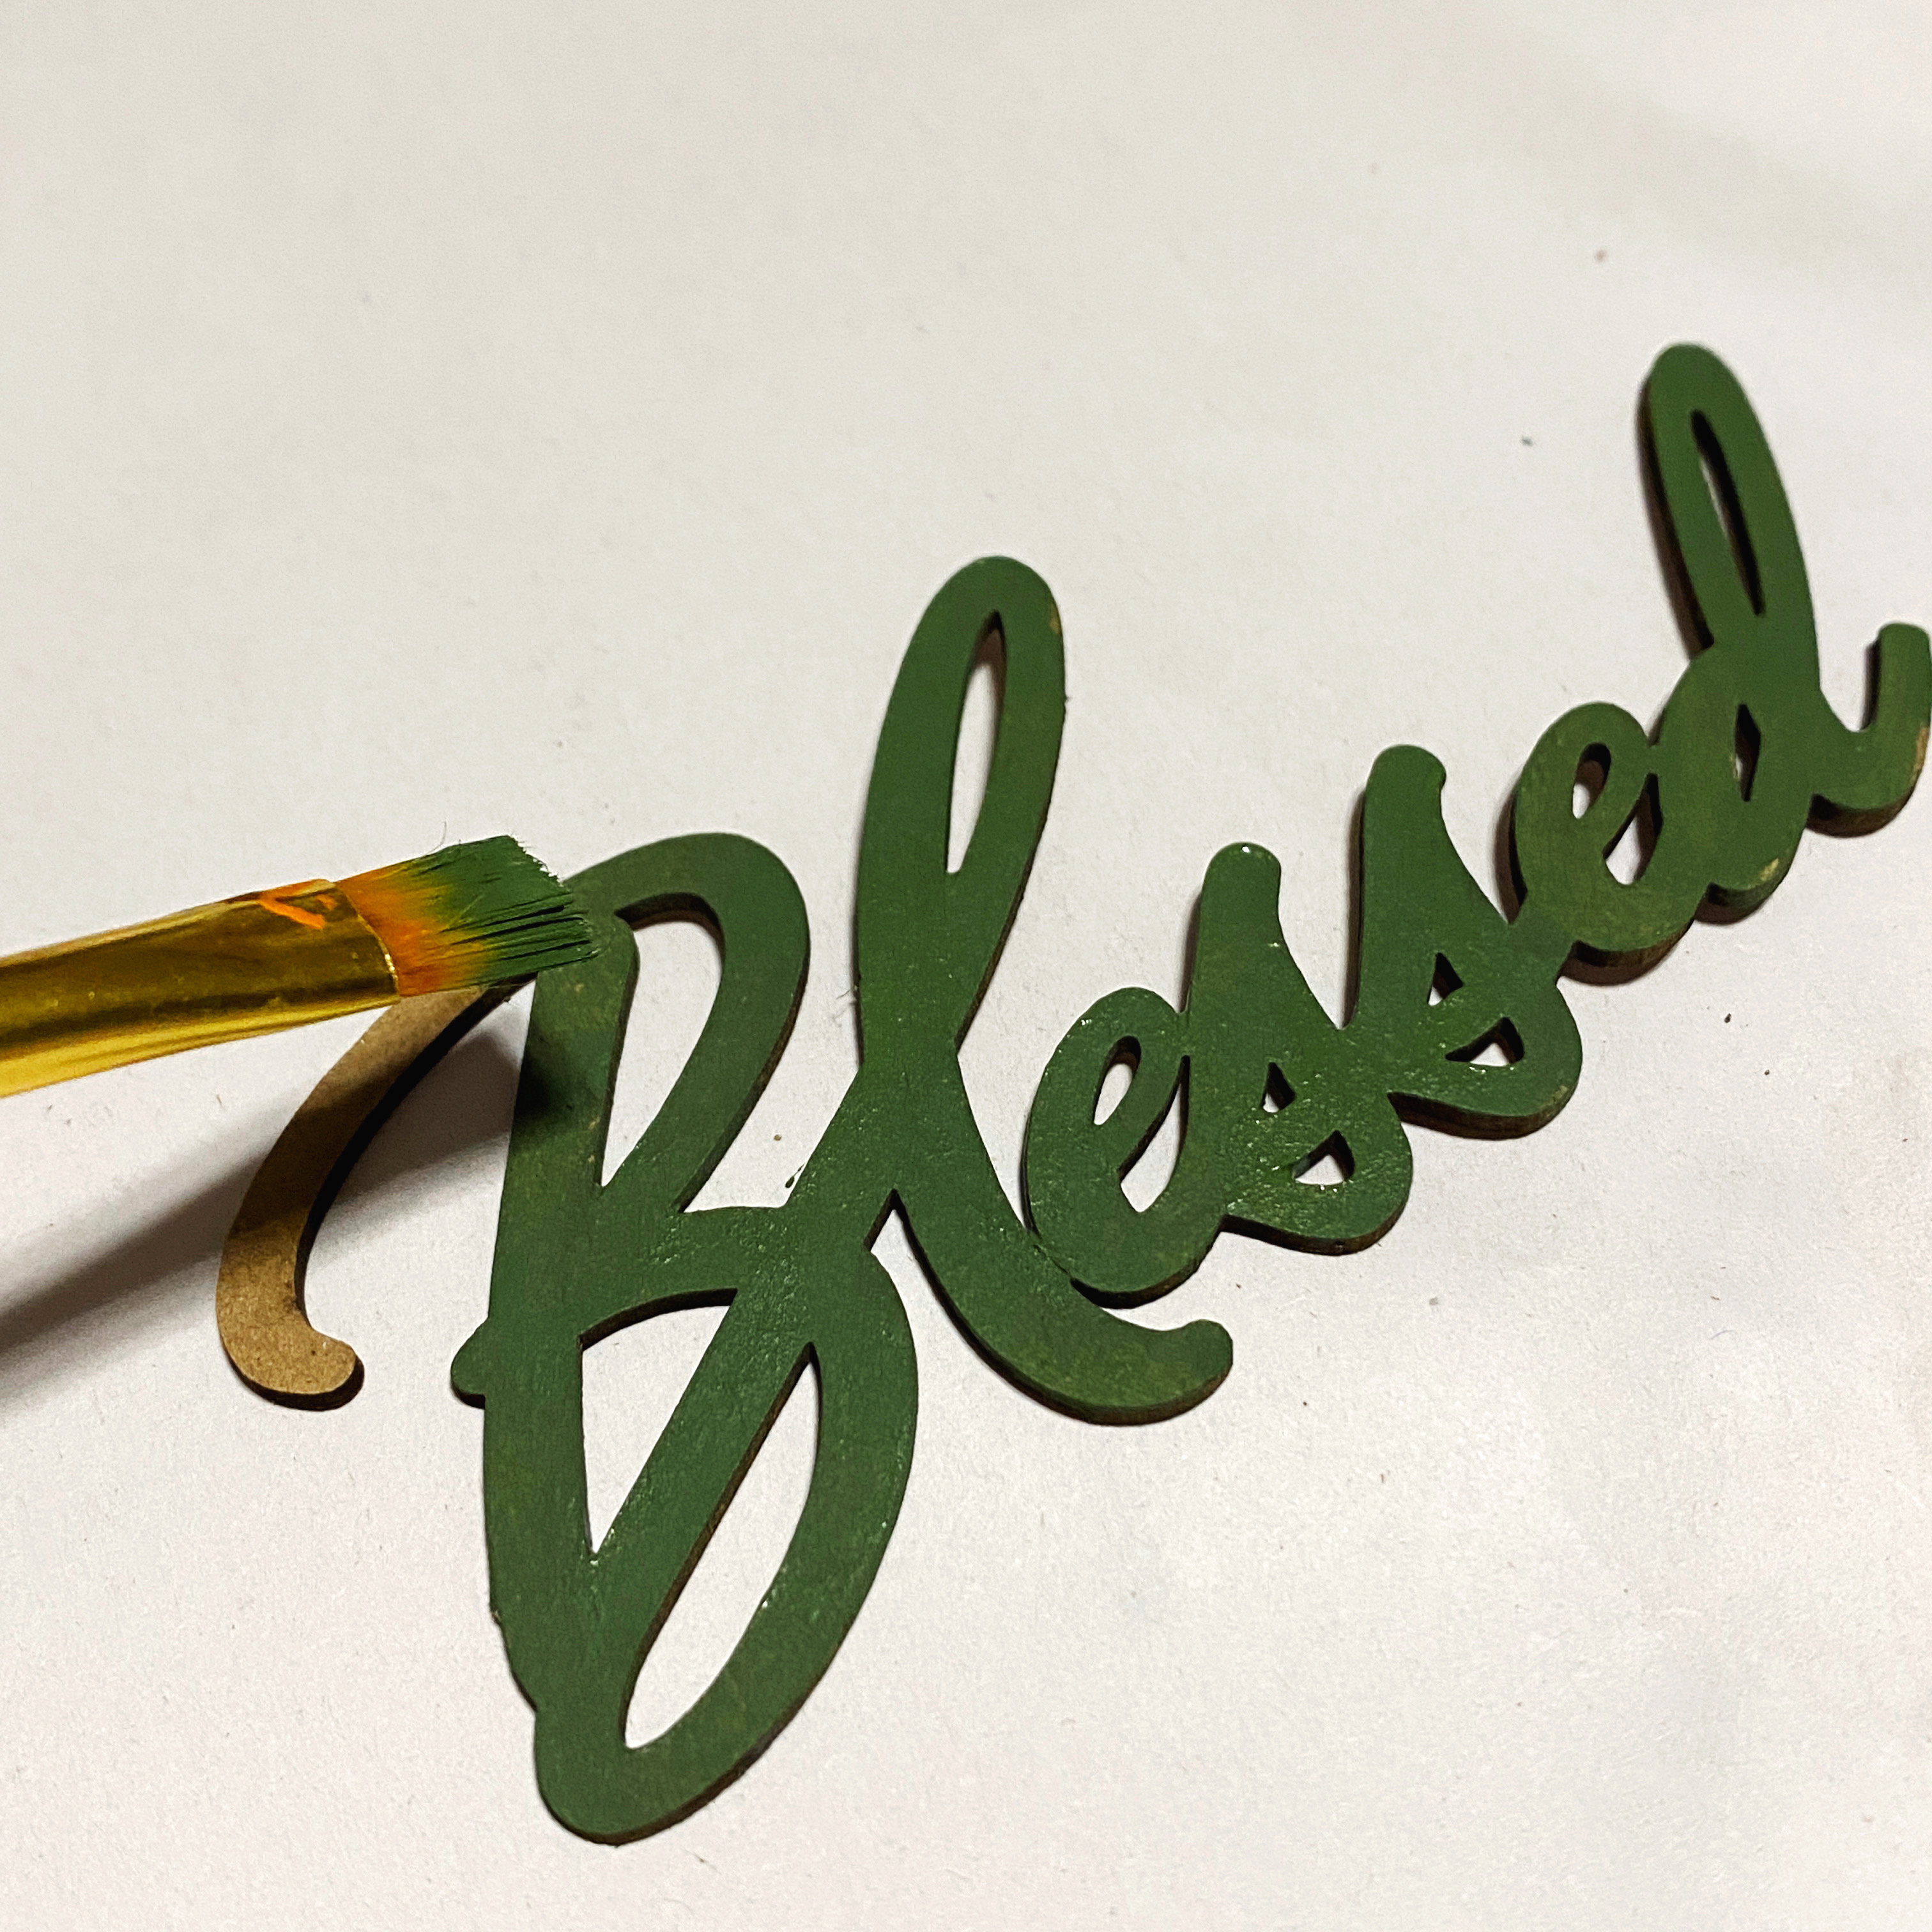
Paint the Blessed Chipboard Word using Green Paint, then adhere to the base…
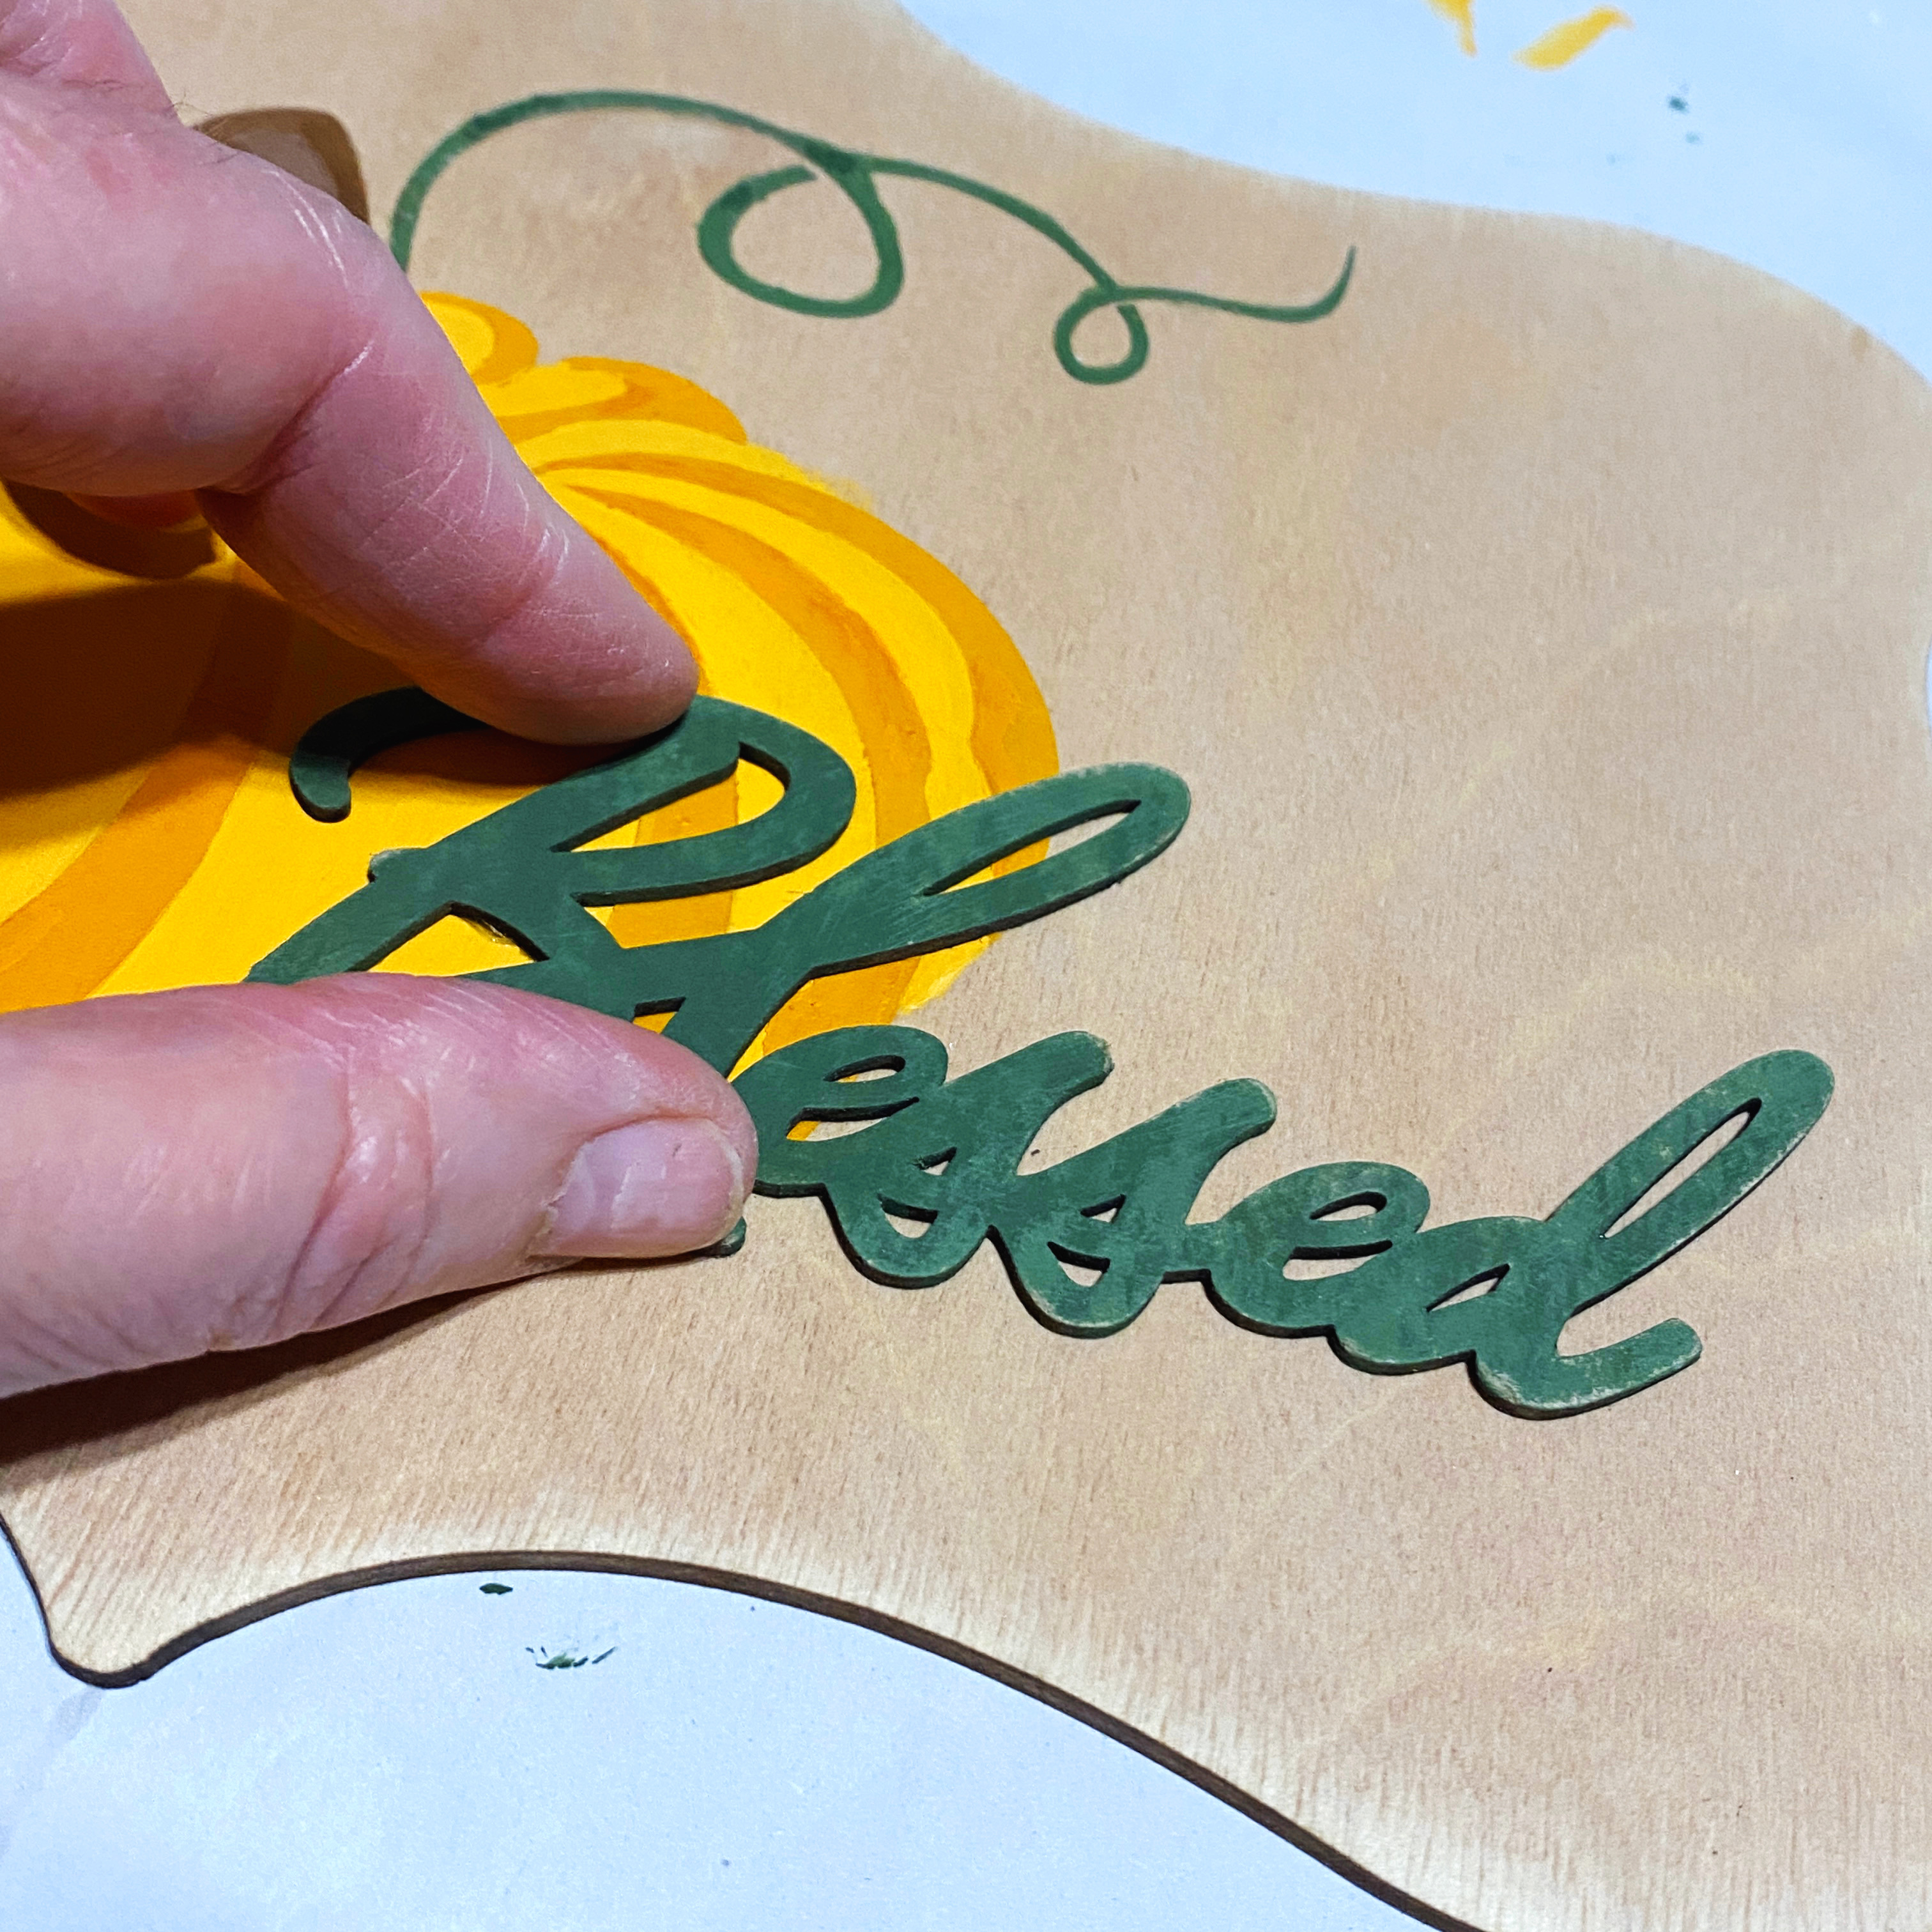
A ribbon bow was added to the upper left corner to finish of the piece.
SUPPLIES:
Clear Scraps: 6" Pumpkin Stencil, Deco Wood Shape and Blessed Chipboard Word Title
Other: DecoArt: Modeling Paste, Pumpkin Spice and Avocado Green Acrylic Paint, Beacon Adhesives: Zip Dry, Brown Paint, Masking Tape and Ribbon


Leave a comment