
Pumpkins, spiders, ghosts and bats, Oh My!!
I found this super cute Prima Halloween collection paper from the Thirty-one and Luna collections and mashed them together to make a Halloween album using the clear scraps found here. 6×6 3 tab album
Front cover

I covered the front with striped paper and then inked the edges. I cut and inked a 2 x 6 in piece of the pumpkin paper and added to the left a 1/2 inch from the edge of the album. Then I added a black and white chipboard frame by gluing the sides and bottom only so a picture can be added later. I gathered some of the ephemera pieces (bingo card, pumpkin, and 31) and layered them in the bottom left corner of the frame and embellished with flowers and some pearls. I added a ghost to the upper right corner of the frame.
Inside front cover

I covered the chipboard with the black and pink candy paper and inked the edges. I cut and inked a 2.5 in piece from the pink spider web paper and glued the top, left side and bottom (do not glue the right side) to the black candy page to create a pocket. I cut and inked several tags, added ribbon and charms and tucked them into the pocket. Next, I cut and inked the black and white photo and glued it to the top of the spider web paper, added some candy corn ephemera, pink sparkle embellishment and the “hey pumpkin”.
First tab – front

For the front of the first tab, I covered and inked with the potions paper. I then cut, inked and glued a 4.5 x 4.5 in piece from the pink spider web paper to the potions paper. I added a ribbon to the left side of the page. I added some ephemera pieces that I inked to the bottom right. Note: I made sure I didn’t glue the portion that is over the pink paper so a photo can be added and tucked under the pieces. Finally I finished the page with some pink sparkle.
First tab- back


I covered and inked the back side of the first tab with black star paper. I created a pocket by cutting a 3 inch piece of the orange dot paper. I used a circle punch to cut a half circle in the middle of the paper. I inked and glued all sides except the top to create the pocket. I cut and inked a few tags, added ribbon and charms then tucked them into the pocket. I grabbed a scrap of the black star paper, found some glitter and other sparkly pieces and laid them on top of the paper. I grabbed a clear bottle sticker and carefully stuck it on top of the glitter and paper to create a shaker. Once adhered, I cut around the bottle sticker, added some twine, a flower and charm to the neck of the bottle.
Second tab – front

For the front , I covered and inked the page with ghost paper. I cut and inked a 2in piece of the orange dot paper and glued it to the middle of the paper. I tilted and glued a 4×4 piece of the black starred paper, added a black and white chipboard frame, I did not glue the top portion of the frame so a picture can be tucked in later. Added some ephemera pieces to finish off the page.
Second tab – back


Cover and ink with caldron and pumpkin paper. I cut an angled piece of pink mesh paper, then glued a 1.5 in piece of the black starred paper to the mesh piece, glued pink ribbon and embellished with flowers and the little girl tag. Then I glued the mesh paper to the page to create a pocket. Note: glue all of the paper, ribbon and embellishments to the mesh paper before adhering to the page. Finally I cut a few tags and tucked them into the pocket.
Third tab – front

Cover and ink with the cat paper. I cut and inked a 2 in piece with the witch print and glued it to the right side of the page. I added a black and white chipboard frame , I did not glue the top so a picture can be added later. I cut a 1.5 x4 inch piece of black and pink dot paper and glued pink ribbon to the top, then added it to the bottom left of the page. Finally, added the broom and pumpkin ephemera and flower to the bottom right.
Third tab- back


Cover and ink ghost paper. Next, cut and ink a 2.5 inch from the black spider web paper. I then used a circle punch to cut a half circle in the middle. I glued the top, bottom and right edge to the page to create a pocket. I added a black ribbon on top, fussy cut the pumpkins and ghost from scrap paper and embellished the top of the pocket. I used the “31” ephemera pieces and added some flowers. For the pocket, I cut a 3×12 piece of bat paper, scored at 4 and 8 inches to create the fold out. I inked all edges and added pockets, ephemera, scrap paper to the inside of the fold out.
Back inside cover


Cover and ink a 6×8 piece of pumpkin paper. Score at 6in and adhere to the back cover. I then cut and inked a 4×4 piece from the black web a paper and adhered it to the page. Inked and added the “Happy Halloween “ and pumpkin ephemera to the page. I cut a 2 in piece from the striped paper and glued it to the flap, added a 1 in strip of black web paper and the “October 31” ephemera to the flap. Finally, I embellished with a spider web. I covered the back with the striped paper that was used on the front cover.


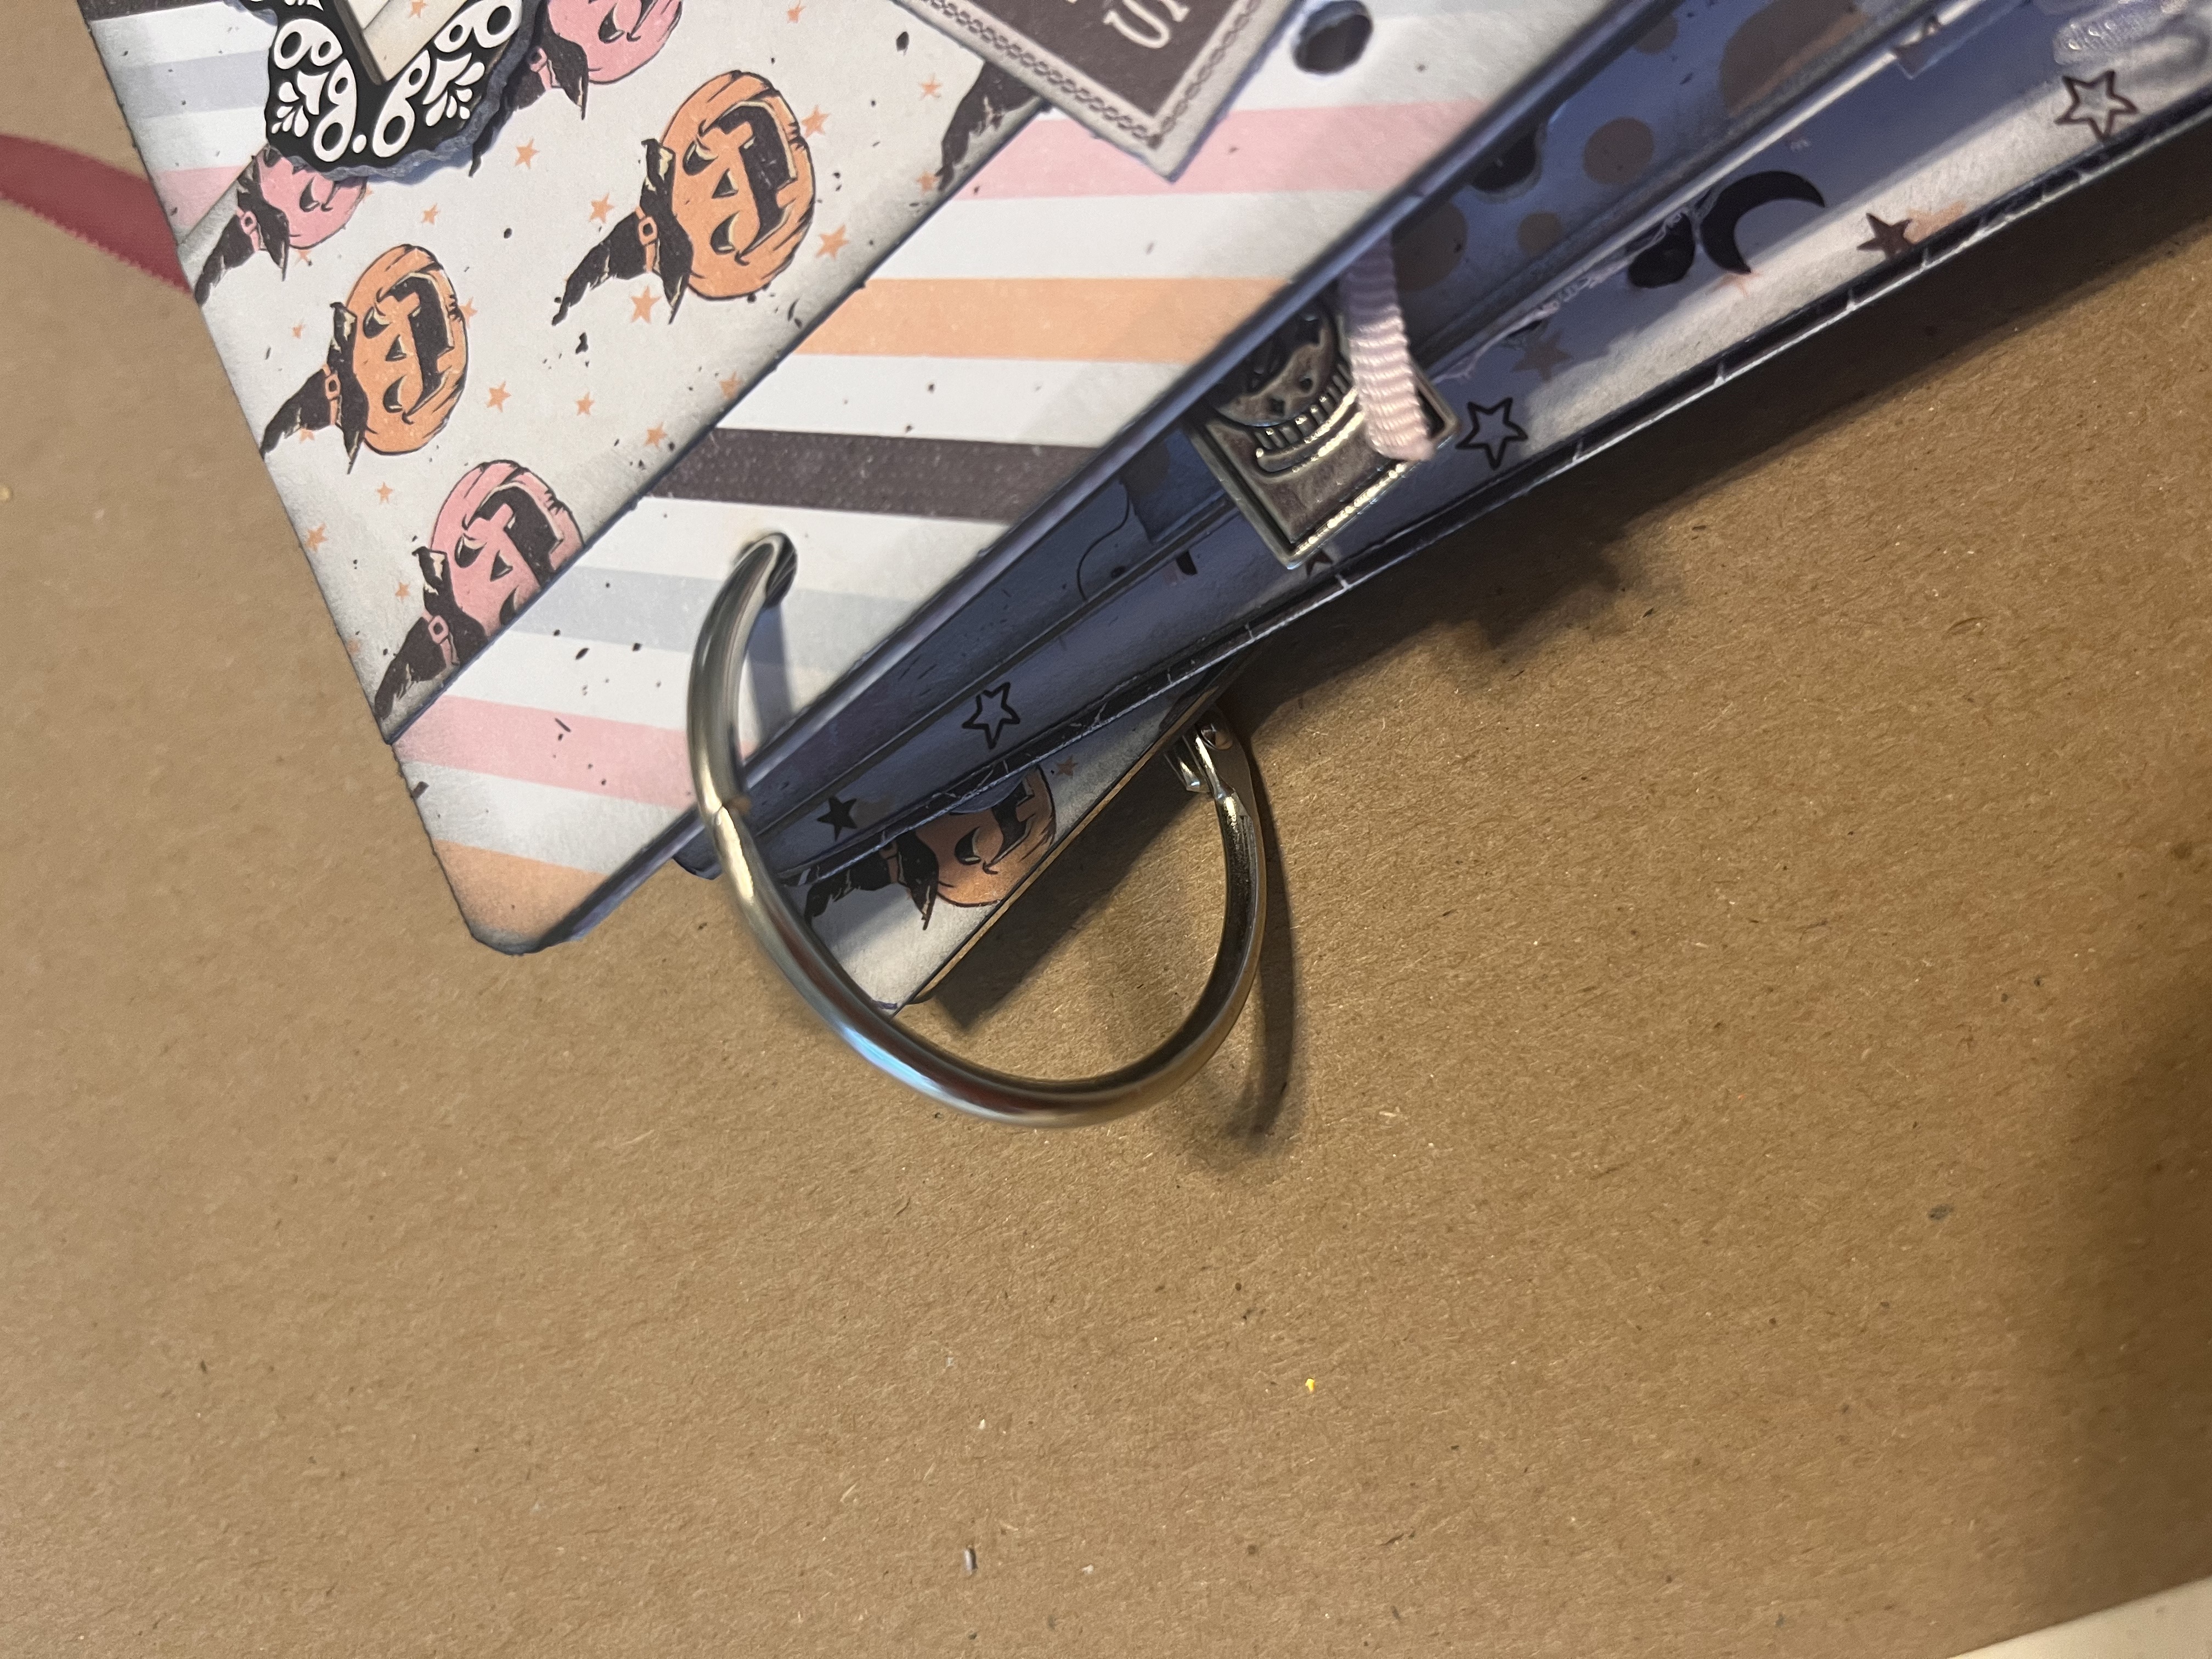
I used book rings to hold the book together. Then I cut different ribbons and tied the pieces to the book rings. Finally I used lightbulb hooks to add the pink and black pumpkin charms to the ribbon.
I hope you enjoy looking at my album, this is by far one of my favorite projects I have made. I just love the colors and all of the little details. Thank you and Happy Halloween.


Leave a comment