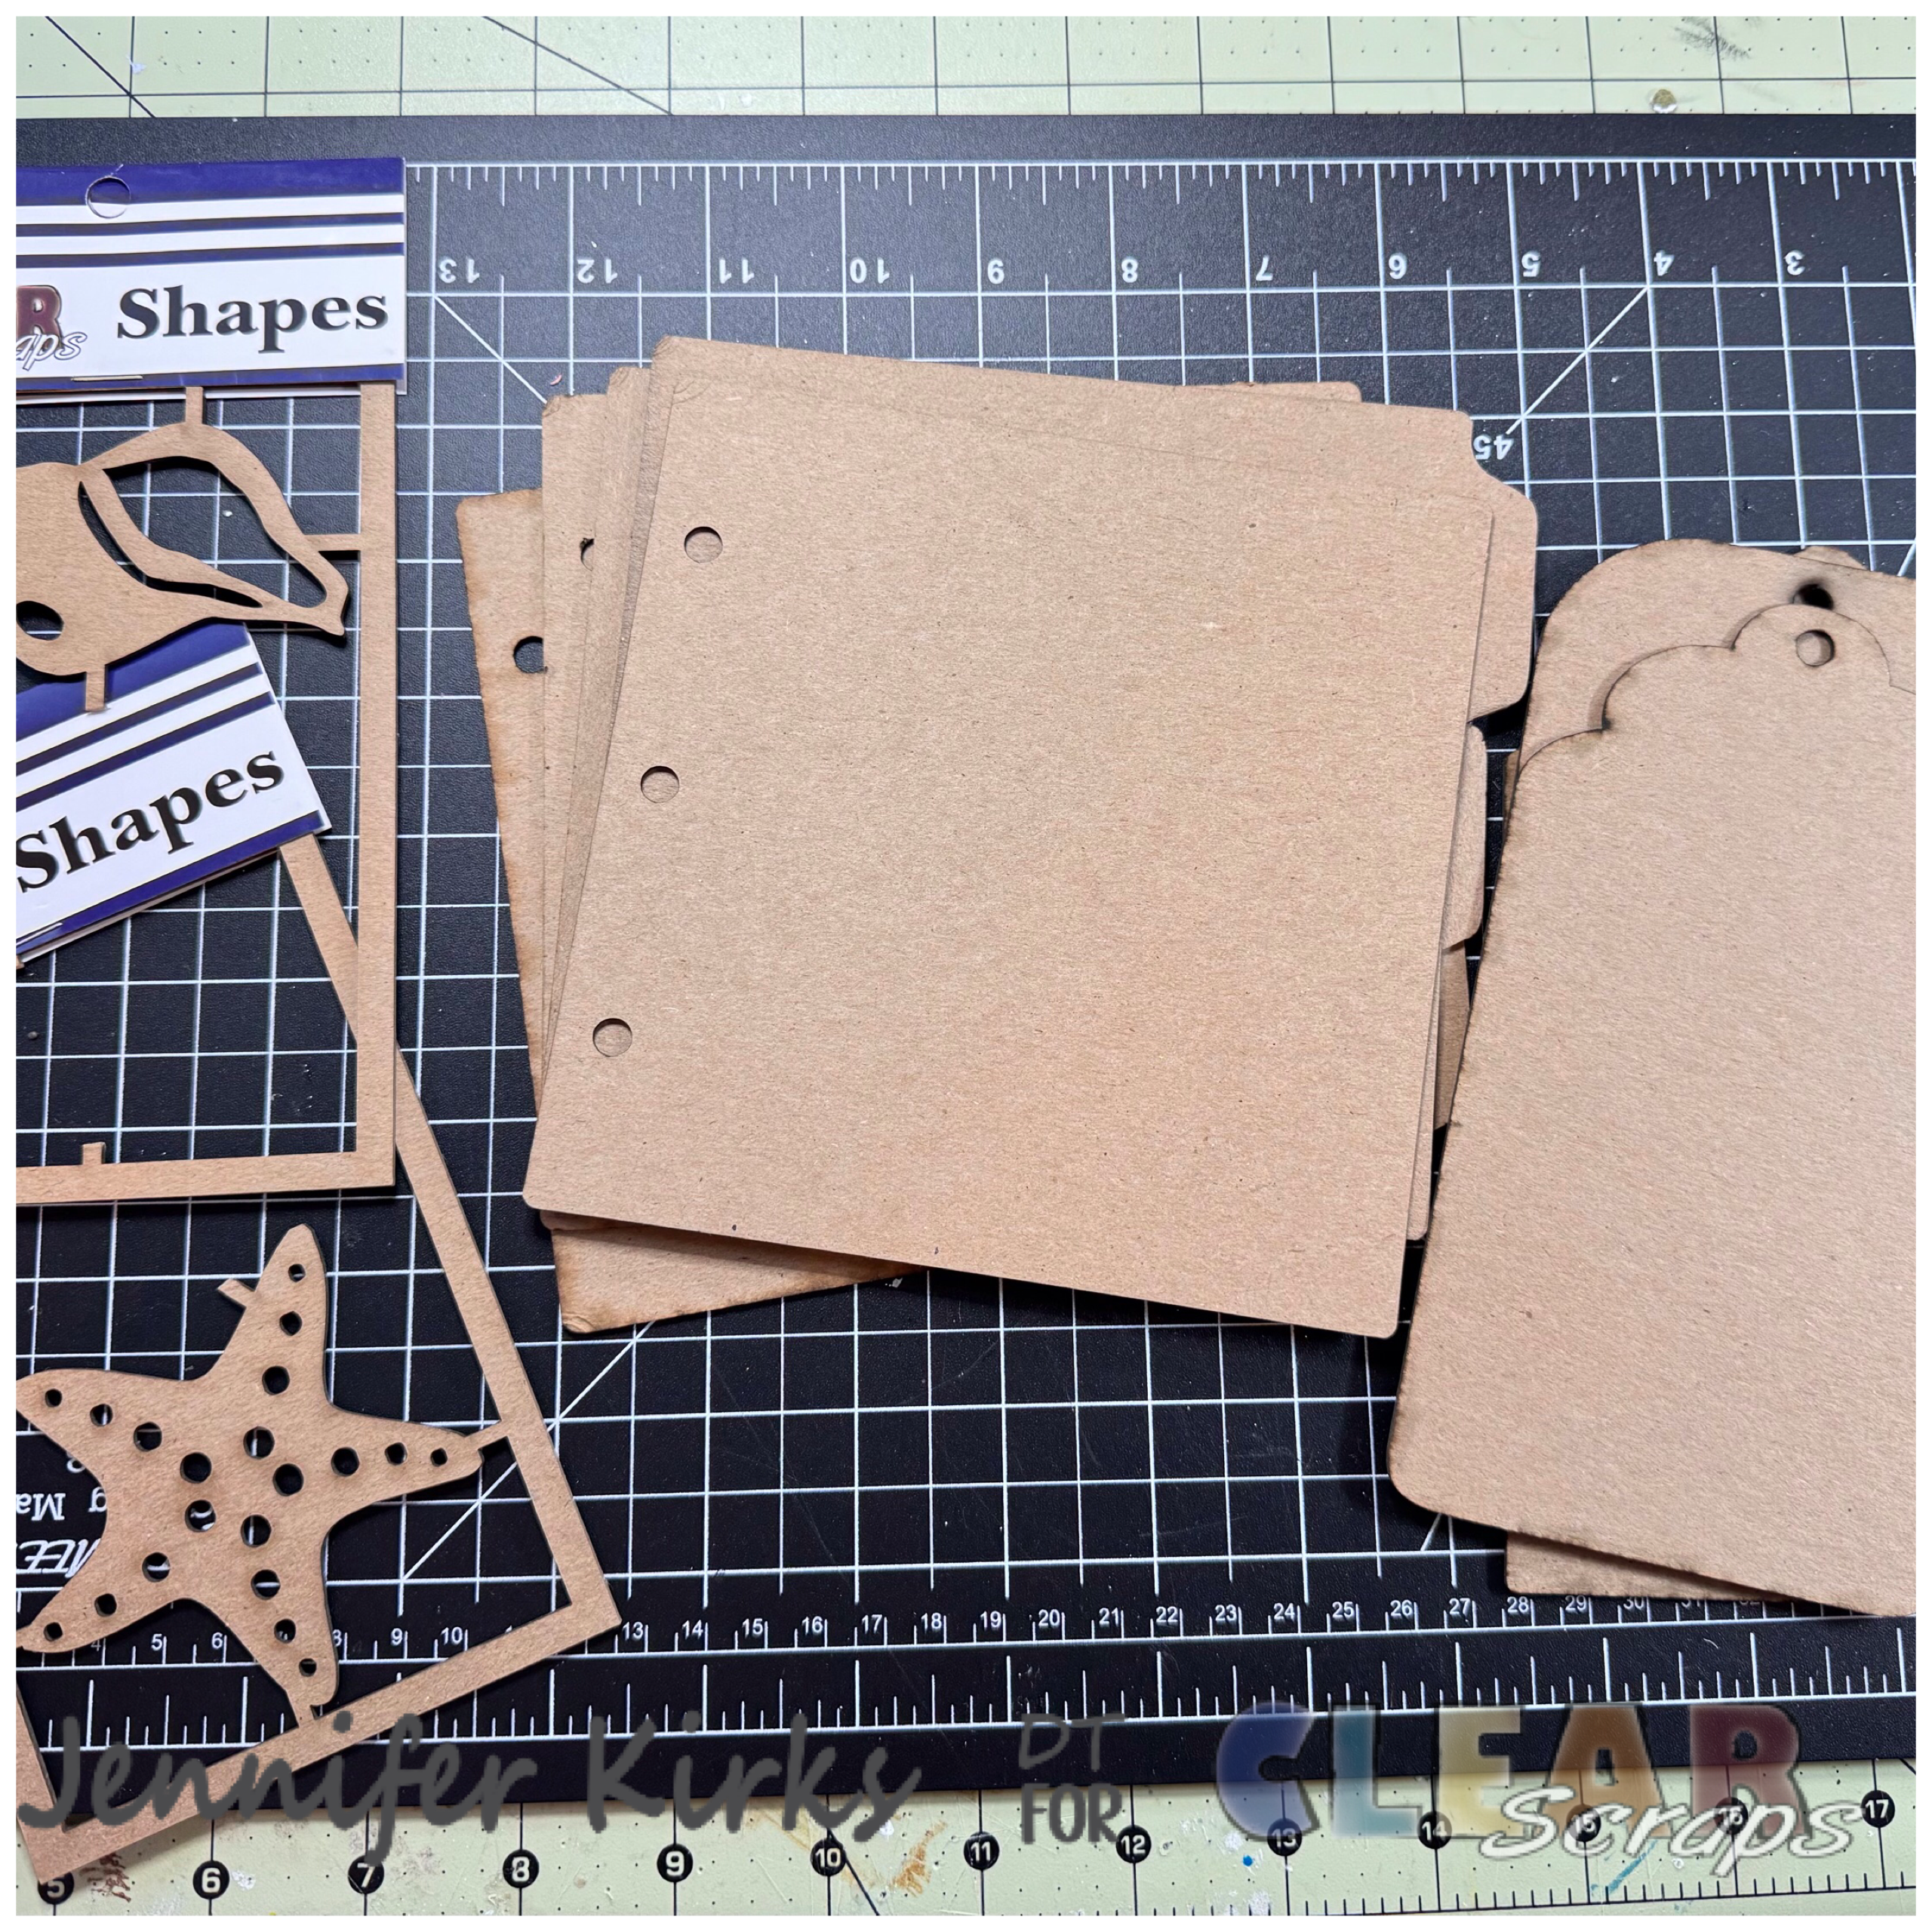
Hello fellow crafters! I am so excited to share this fun mixed media album I made using the 6×6 tab album, tag album and shell/starfish chipboard pieces. I used the new Song of the Sea paper collection and embellishments from Stamperia. I alternated the pages of the tab album and tag album. I punched holes into the sides of the tag album using a page from the tab album as a guide.


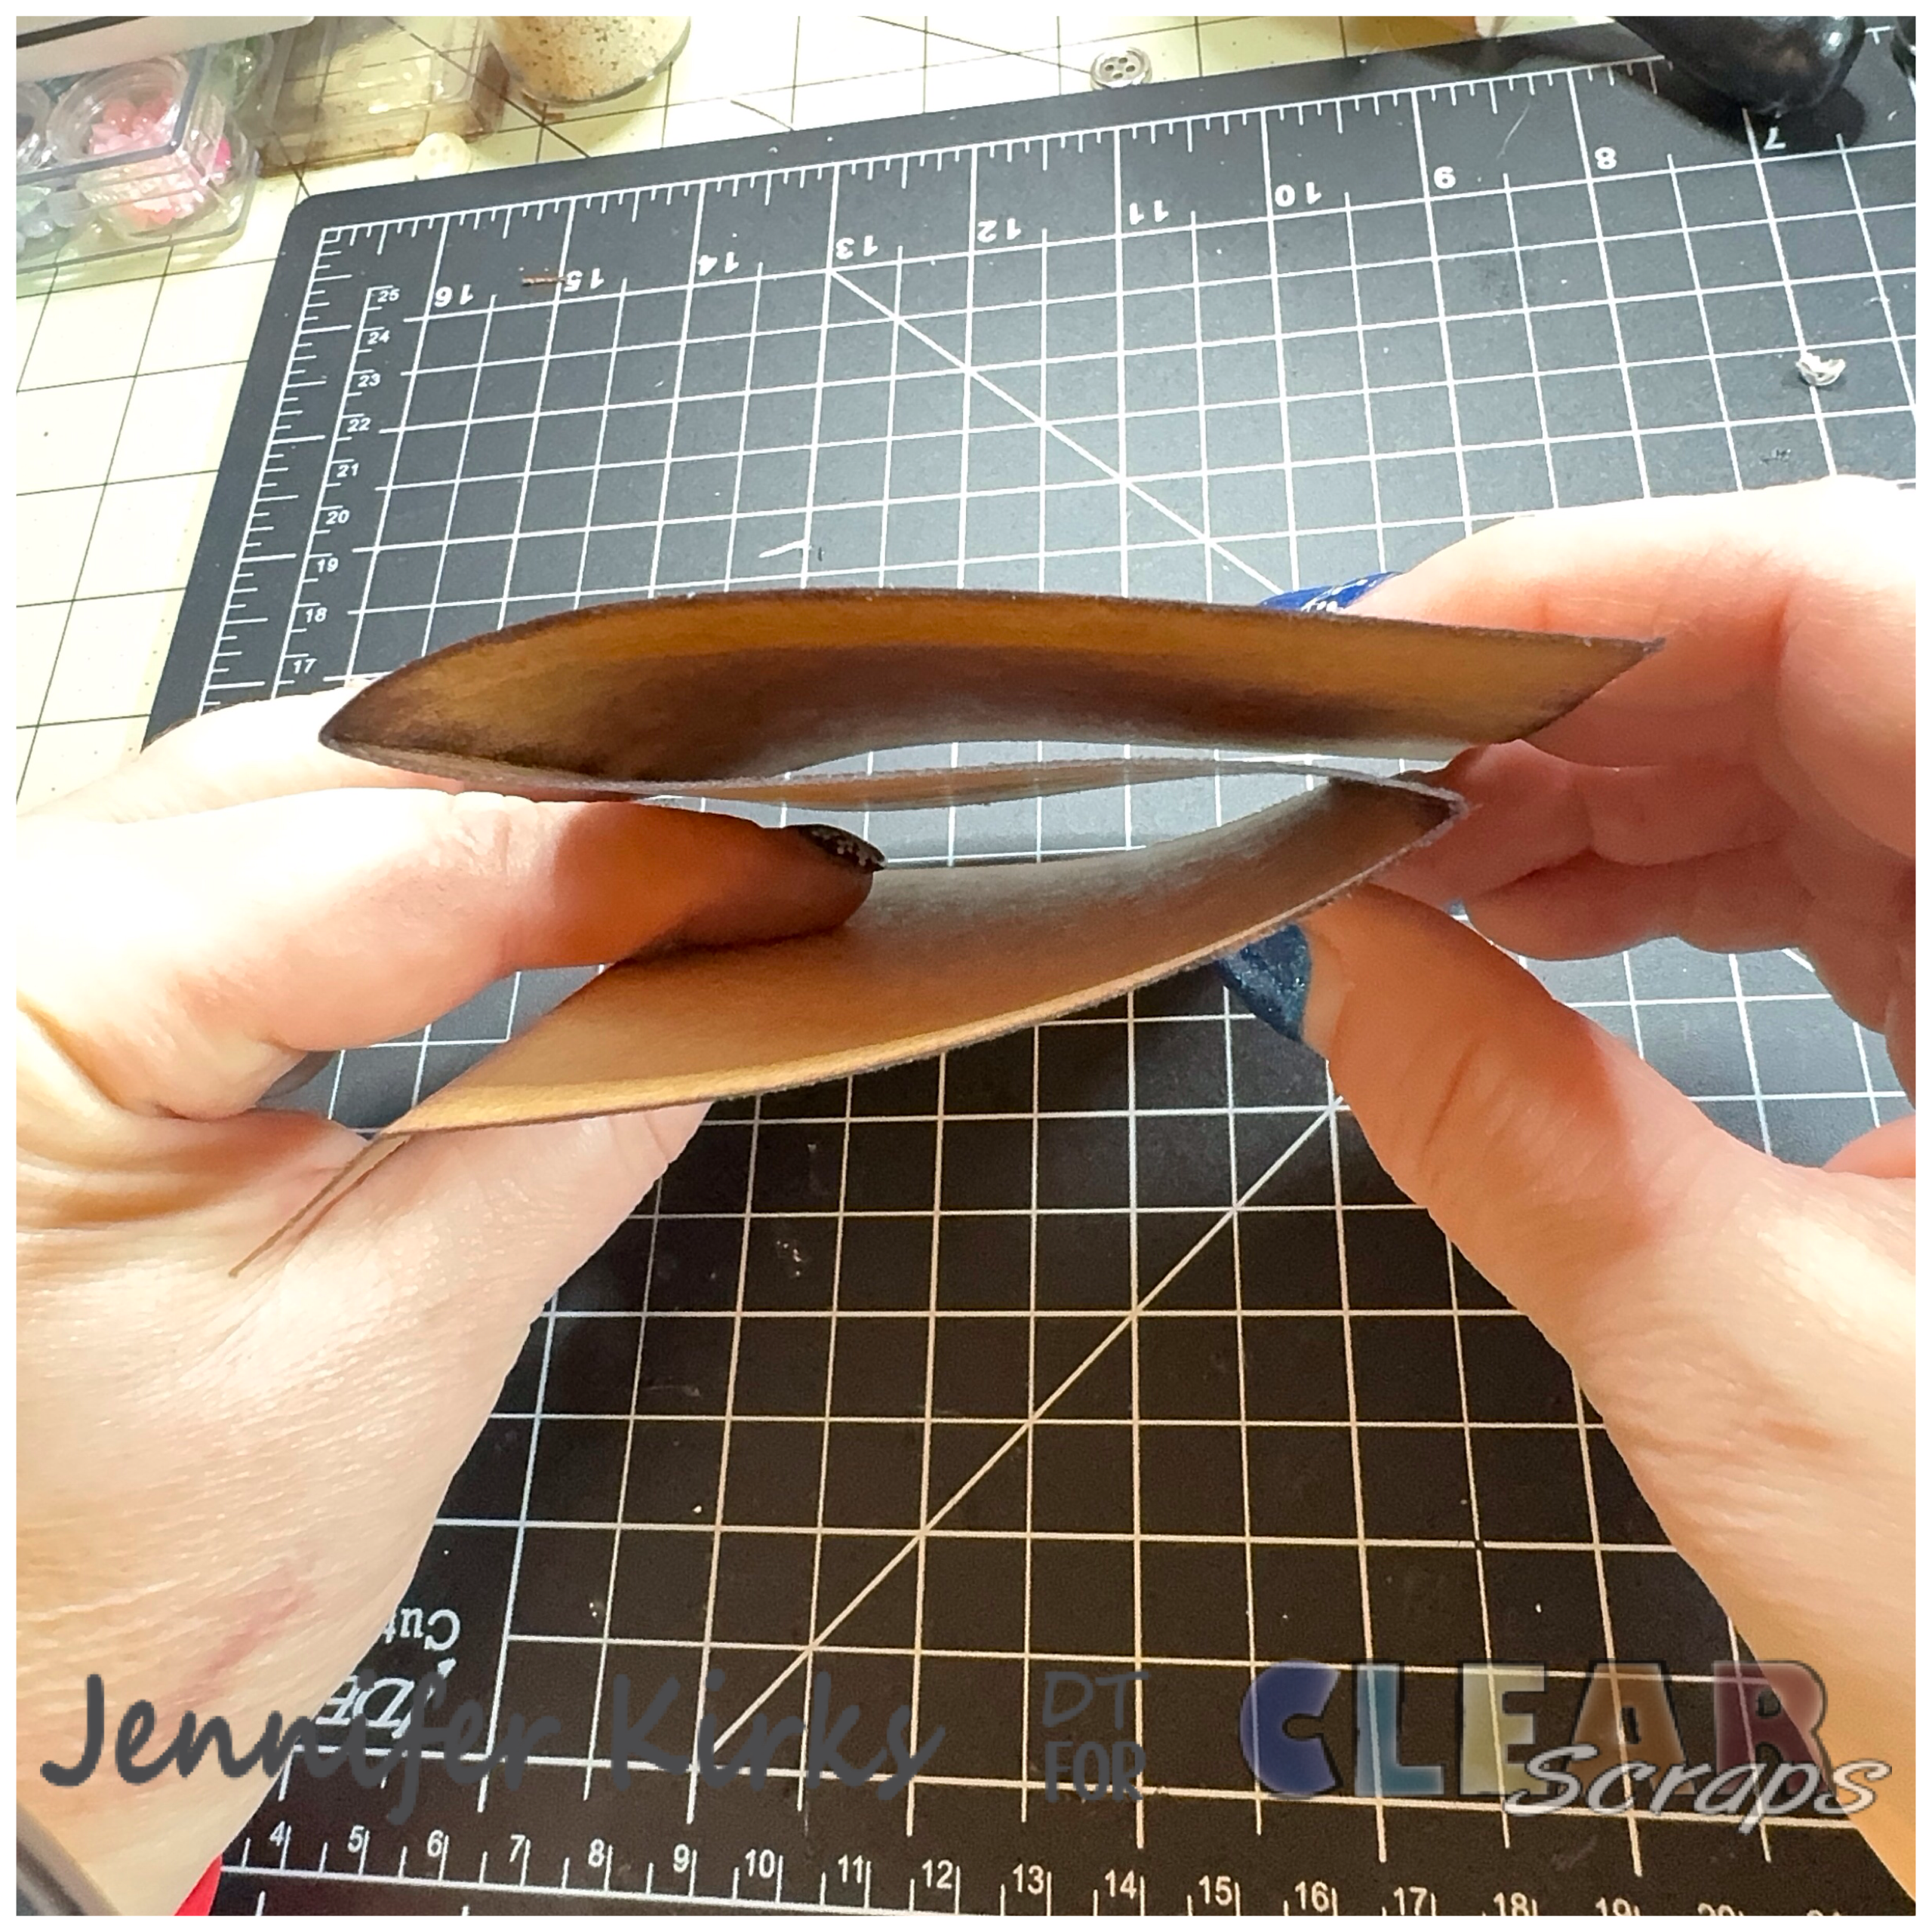
For each page and tag, I traced the base paper, cut, trimmed using and exacto knife and inked the edges. After adhering the paper, I punched the holes for the rings using a hole punch.
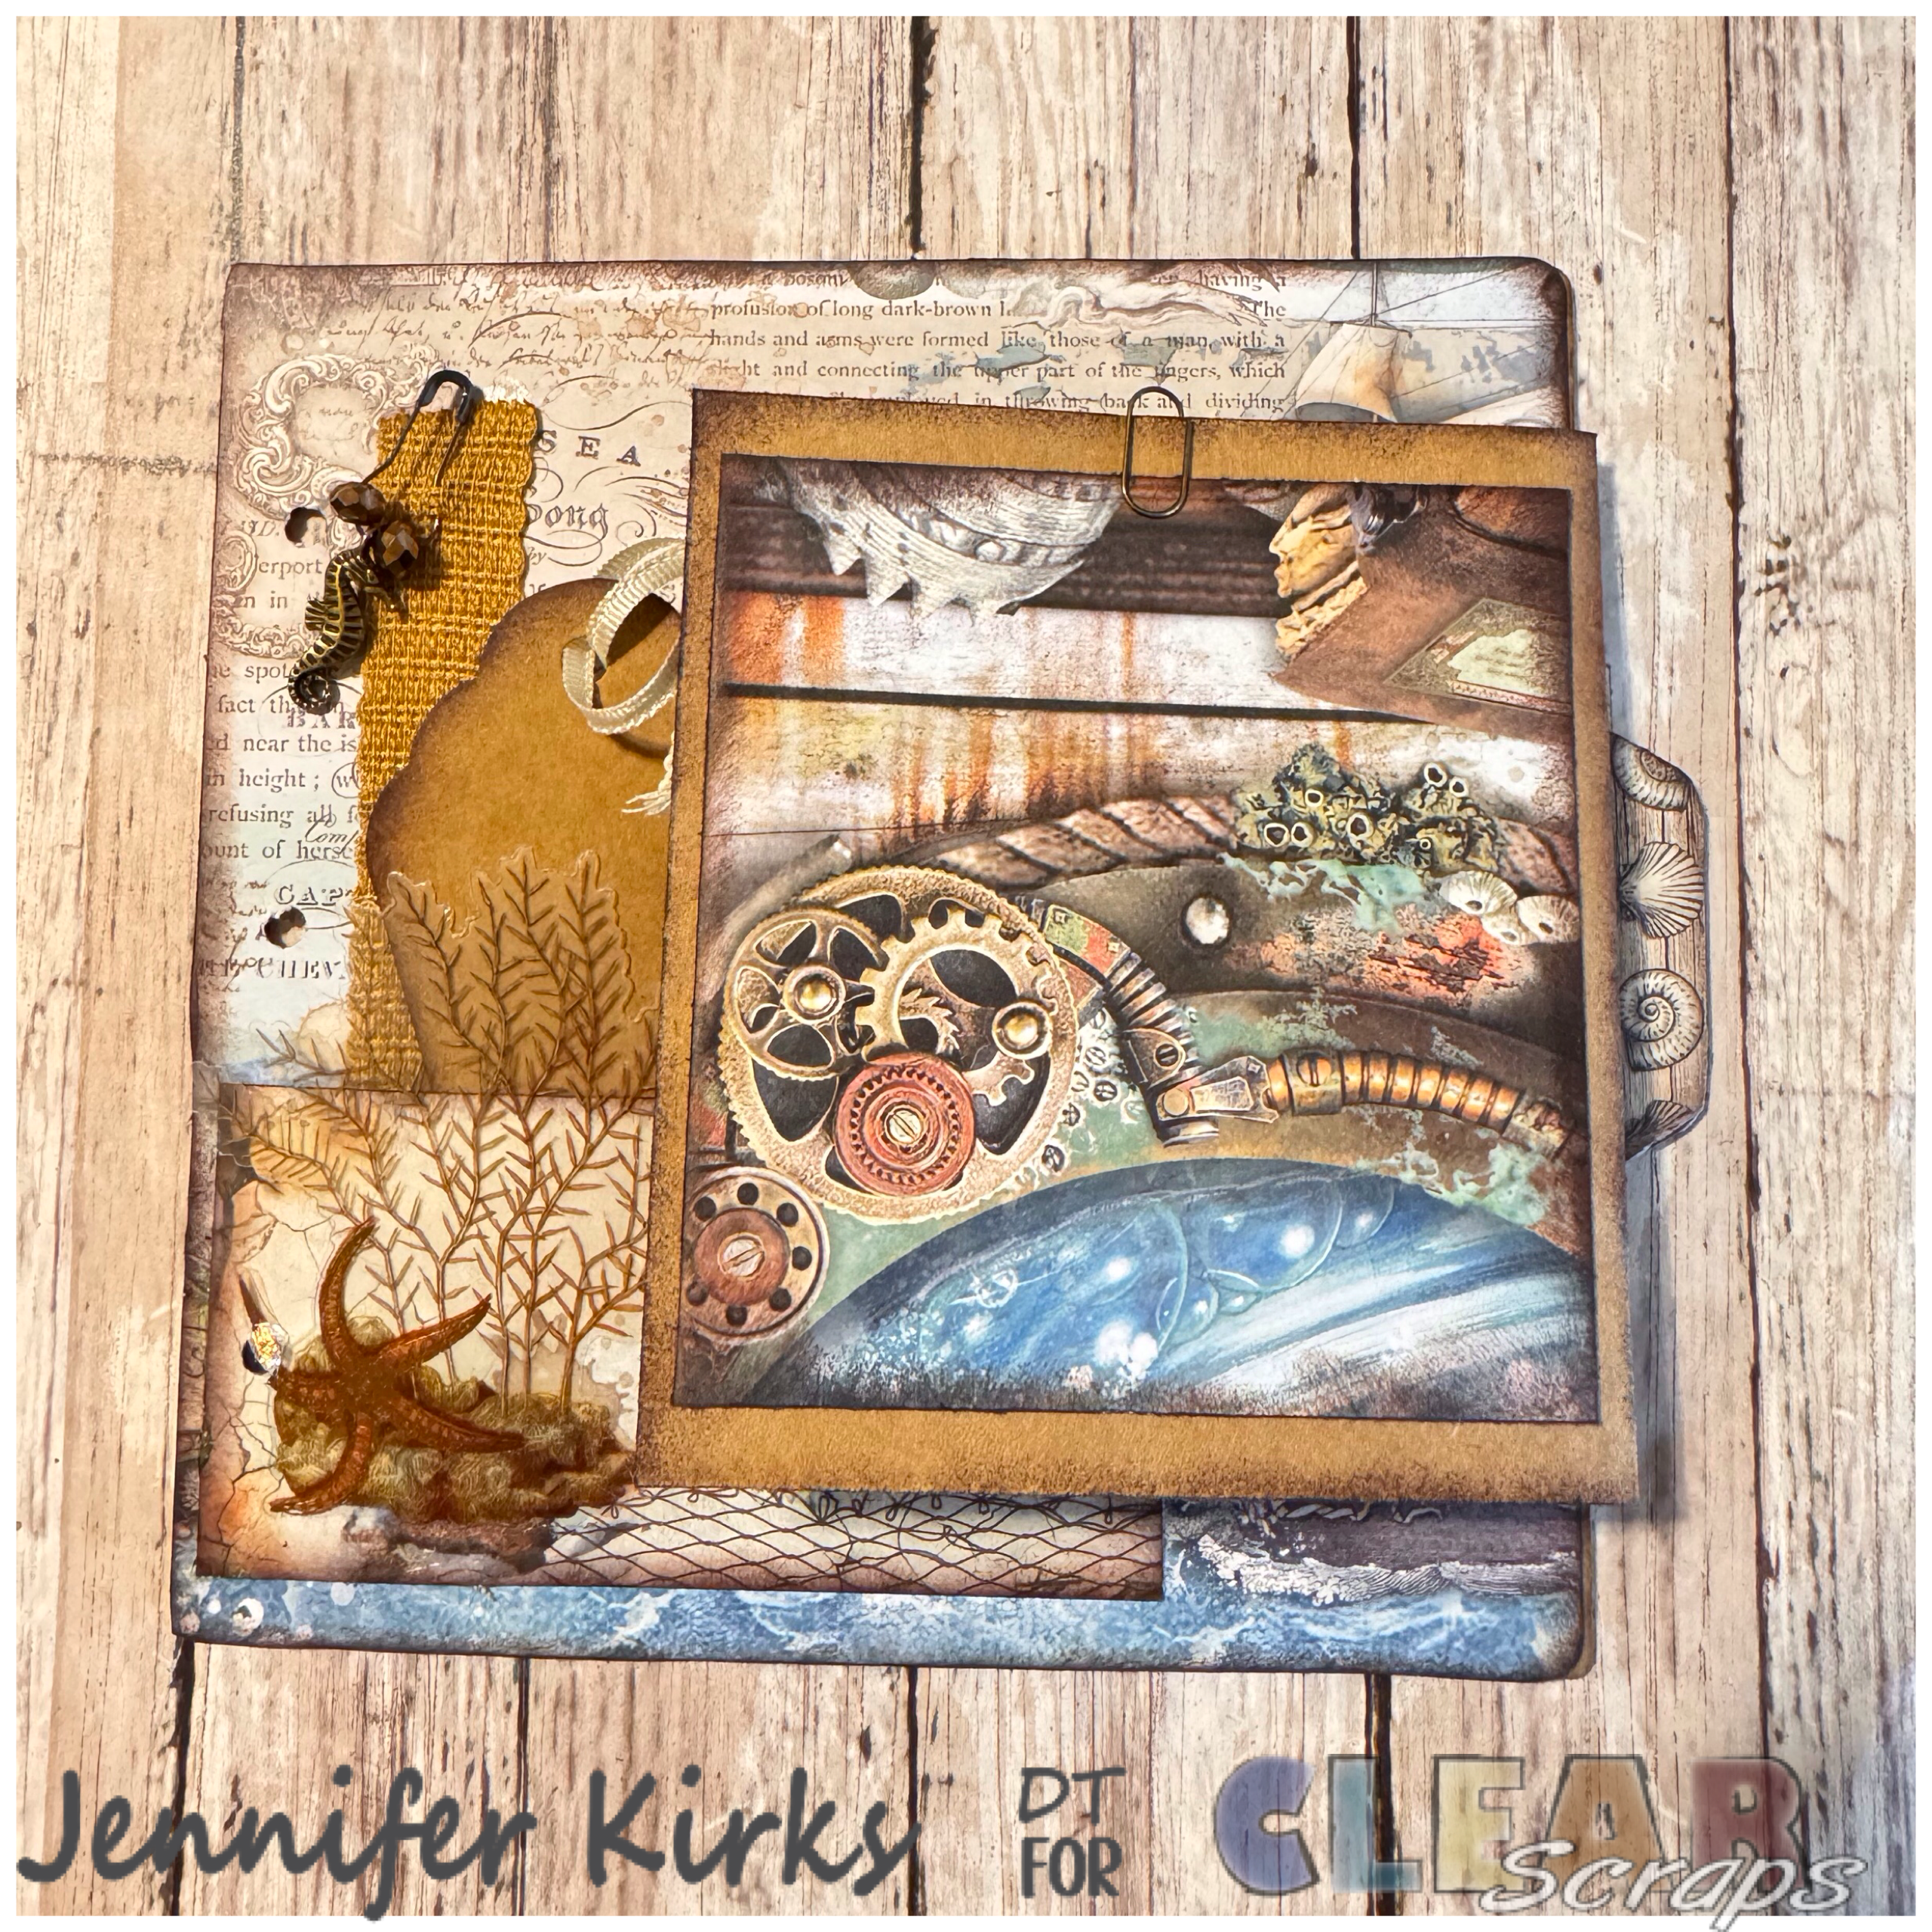
Front page

I added brown fish net and cheese cloth on top. Then I embellished with chipboard and wood embellishments from the Song of the Seas collection. I added sand and rolled up piece of paper to the glass bottle and tied some twine around the top of the bottle. I added some clear cabochons, brown ribbon, sea glass and sand to the page.


To make the waterfall, I cut 3 4.5×4.75 pieces from brown card stock and scored at the 1/2 on the 4.75 side. Next I cut 6 4×4 squares from printed card stock. Starting with the top of the page, adhere the flap of one of the waterfall pieces, repeat with each piece making sure to line up at the bottom of each flap. Embellish as you wish, I added a few die cut pieces to some of the pages.
Tag 1

Make sure you punch the holes using a piece of the tab album as your guide before adhering base paper (I did not punch the top hole once I adhered the base pages). For the front I fussy cut the bottles, inked and glued the bottom and sides to create a pocket. Cut some tags from the paper collection or make your own, ink, add ribbon and tuck into the pocket.

For the back of the tag, I cut a square piece of paper with the trident, inked the edges and glued the sides and bottom to the tag. I embellished with some cheesecloth, art stones, flower, pearls and wood ship wheel. Finally, cut 2 tags, ink and add ribbon or embellish, tuck inside the pocket.
Tab 1
 z
z
Front – Cut a 3×5 piece of brown card stock, ink and score at 1/2 on the 3 inch side. Cut 2 pieces of 2 5/8 x 3 7/8 ink edges and adhere to the brown card stock and embellish. Glue the flap to the tab chipboard piece and then glue base page (punch holes). Embellish page with ephemera and die cut pieces. For the shell, I used gold metallic paint.


Back – Tear a piece of printed card stock at a diagonal, ink and glue bottom and sides only. For the mini book, I cut a 6.5 x 4.5 piece from card stock and scored in the middle I cut 2 pieces of tea stained paper 6.25 x 4.25 and using a needle and thread, I bound them together and added beads to the outside of the book to cover the thread.
Tag 2

Front – I cut a diagonal piece, inked edges and glued sides and bottom only. Embellished with cheese cloth, ribbon, metal gears and diets from the collection. I then cut 2 tags, inked, added ribbon and a charm.

For the back, I cut a 1.5 x 6 inch piece of printed paper and glued the top, bottom and left side only to create a side pocket. I fussy cut "The Ocean Is Calling", inked and added it to the bottom of the page along with other embellishments. I then cut 2 tags and tucked them into the pocket.
Middle Tab

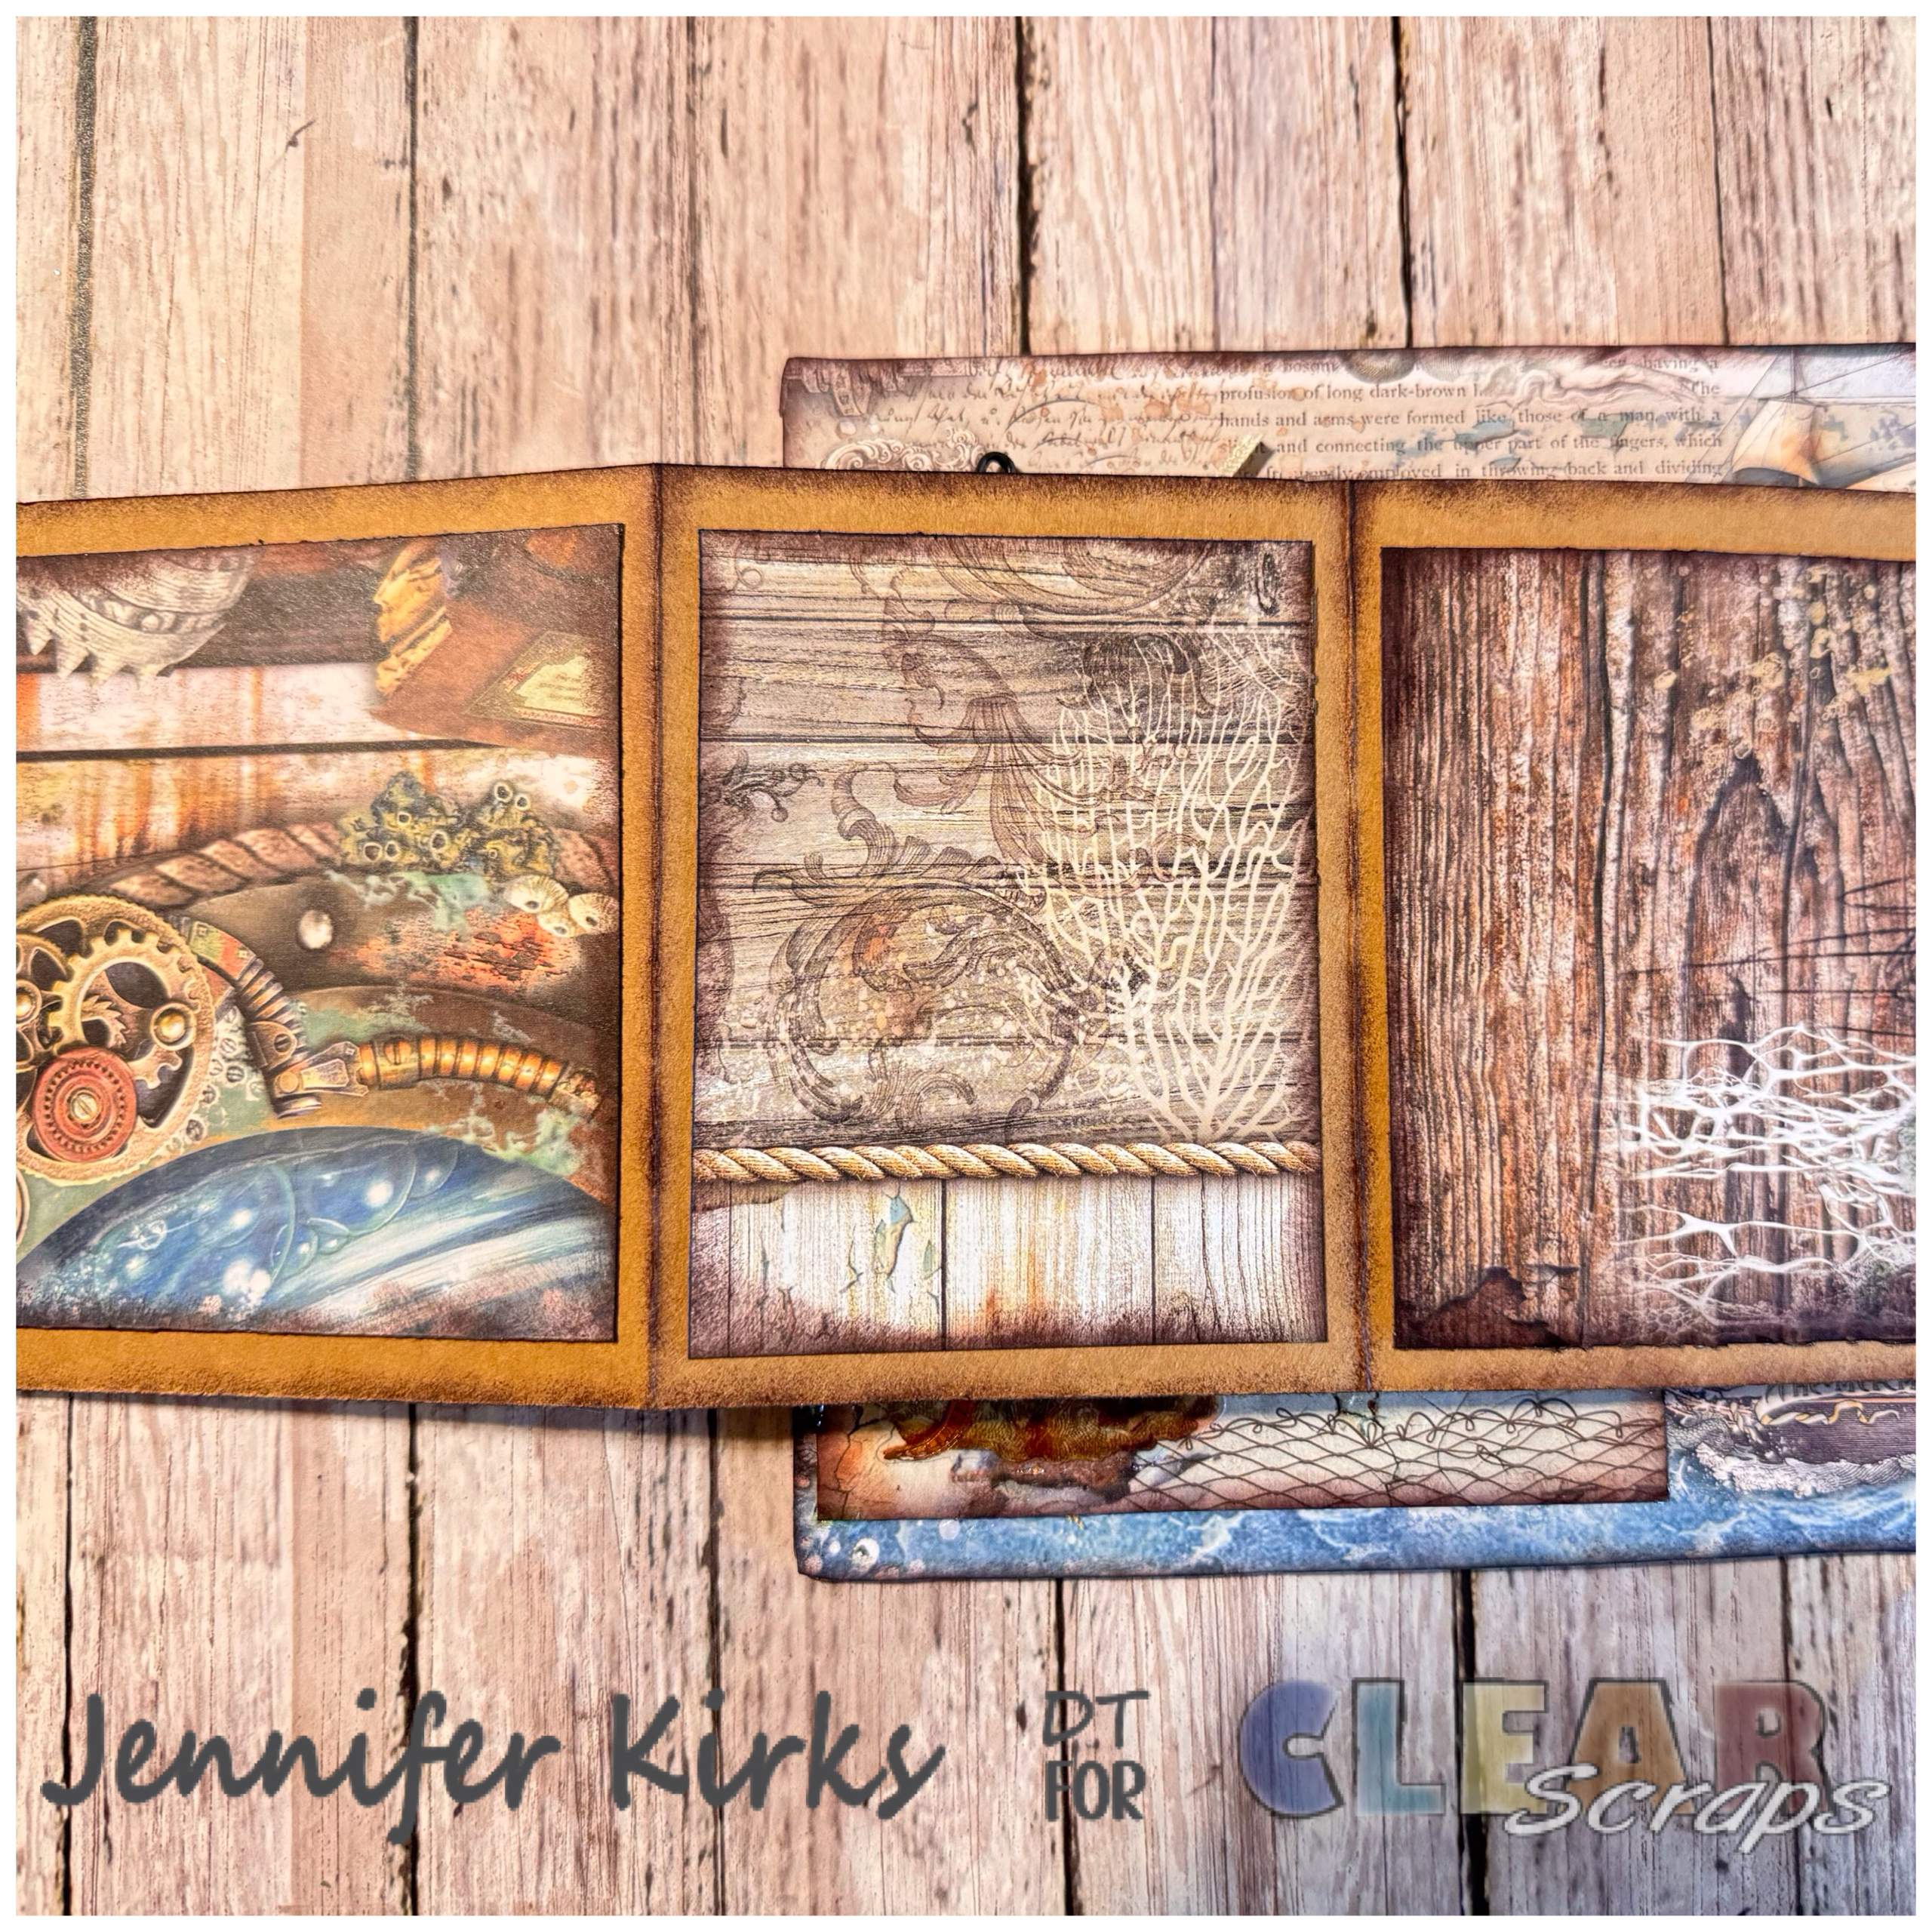
Front- Before adhering base page I cut a 4.25 x 11 piece of brown card stock and scored it at the 1/2, 4.75 and 8. I then inked all sides and glued the fold out using the 1/2 inch flap to the chipboard piece. Then I glued the base page down. I cut printed card stock to cover each section of the fold out (this is optional, you can leave blank or embellish as you wish). I cut 2 tags and stamped a sea horse and gears, added ribbon and tucked them into the pocket.


Back – I took a piece of fish net and glued the sides only to the page. I then cut a 9.5 x 3 3/8 brown card stock score half way, ink pages. I cut 4 4.25 x 3. 25 pieces of printed card stock, inked and adhered the front and back pieces. I added magnets to the 2 inside pieces, covered with printed card stock, so it would remain closed.
Tag 3

Front – I cut a 1/2 x 3 piece and glued bottom and sides. I cut a couple of mini tags, added ribbon and a charm (beaded charm came from a necklace I had, you will see more in the following pages). Embellished the outside of the pocket.

Back -I cut a 1.5 x 4 piece of printed paper, ink and glued to make a pocket. I added the mermaid die cut and ribbon to the top of the pocket. Using a lightbulb safety pin I added another bead from the necklace I took apart. Finally, I tucked a couple of tags into the pocket.
Last tab

Front- I tore printed paper (saving the ship image) and inked the paper. I glued the left side and bottom to create a pocket. Cut a few tags and added ribbon and some charms to the tags.

Back – I cut 3 1.5 x 6 pieces of printed paper and inked the edges (I used my exact knife to cut the paper to look like waves). Starting with the top, I adhered the bottom and sides only, and repeated with the middle and bottom pieces. Embellished the sides. I then fussy cut "Follow your Soul…", inked and adhered. Finally I added some mini tags, small square and circular images into the wave pockets. (This is my favorite page!!!)
Tag 4

Front – Added fish net and then embellished with a chipboard starfish that I added sand to. Fussy cut "It's ourselves….." inked and added to the tag.

Back – I cut a square piece of paper, using the exact knife, I cut a wave at the top and created a pocket. Embellished the outside and tucked some tags into the pocket.
Last page

I cut a diagonal piece to create a pocket. Embellished and added a couple of tags into the pocket.

I added some 2 inch book rings and tied different ribbons and cheese cloth to cover the rings. I hope you are inspired to mix some albums and create a mixed media scrapbook. As always, thanks for stopping by.
~Jennifer


Leave a comment