Hello Crafty Friends! Tiffany here to take you through a South African food journey using the Little Bits Album. This album is super versatile and so much fun to decorate! I added a few flips and flaps, a waterfall, and an extra page. You can use rings, ribbon, or even jumbo shaped paper clips to bind the pages. I went with tear drop shaped jumbo paper clips I had in my stash. (All of my measurements are in inches). The completed walk thru and tutorial can be found on my YT Tiffany Crafting Like a Boss McGill


Cover: Remove protective film. Use foam dots to adhere your cut apart and mini picture
Page 1: Remove protective film. Cut around your favorite picture and adhere with foam dots.


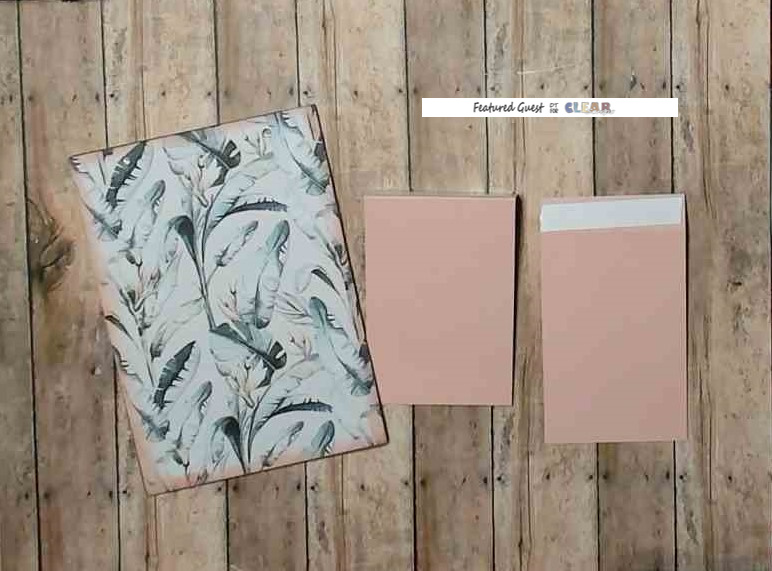
Page 2: Cover your page with your favorite scrapbook paper. I traced my page and cut around it. Then I inked the edges. Next, cut (1) piece of cardstock 2 1/8 x 3 5/8 Scored on the long side at ½ and one piece of white at 2 1/8 x 3 1/8.


Page 3: Cover the page with scrapbook paper. Cut (2) pieces of cardstock at 2 5/8 x 3 ½. Scored on the short side at ½. Adhere to the right and left side of the page, like a gate fold. Cut a white layer 3 1/8 x 3 1/8. *Your white layer may be bigger or smaller depending on where you place your flaps. Add white layer to cover the hinges.


Page 4: Extra page option: Cut (2) pieced of cardstock and (1) piece of chipboard to 3 ½ x 4 ½. Adhere cardstock to both sides of the chipboard. Round the top corners and use a fancy corner punch for the bottom corners. Cut (1) piece of cardstock 3 ¾ x 3 ½. Scored on the long side at ½. Adhere flap to page BEFORE you add scrapbook paper. Add Scrap paper. Cut (1) Piece of cardstock at 2 1/8 x 3 5/8, scored on the long side at ½ .


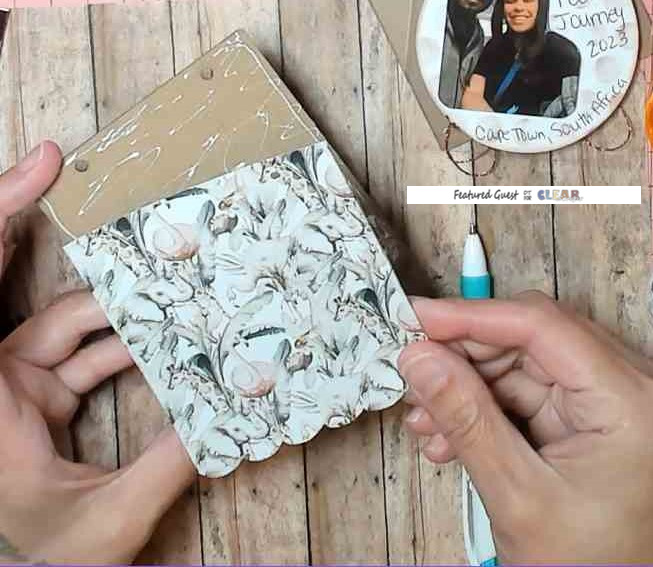
Page 5: Adhere scrap paper. Cut (1) piece of cardstock 4 x 3 ½. Scored on the long side at ½. Cut into a triangle shape. Adhere flap BEFORE you add scrapbook paper. Add scrapbook paper.

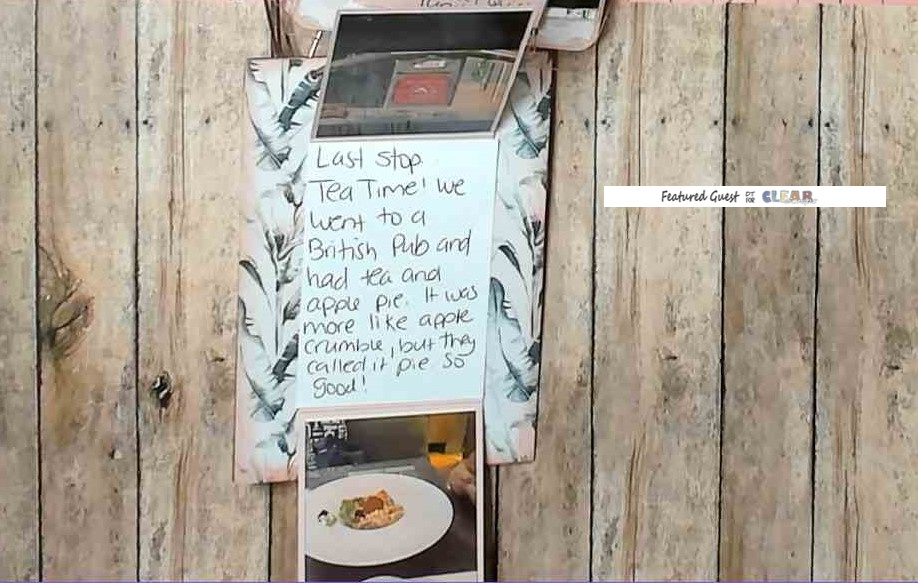
Page 6: Remove protective film. Cut (1) piece of cardstock at 2 1/8 x 3 ½ (base piece-NO scoring). Cut (2) pieces of cardstock at 2 1/8 x 3 5/8. Score both pieces on the long side at ¼. Adhere the flaps to the base piece in a waterfall and then adhere the base to the acrylic piece.


Page 7: Remove protective film. Cut one piece of cardstock at 2 1/8 x 3 1/2.
Page 8: Add scrapbook paper. Cute (2) pieces of cardstock at 2 1/8 x 3 5/8. Scored on the long side at ½. Cut a white layer to 2 1/8 x 3 1/8. I used my white layer as a guide to add my flaps to the top and bottom of the page. If you want more space between your flaps, then make your white layer bigger.


Leave a comment