
Hi there! It’s Judy here with my final project as a Creative Guest Team Member for Clear Scraps.
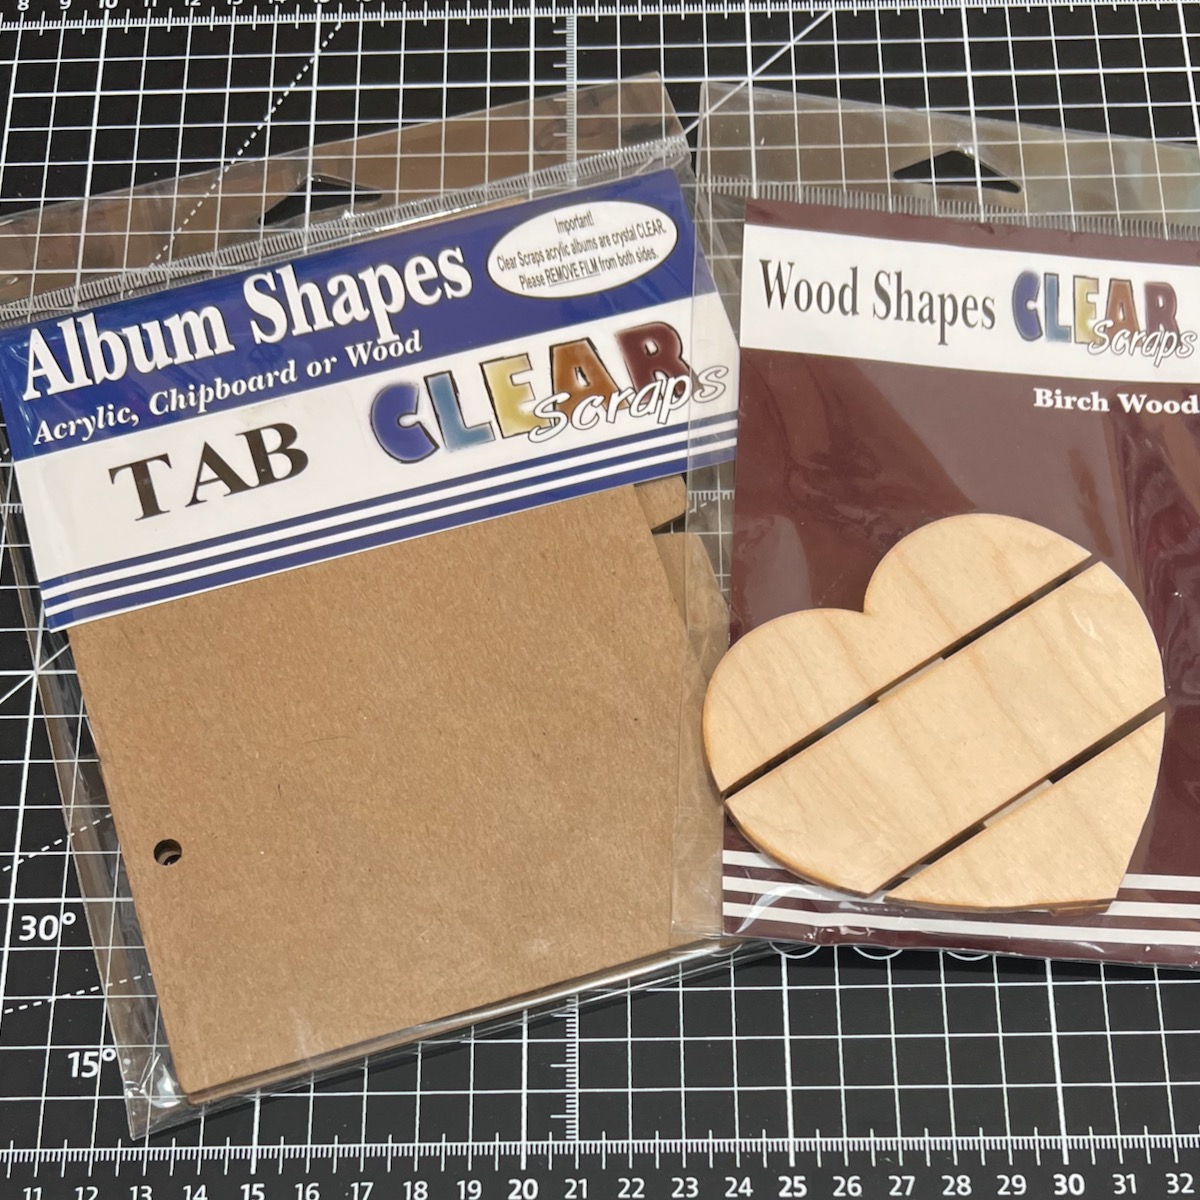
I pulled out the Chipboard 5×7 Tab Album and Heart Mini Pallet Shape. The Album comes with 4 chipboard pages and 2 pre-drilled holes. Heart Mini Pallet measures approximately 3.75 x 3.75 inches, is made from 1/8 inch birch wood and is hand assembled. It can be used as a great addition to any craft project, is unfinished and ready to decorate as you please.

So, what should I do with these products? Well, I remembered I had purchased some digital Garden Fairy Clip Art on Etsy from ThursdayPrintsMY a while back and decided a little fairy themed album and/or journal would be a fun project to create!
I pulled out a 12×12 inch paper pad to use and chose 7 fairies, that I thought coordinated well with the patterned papers, and printed.
The fairy images were fussy cut.

Next I painted the 4 chipboard album pages and the heart with a light blue metallic acrylic paint. I’ll be covering the chipboard pages with paper so I only painted around the outside edges of both sides.

Cover each side of the chipboard album pages with the papers measuring 4 1/2×6 3/4 inches. I lined my papers up on the chipboard and marked where the holes are and punched. (later I ended up punching a total of 6 holes on each page with my Cinch machine)

The papers I used for the front and back covers are mostly white with some foiling, so I added a little ink for some color with a finger dauber.

I decided to add some more pages to the album. Magical Garden Clip Art from CosmicMeta on Etsy was downloaded and printed on white card stock and trimmed to 4 1/2×6 3/4 inches.
Holes were punched.

Wanting to add some pockets, I cut 6 pieces of patterned paper 4 1/2 inches wide and 3 1/2 inches long on one side and 1 3/4 inches long on the other in order to form a diagonal piece.These will be adhered to the bottom and outside edges of the pages.

I also decided to add some trifold pieces to the inside front and back covers.
These were formed with 2 pieces of white card stock cut to 7 1/2 x 5 1/2 inches.
Score at 3 3/4 inches along the 7 1/2 inch side of both pieces. Adhere 1 side of each together along the sides and bottom, leaving the top open to form a pocket for a tag. Fold with a mountain fold on one side and valley fold on the other. I notched the center panel with a round die or you could use a circle punch. This makes it easy to insert and remove my tags which measure 2 1/2 x 4 1/2 inches.

Decorate the chipboard pages and printed pages as desired.
I die cut frames and word titles and pulled out an array of stickers and bling.

A little bit of foiling was added to some of the pages with transfers.

I added some wavy borders on the plain pages with a glitter gel pen.

Binder rings are used to hold the album together. I added some ribbon and a charm.
Some journaling cards were inserted in the pockets.
Here are photos of the completed pages.


You can find more Clear Scraps inspiration by following on social media.


Leave a comment