Hello, fellow crafters! Halloween will be here before you know it, so why not get a head start on your decor? If you’re like me, you love to begin decorating at the start of October. I’m thrilled with this 8×11 shadow box I created using Halloween paper and embellishments to craft a spooky home decor piece!

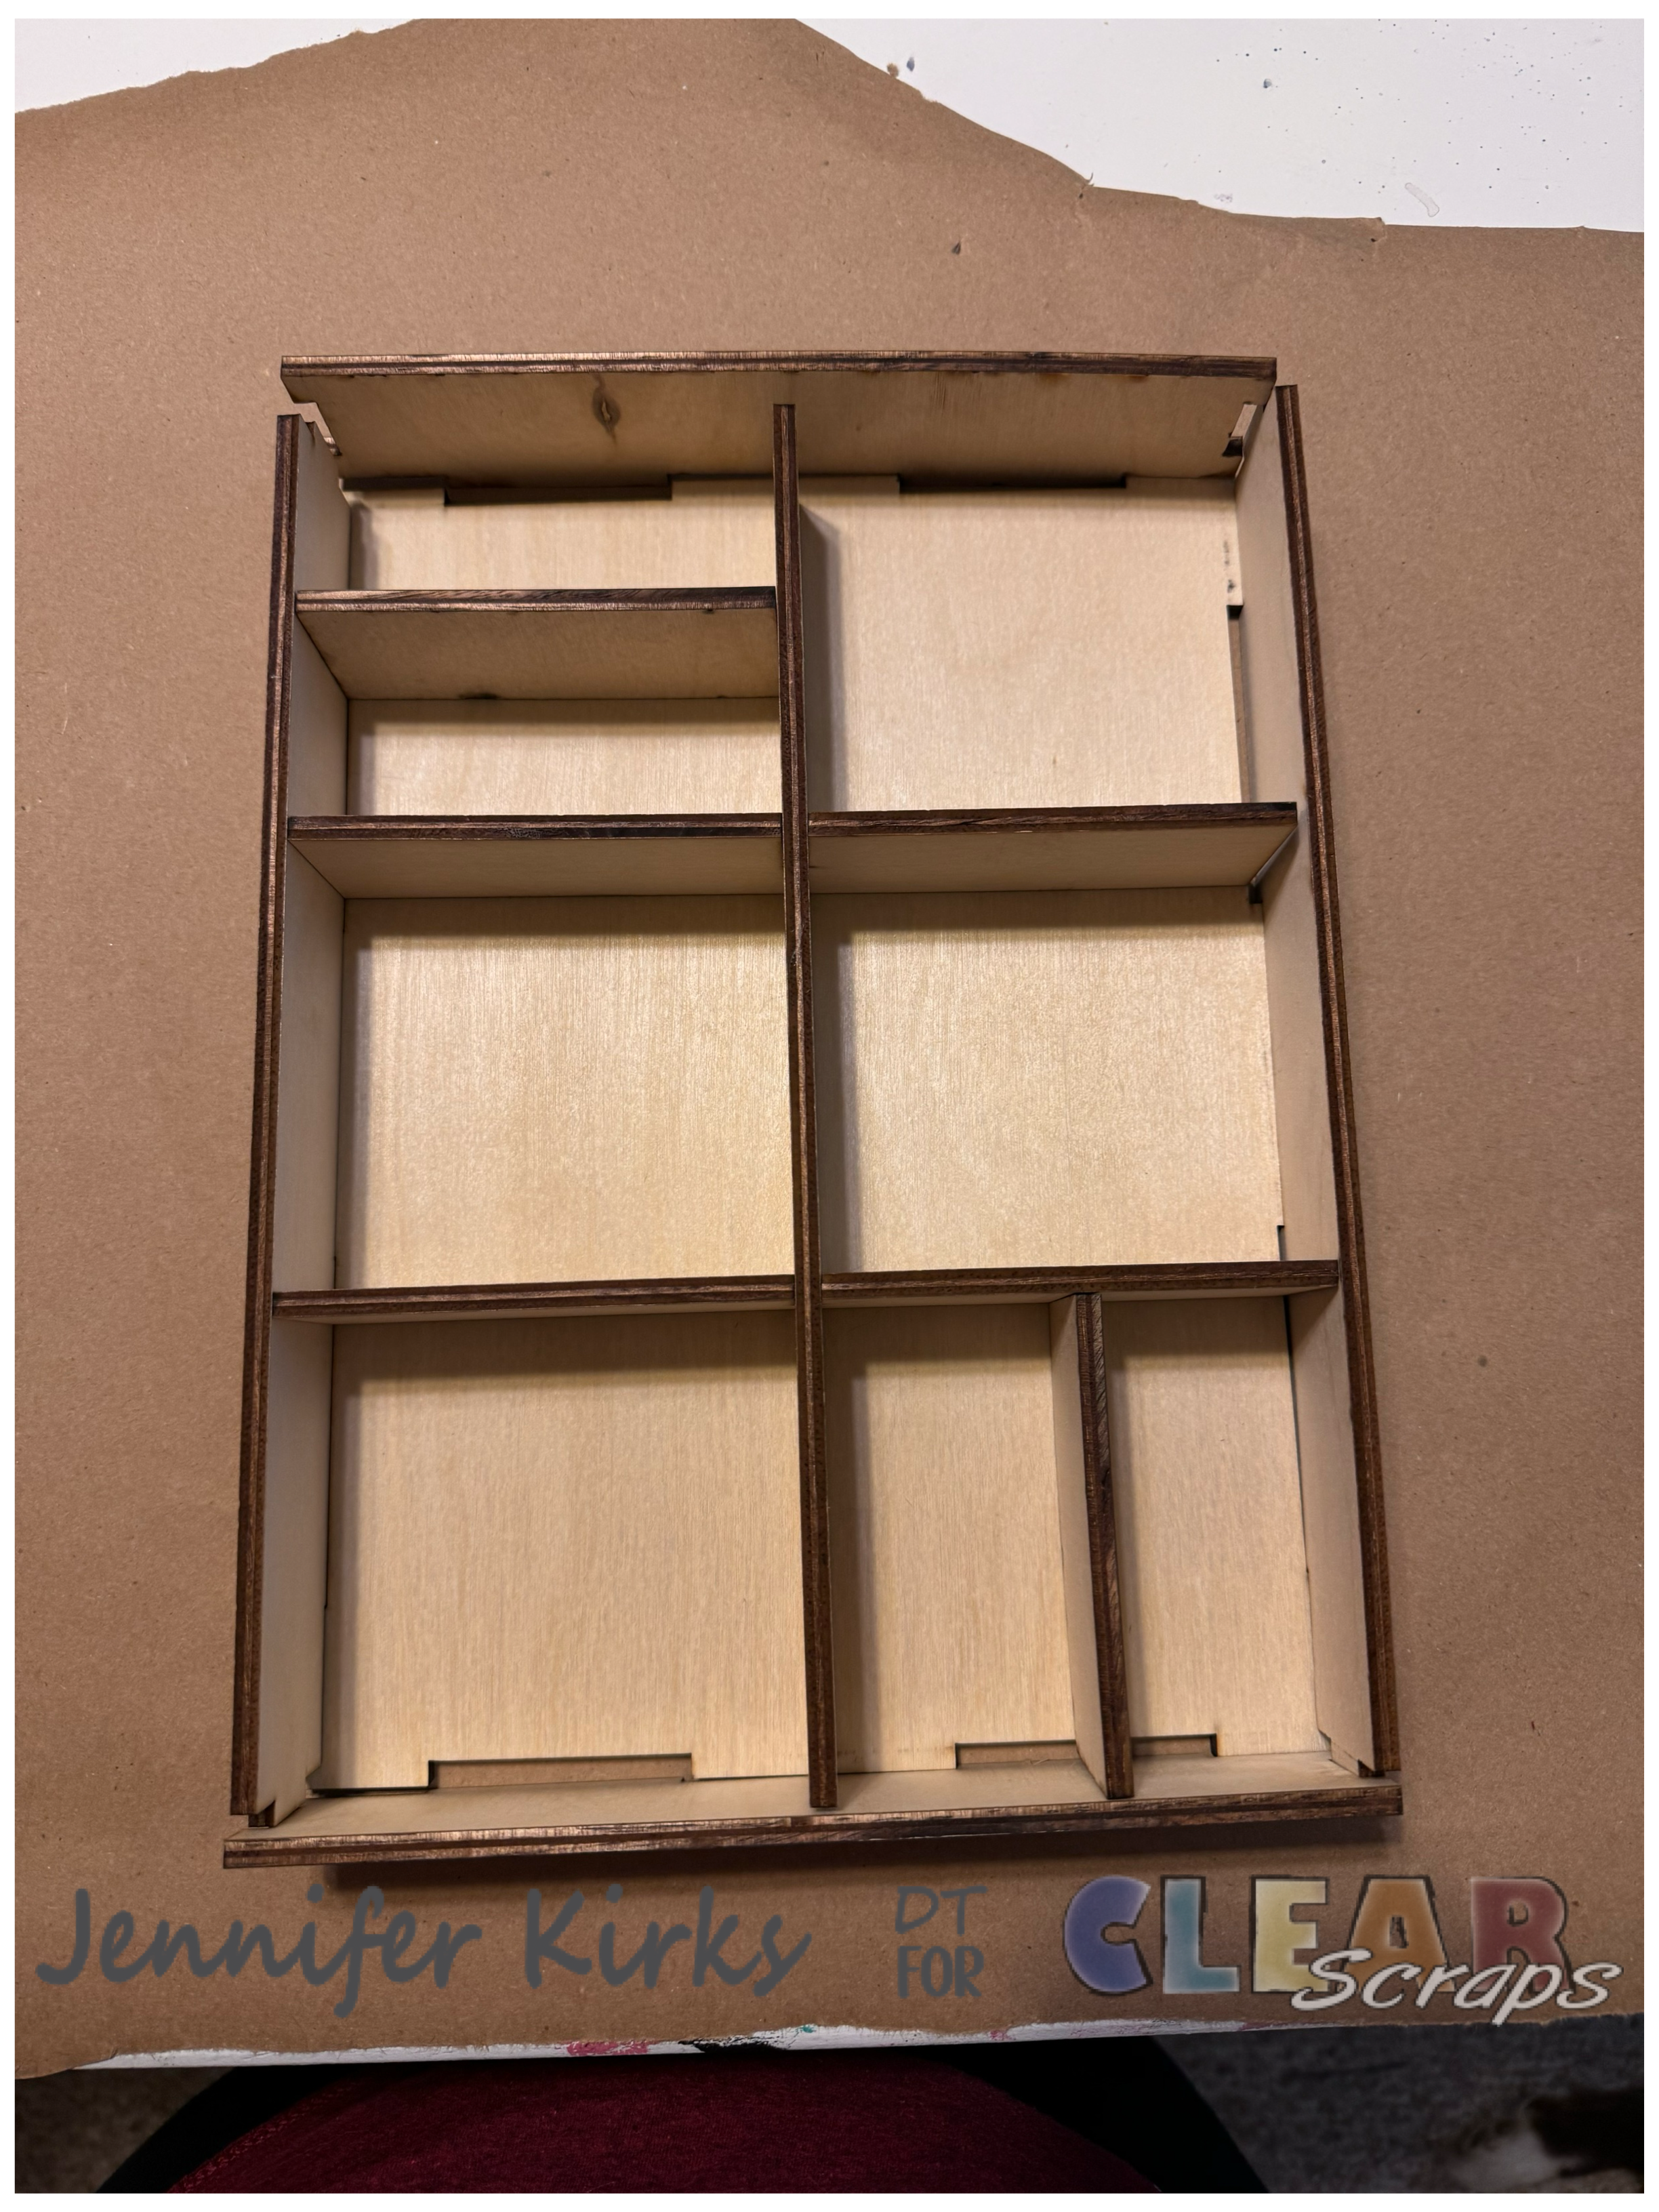
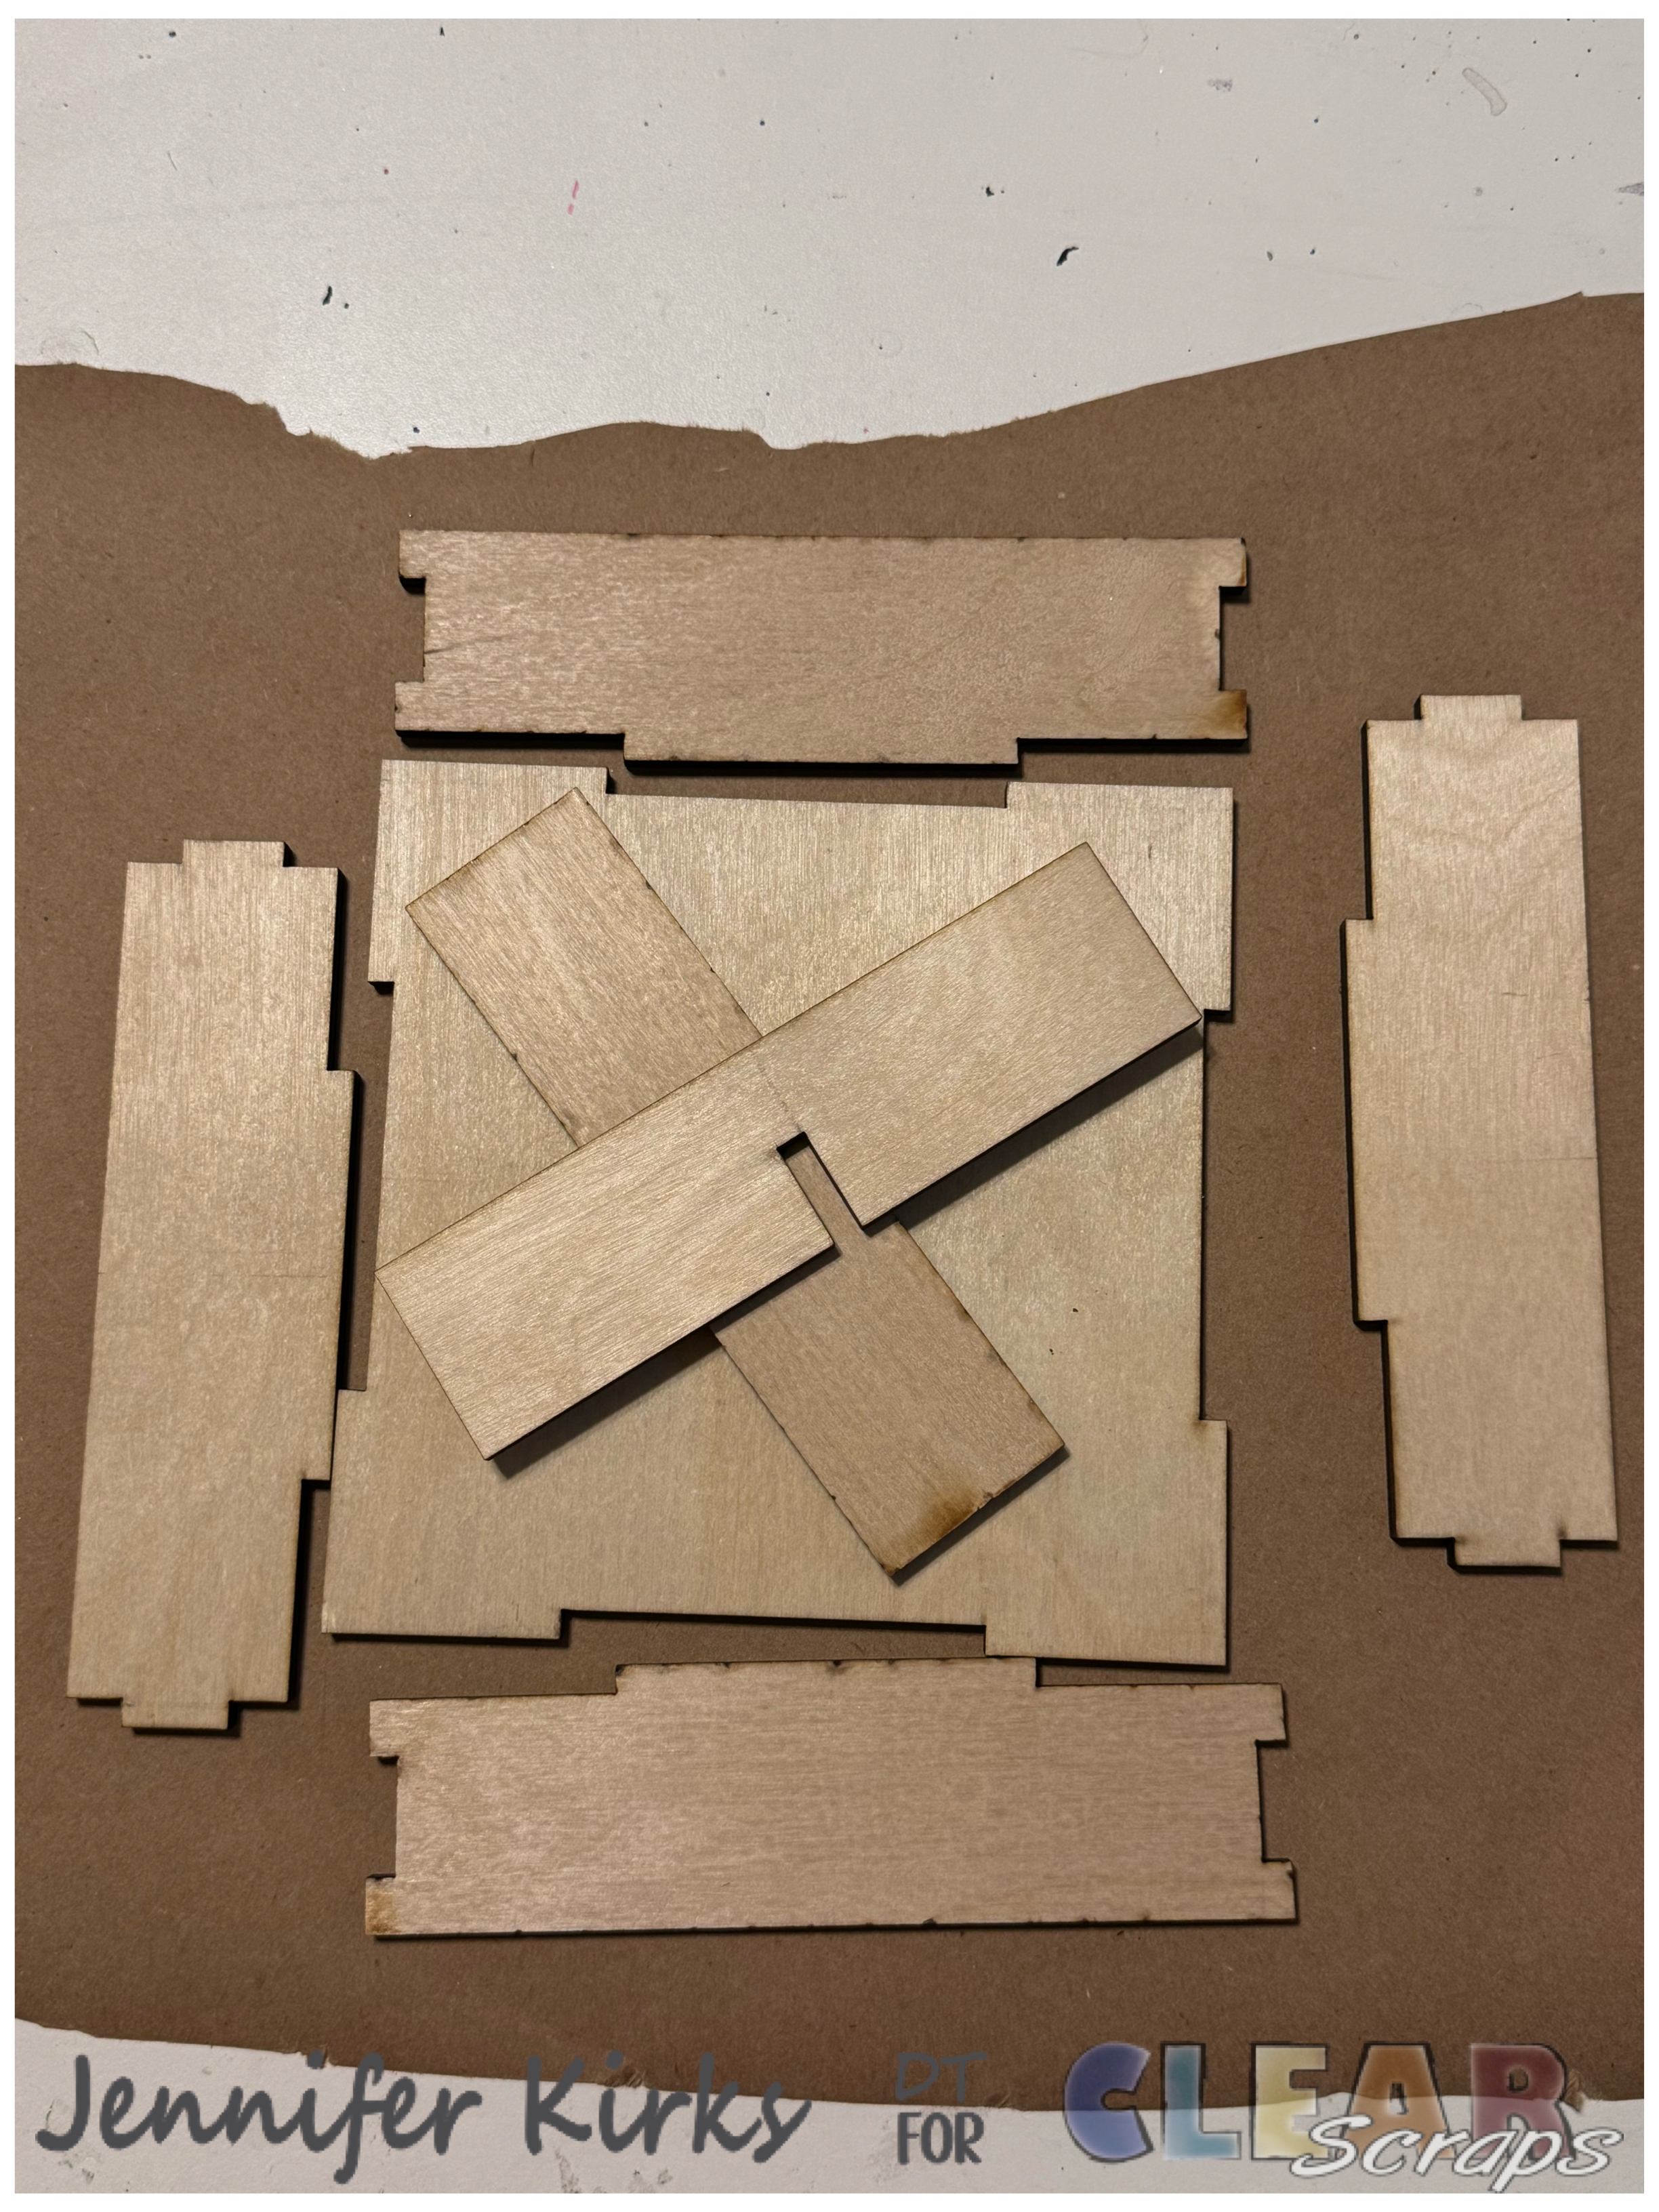
Before I began decorating and painting, I laid out all the pieces to assemble the shadow box. I recommend doing this to decide whether you want your box to be vertical or horizontal when finalizing your project. This layout also helped with placement for when I added it to my decor. I experimented with the two smaller dividers, trying them in different locations until I settled on placing them in the opposite corners. These dividers create a one-of-a-kind piece and offer options for the sizes and shapes of the larger spaces they define.


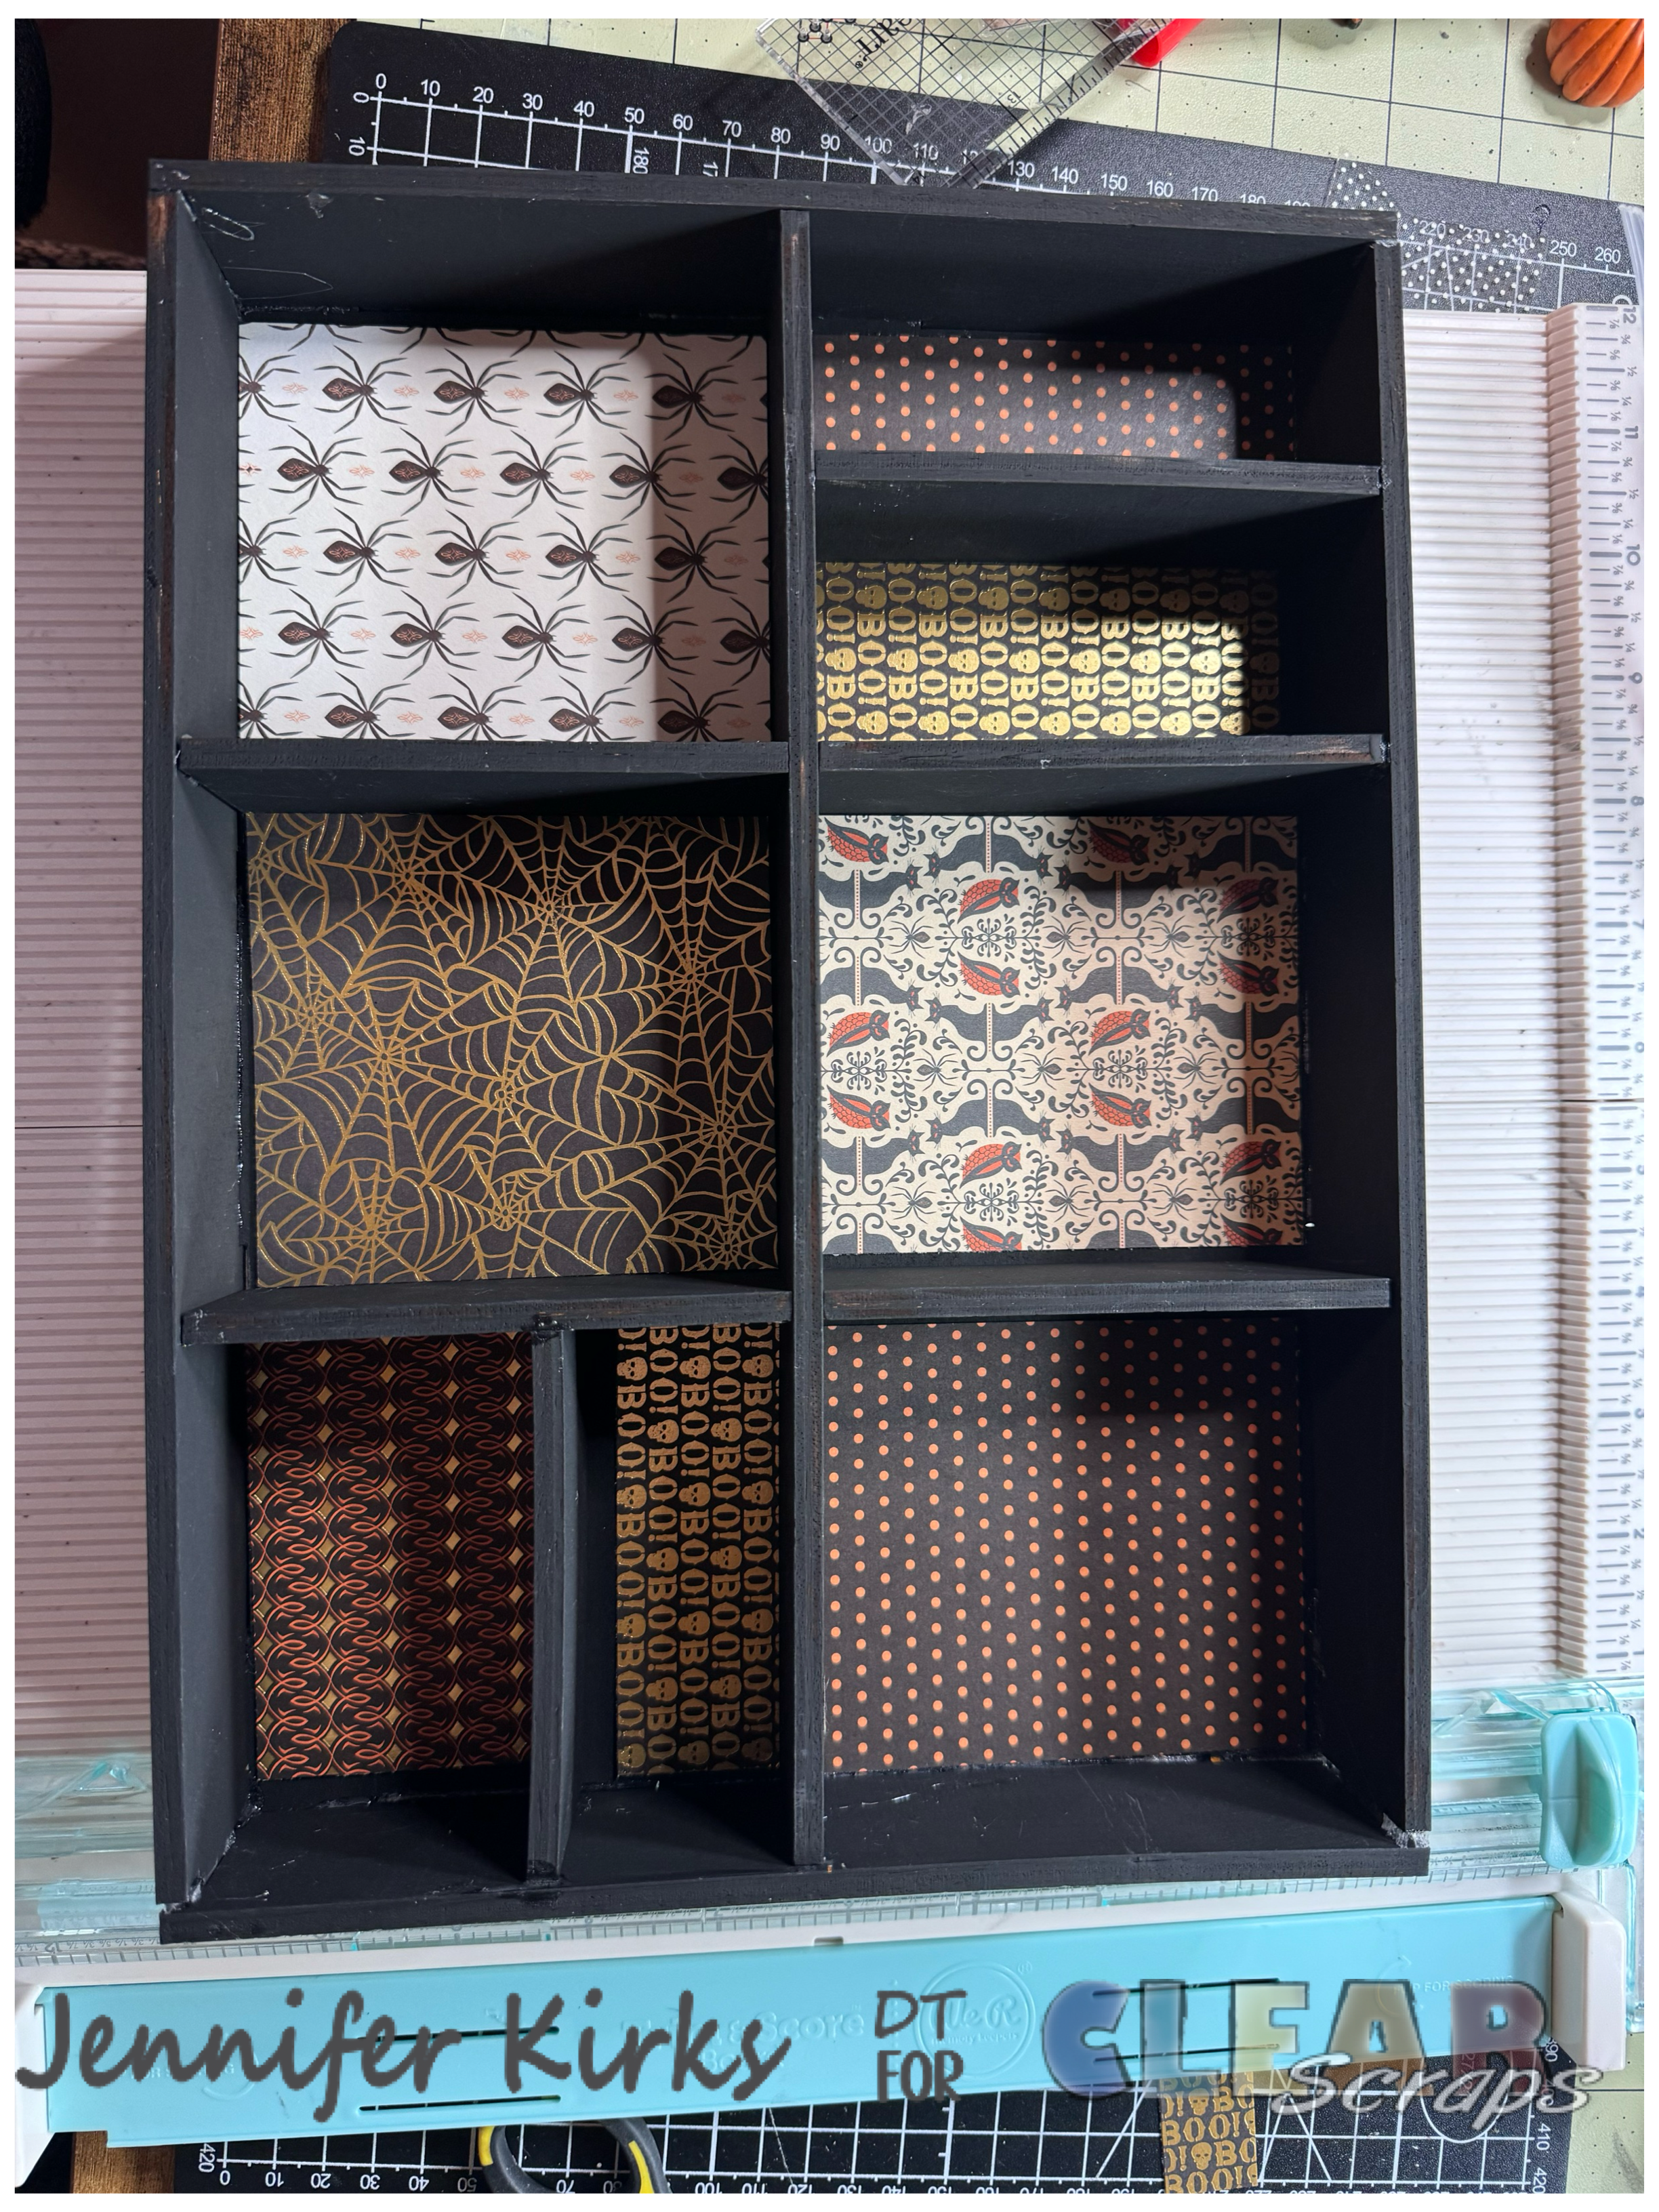
After finalizing the design and gluing the pieces together, I painted each one front and back with black chalk paint (not shown). Once it dried, I assembled the shadow box. I measured the inside of each section with a ruler and cut various Halloween papers to size. I didn’t glue them down just yet, as I wanted to arrange the papers until I achieved the perfect look.
 While the glue was drying, I grabbed a chipboard spider web piece, painted it black, and added black Stickles for a spooky touch. I trimmed it to fit one of the "boxes." Then, I took a small green bottle brush tree, painted it black, and added Stickles for some extra sparkle.


I glued the papers in place and decorated each "box." I used fake moss and parts of a plastic skeleton to create a grave site. Then, I found some assorted glass mini bottles and filled them with glitter and beads to craft a mini apothecary. To finish, I adorned the other boxes with various Halloween embellishments, flowers, pumpkins, and some large spiders.


Leave a comment