Hi there, fellow crafters! Jennifer here on the blog, sharing a quick, easy, and beautiful frame project using the Merry & Bright paper collection from Graphic 45. Let's dive into the details!

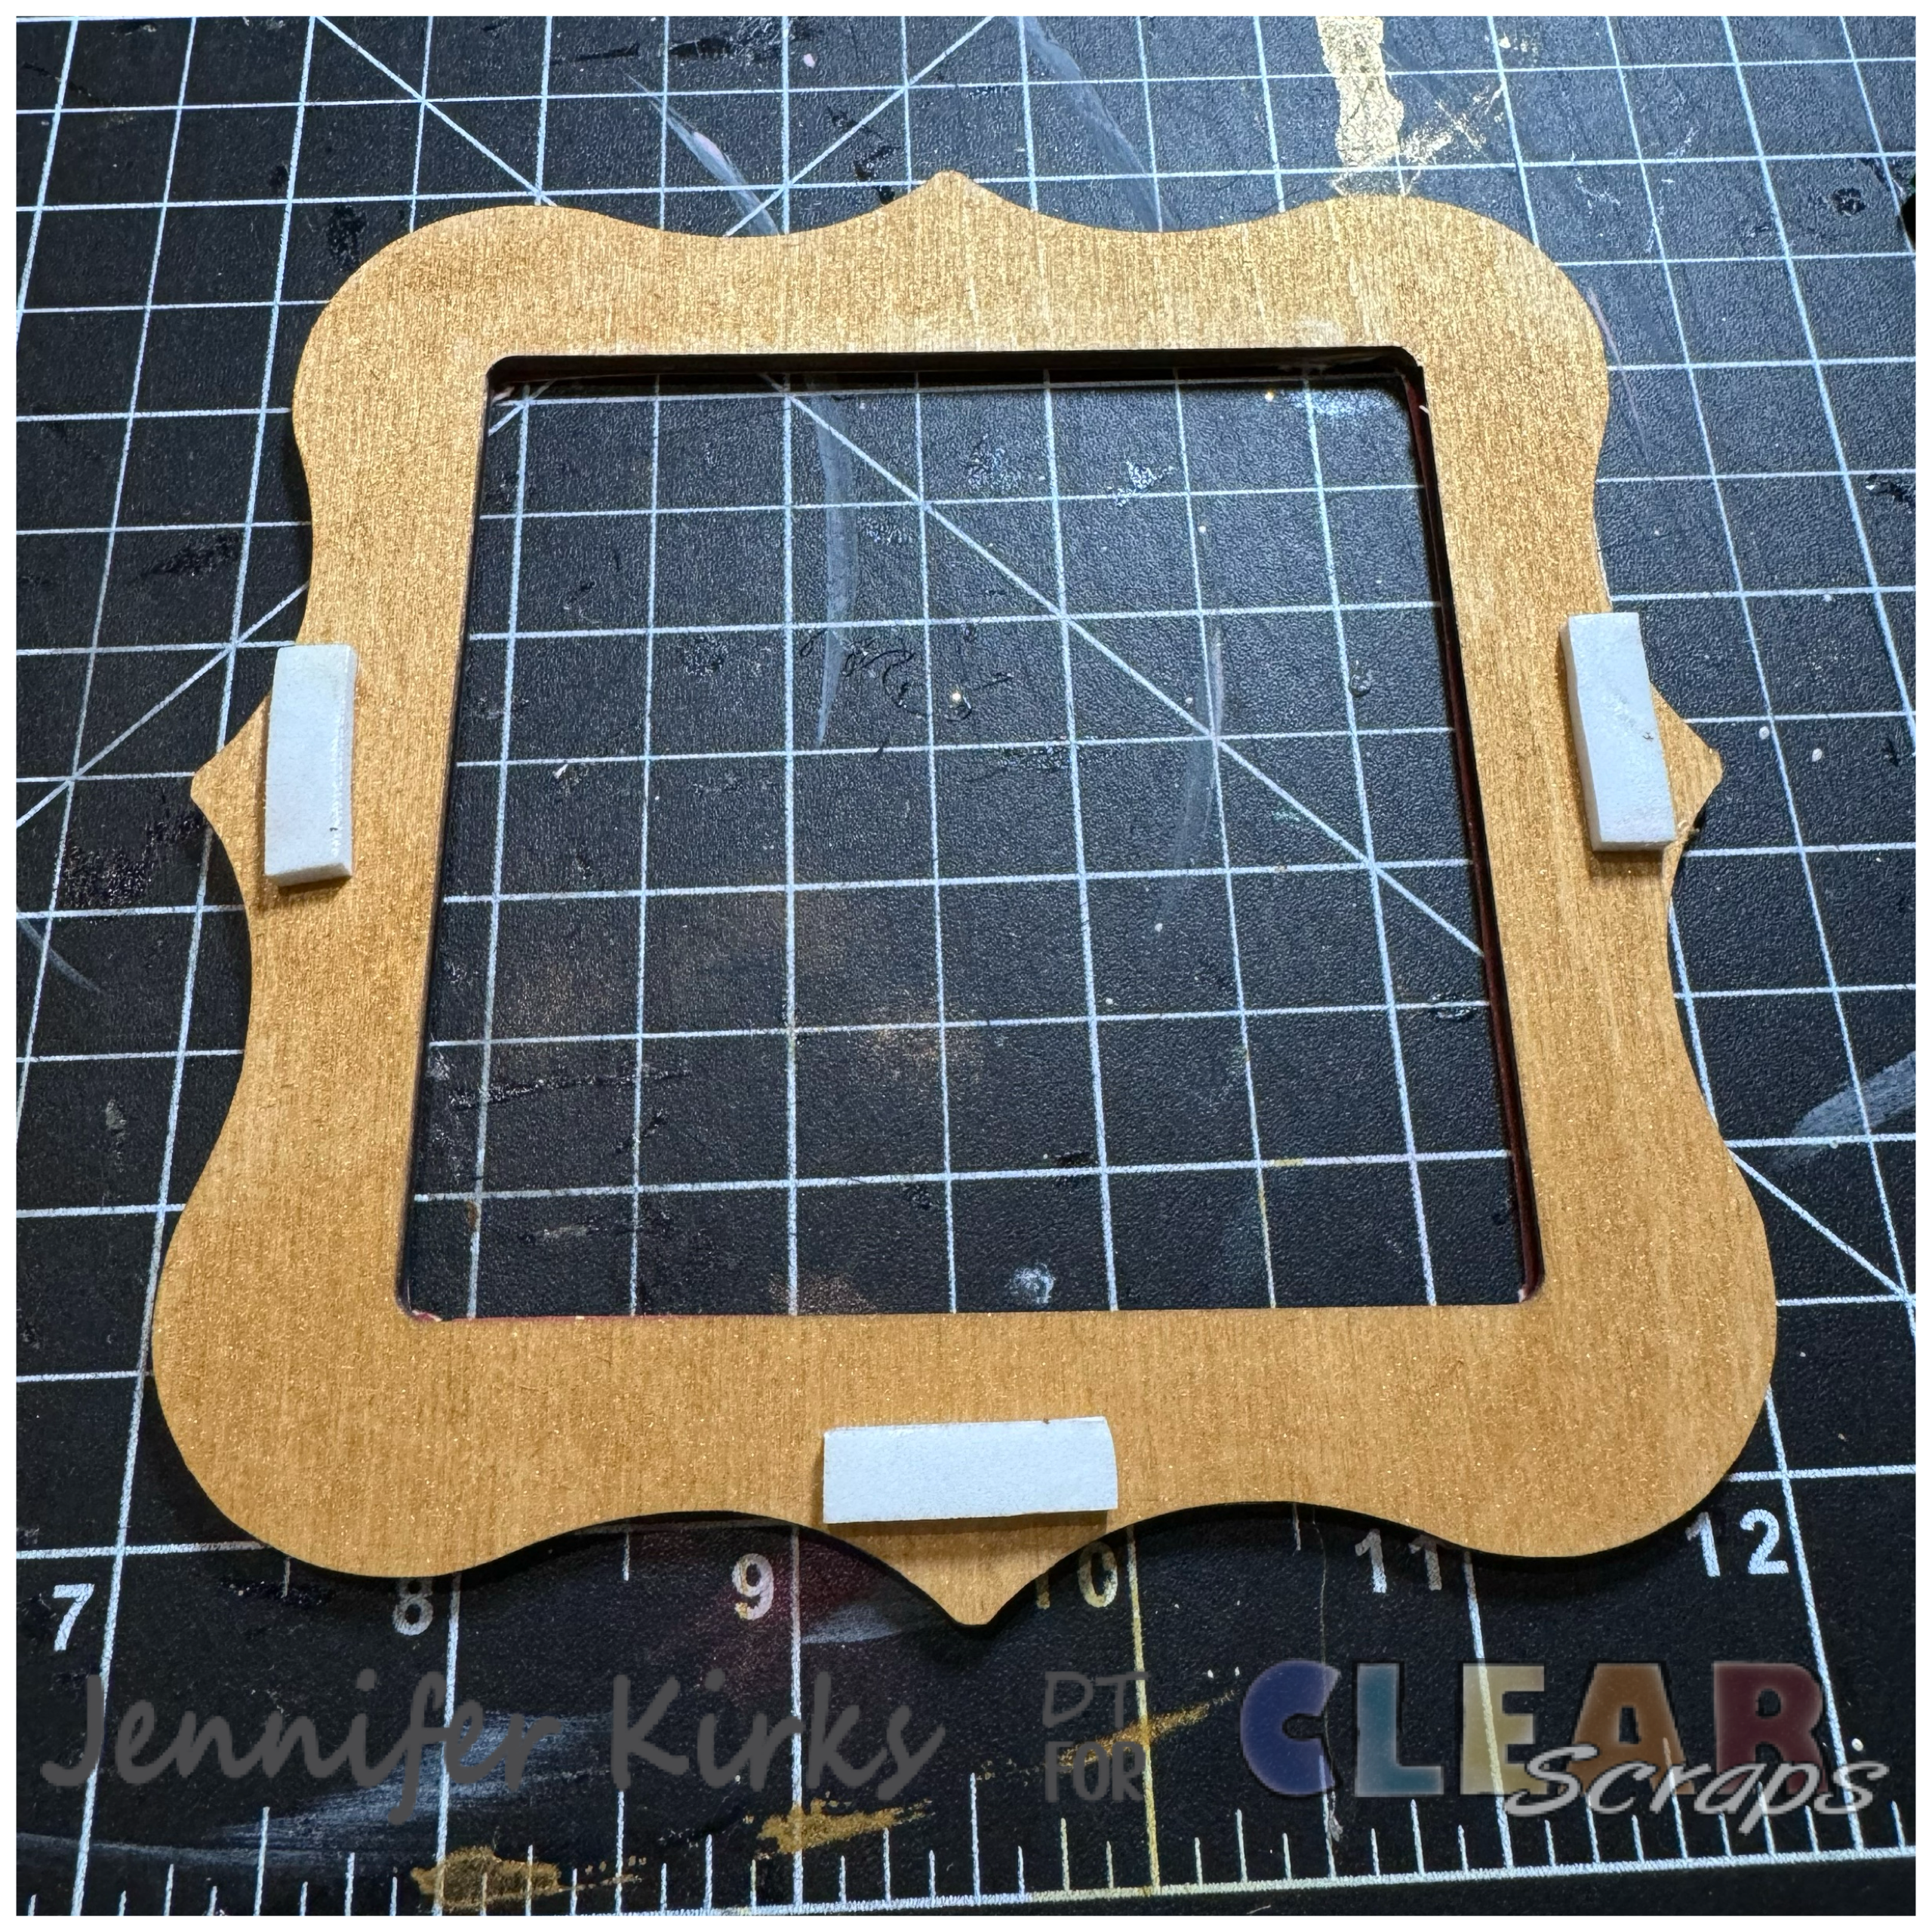
First, I painted all the pieces with gold metallic paint for a touch of shine. Next, I selected the perfect paper for the frame section of the picture holder. I traced the shape onto the paper and carefully cut the paper. I then glued the paper to the frame and carefully trimmed any excess around the outer edges with an x-acto knife to ensure a neat and clean finish. Then, I used the X-Acto knife again to cut out the center, ensuring the paper fit perfectly onto the frame itself.


Next, I selected the paper for the two base pieces, traced the shapes, and carefully cut them out. After gluing the paper onto the unpainted side of the bases, I used an X-Acto knife to clean up the edges for a precise finish. Finally, I cut slits into the base pieces with the X-Acto knife to complete the assembly.


I glued the base pieces together, making sure the slits lined up properly—this is crucial to ensure the frame and any wood words you choose can slide in easily. Next, I grabbed some Antique Gold Metalligue Wax and gently applied it to the edges of the frame and base pieces to add a bit of shimmer. For added dimension, I applied foam pop-up tape to the bottom and sides of the frame, leaving the top open so I could easily slide in new photos.

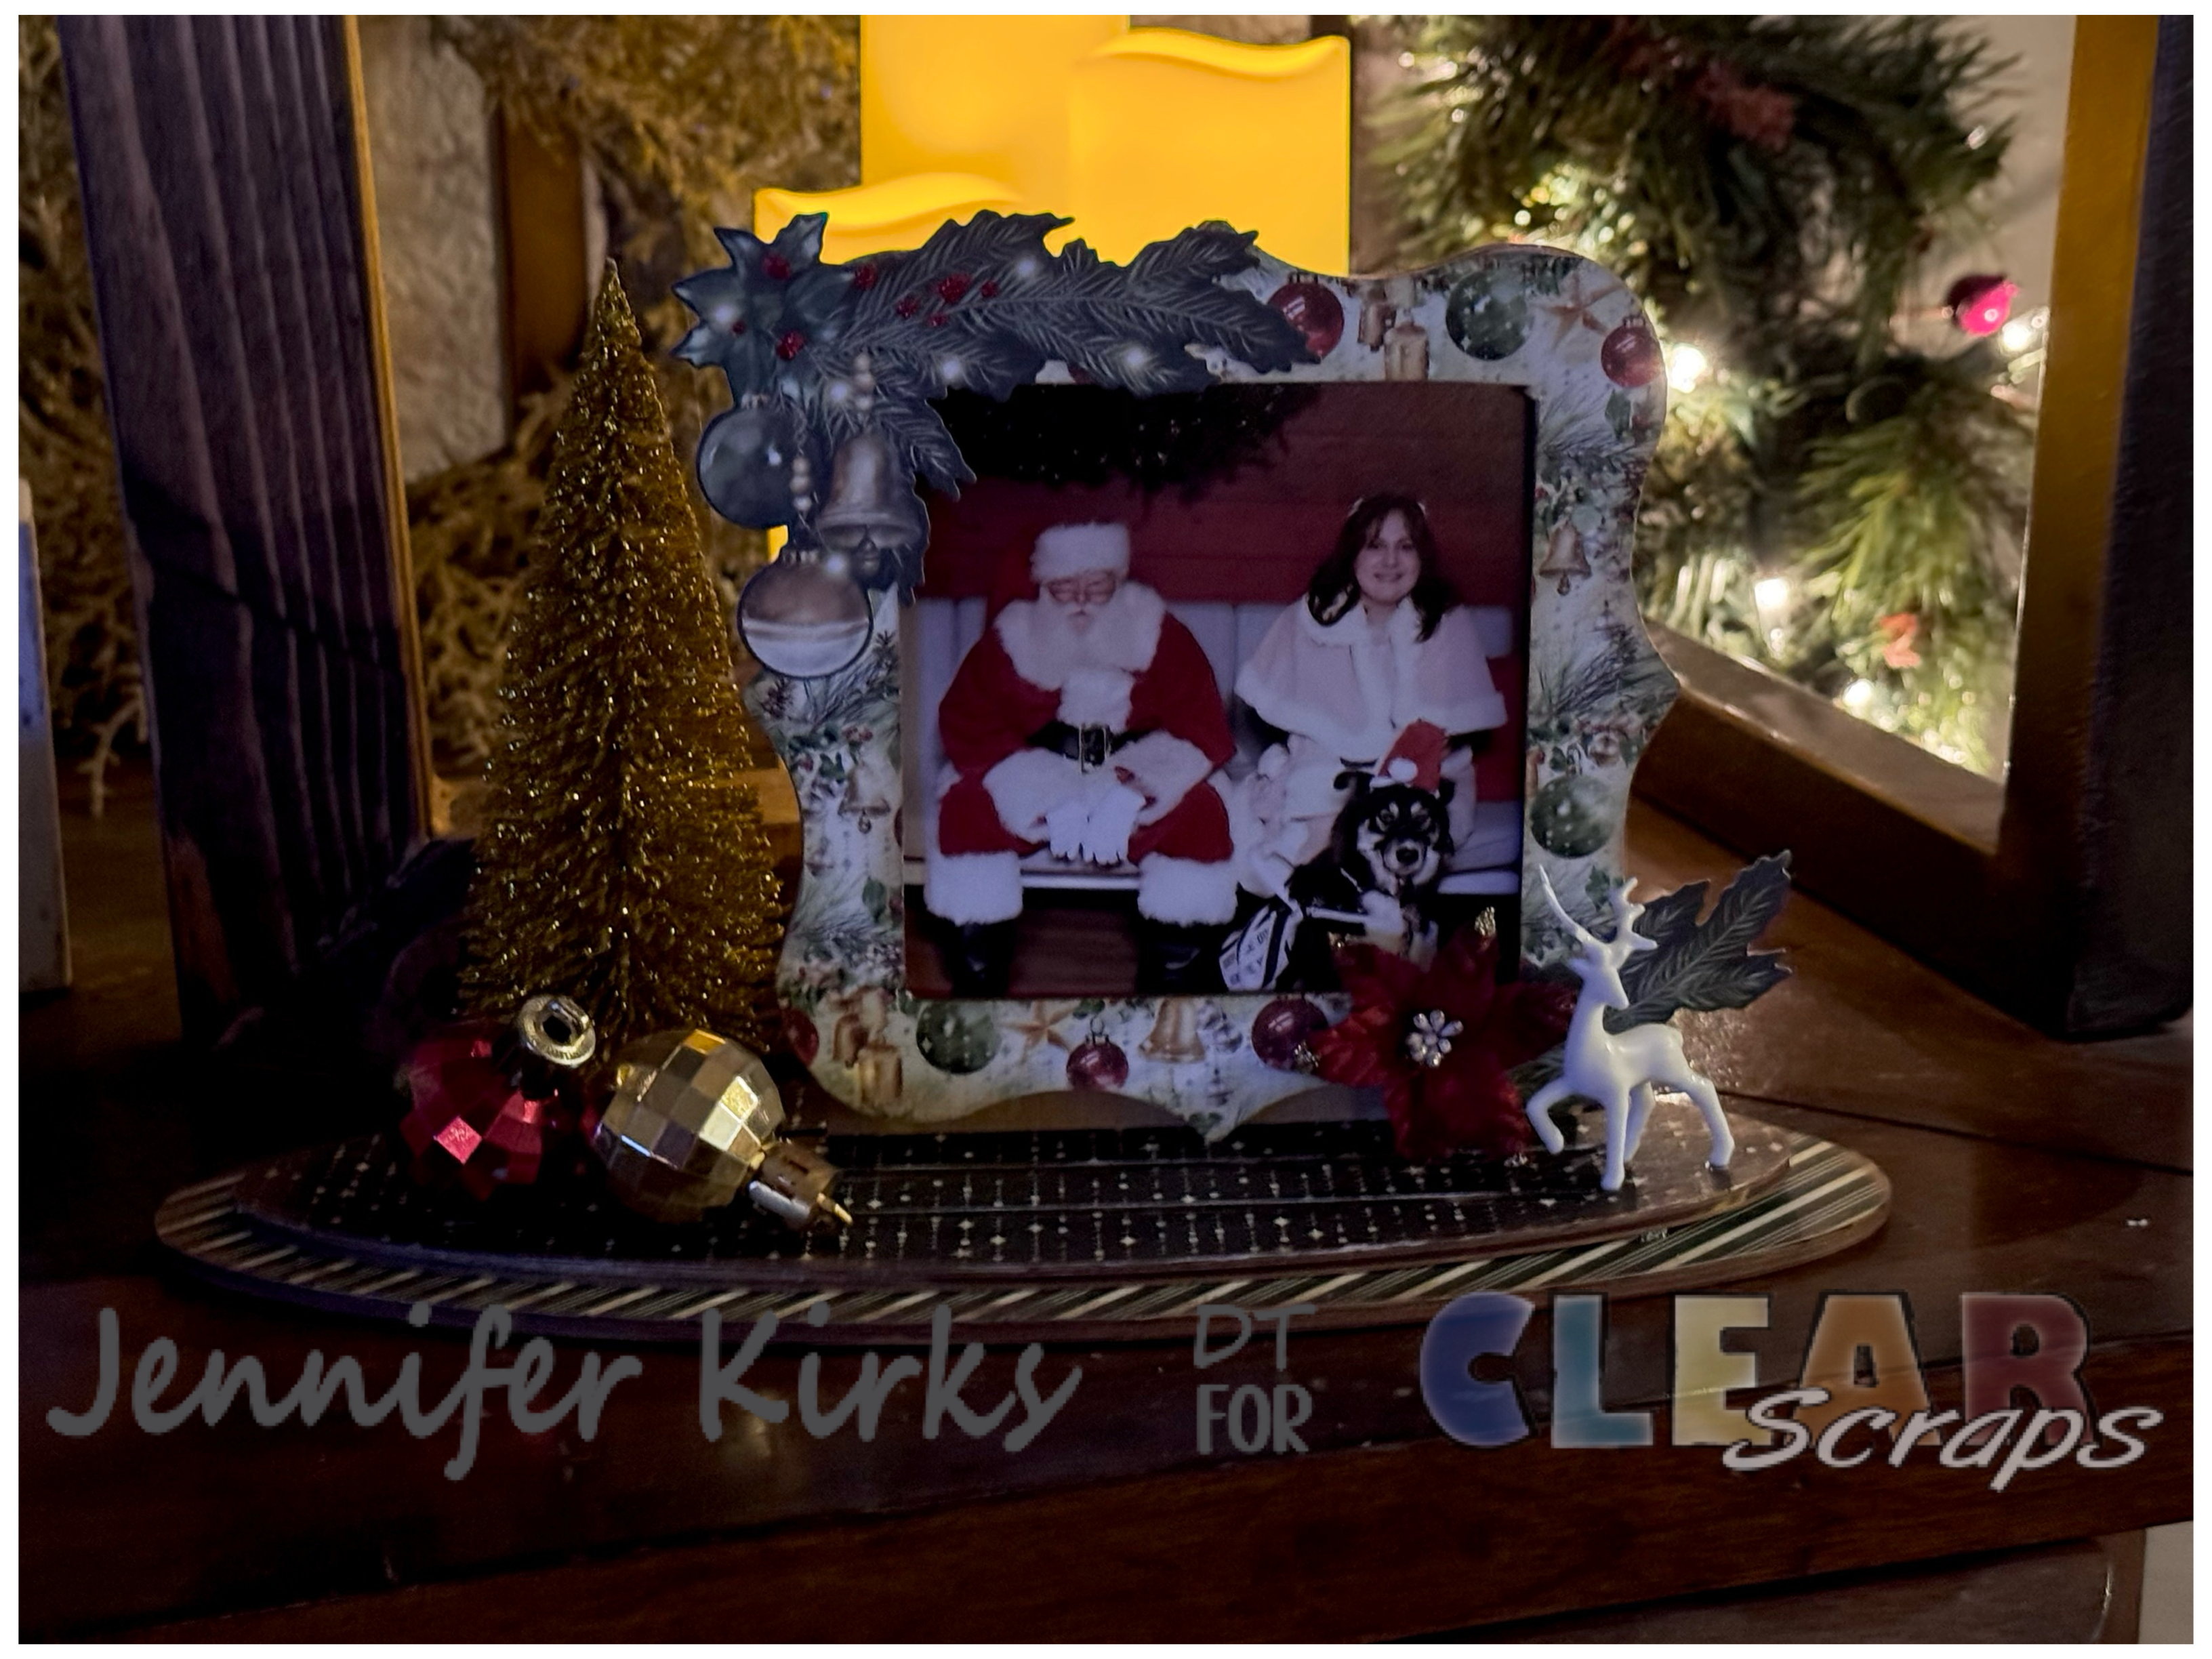
I chose a photo of my daughter and her dog with Santa, slid it into the back slit, and then added some festive embellishments: a gold tree, ornaments, and a few flowers. I’m so happy with how it turned out, and I hope this project inspires you to create your own! Wishing you all happy holidays!


Leave a comment