Hello Crafty Peeps!
I'm Dana and today I'll be sharing a Christmas Home Decor project that I hope you'll enjoy. To make this project, I'm using the new Clear Scraps 8×11 Shadow Box https://www.clearscraps.com/Shadow_Box_p/cshdsb8x11.htm
And chipboard Embellishments Punchouts (Christmas) https://www.clearscraps.com/embellishments_p/cscb5x6noel.htm
The papers I chose to decorate my Shadow box are from Frank Garcia's "Santa Baby" I love the pink and mint colored patterned papers!
To begin, remove all your wood Shadow Box pieces and lay them out on your work surface in the correct order. This makes it easier for me when gluing my box together. See photo:

I chose several coordinating patterned papers and covered both inside and outer parts on long and short side wood pieces. You can trim off any excess paper using an x-acto knife. I cut my long panels to measure 11 & 1/8 x 1 & 1/2 inches. The short sides I cut to measure 8 & 1/8 x 1 & 1/2 inches. See photos:
 I I
I I
I glued the inside panels in place. Hold securely a few seconds for the glue to adhere. Note: I recommend using a strong adhesive like Beacon glue to adhere your wood pieces in place. Here's some photo:

Repeat this process with all remaining wood pieces. You can add the 2 smaller Divider wood pieces inside any section of your box. Here's how mine looks:

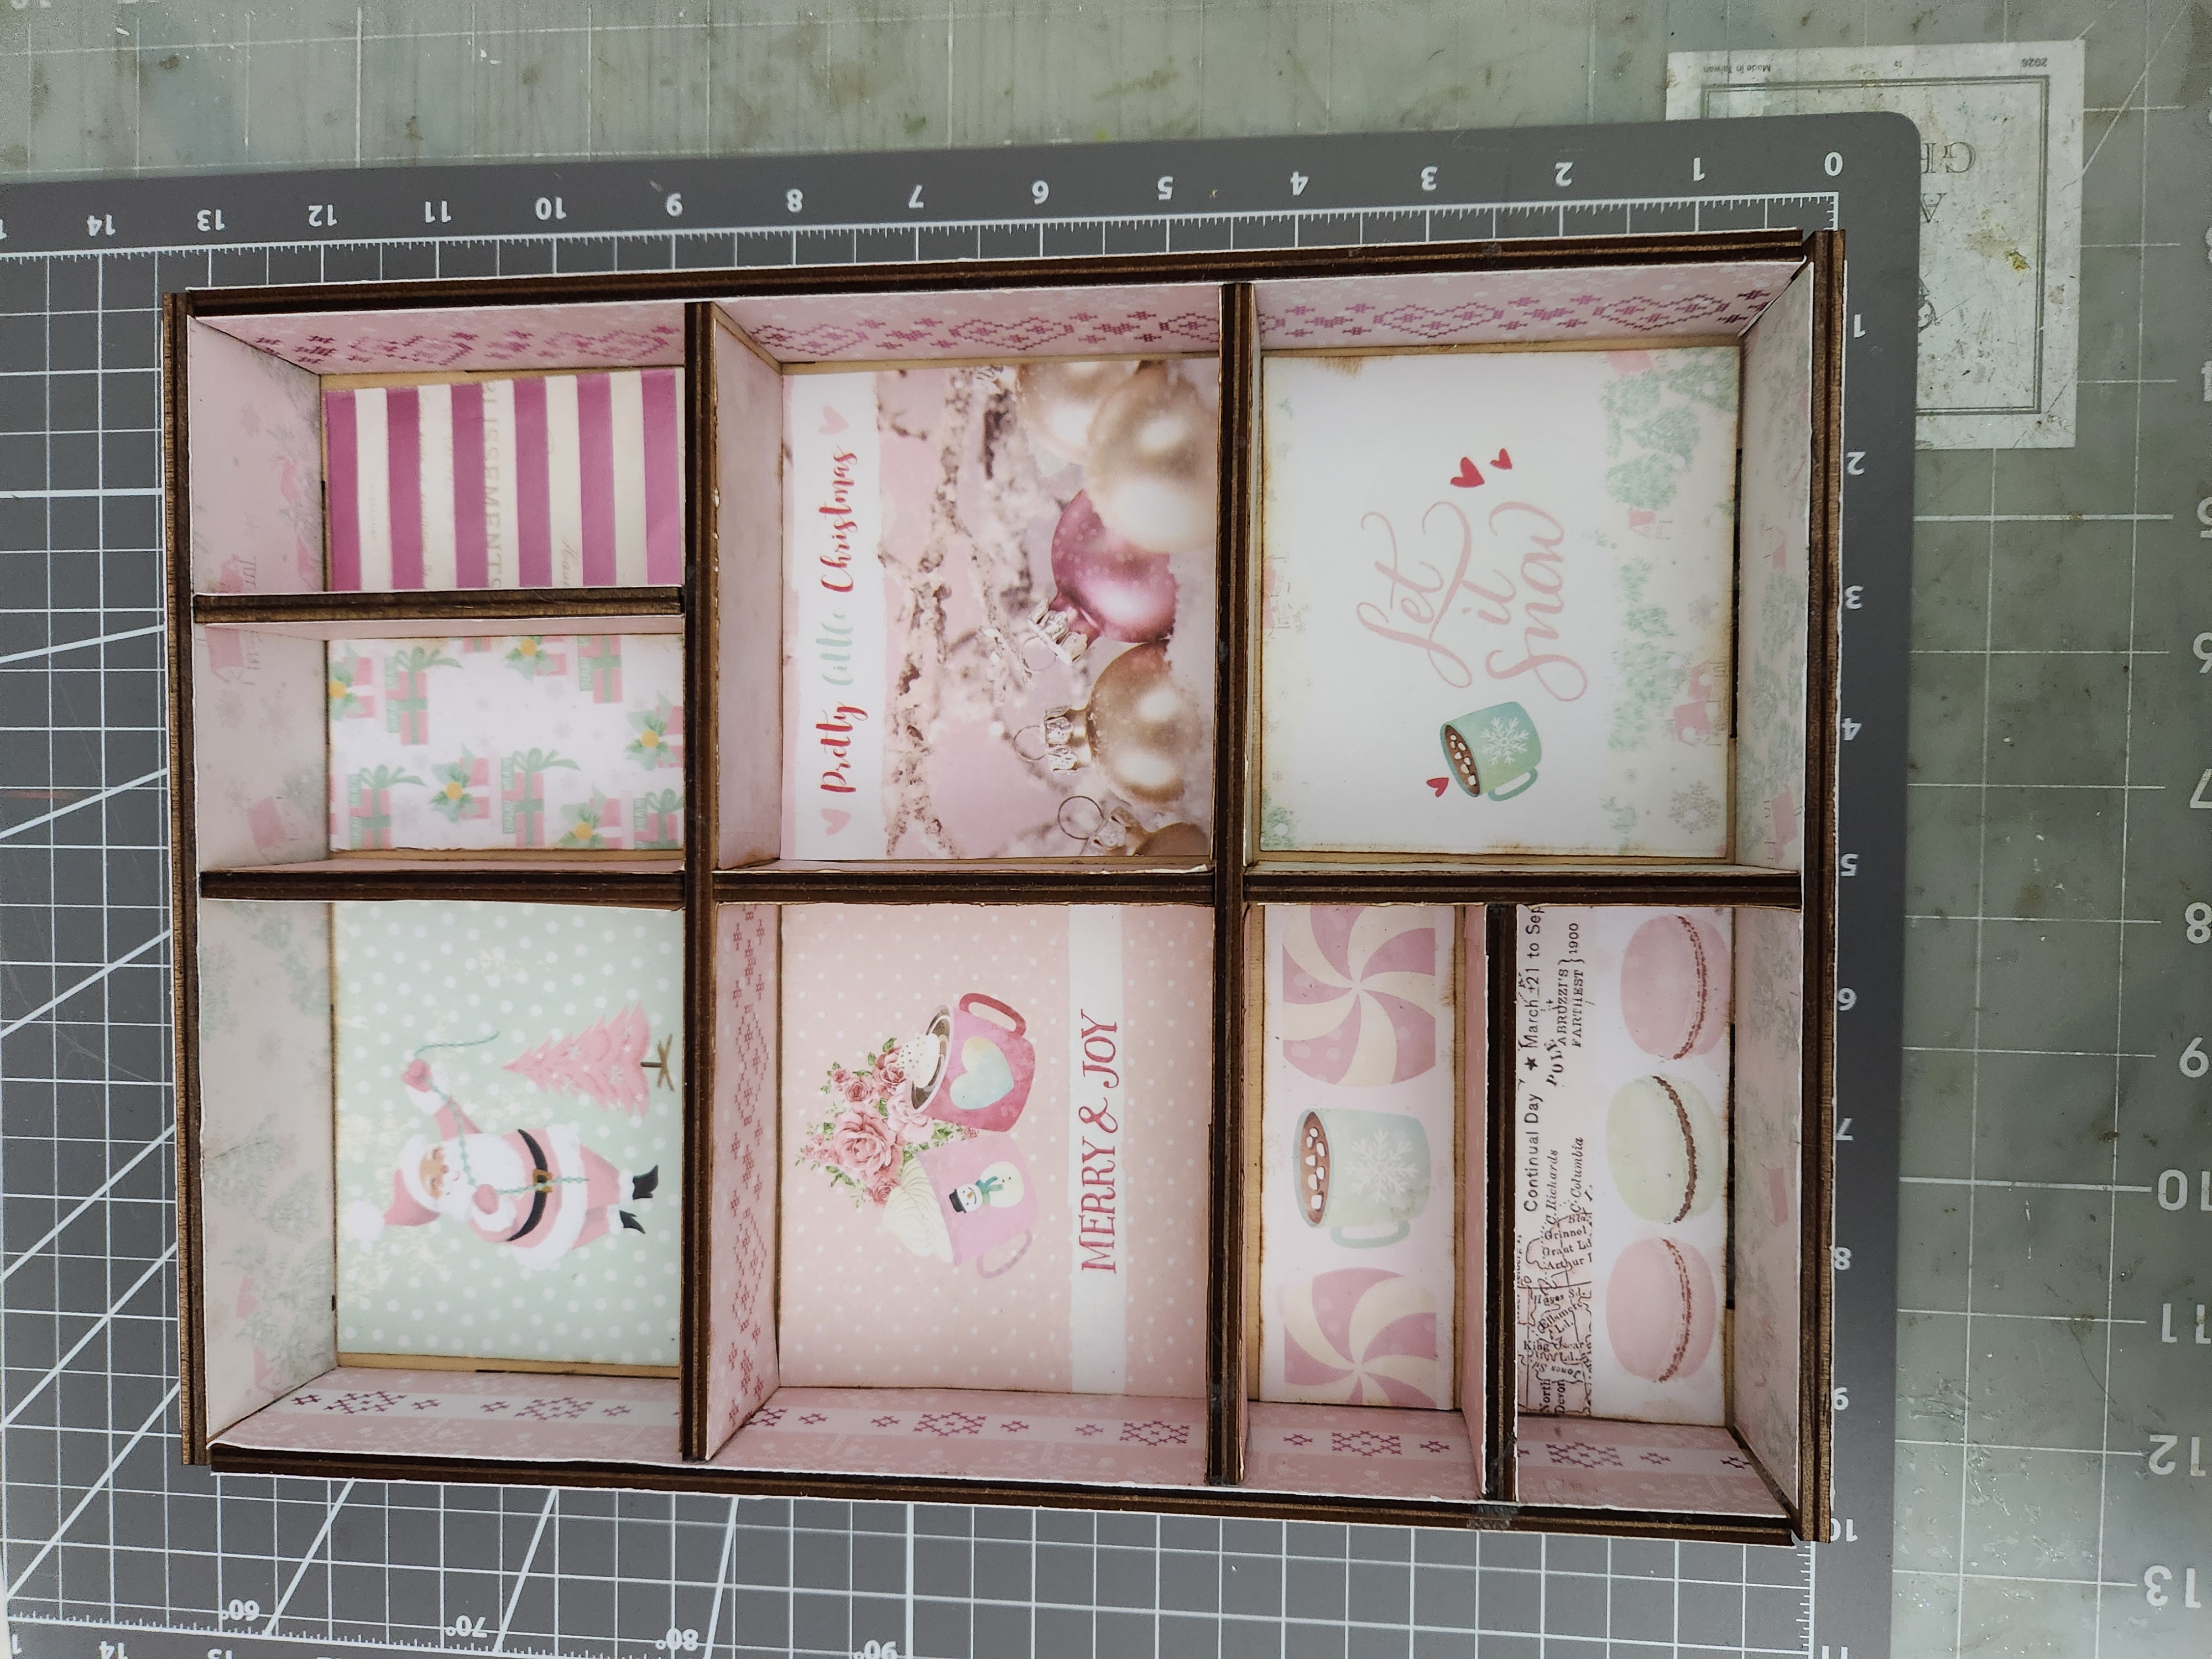
Now continue to cover the inside bottom and sides of each section of your Shadow Box. I did cut down some 4x 6 journal cards to fit inside each section and glue them in place. See photo:

Set your Shadow box aside and punch out the Christmas tree and presents from your Chipboard Punchouts.

On the Christmas tree punchout piece, I applied some Folkart Baby Pink Acrylic paint. On the bottom tree base i applied some Brown acrylic paint. After my paint has dried, I added some Luna Paste Moonlight Pearl over the branches. This adds a nice shimmer! See photo:

On the top of my tree I applied a gold glitter Star and tiny Dazzle stickers to resemble ornaments. With foam dots I adhered my Christmas tree Punchout over the matching image on the inside top left section on my Shadow box. On my Santa, I glued a white pompom pom on the end of his hat, a punk puffy heart sticker and applied some Stickles Stardust glitter on Santa's fur and beard. Here's a photo:

Now take your other Christmas Punchout present, I applied some Versamark Clear ink to the present and sprinkled some pink carnation Embossing powder over the top of my present. Shake off any excess embossing powder and heat emboss. On the top bow I applied some more Versamark Clear ink and sprinkled some mint green embossing powder over top. Heat emboss. Then I applied a puffy sticker in the center of my bow! Glue the present punchout in the middle section. On the far upper right section i glued a snowman chipboard sticker. Here's a photo:

Middle row left: I fussycut out the sentiment Merry and Joy and cocoa mugs. I applied these with foam dots inside. I applied some Stickles Stardust glitter to the whipped cream on both mugs! Here's a photo:

Pretty Little Christmas section: I applied some Tim Holtz Grit paste-snowfall along the bottom edge. See photo:


Lower left sections: i added a puffy sticker cocoa mug in the center, and 2 chipboard stickers on each side. The Macaroons i fussycut out and applied using foam dots. Here's a closeup:

Last section on the bottom right i just added a chipboard sticker and a pink Snowflake sticker. I applied some Stickles Diamond glitter on the whipped cream on my mug!
To finish our Shadow box is adhered some Clear Sparkle Chenille stems on the outside and inside edges. Here's a finished photo:

Now you can display and enjoy your Shadow Box now and many years to come! I think this would make a great gift idea for a crafty friend or family member.
I hope you enjoyed seeing my project and are inspired! Thank you for visiting the Clear Scraps blog! Be sure to check out all the new Clear Scraps products available now https://www.clearscraps.com/
Until we meet again, Have a Crafty Christmas!
Dana
Other Supplies Used:
Folkart Baby Pink Acrylic paint, Brown acrylic paint, Tim Holtz Grit paste-snowfall, Clear Sparkle Chenille stems, Beacon glue, Frank Garcia's Santa Baby papers and stickers, Dazzle stickers and Gold Sparkle Star sticker, xaco knife.


Leave a comment