
Hello everyone!
I am so ready for bright colored flowers to show Spring is here. I decided to make my own flower cards using the Clear Scraps Mini Shaker Flower and the 6" Spring Floral stencil. These card are perfect to send to someone to brighten their day.
Here are the supplies you will need for all 3 cards.

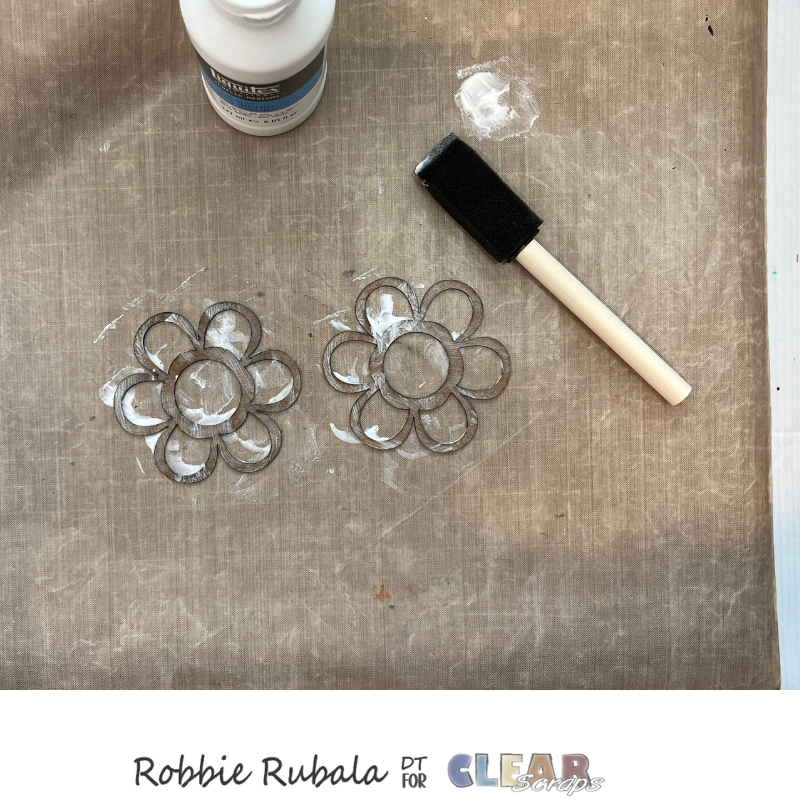
Let's start with the red shaker card. Take the 2 chipboard outlines and add a coating of Gesso.

Once they are dry, add a coat of white acrylic paint.

When the paint is dry choose a yellow alcohol marker to color the center of the flower. This does not hurt the marker, but make sure you scribble off the paint the marker picks up.


Now choose a red marker to color the petals of the flower.


Grab your Mod Podge and the solid flower shape and a piece of pattern paper that will be used for your background of the shaker. Add the pattern paper to the flower shape and let dry.


Once the Mod Podge is dry use a craft knife and cutting mat to trim the excess paper from around the shape. If necessary use a sanding block to get a smooth edge.


Remove the plastic protective film from the acrylic shape. Use a strong glue to add the colored flower to the acrylic shape making sure to keep the glue around the edges and not on the acrylic center. Once you have glued the shapes, place a heavy block on top to ensure the image and acrylic shape stick together with no gaps.


Take the solid image you attached the pattern paper to and using one of the open chipboard flower pieces, trace the center circle and the center where the petals are so you know where to add the adhesive foam strips. Using some double sided adhesive strips add it to the center circle you traced making sure to keep the strip in the middle of the circle you traced. Note – if you don't have adhesive strips you can use thin strips of fun foam and glue. You will need to add a block on top to make sure the strip stays in place.


Once you have the foam strip around the circle in the center and the petals add some sequins in each section. Use a strong adhesive to glue the top of the shaker card to the bottom. Then set aside to dry.

To create your card base, take the 3 7/8" x 5 1/8" white panel and use 2 leaf sprays and 2 green inks to create a border at the bottom of the panel.

Grab your flower shaker and a strong adhesive and attach the shaker to the White panel close to the bottom.

Find a sentiment and some red ink to stamp the sentiment in the upper left hand corner.


Add this panel to your red panel then to your card front and your card is finished and ready to be mailed.

Now let's make the blue card!
For this card you will need the other gesso prepared chipboard flower, an embossing folder, gold pigment ink, and silver gems.
Take the chipboard flower and paint it white with acrylic paint.

Choose a yellow alcohol ink refill and use a paint brush to paint the center of the flower.


Choose a blue alcohol ink refill and use a paint brush to paint the petals of the flower.


Grab your embossing folder, a 4" x 5 1/4" blue card stock, gold pigment ink, and card base. Emboss the blue panel.

Take the gold pigment ink and swipe it across the raised part of the embossed panel.

Use a strong glue and attach the flower to the lower portion of the embossed panel. Place a heavy block on top until the glue dries.


Add a sentiment to the upper left corner of the card front.

Your card is ready to send to someone and let them know you are thinking of them.

Our last card is the stencil card.
For this card you will use the 6" flower stencil and some inks. I used purple and green.
Take the 3 ¾” x 5” white panel and add some removable tape to the back. Stick it down on your work surface. Place the stencil where you want it on the panel and tape it to your work surface at the top and side.
Cut a bunch of post-it notes or use masking tape to cover up the flower heads. Make sure you cover all the flowers including the ones that show on the side and you don't want on the card front.

Use a blending brush and green ink to color the stems. To add interest, use 2 shades of green – one for the short stems and the other for the longer stems.

Remove the masks and use them to mask off the stems. Use a blending brush to color the flowers with different shades of purple.

Color the center of the flowers with a yellow ink and small blending brush.

Choose sentiment and stamp it at the top using one of the purple inks used for the flowers. Add the panel to a 4” x 5 ¼” purple panel. Then to the card front. Add rhinestones to the center of the flowers.
Place your card in an envelope and mail it out!

Thanks for visiting today and checking out my project. I hope it inspired you to play with the many chipboard pieces at Clear Scraps!


Leave a comment