June 14, 2025
Beehive Shaker Card
Hello Crafty Friends – I am excited to share the Clear Scraps beehive shaker with you today. I enjoyed turning this Clear Scraps shaker element into a beehive themed card. Clear Scraps shaker elements are easy to use. All the pieces are pre-cut for easy assembly. The beehive shaker is a great size to use on a card, as an embellishment, or a décor piece.

Supply List:
Clear Scraps Groovy Flowers Sprinkles
Bee dies
Beehive cardstock
Distress Oxide Inks – Fossilized Amber, Scattered Straw
Twine
Bee and honey pot charms
Start with the Clear Scraps beehive shaker.


Cut cardstock of choice in a rectangle the size of an A2 card, 4.25 x 5.5 inches. Adhere the cardstock to the front of an A2 size card base.

Cut another piece of patterned cardstock in the same shape as the beehive. Adhere the cardstock to the solid beehive chipboard piece. Using liquid adhesive allows for a few seconds to move the cardstock into the exact desired position.

Add color to the top beehive frame element using Distress Oxide Ink and a blending brush. Layer the beehive frames on top of the solid beehive chipboard piece to allow room for the shaker sprinkles to move around. Prepare the inside and rim of the shaker portion by rubbing with an anti-static powder tool. This step removes the static from the inside and rim of the shaker so the shaker mix moves freely around inside the shaker element. Add shaker mix. Peel off the protective sheet on both sides of the acrylic insert and adhere to the back of the colored frame. Adhere the top frame element with the acrylic insert to the top of the other frames.

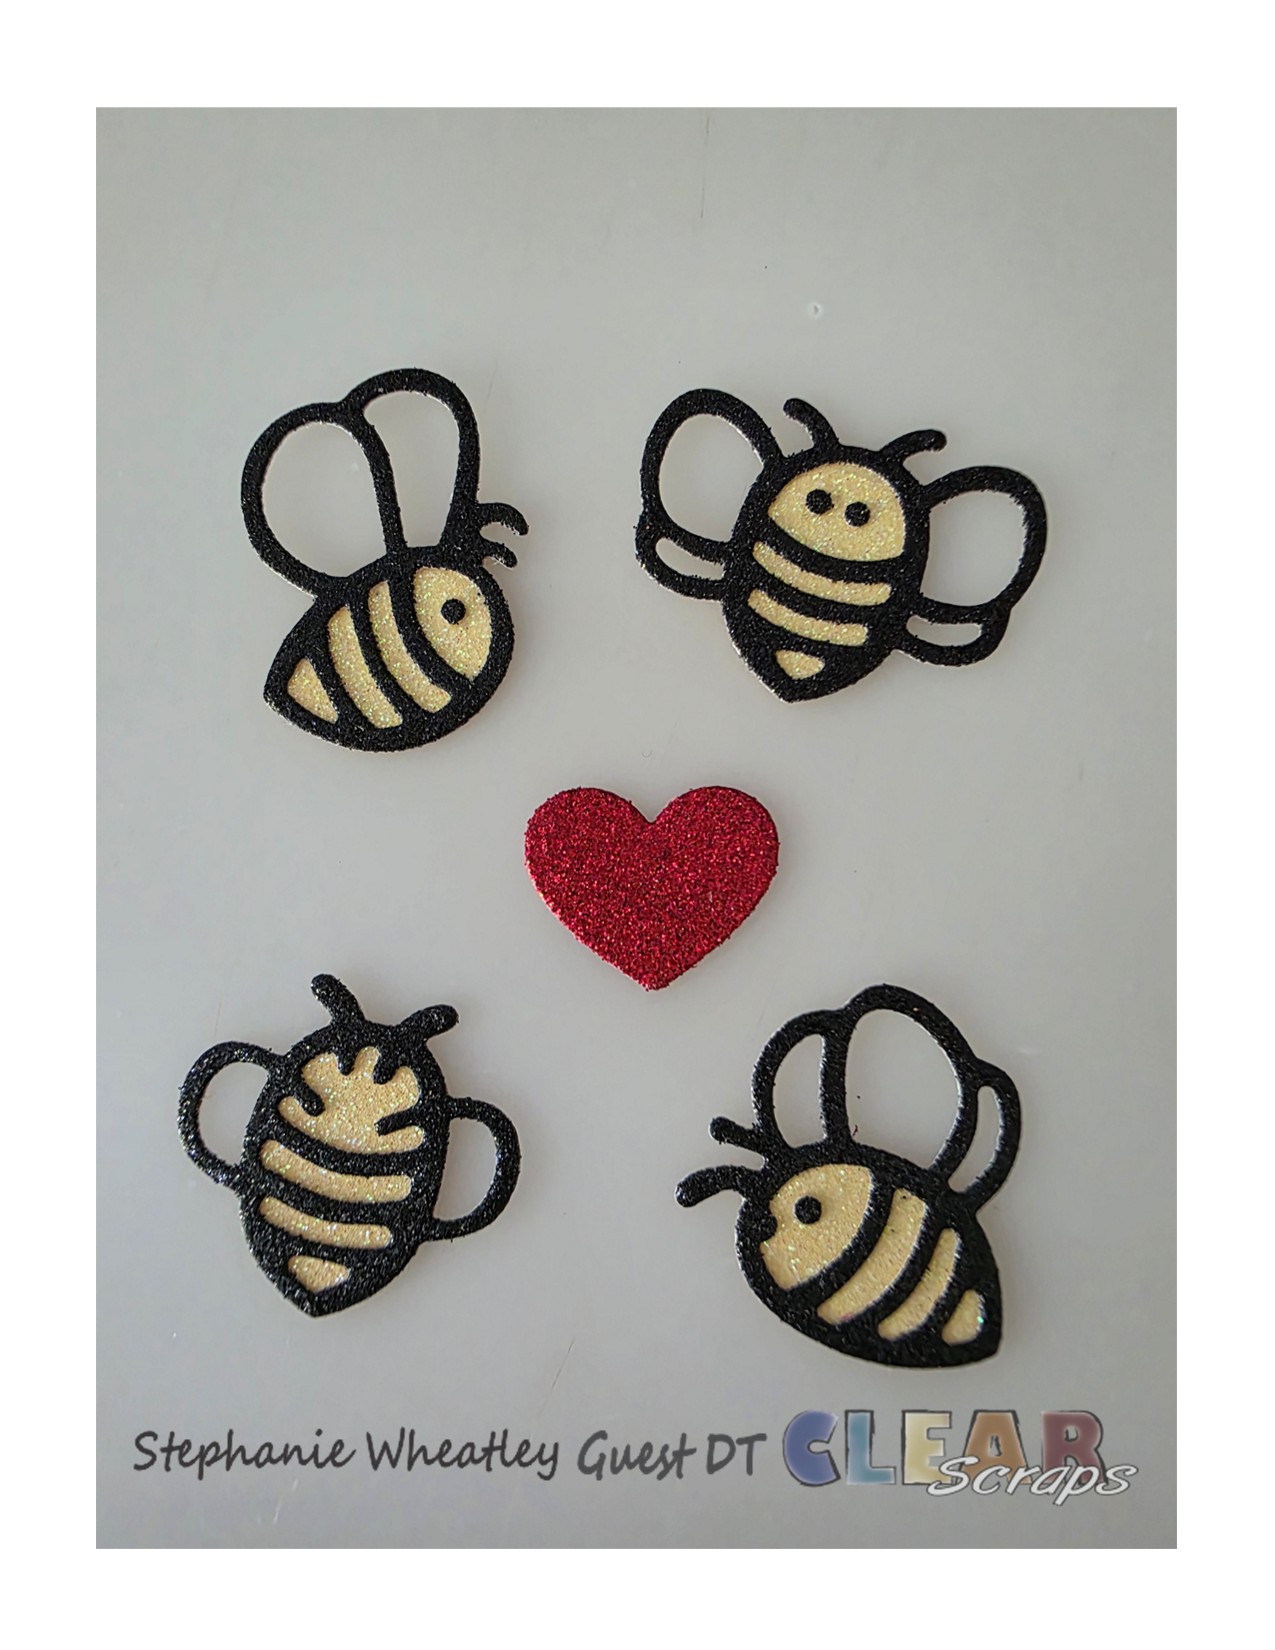
Prepare decorative elements. For my card I used various bee dies. I die cut the bee images from yellow and black glitter cardstock.

Adhere the bee die cuts to the shaker element and the card. Adhere the bee hive to the card.

For a little extra bling, add charms matching the theme of the card. I used a bee and honey pot charm, connected to a twine bow.

I love how this card turned out! I look forward to giving this fun card to a special loved one.

Thank you for visiting the blog today. I hope this post inspires you to create a fun project using Clear Scraps products.
Please check out Clear Scraps social media outlets for more inspiration:
May you find joy in crafting – Stephanie


Leave a comment