Hello everyone – I am back with my second project for July. This time I have a box you can use to hold your photos from your beach vacation.

For today’s project you will need the regular wood box, Summer chipboard embellishment punch outs, tan – aqua – navy – red – coral – peach – yellow -and orange paint, texture paste, palette knife, clear glitter, strong glue, and paintbrushes.

Take the wood box and your strong glue and glue the box together. Set aside to dry.


When the glue has set, take your tan paint and a paint brush and paint the entire box. Set aside to dry.

When it is dry, take the aqua paint and paintbrush and paint the top portion of the box. Use a curving edge to mimic the water coming ashore at the beach. Set aside to dry.


After the aqua paint is dry take you texture paste and a pallet knife and apply the texture paste to the box following the line of the aqua paint. Use a dabbing motion to mimic the waves breaking on the shore. Before the texture paste dries, sprinkle on some of the glitter to give it some sparkle. Tap off the glue that did not stick to the texture paste and return to the container. Let the texture the paste dry overnight.


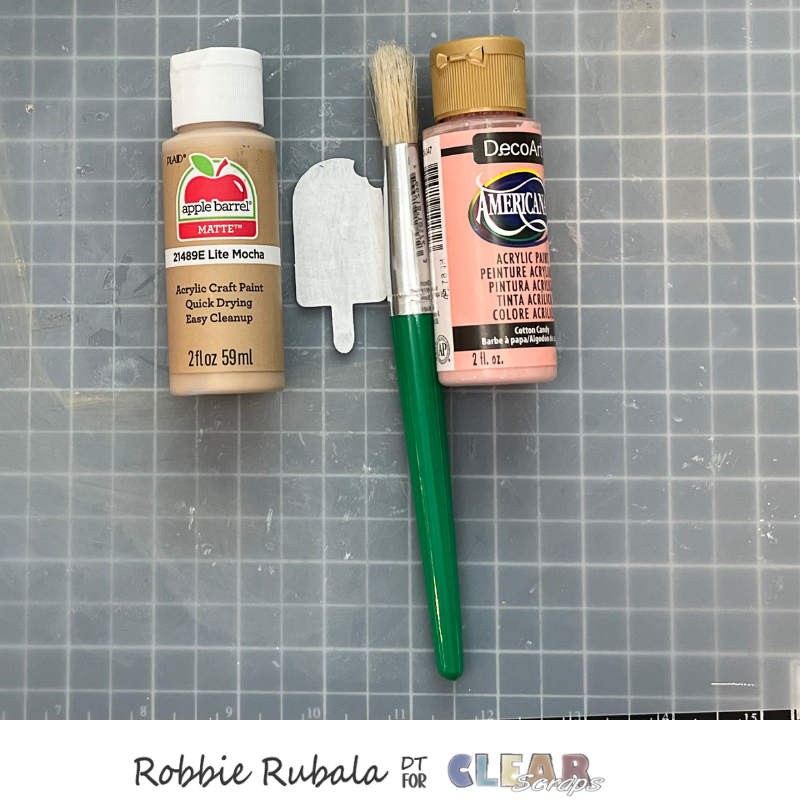
Take the sheet of Summer Chipboard embellishments punch out and paint using white paint. Let dry then paint the back white also. Let dry and then punch out the shapes.


Paint each shape in a color that would give your images realistic colors of the item. Here are the colors I used.
Sun – yellow
Beach ball – red, blue, and white
Popsicle – orange
Sunglasses – coral
Flipflops – peach
Hello – navy
Summer – red
Let dry and paint the back also.


Glue the shapes onto the sides and front of the box. I did not add any to the back of the box but feel free to decorate the way you want. Here are my sides.


Fill your box with your beach vacation photos and place it on your coffee table for all to look through.
I hope this project has given you some ideas for ways to display your photos. Do one for each season and change the shapes and colors to fit the season.
Have a Marvelous Monday!
Robbie


Leave a comment