Journal Cover December Daily
This month I have a December Daily mini album for you. This is a great way to document your December.

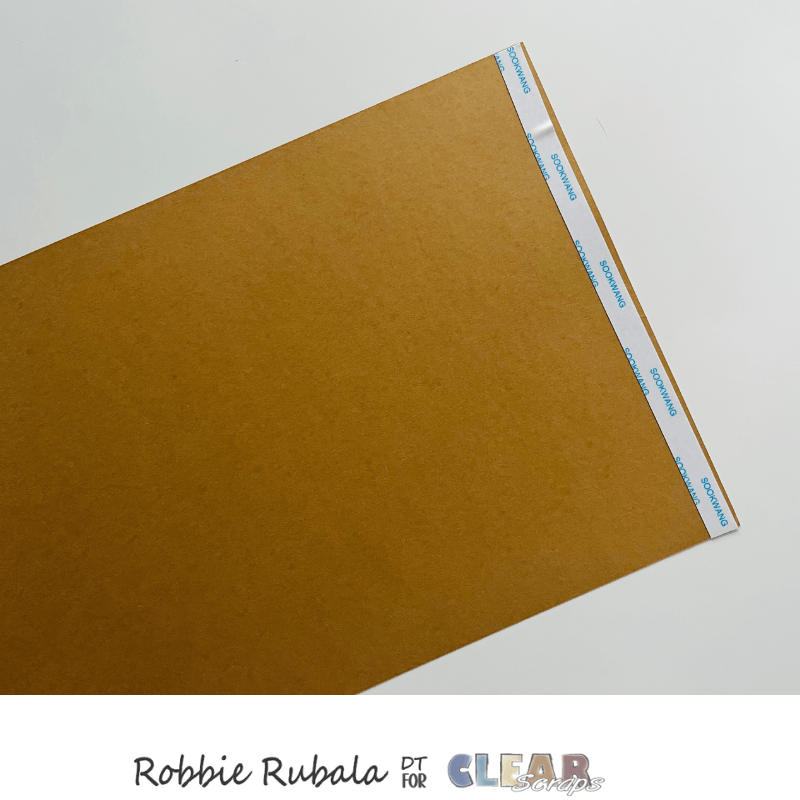
We will make the cover first. For the cover I used the small Rectangle Journal cover. You will also need some pattern paper with a Christmas theme, 2 pieces of cardstock – 8 1/2″ x 11″ – that match your pattern paper, a ruler, and various sizes of double sided tape.

Use your 1/2″ double sided tape and add it to the end of one of the pieces of cardstock. Take the backing off and join the 2 pieces of cardstock to make 1 long piece.

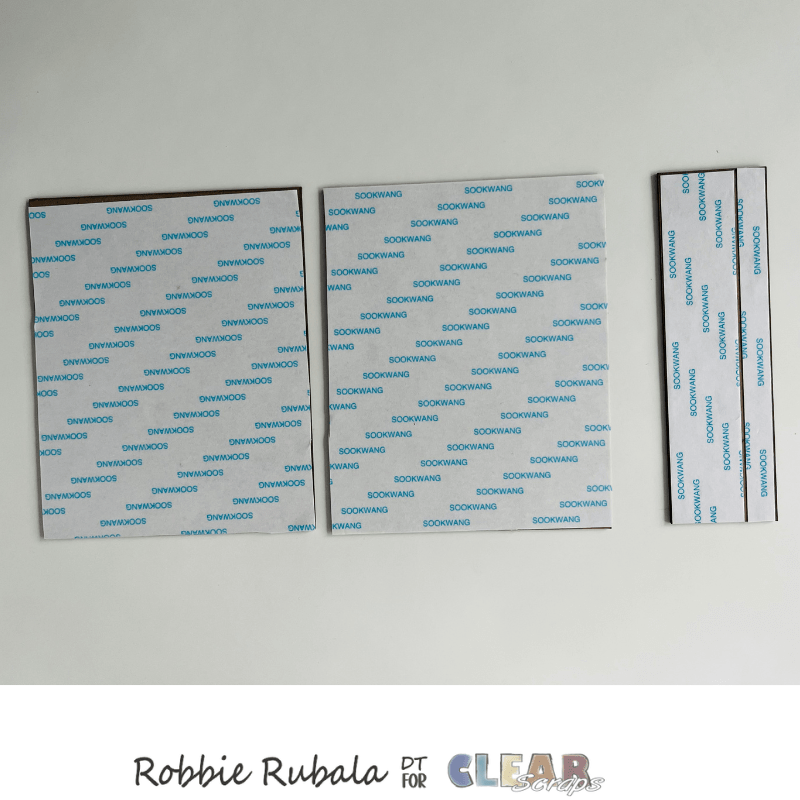
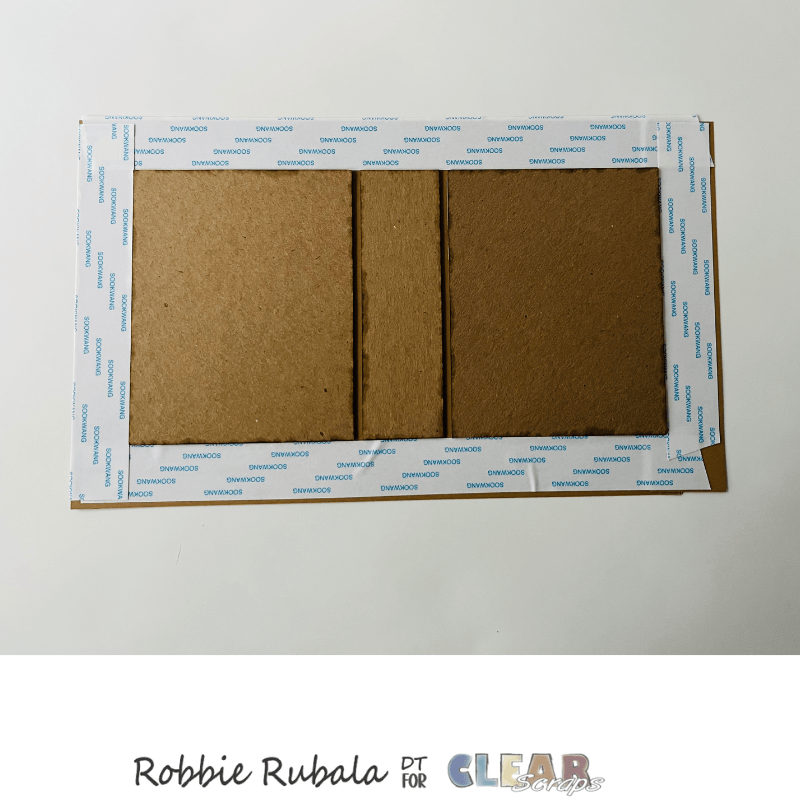
Take the pieces from your Journal Cover and apply double sided tape to the back of the 3 pieces.
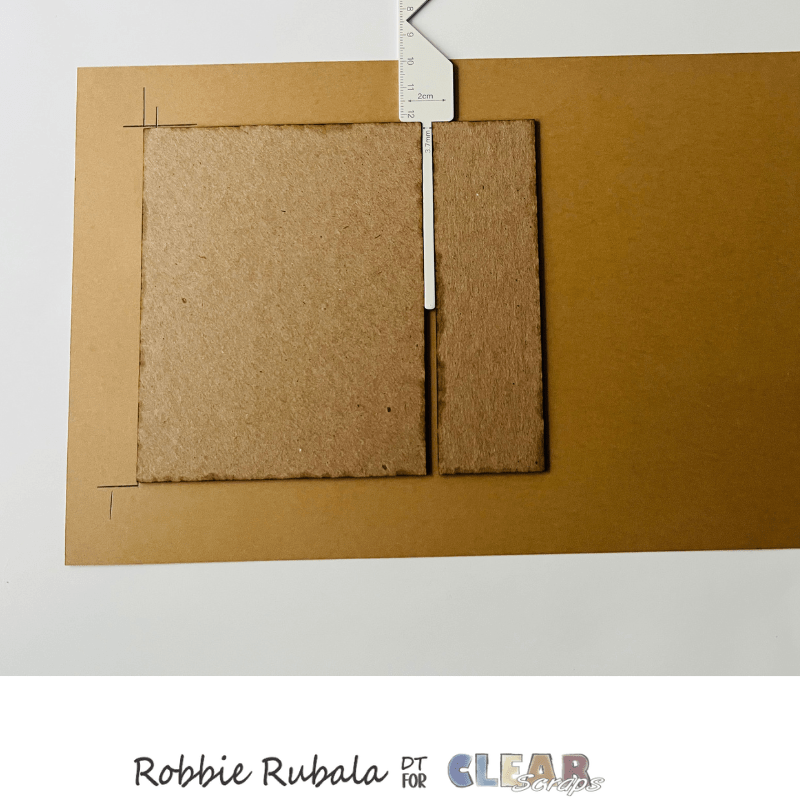
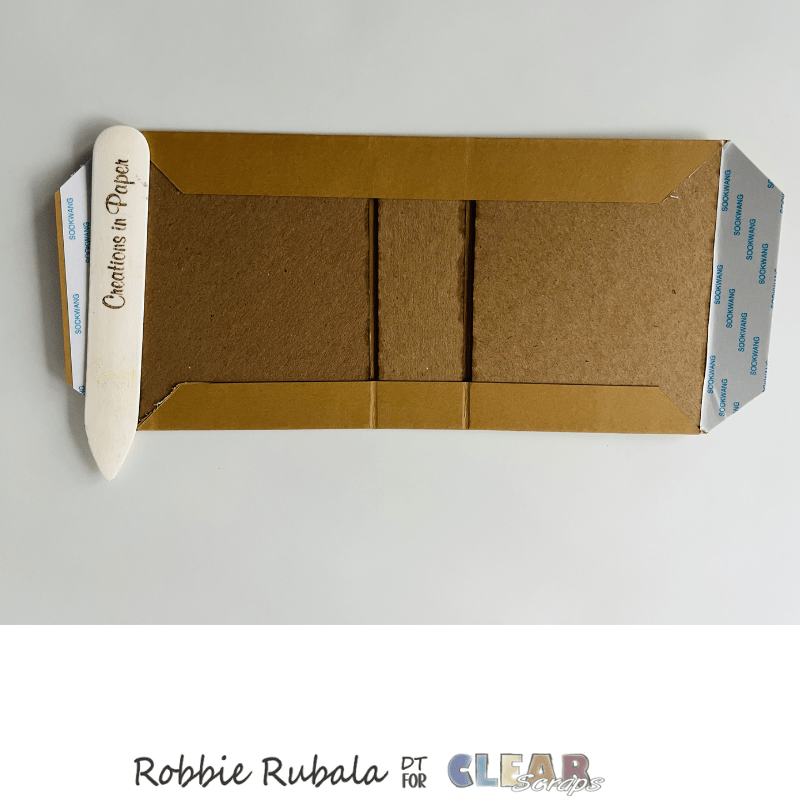
We are now ready to cover the chipboard pieces. Where the cardstock pieces join, measure down 1″ from the top and up 1″ from bottom. Take the spine – the skinny chipboard piece – and remove the backing of the double sided tape and add it over top the join matching the top and bottom lines.
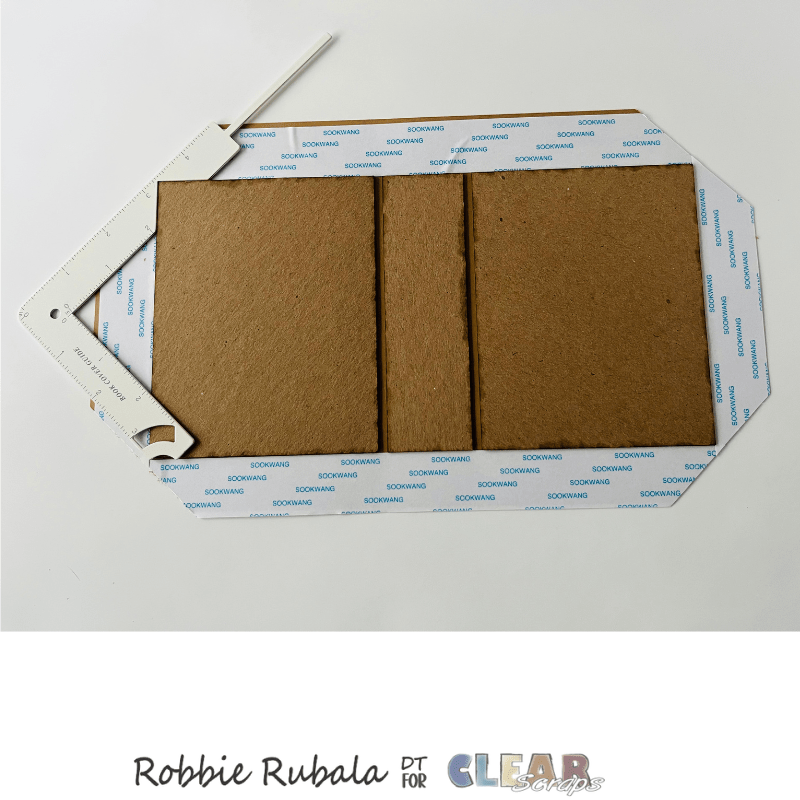
If you have a 5-in-1 binding tool use it to help with spacing. If you don’t, you can also use a skewer. Lay the skewer along the side of the spine and remove the backing of the double sided tape and add one of the chipboard covers to the cardstock making sure the top and bottom are straight with the spine. Repeat with the other chipboard cover. See photo below.
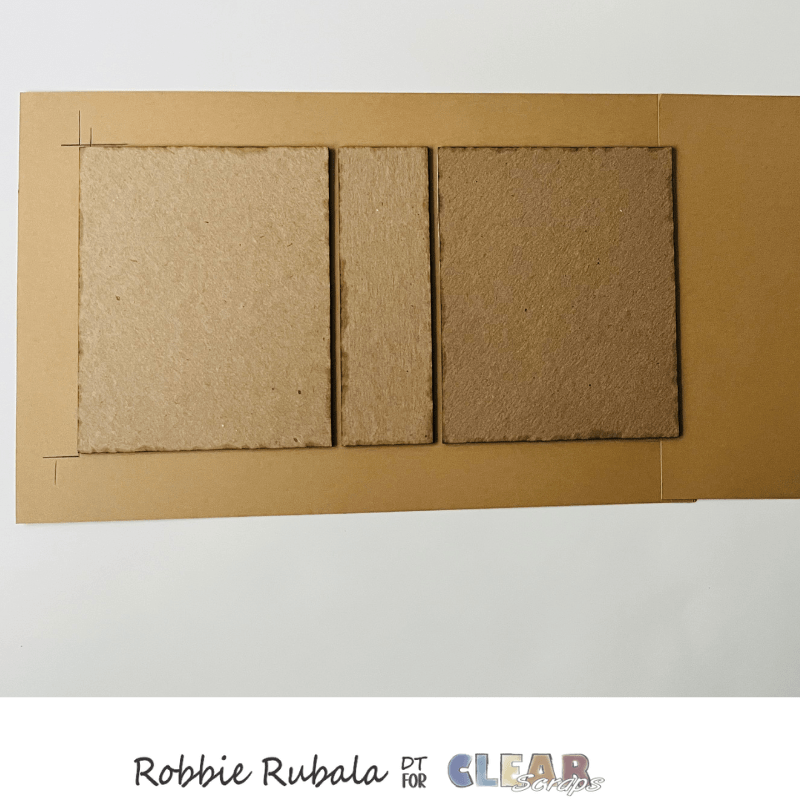
Measure 1″ from each end of the journal pieces and cut off the excess cardstock.

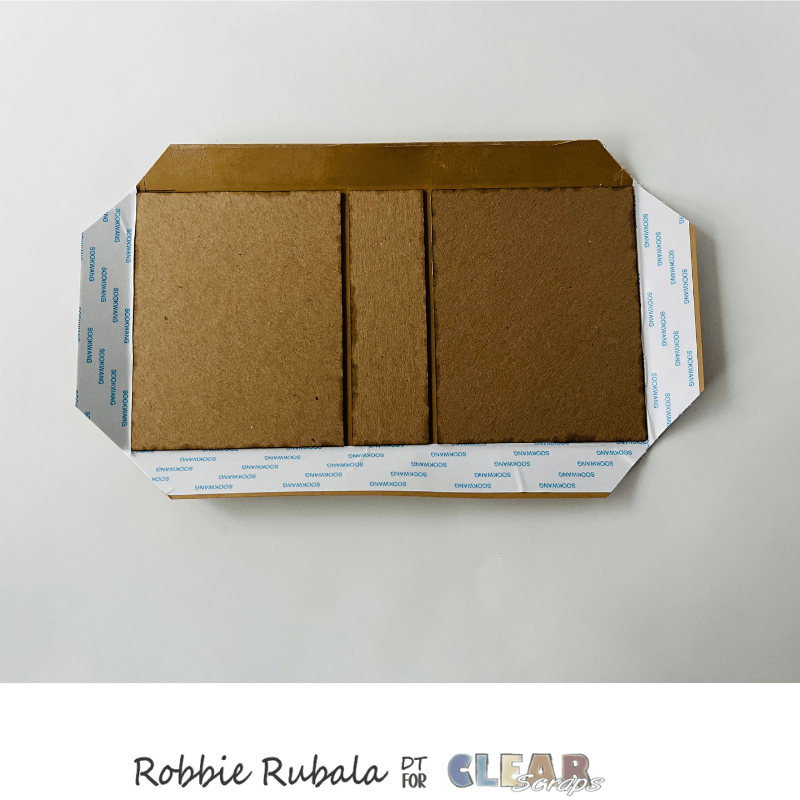
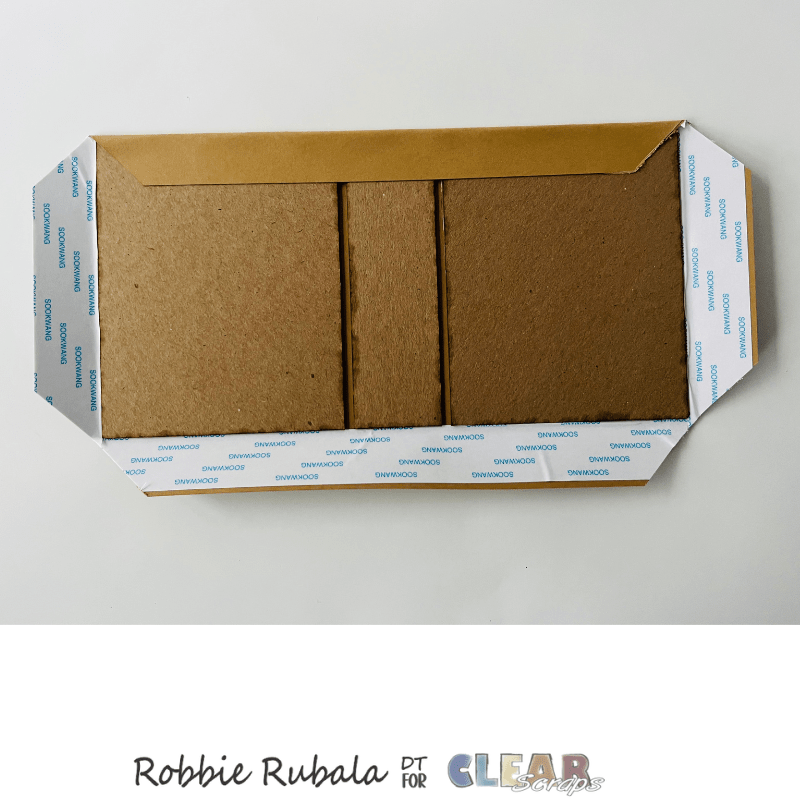
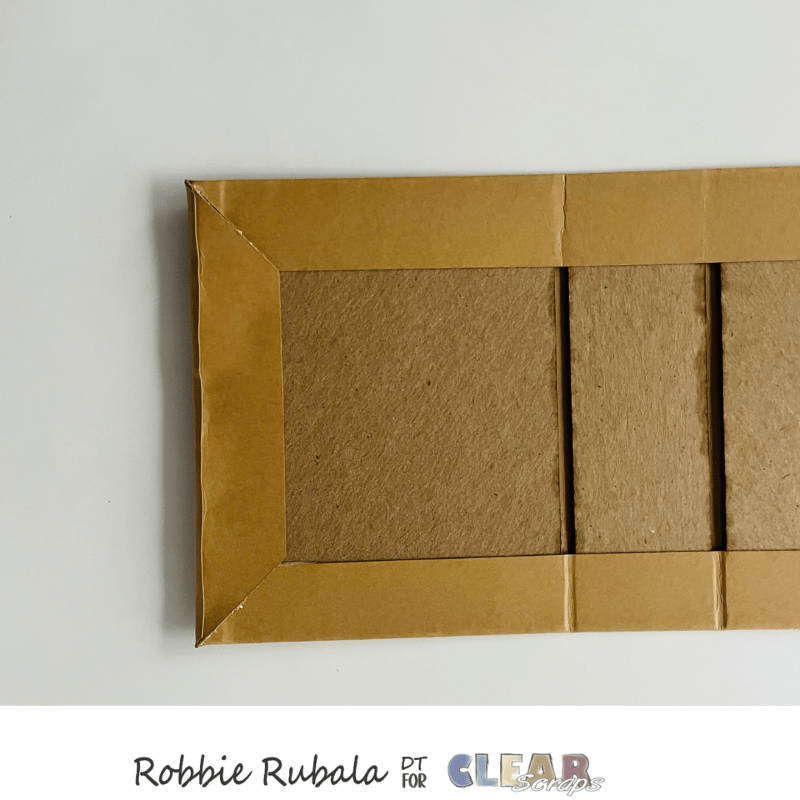
Add 1″ double sided tape to all 4 sides of the cardstock. Use your binding tool to cut the excess cardstock off the corners leaving 1/8″ of cardstock from the corner. This will give you a nice crisp corner.
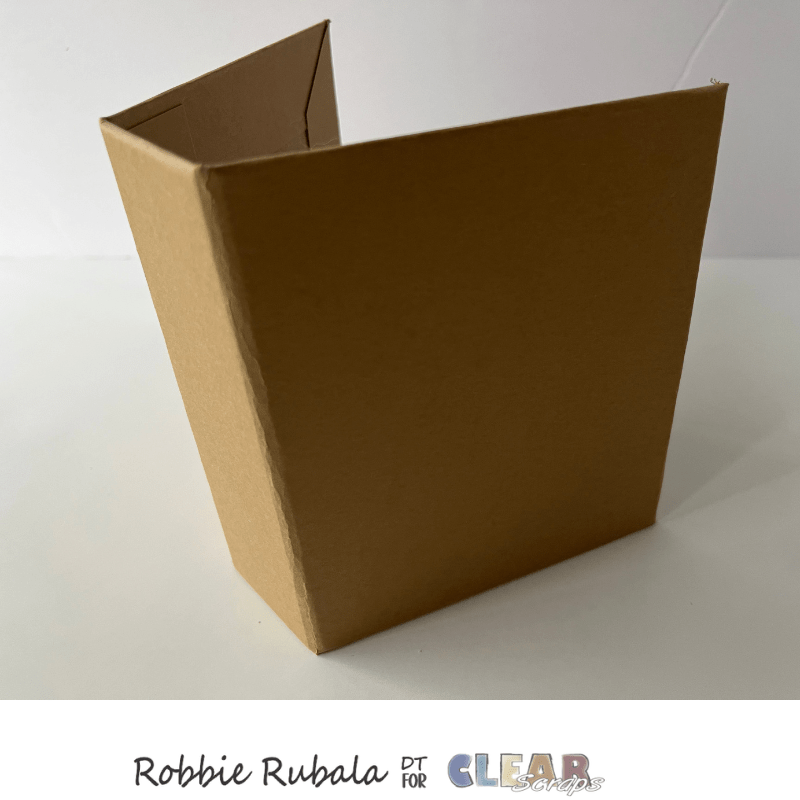
Remove the backing of the double sided tape on the top of the journal. Take your journal and carefully lift it it so you bend the top of the border to help it prevent cracking. Keep bending it until you have a nice fold in the paper. Carefully fold the edge down over the chipboard pieces to cover them making sure the top edge is smooth with no gaps.
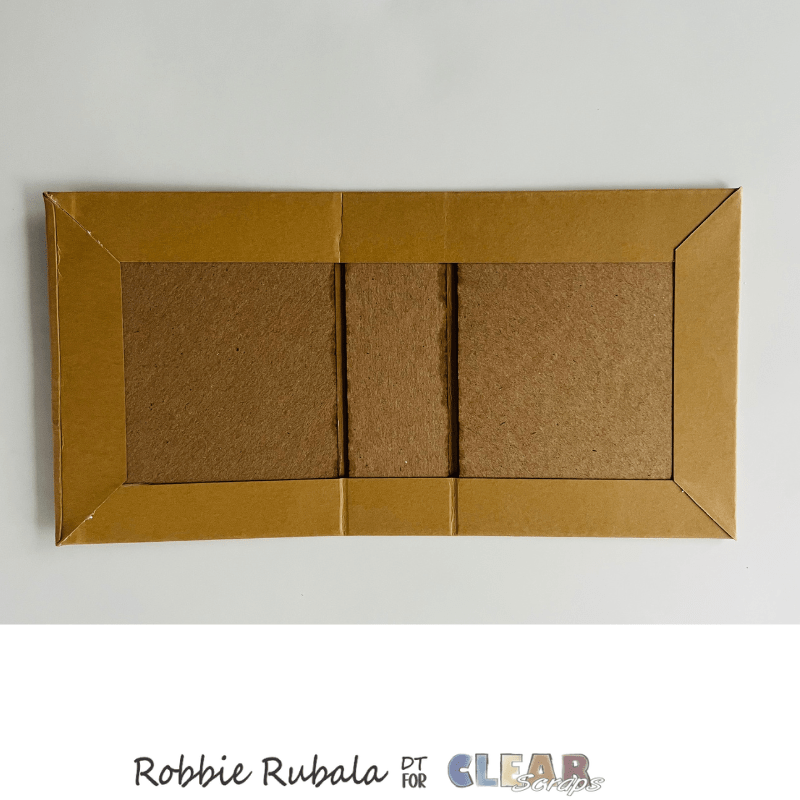
Repeat with the bottom so both top and bottom are covered. Take your bone folder and push the space between the spine and front and back cover down so it will fold better. To reinforce the fold, carefully bend the 2 covers to form a book.
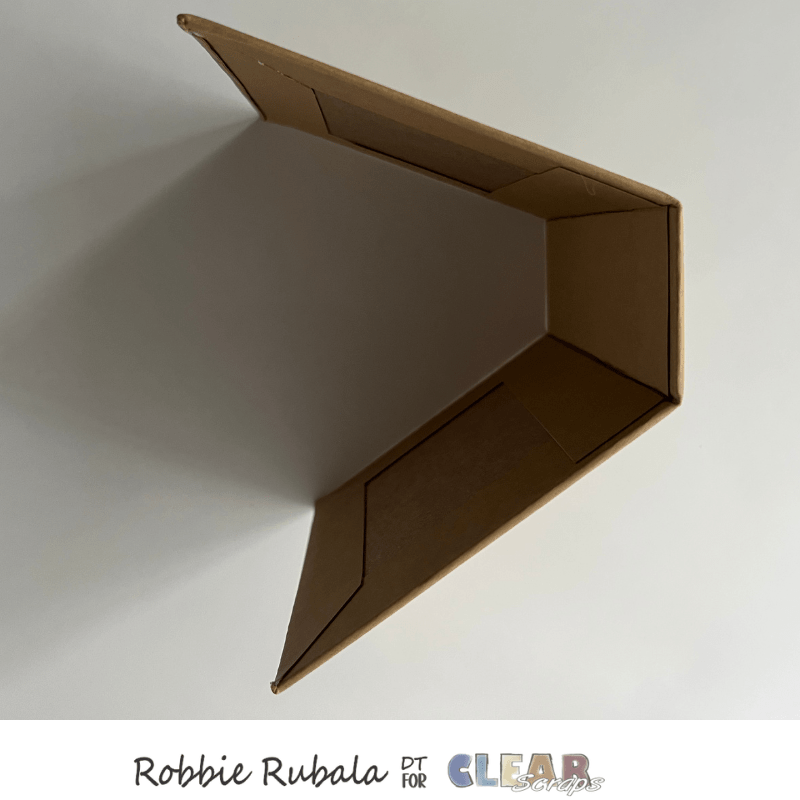
Now use the same procedure to fold the 2 sides in making sure to fold the cardstock to eliminate gaps. If your corners are not crisp, use your bone folder to ease the paper into a nice corner.
To cover the spine on the inside cut a piece of cardstock that matches the cover 4″ x 4 3/4″. Apply double sided tape to the back.

Remove the backing of the double sided tape in the center section – I used the album to see what backs need to be removed. Carefully add it to the spine of the album. Use your bone folder to press the cardstock into the space between the spine and front and back cover. Remove the backing of one of the sides and slowly press it down onto the album. Repeat with the other side.
Your album is now covered.
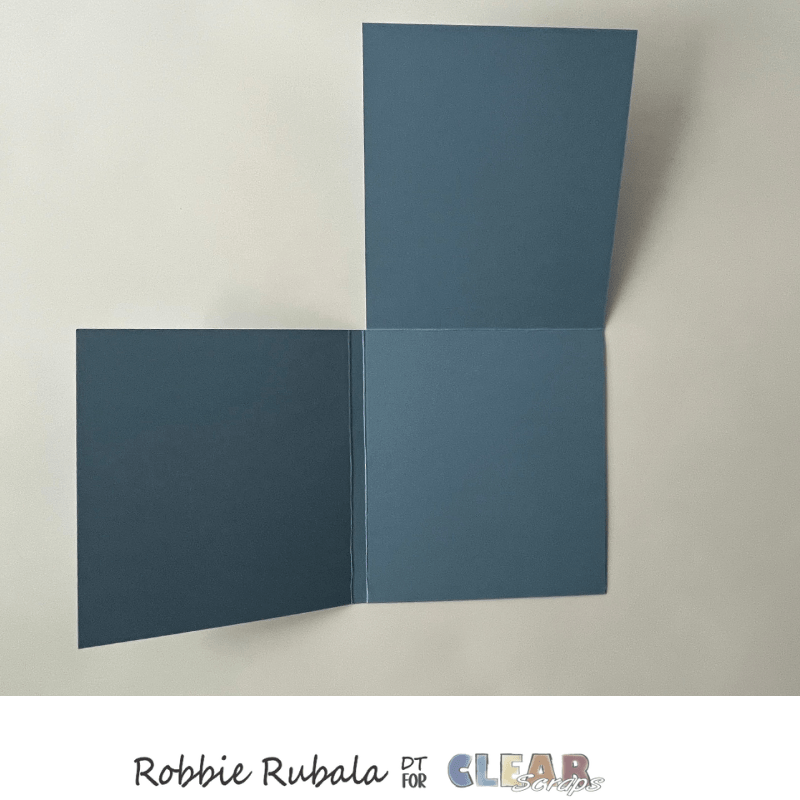
Now we will make the inserts for the inside. You will need 5 – 6 sheets of coordinating cardstock that is 4 1/2″ x 8 1/4″ scored at 4″ and 41/4″. You will also need 5 – 6 sheets of the same color cardstock that measures 4″ x 9″ scored at 41/2″. Fold and burnish on all score lines.
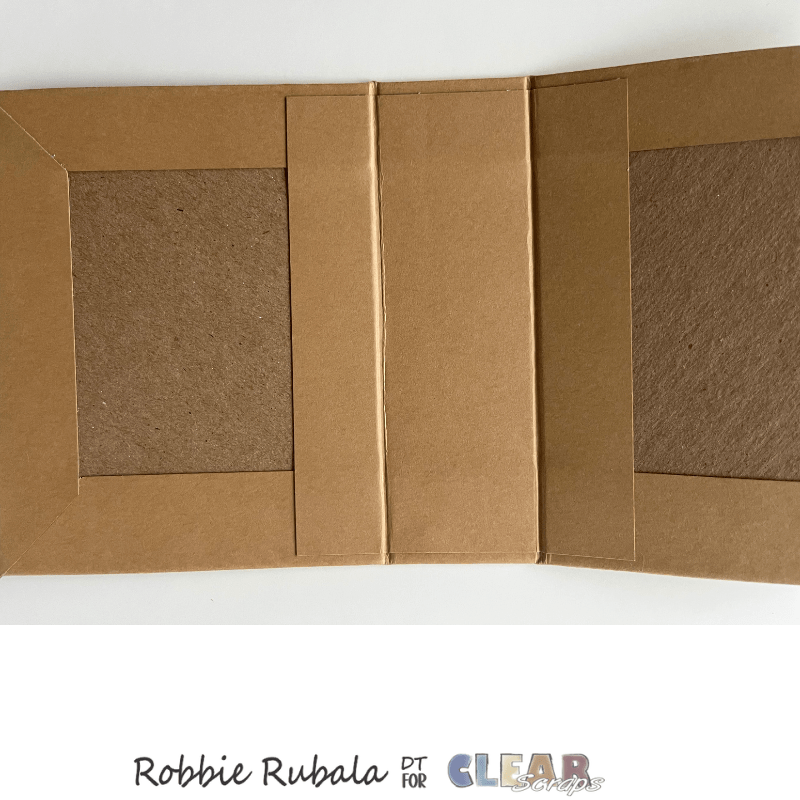
Take the 4″ x 9″ panel and with the fold at the top, apply double sided tape to the back.
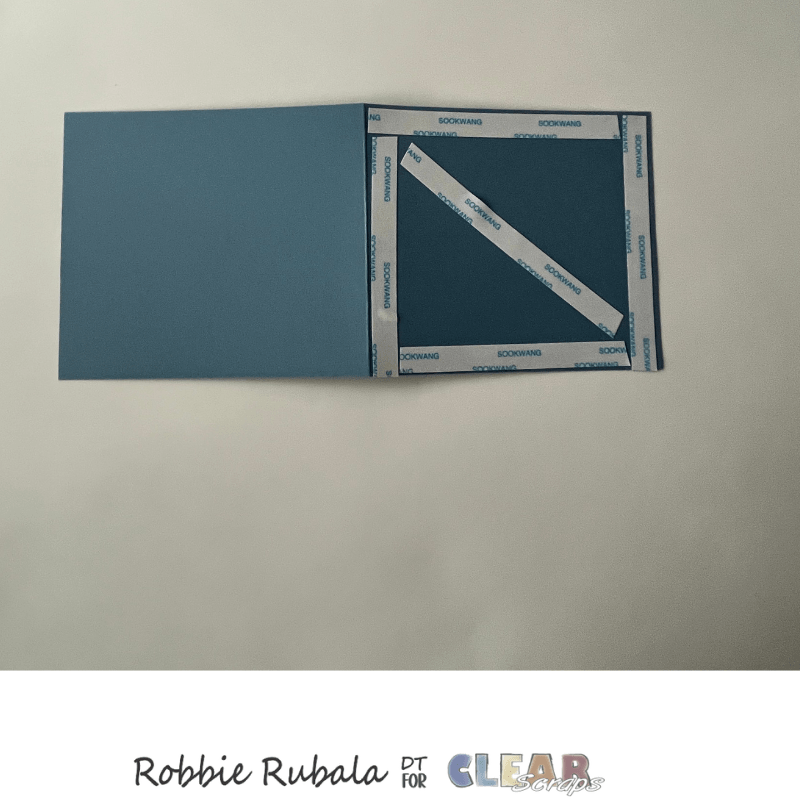
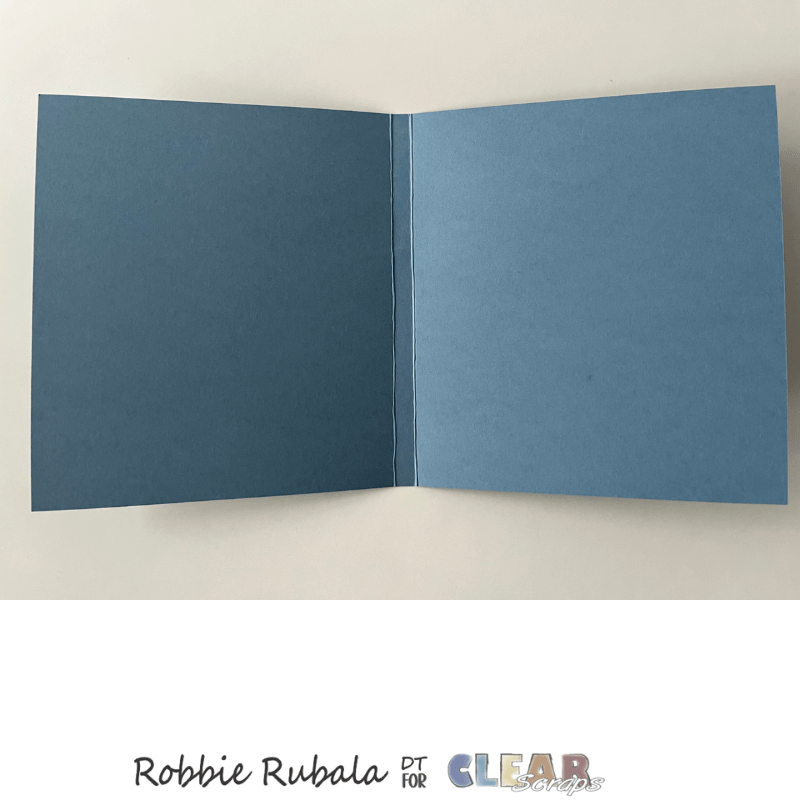
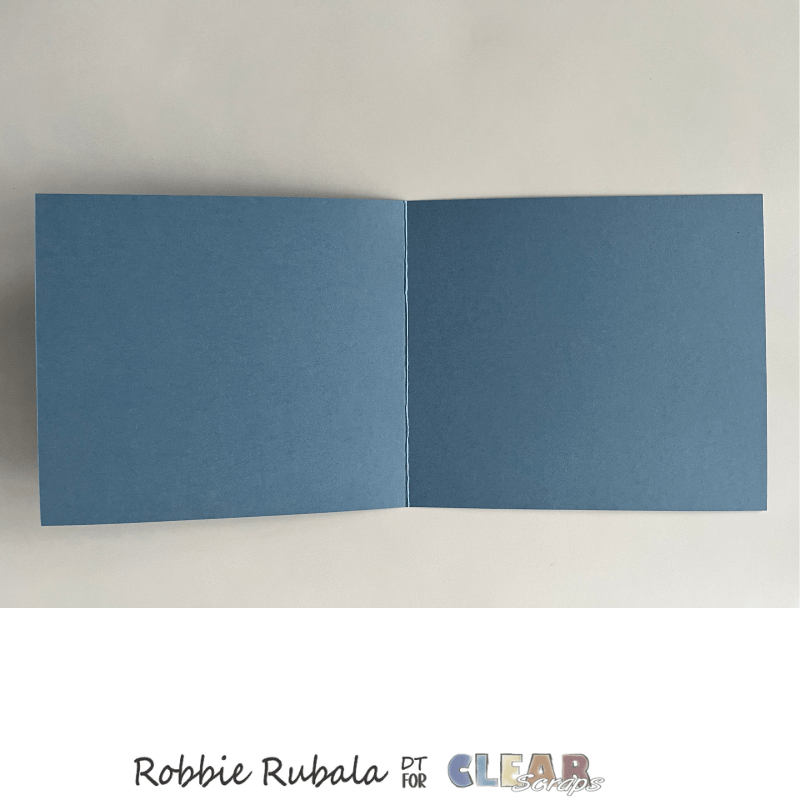
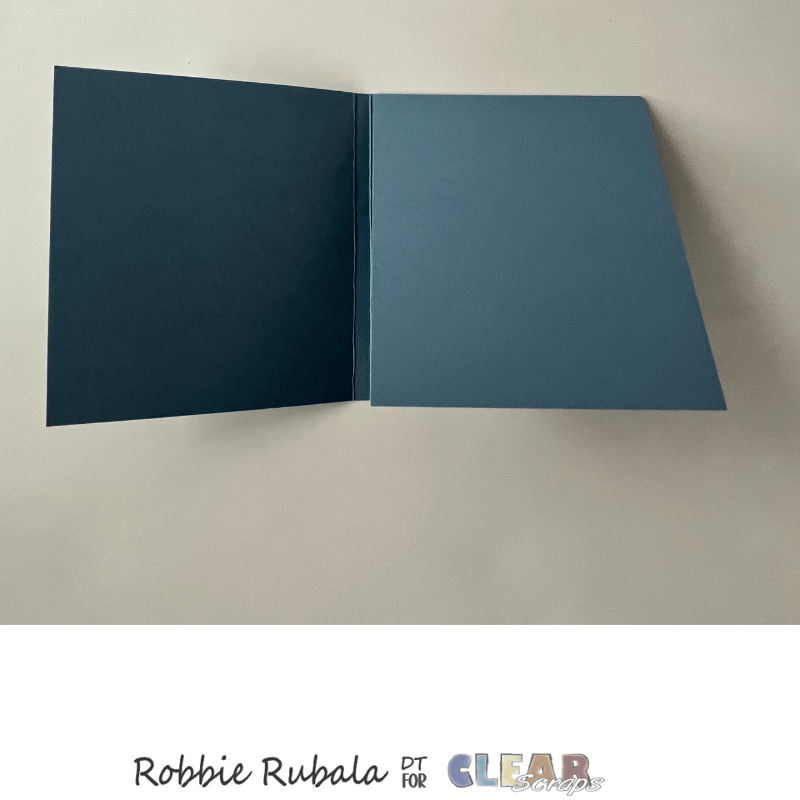
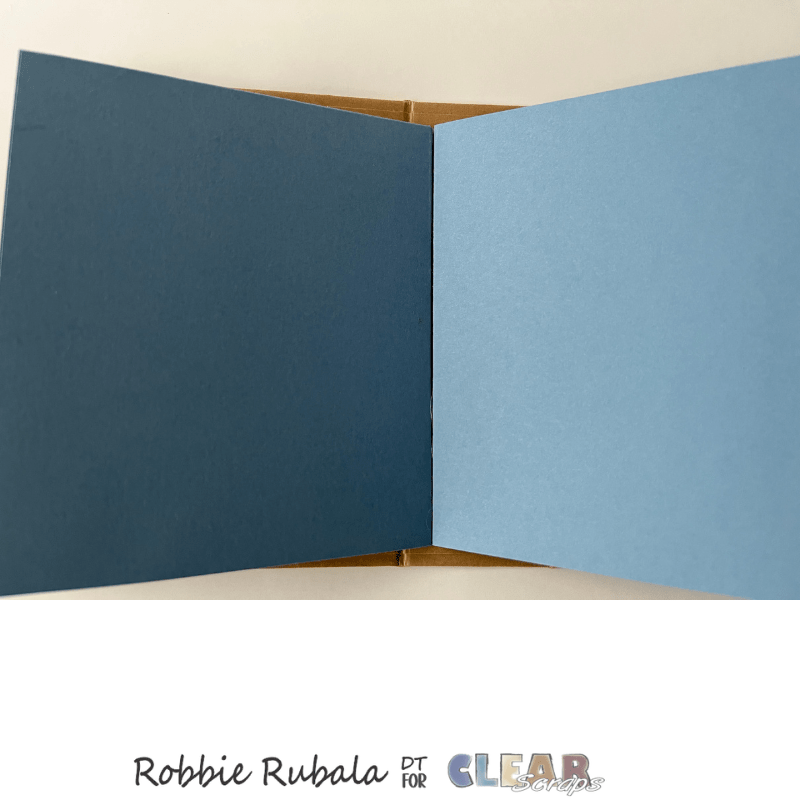
Remove the backing of the double sided tape and open the other panel and lay it flat. Add the second panel to the first panel lining up the edge of the second panel with the 4 1/4″ score line of the first panel making sure the fold of the second panel is at the top. If you have attached it correctly it will look like the photo below.
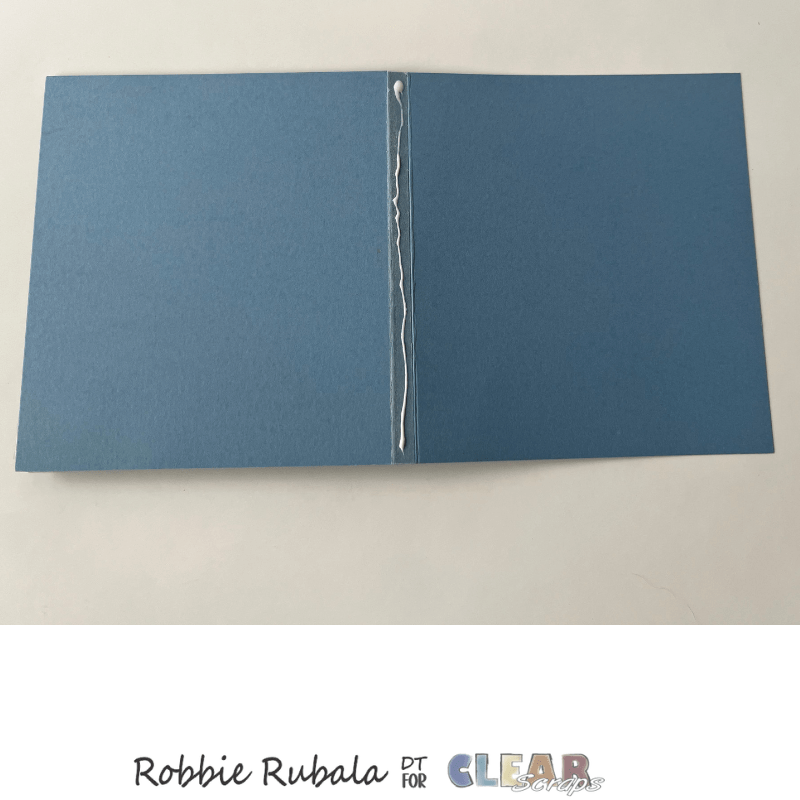
Close up the insert and on the 1/4″ spine, add some double sided tape.
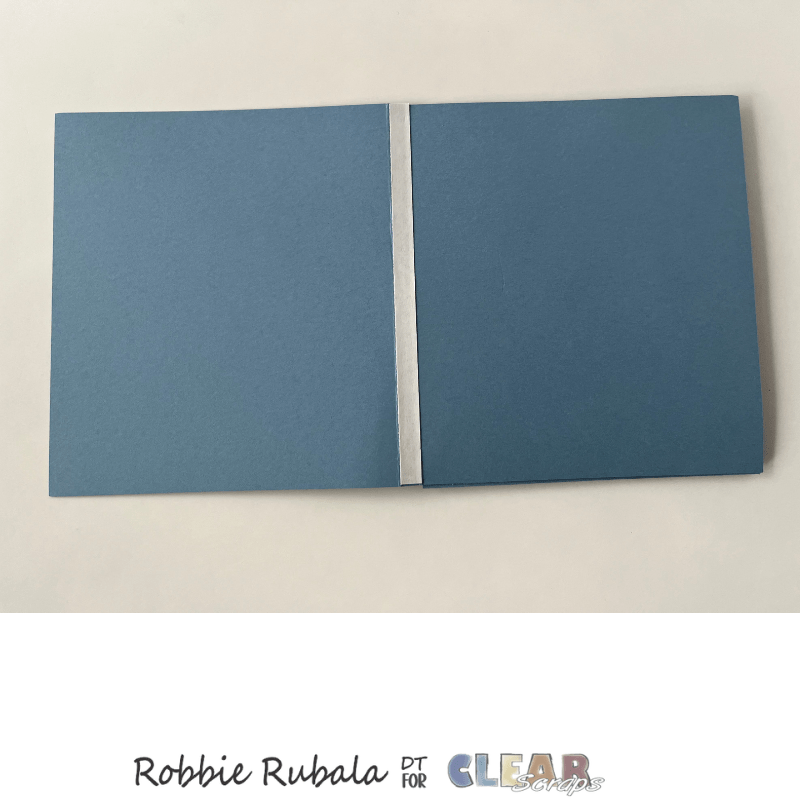
Remove the backing of the double sided tape and add a line of glue on top of the tape. Then take the booklet and line up the spine with the 4″ score line close to the left score line of the journal and centered top to bottom. Add the booklet and hold in place for the glue to grab.

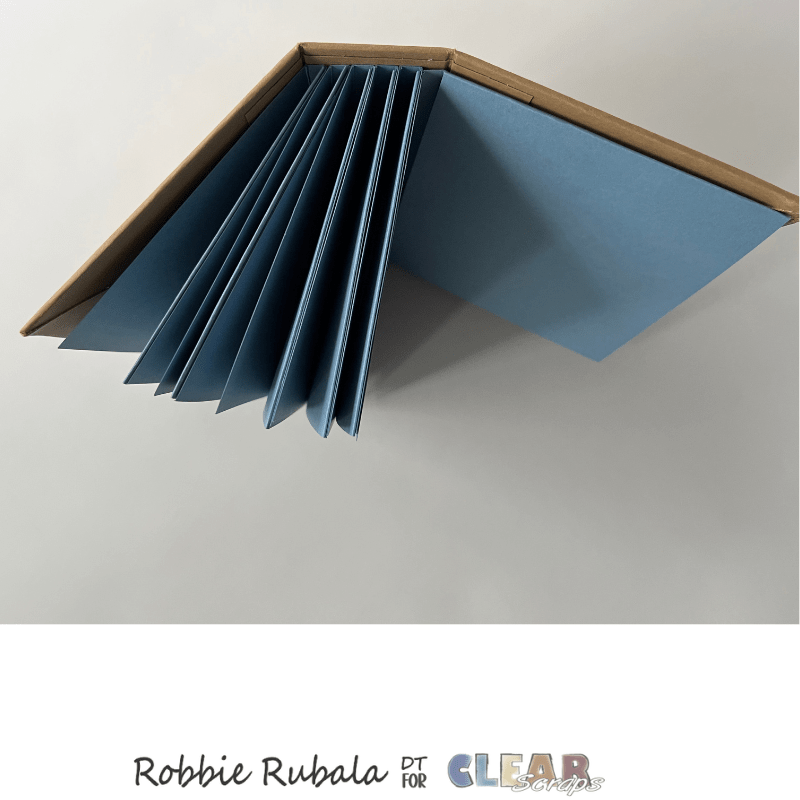
Make sure you can open the journal and the first page. Continue adding inserts until your book is filled. Do not add so many booklets that you will not have room to add your photos.

Your journal is now finished and ready to be decorated.

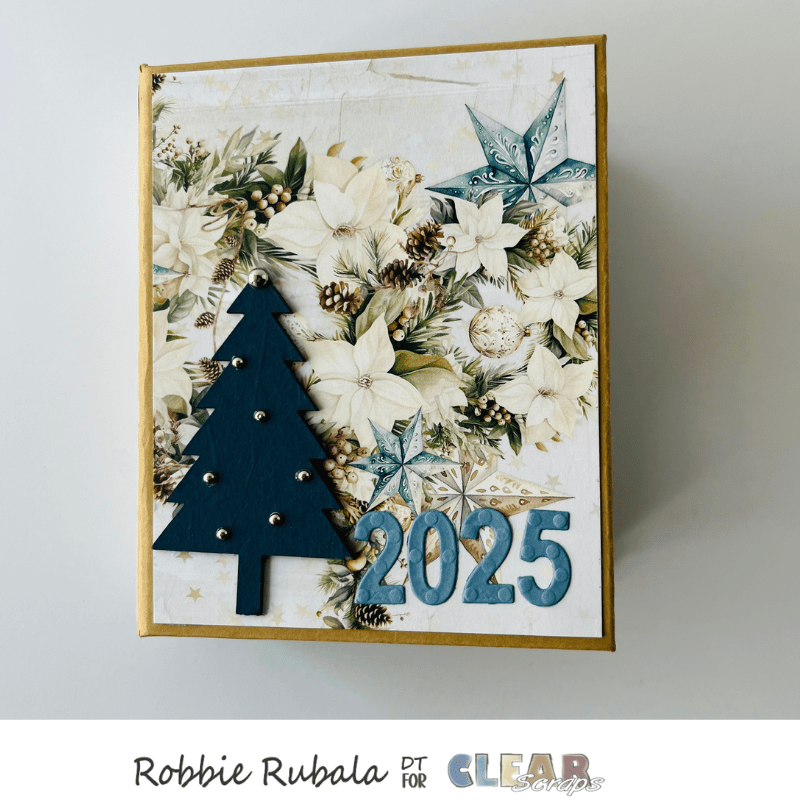
I used sheets of pattern paper, ephemera pieces, and journal cards to decorate my album. To decorate the cover I used the Pine Tree embellishments and used the small tree. I painted it a blue to match my pattern paper. After I glued it to the cover I added some silver gems to decorate it. I took my small number dies and cut out “2025” and glued it on the cover also.
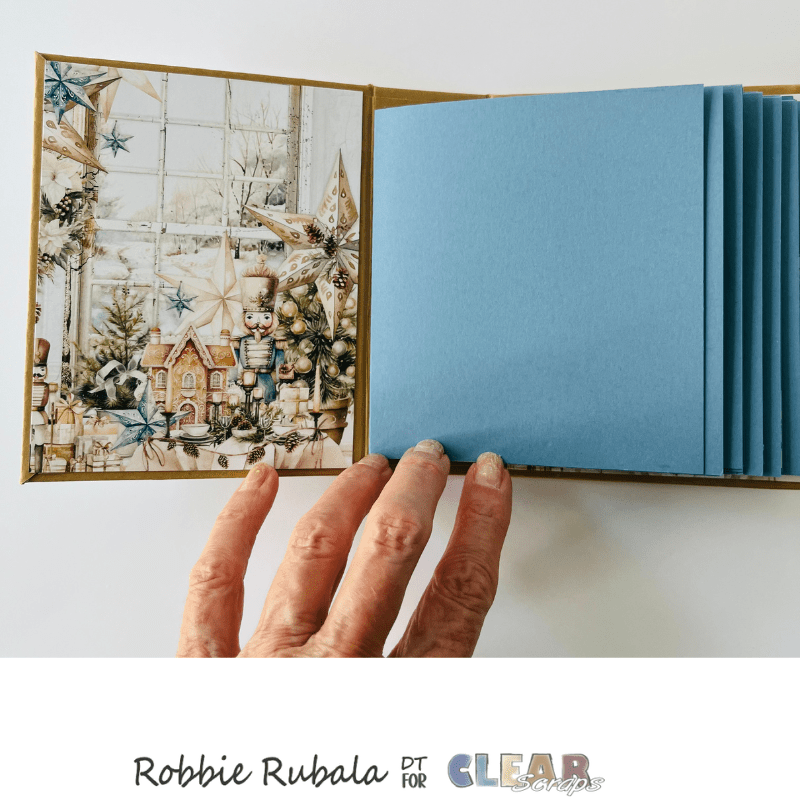
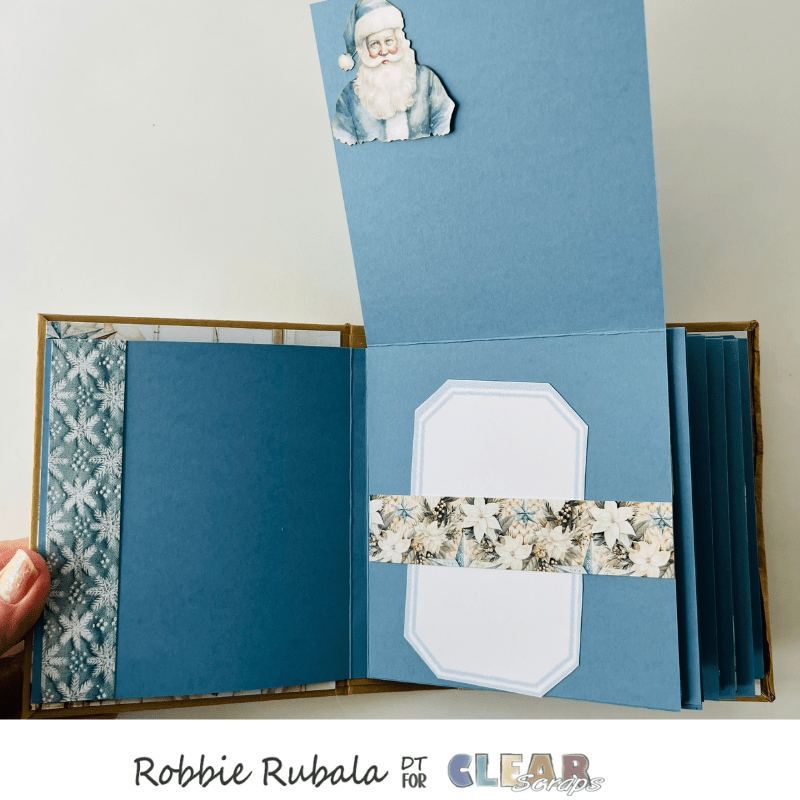
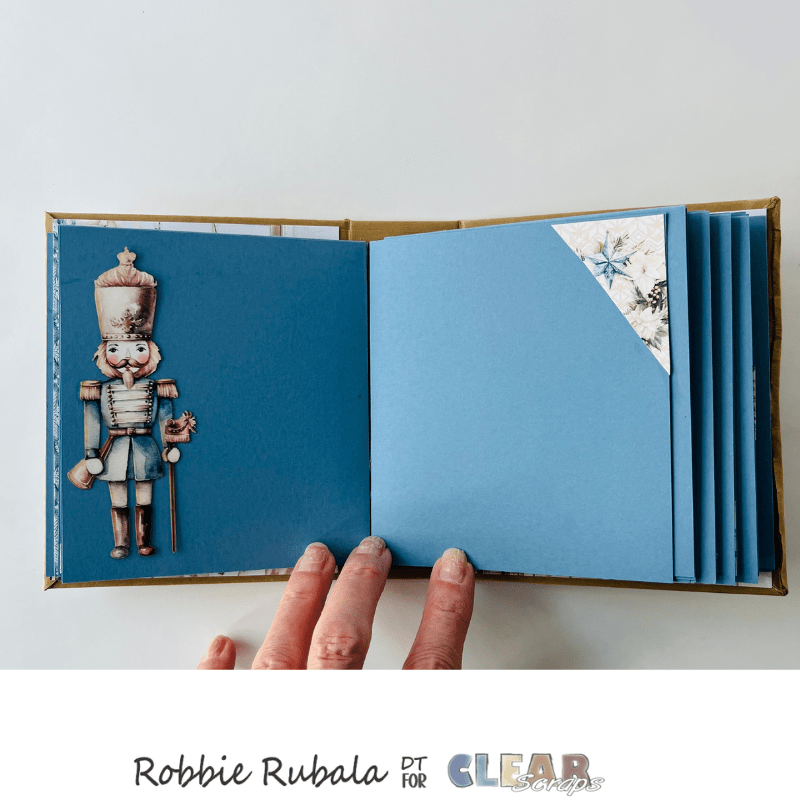
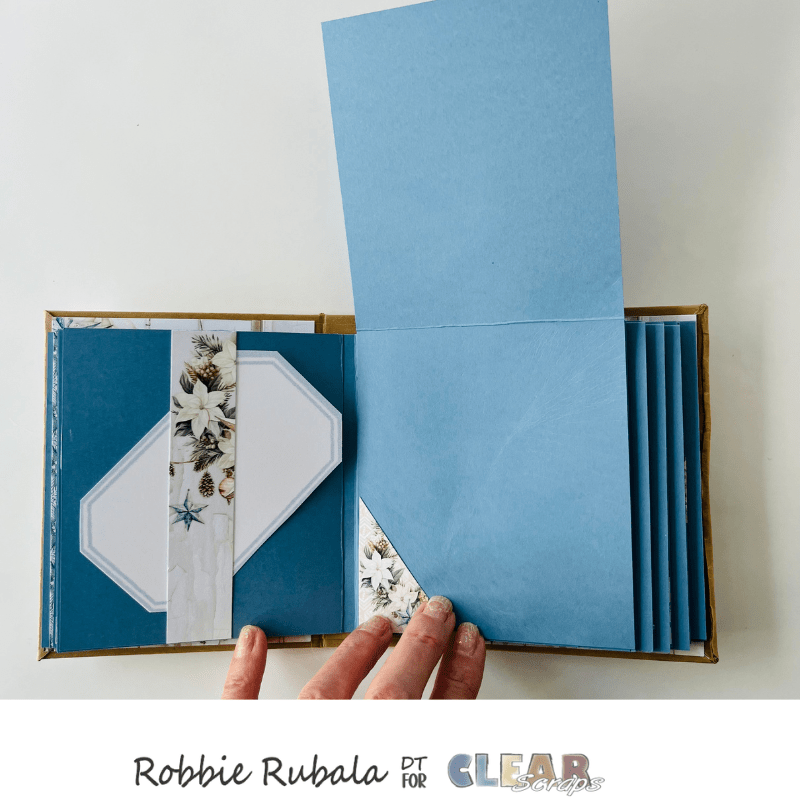
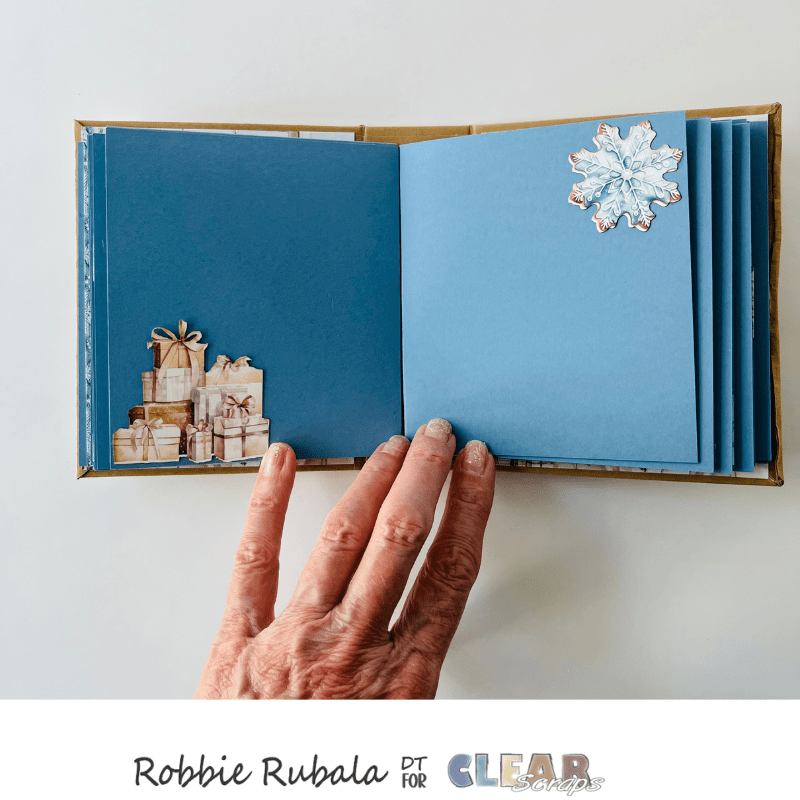
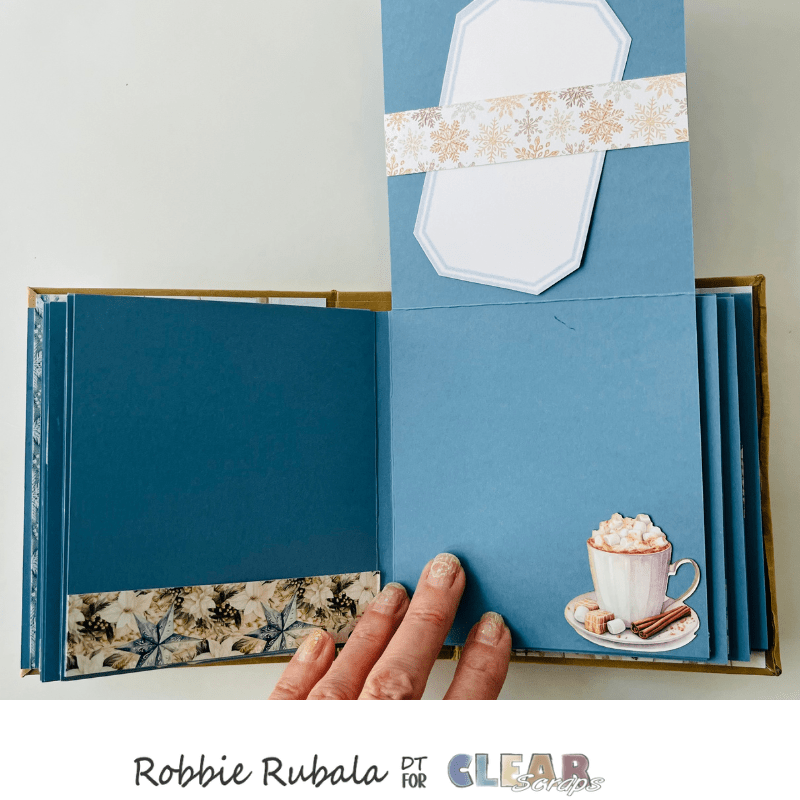
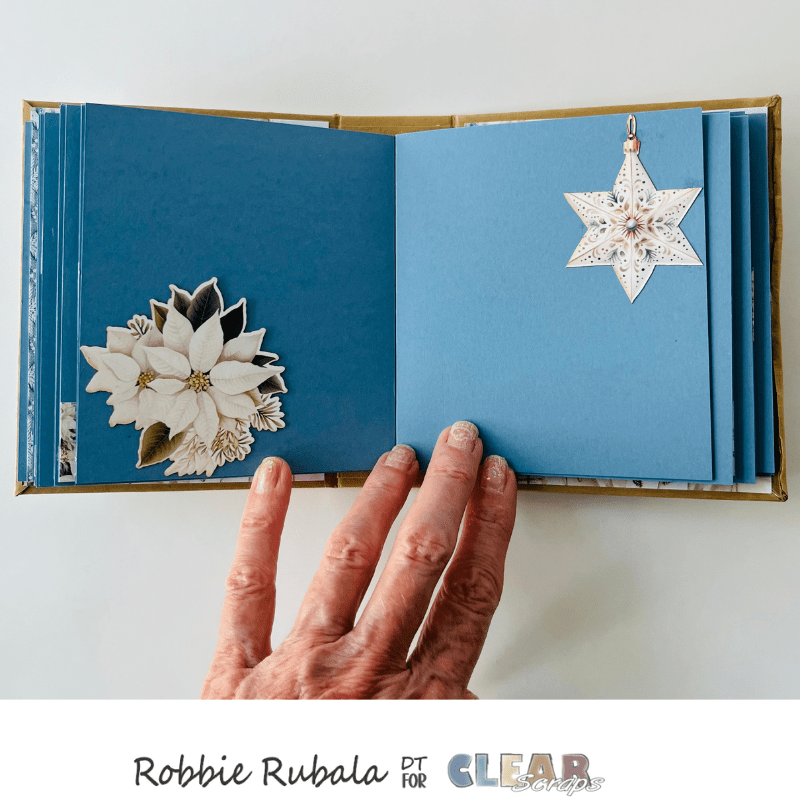
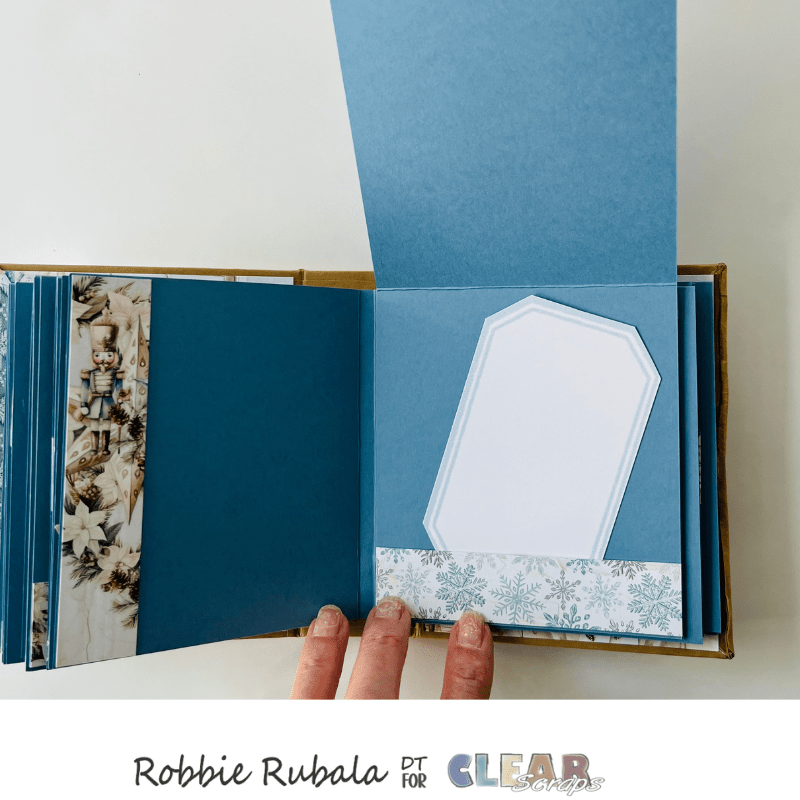
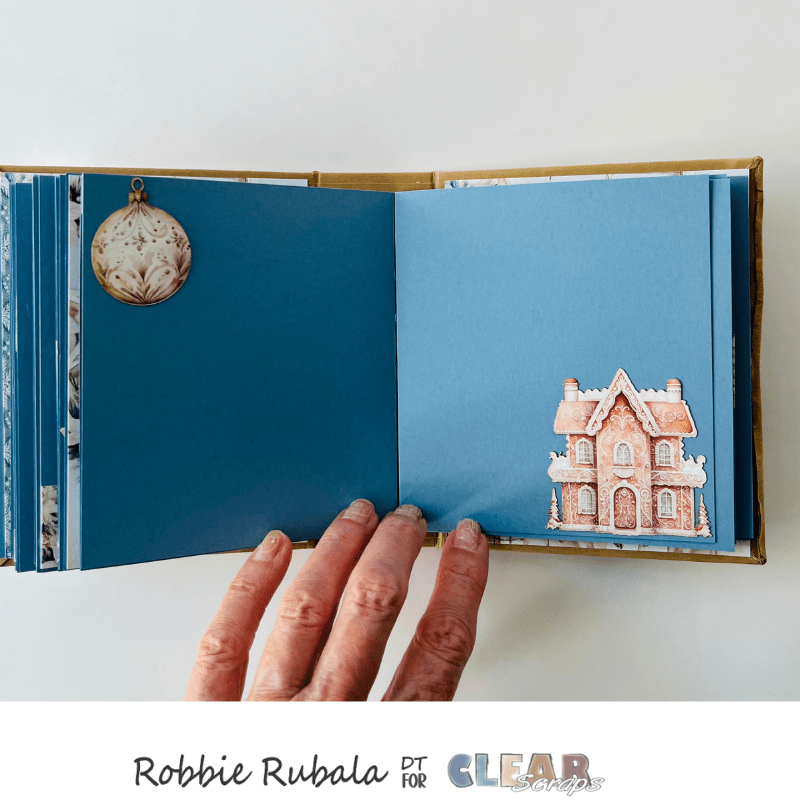
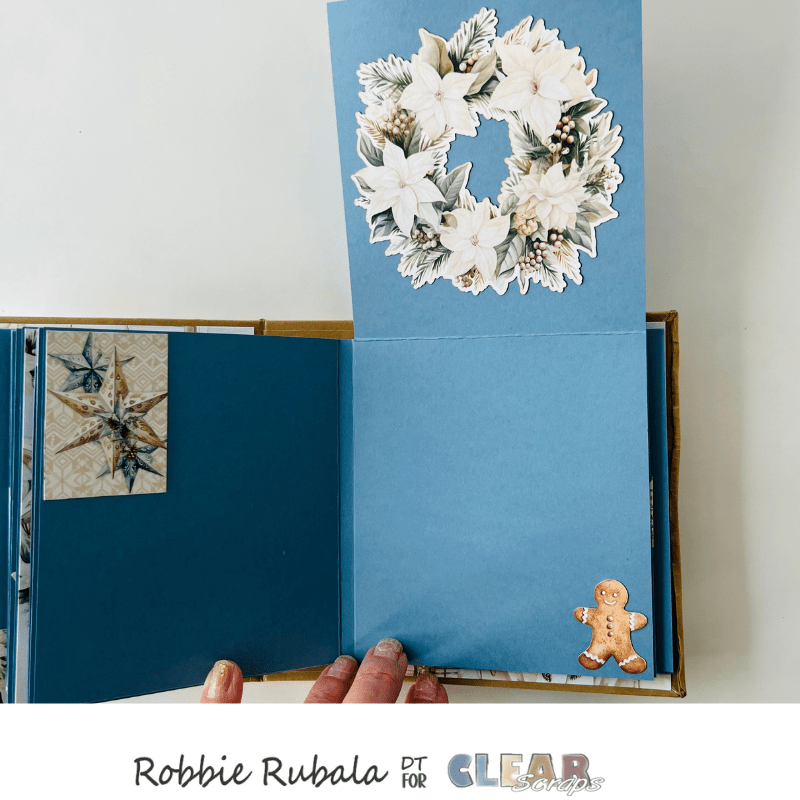
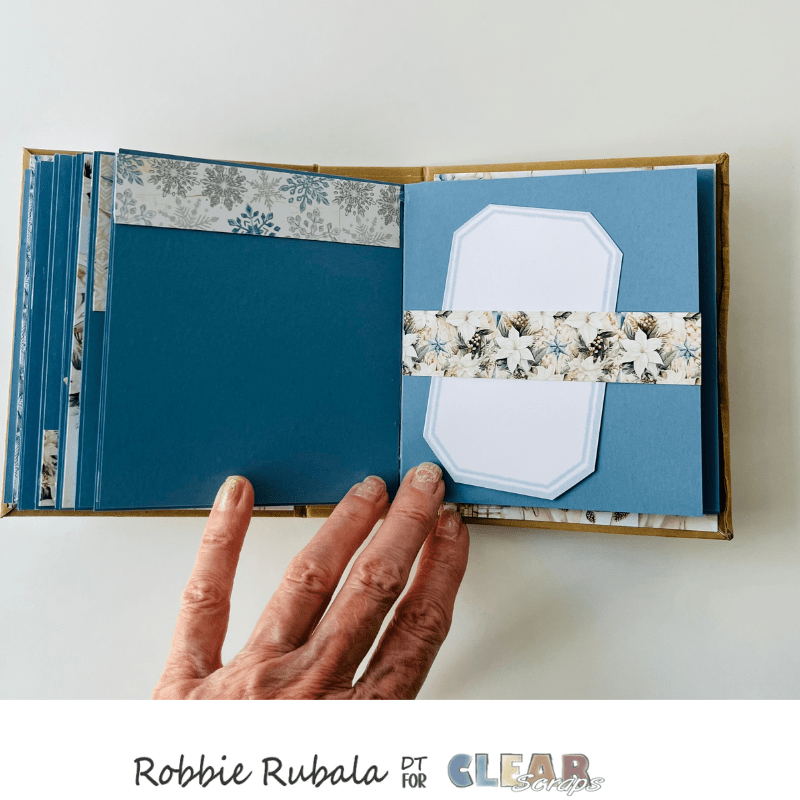
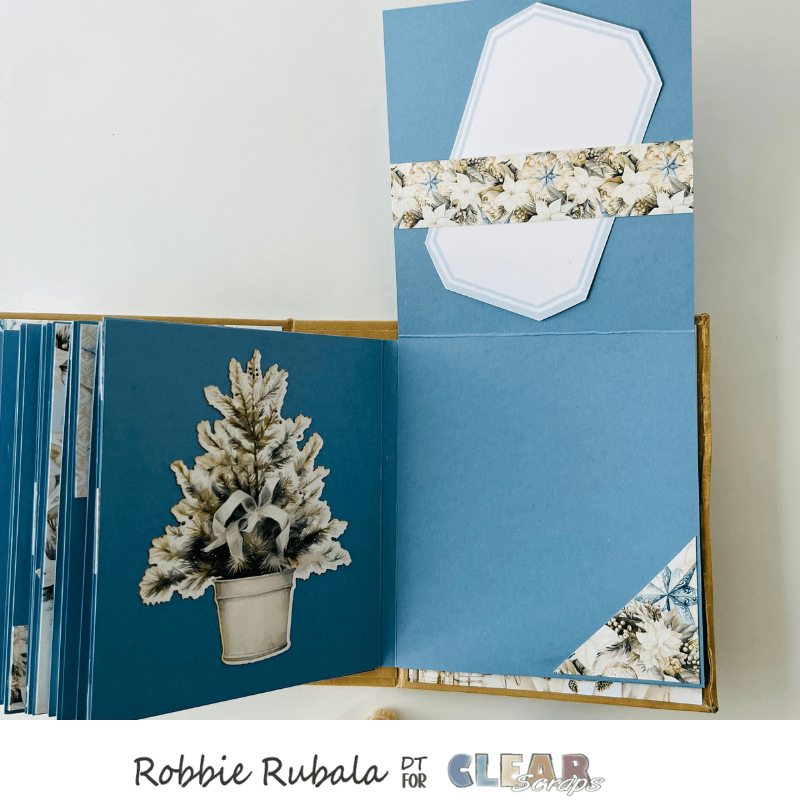
Here are photos of all the pages.

I hope you enjoyed my December Daily idea. It is easier than it looks. I hope you will give it a try.
Have a Marvelous Monday!
Robbie


Leave a comment