Nothing says fall quite like warm colors, pumpkins, and cheerful sunflowers! Judy here with you today for Clear Scraps.
This charming wood gnome decor piece combines all of those seasonal favorites into one adorable project. Perfect for displaying on a mantle, shelf, or entryway, this gnome will bring a touch of whimsy and autumn warmth into your home.
Supplies You’ll Need:
- Acrylic paints
- Patterned paper or scrapbook paper (optional)
- Paintbrushes and/or paint sponges (variety of sizes)
- Wood glue, craft glue, hot glue
- Artificial sunflowers, fall floral picks or floral stickers
- Twine or raffia
- Sealer or Mod Podge
Assembling the Gnome
I started my project by pulling out the pieces for the gnome.
Choose a pattern paper for the hat or paint if desired.
Trace hat onto the backside of the paper.
Cut tracing and adhere patterned paper to the hat with mod podge
Paint nose and hands
Add color to the body and beard.
Assemble with wood glue
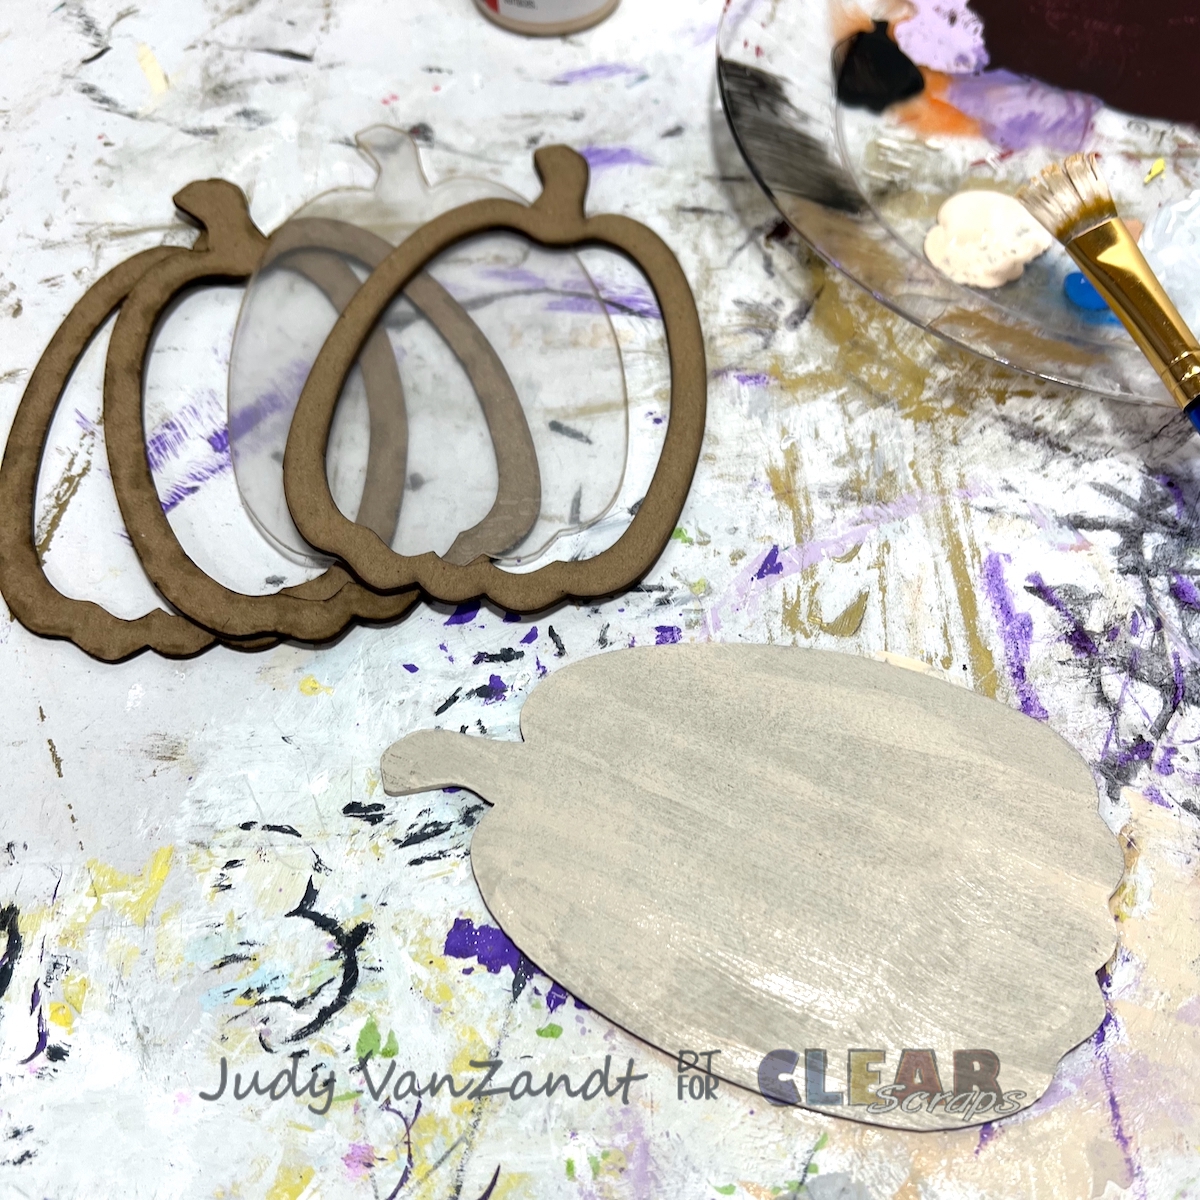
Create the Pumpkin Shaker
Paint the pumpkin back piece.
Adhere 2 of the forms together and attach to the back. Apply color to the 3rd form piece. I used sparkle pens. This will be the top piece.
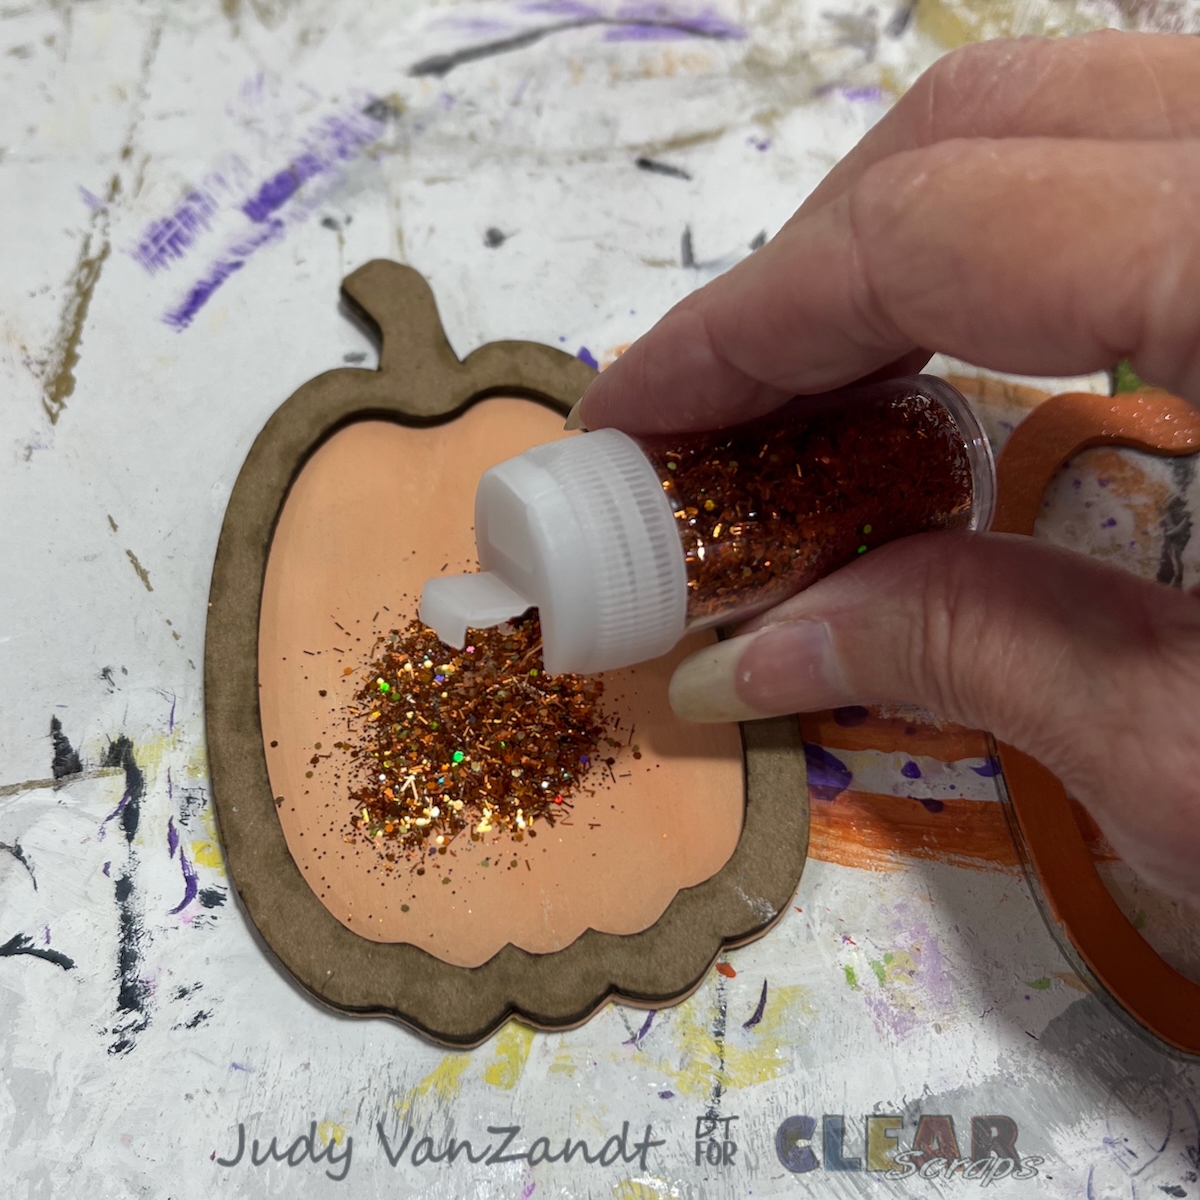
Add shaker bits. I used a chunky glitter.
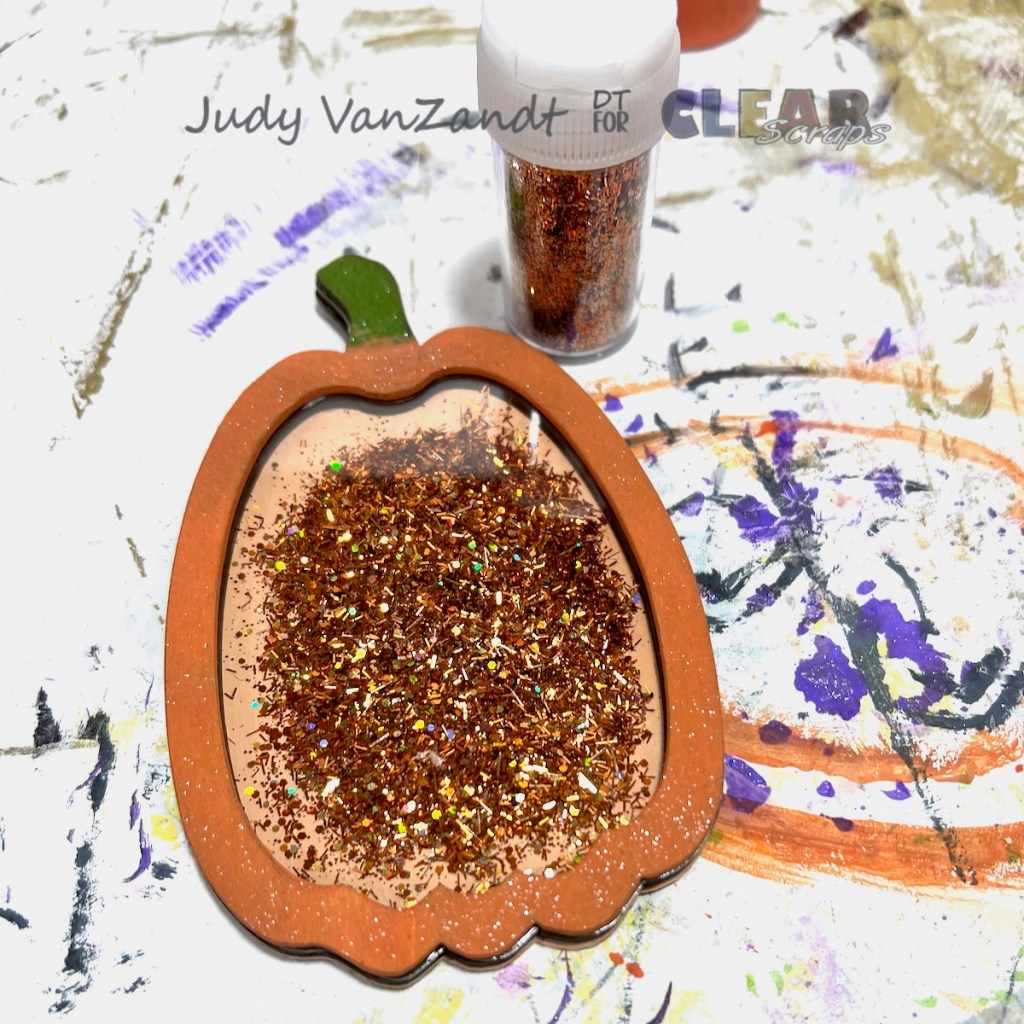
Remove the protective film from both sides of the acrylic piece. Adhere to the top piece.

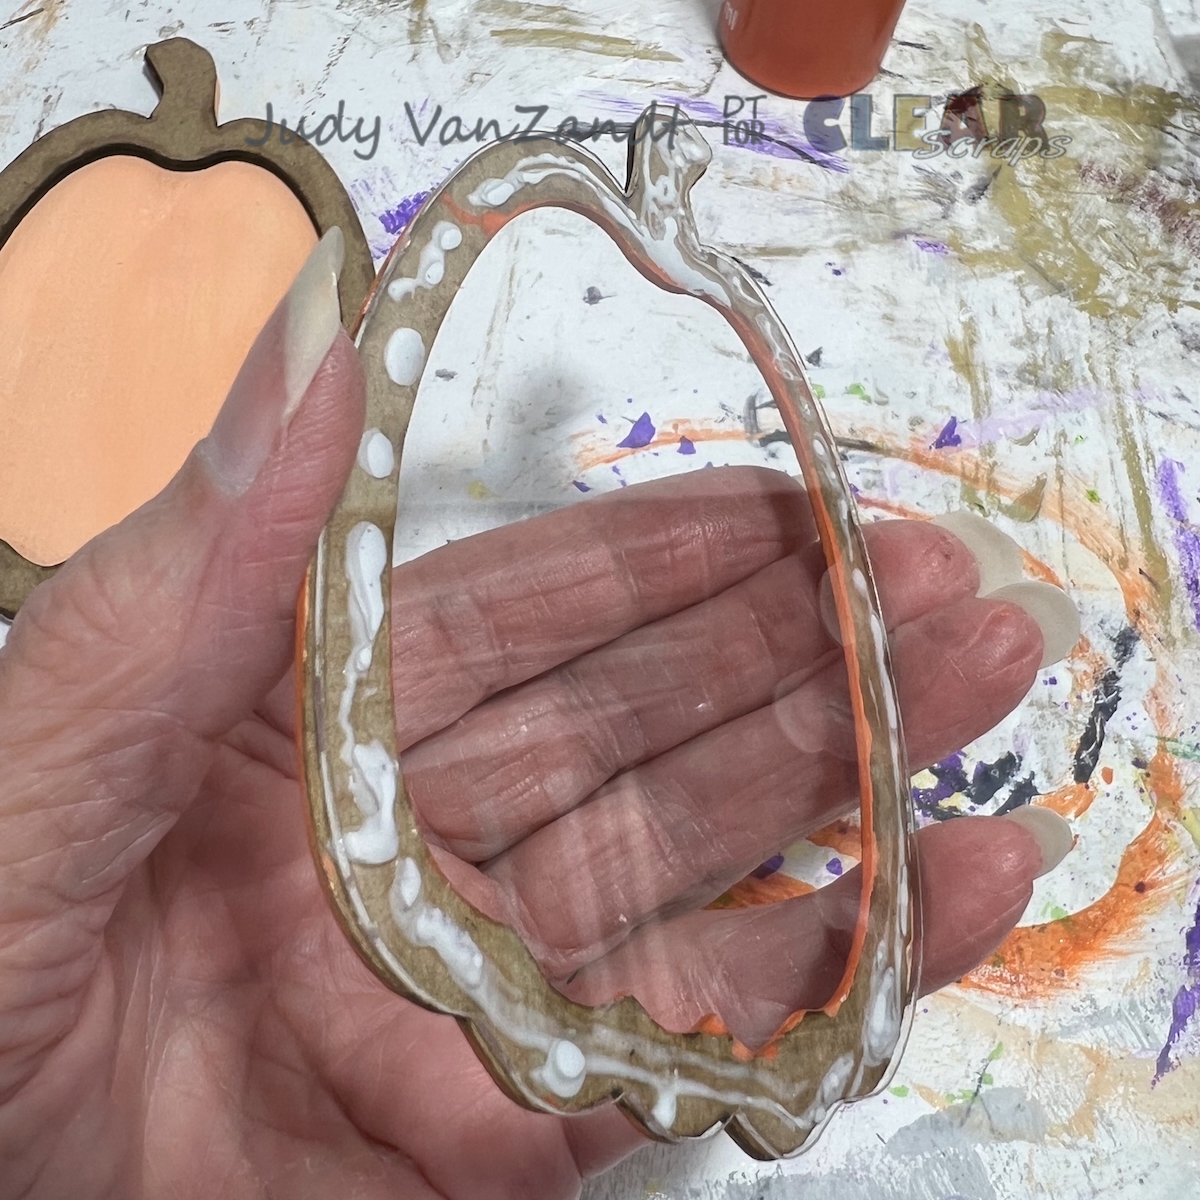
Glue the top to the rest of the shaker.
Adhere the shaker to the gnome. Position and glue the hands in place. Attach the nose.
Add the Base
Trace the larger base piece onto the backside of a patterned paper and cut out.
Adhere the paper with mod podge. Paint the smaller base piece.
Glue together with wood glue.
Attach the gnome to the base.
Embellish
To complete, I added some layered sunflower stickers and twine to the hat and pumpkin shaker.
This DIY gnome project is simple, customizable, and sure to become a favorite part of autumn decorating tradition.
Be sure and check out more Clear Scraps inspiration by following on social media


Leave a comment