Hello crafty friends! I’m so excited to share my first December project with you—and this one has quickly become a favorite! I created a perpetual celebration calendar where I can track birthdays, anniversaries, and special moments all year long. Not only will this help me stay on top of sending handmade cards to the people I love, but it also doubles as the cutest décor piece for my craft room. It makes me happy every time I look at it!
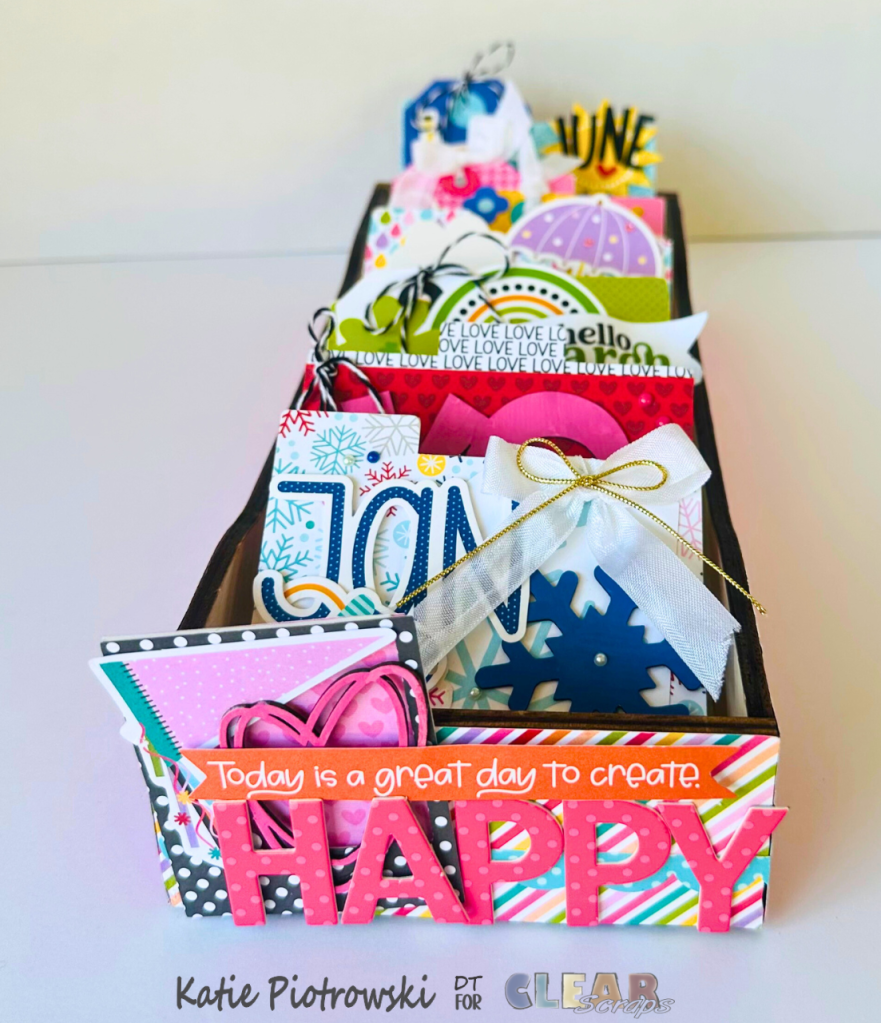
For this project, I used the Clear Scraps Regular DIY Wood Box as the base. After assembling the box, I covered each side with patterned paper from my stash and then decorated the front with coordinating elements to match the theme.
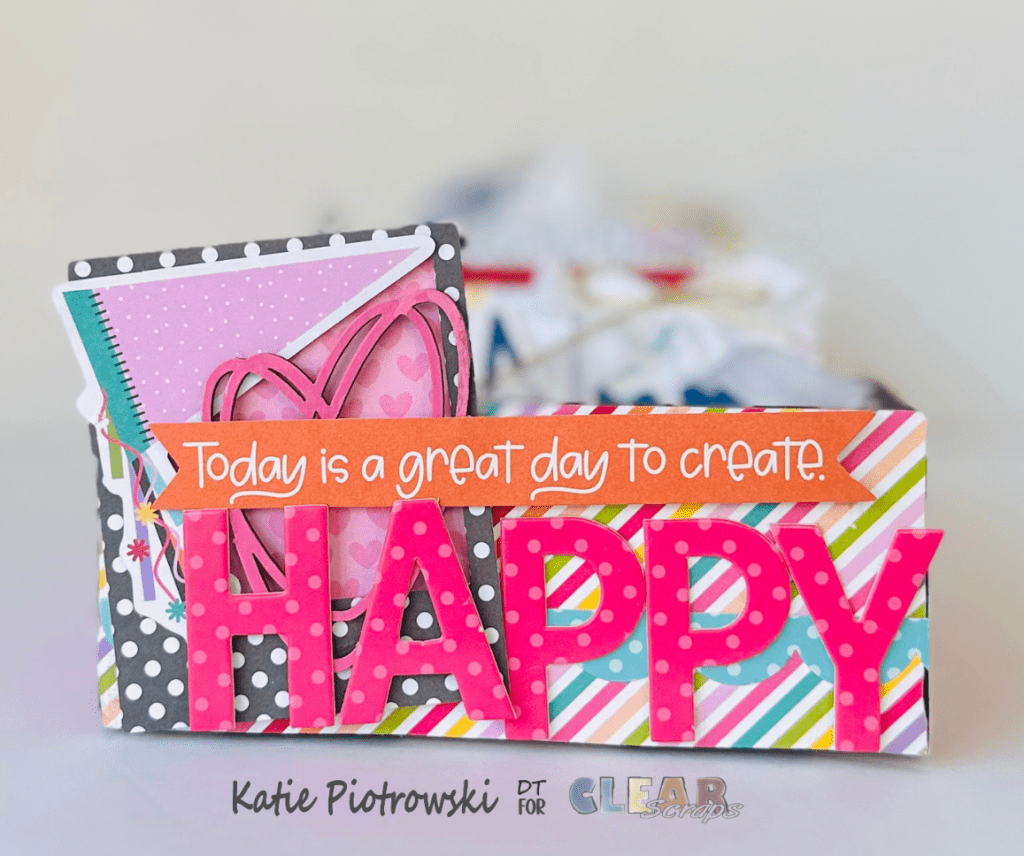
To add a little extra dimension, I incorporated a heart from the Home Chipboard Punchout Embellishment Pack, coloring it with my trusty acrylic paint markers before adhering it to the photo frame detail. That simple touch pulled everything together beautifully.
Once the box was finished, I moved on to the monthly divider cards.
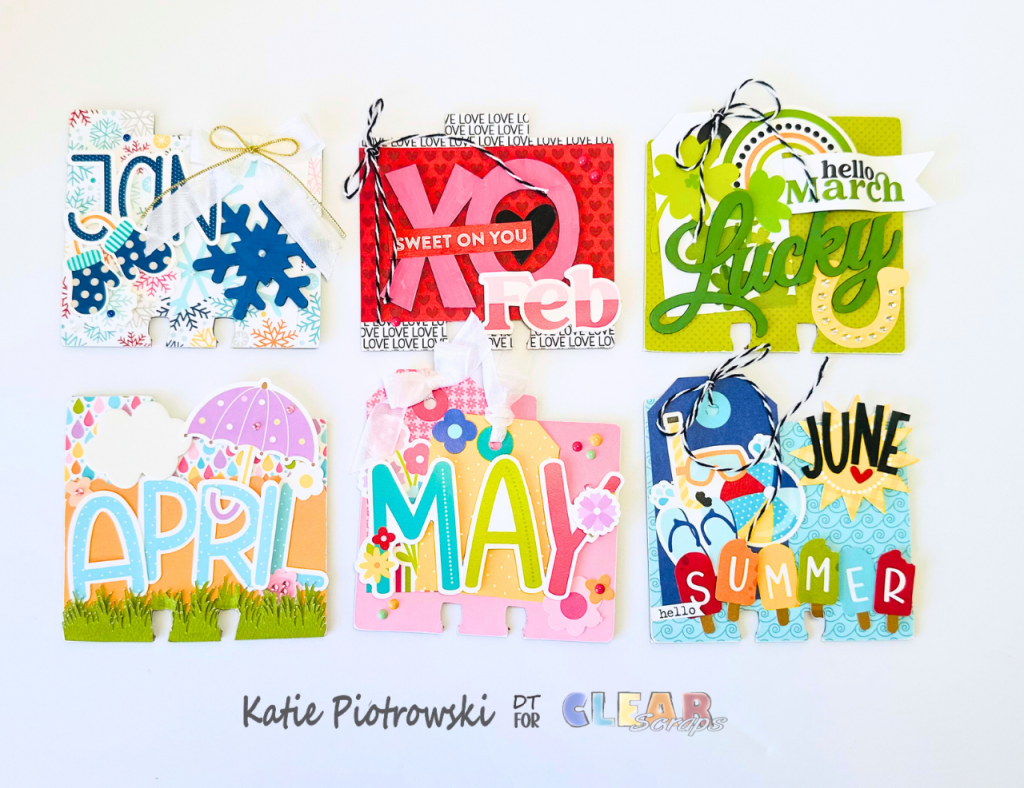
For these, I used four packs of the Clear Scraps Regular Tab Chipboard Dividers along with the Bella Blvd My Life 365 collection. This collection is full of monthly themes and coordinating embellishments—absolutely perfect for a perpetual calendar project!
To begin, I selected my background papers, adhered them to each memory dex card, trimmed the excess, and gave the edges a smooth finish with my sanding block (one of my favorite steps!).
Here’s a look at each month and how I approached the design:
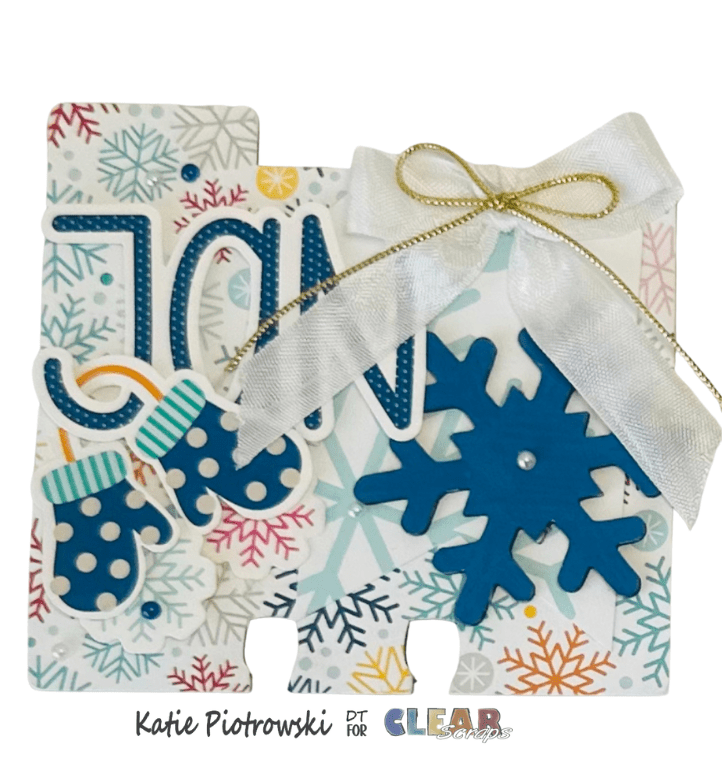
January
I couldn’t resist using the large snowflake from the Winter Themed Chipboard Punchout Embellishments—it made the perfect January focal point. I colored it to match my paper, adhered it over a snowflake-patterned tag, and added the trimmed January title on the left with dimensional adhesive. I hung the little mitten die cut off the title for added charm and finished the tab with enamel dots and tiny bows.
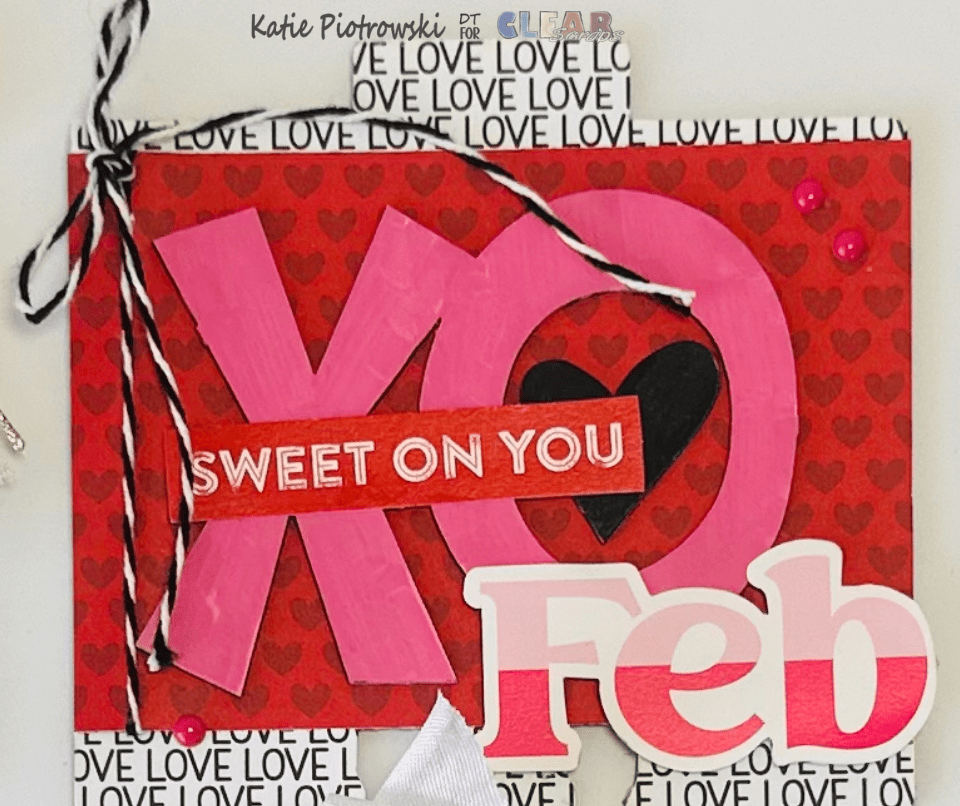
February
I knew immediately that the XOXO Chipboard Embellishments would shine on this card. I added a patterned strip across the center, wrapped twine around the left side, and placed the XO in the middle. A small sentiment layered on top completed the cluster. I trimmed the February title to fit and added it in the lower right using dimensional adhesive where needed.
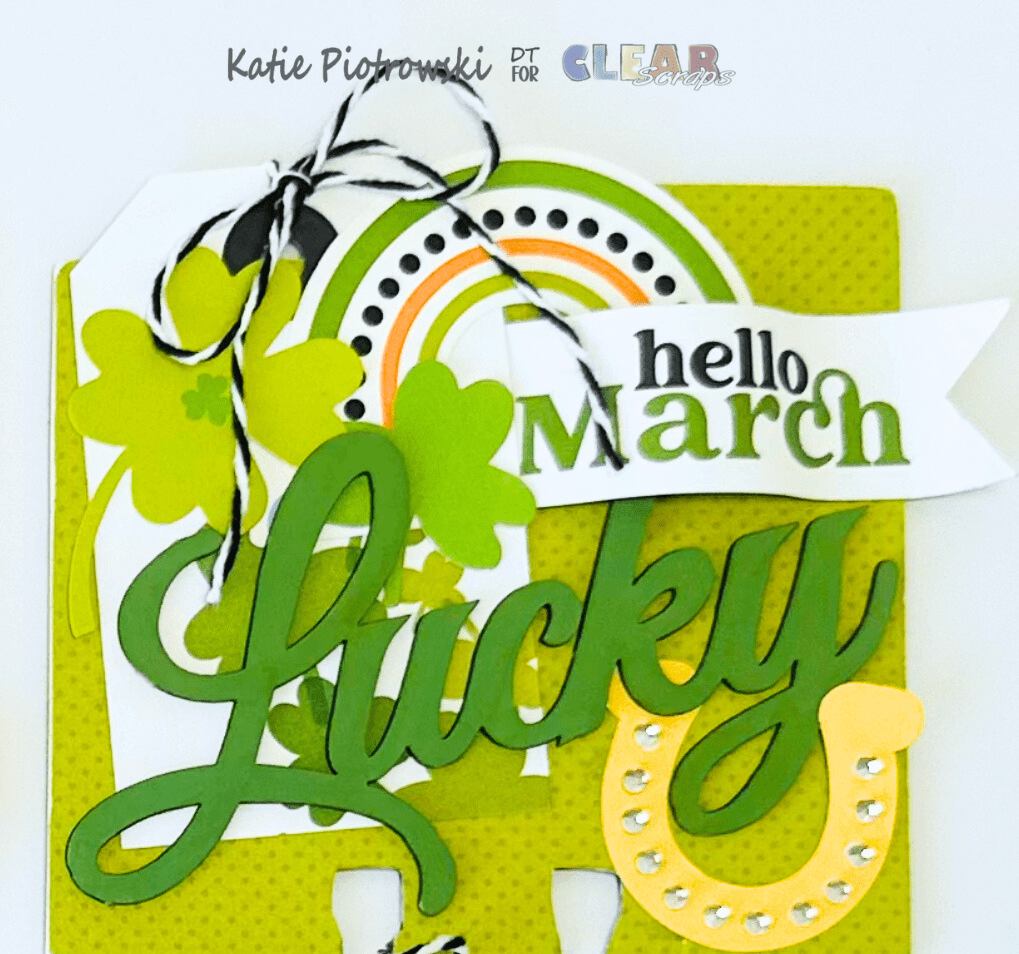
March
The Lucky Script Chipboard Title was made for this card! I placed a tag on the upper left and tied twine to the top, then added the Lucky title. The horseshoe die cut got a little sparkle from some rhinestones and tucked perfectly into the bottom corner. I created a waving banner with the “hello March” title by dovetailing the end and gently curling it. A rainbow embellishment tied it all together.
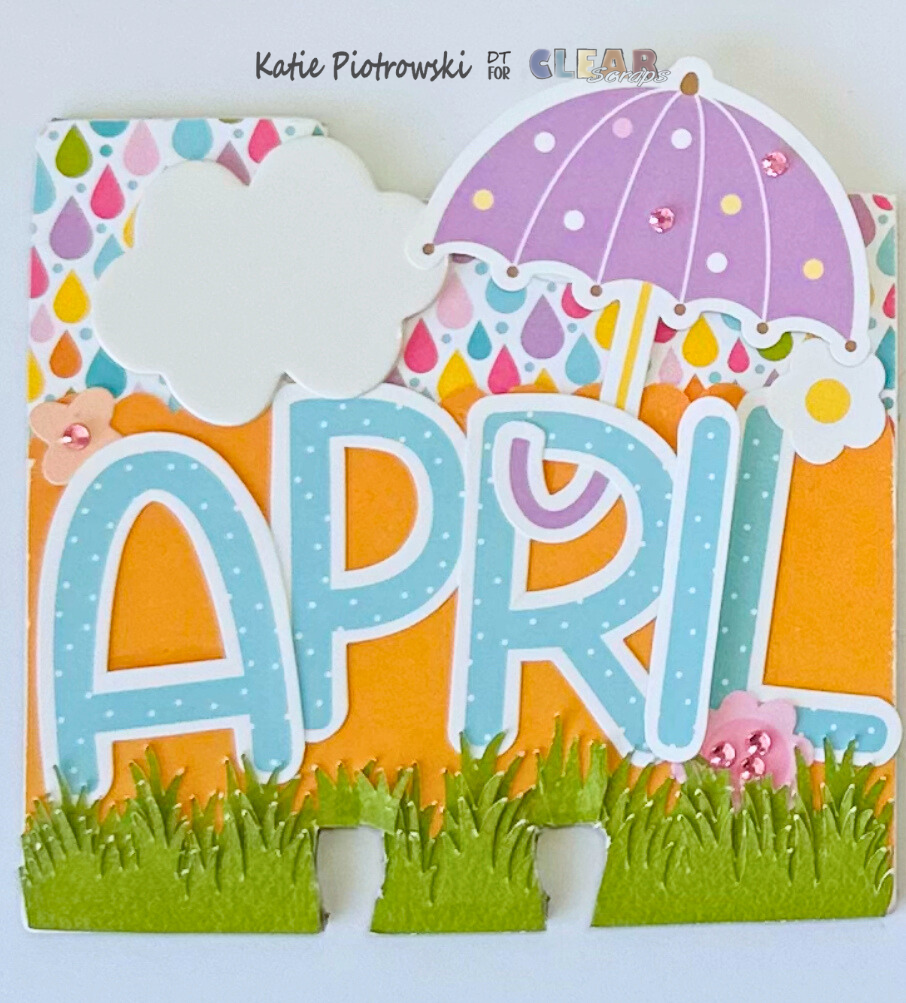
April
For April, I went with the classic April Showers theme. I kept the raindrop paper visible on the top half and added a contrasting strip to the bottom. I trimmed the April letters apart and adhered them in an alternating pattern of flat and dimensional adhesive. I hooked the umbrella die cut onto the “R,” added a chipboard cloud, and finished the bottom with layered grass cuts from my Cricut topped with floral embellishments and rhinestones.
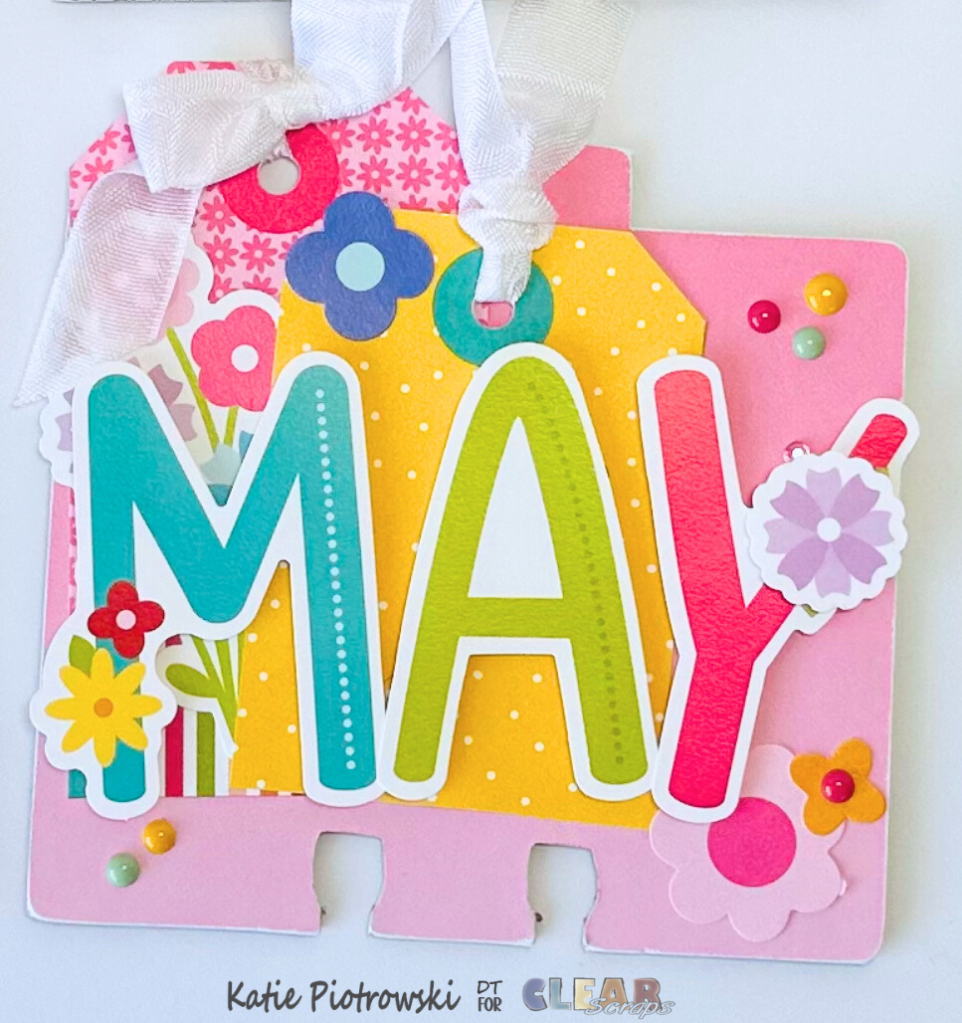
May
I layered two trimmed tags to the left, staggering their heights, then tucked a floral cluster slightly underneath. I separated the May title letters and adhered them with dimensional foam over the tags. A few additional florals and enamel dots brought everything together.
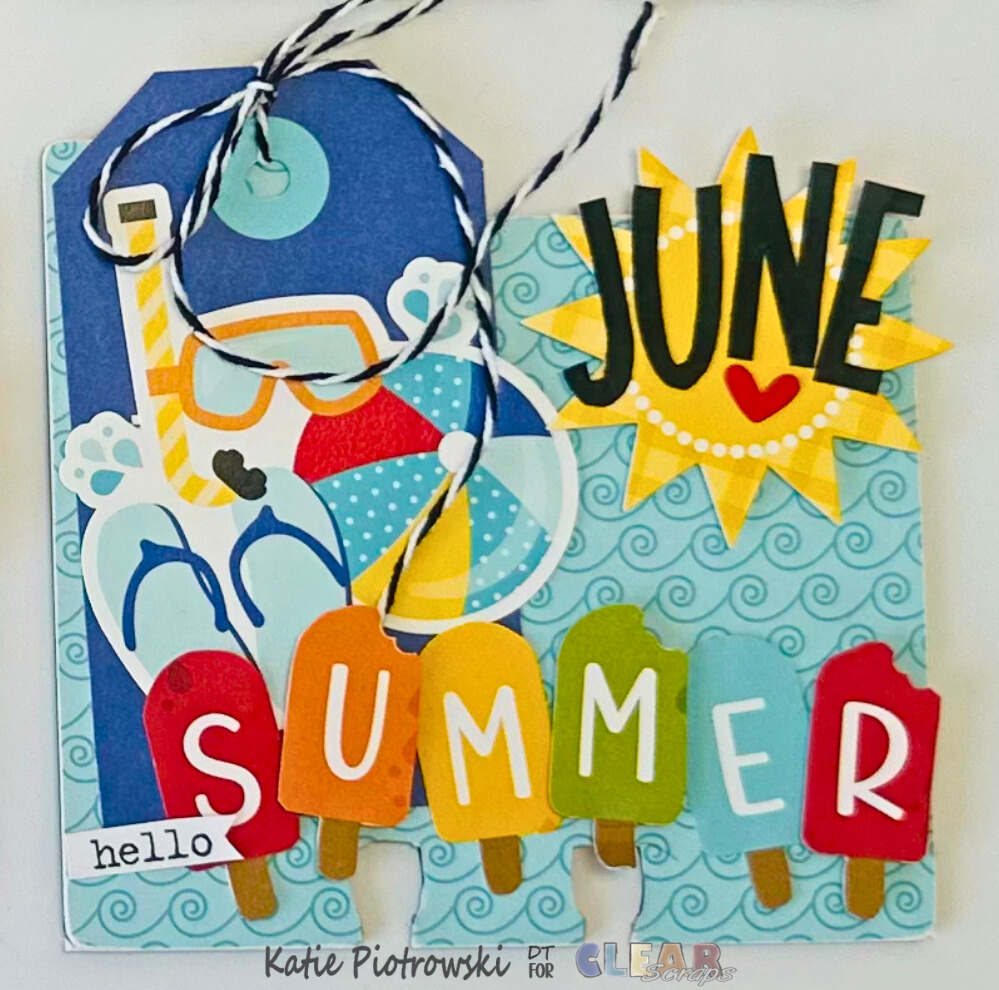
June
For June, I added a tag to the left and tied twine to the top. I embellished above the tag with a die cut cluster, then fussy cut popsicles from a 3×4 card and alternated their heights with dimensional adhesive along the bottom. I also fussy cut the June title but recolored the letters black for stronger contrast. After placing them over the sun, I trimmed the word “hello” into a tiny banner so the full card reads hello SUMMER—a fun little detail I love!
I am absolutely thrilled with how this project turned out. It’s functional, decorative, and totally customizable! I’ll be sharing the remaining monthly cards later this month, so be sure to keep an eye out.
Clear Scraps Products Used:
Home Chipboard Punchout Embellishments
Regular DIY Wood Box (4.75×12)
Winter Themed Chipboard Embellishments Punchout
Thanks so much for stopping by! If this project inspires you to start your own perpetual calendar or memory dex system, be sure to visit the Clear Scraps shop to grab the chipboard dividers, wood box base, and embellishments I used. I’d love to see your creations—tag me and Clear Scraps so we can cheer you on!
Katie


Leave a comment