Hi there Friends and Happy December 4th!!! Misty @Mommyofkidz here with you today and guess what…***Today is my Birthday!*** and I wanted to thank you for visiting theClear Scraps Blog to celebrate with me!!
Can you believe that Christmas is only 21 days away!? Paired with my birthday, It absolutely is the MOST Wonderful Time of the Year! Shopping and Wrapping, and holiday Crafting! Caroling and Baking and Snow Angel making ….YES…these are a few of my FAVORITE things!!! If you can’t tell, I am a Christmas Lover at heart. Many of my most precious memories are centered around the holidays when my kids were little. I may share a few with you today. 🙂
Today I am sharing a fun project I made using the Mini Pallet Shape Stars. Instead of wrapping gifts, this mama has been busy creating fun little projects, some of which will be given to friends and family this year. It is sort of a tradition that I started with my kids over 2 decades ago when they were littles. We would make ornaments with sticks, leaves, and pinecones gathered from the yard. We would add ribbon and glitter…just whatever their hearts desired. The ornaments did not always make it to the tree, but the time was well spent creating memories with my munchkins. The boys have obviously completely stopped all the arts and crafts as they have grown, but the girls are always up for some crafty time with Mom. It is a tradition I hold very close to my heart. For this year’s ornaments, we will be using the Mini Wooden Pallet Shapes. There are 17 different mini wooden pallet shapes in the Clear Scraps Store along with the Mini Star. The Mini Stocking, the Mini Angel, and the Mini Heart. I know I know, there are so many Christmas themed mini wooden pallet shapes, why would I suggest a heart? Well, I like to do the unexpected and use things in non traditional ways. It’s what I do! Besides, Christmas is all about Love, right? However, for my tutorial, I will only be using the stars.
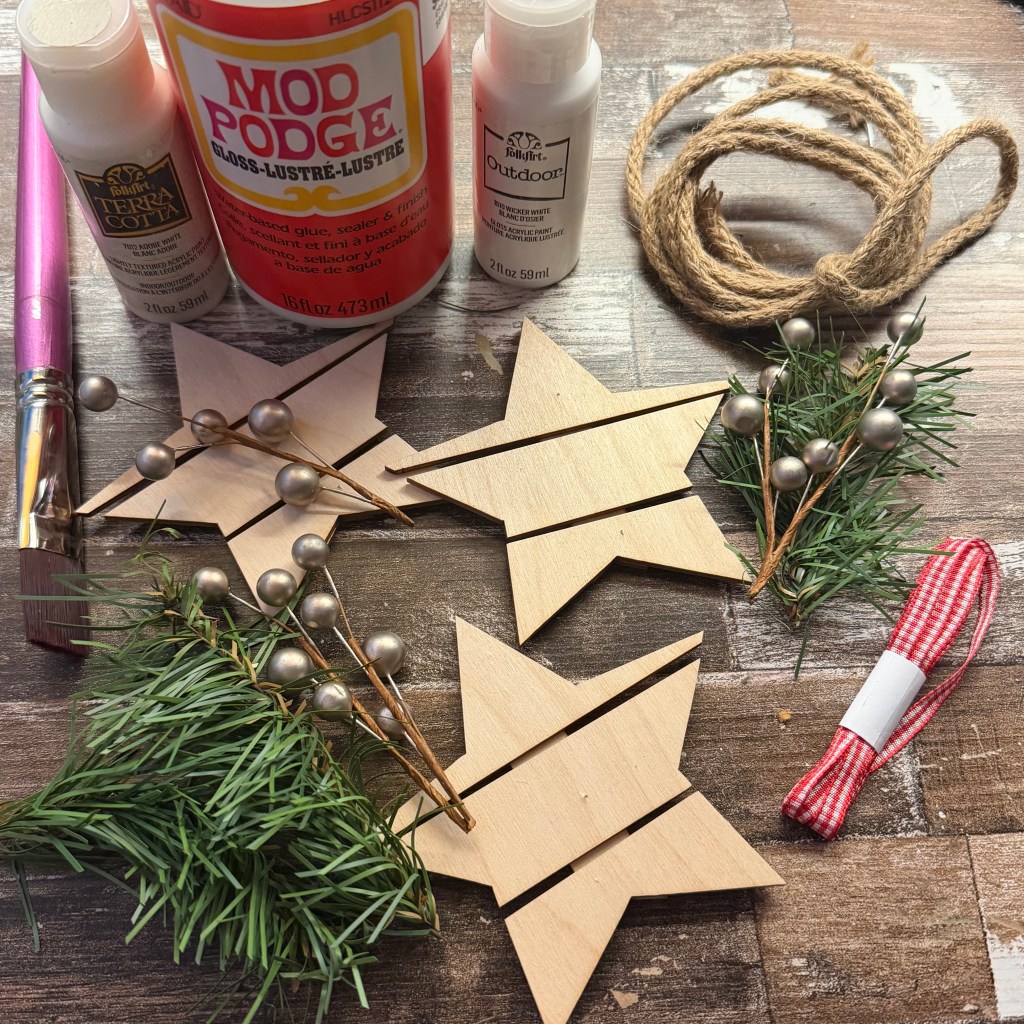
SO, Let’s get started! Before I began any project, I always gather my materials. Sometimes I end up pivoting and using something different, or just omitting something completely, but at least I have that option and everything at my fingertips! For the star ornaments, I used white paint, mod podge, Jute rope in 2 different sizes, ribbon, and things gathered from my potpourri bowl on my dining room table..NOT even joking! LOL. Oh, I used a sponge applicator to apply the mod podge.
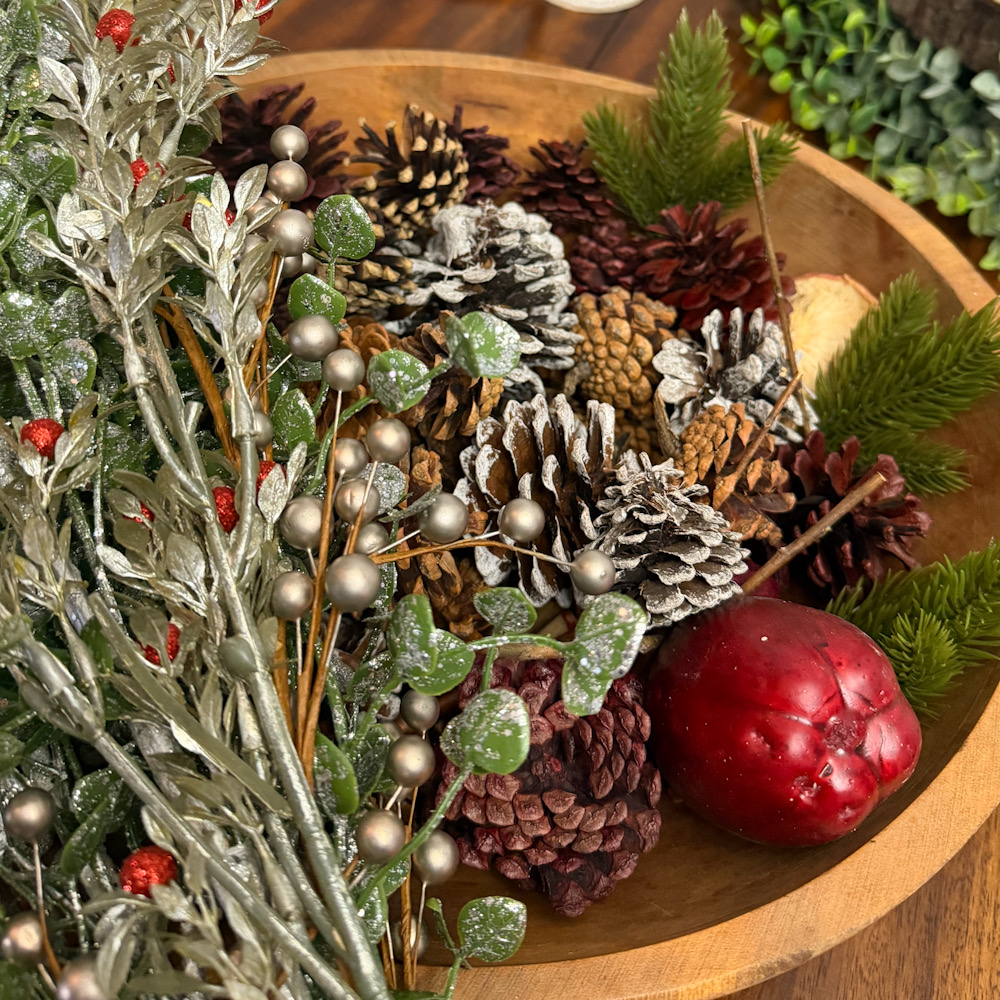
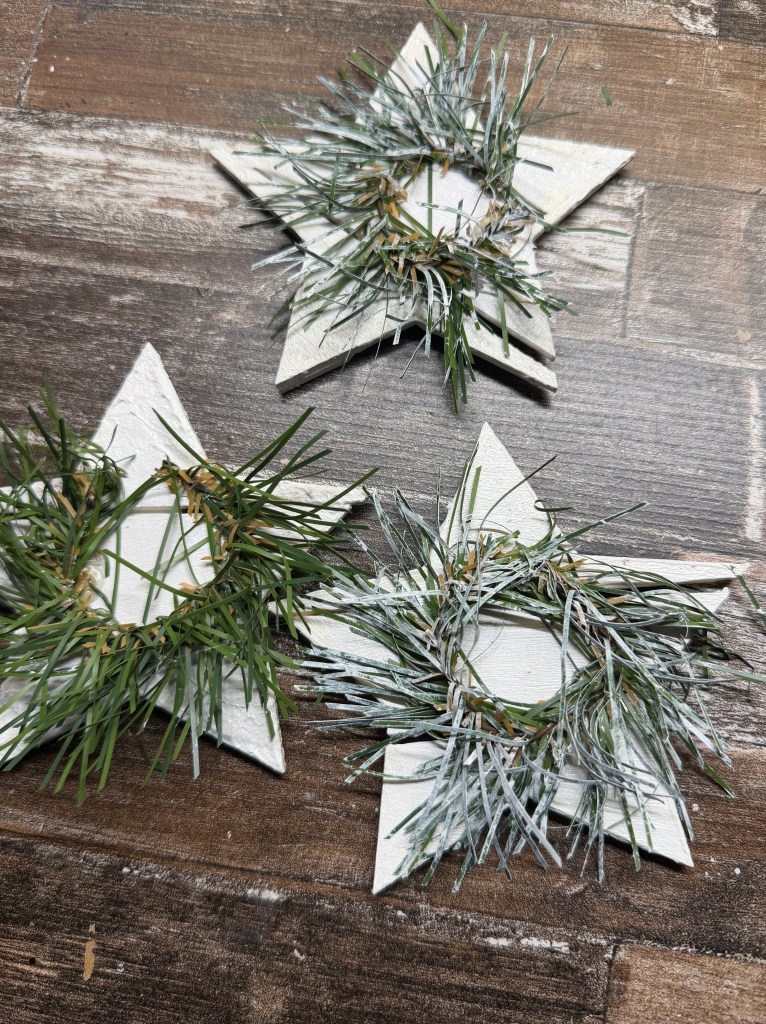
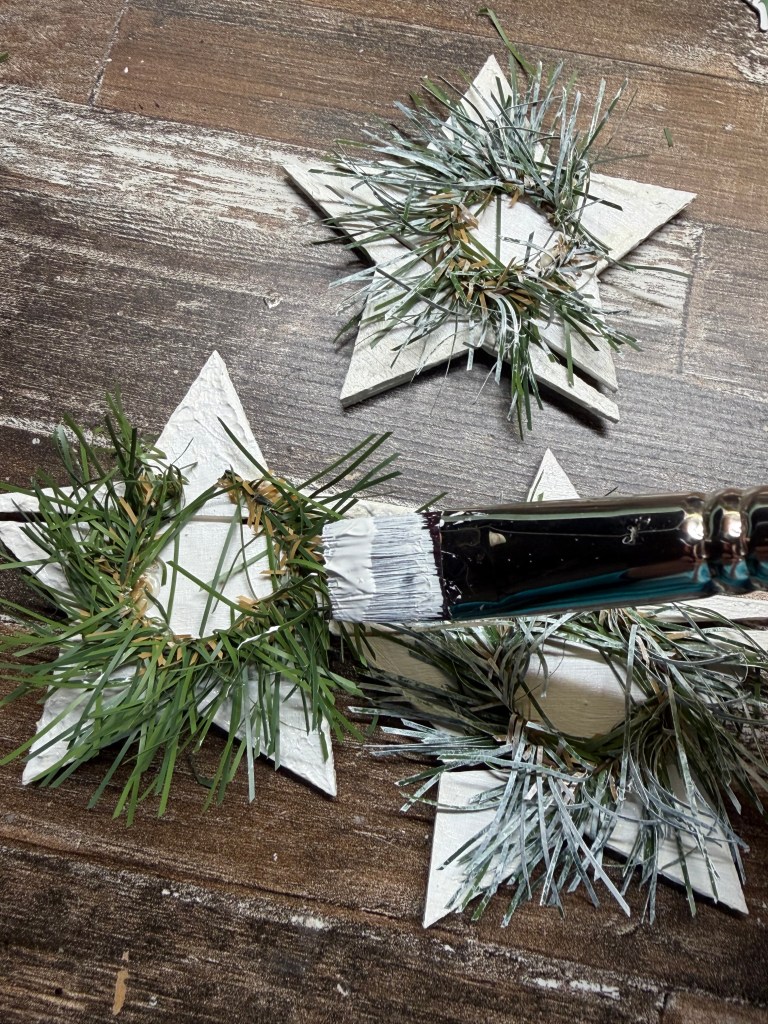
First, I gave all the stars a couple of coats of white paint. Yes, I do paint front AND back. After they were all dry, I then applied a generous coat of Mod Podge. Even though they will be indoor ornaments, I wanted to seal them just in case I ever decide to use them outside. Since they are wooden, that would be a possibility! After everything was dry, I sorted through my potpourri bowl and found a few pine sprigs just long enough to bend into small circles. I hot glued the circles to the centers of my stars in hopes of creating a wreath. I felt that the green was too overwhelming, so I softened their appearance by lightly brushing the bristles of my paintbrush over the tips of the pine. In the photo below you can see 2 stars with white washed wreaths and one with the green. The next photo shows my brush very lightly coated with paint…which I gently brushed over the pine needles. It made a HUGE difference didn’t it!!?
Next comes the jute. I mentioned 2 sizes. The first one I used is a wired jute that is 3/8 inch thick. I used this to cover the pine edges and make the wreath more rustic looking. After I trimmed any stray pine needles from the centers, I hot glued the jute in place. I wanted all the pine needles on the outside of the “wreath”… I have plans for that center! The other jute is a string that I used for the ornament hanger, which gets glued in place just before the bow.
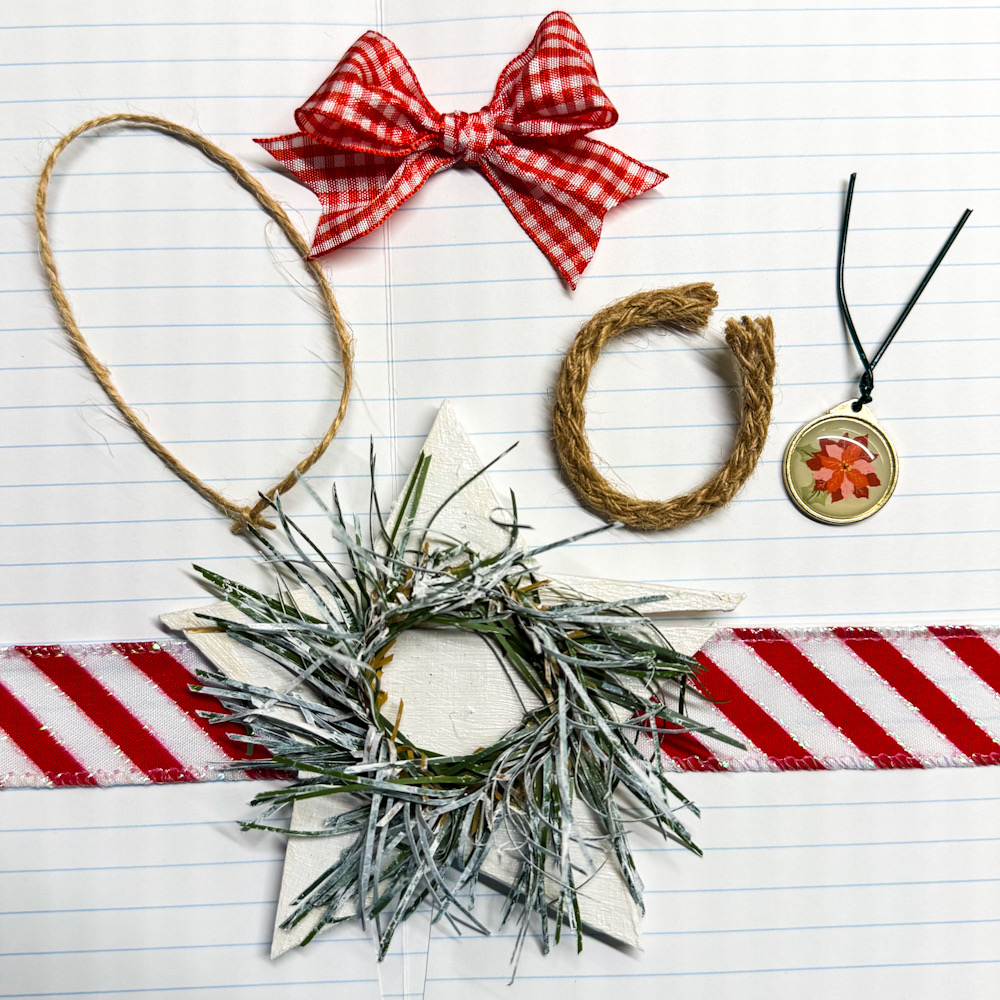
Finally, it is time to add the bow. A bow just makes everything so pretty!!! I love ribbon and I am guilty of using it on almost all of my projects. The bow is a very necessary final touch for this particular project! Without it, it is just a star with dirty looking pine needles glued to it!
You COULD simply glue the bow in place and viola…your star is complete!
However, you KNOW that I added in an extra step! HA HA! Hence…the reason my kids call me EXTRA!
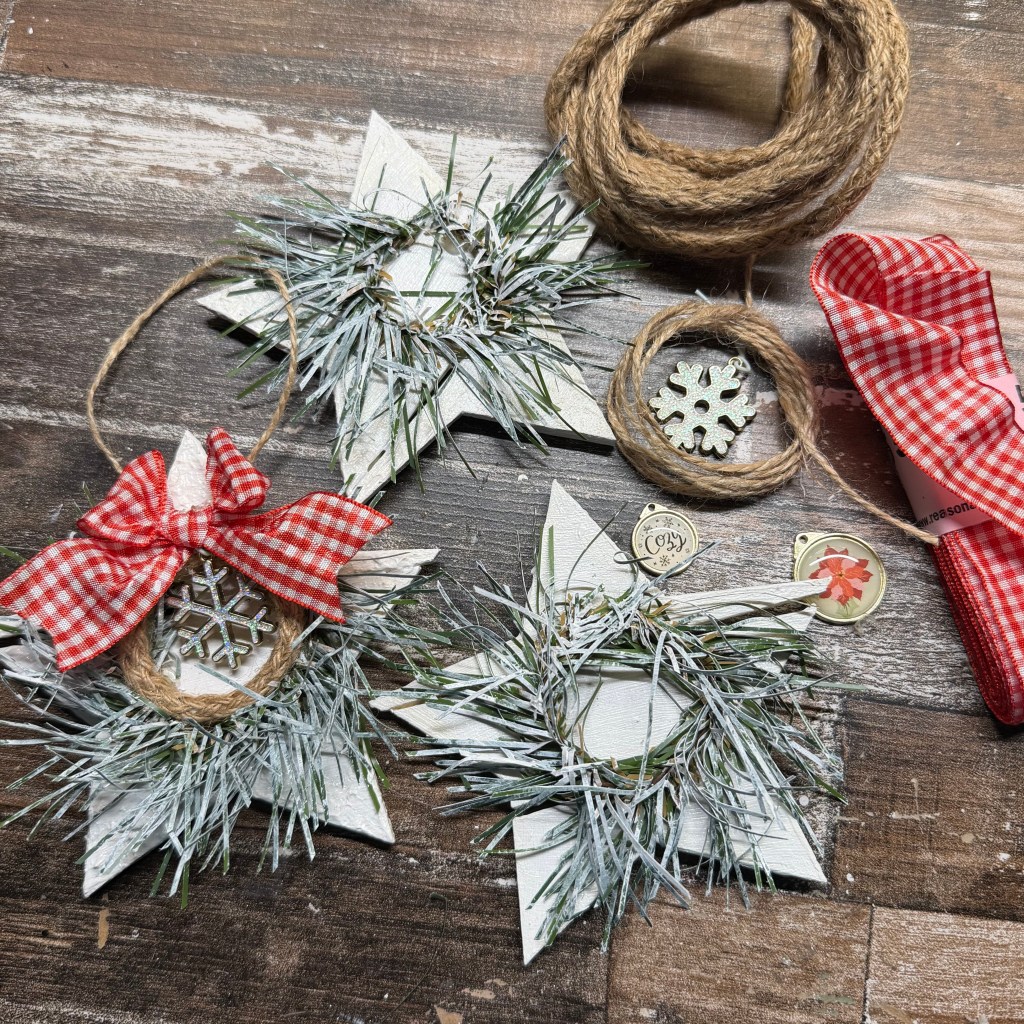
I dug through my stash of metal embellishments and found a few charms that I could hang from the bows and let dangle in the center of each wreath. I used a piece of wire to attach those to the center of the bows in the back.
Here is photo of my materials with one completed ornament. Of course you can always add more bling or sparkle to it if you want, but I chose to keep these ornaments simple. These simple rustic stars remind me of the ornaments that I used to make with my kiddos. Tamon always had to have a leaf or a stick or even a rock on his. His reasoning was because “God made it, and Christmas is about Jesus.” In his 4 year old mind, the ornament made of nature allowed the tree to always have a bit of God on it. ***We always had real trees when the kids were little….lol.*** But…How can you argue with that logic?
I think God gave me all these wonderful memories with my munchkins to help ease the pain that I now simultaneously feel during the holidays since my oldest son passed away. Tamon LOVED Christmas, because it was the one time of the year that he got to see all of the people that he loved the most all in one place. Those were his exact words.
Even though I don’t get to see my oldest son anymore, I am surrounded with my other 4 kids and people whom I love dearly. My heart aches, but it is happy, and somehow, Christmas is still my favorite time of the year. God is Good.
After only a few hours, I had the cutest handmade ornaments ever! Well, this year so far! HA HA HA~!My daughters loved them and thought they were great, and that is really all that matters, right!? Another tradition continued … and I love it.

What holiday traditions do you have? DO you have anyone that shares these traditions with you, someone special that helps you make cherished memories? I truly pray that you do, and I would love if you shared a memory with us on this post! Call it your birthday gift to me!
And don’t forget to head over to theClear Scraps Store to pick up some items for your next project! CLICK HERE for a selection of Christmas themed projects that you can do with a loved one…and CLICK HERE for Holiday projects. **Yes, they are different!
Thanks for stopping by today…have a wonderful weekend and Stay Crafty!!


Leave a comment