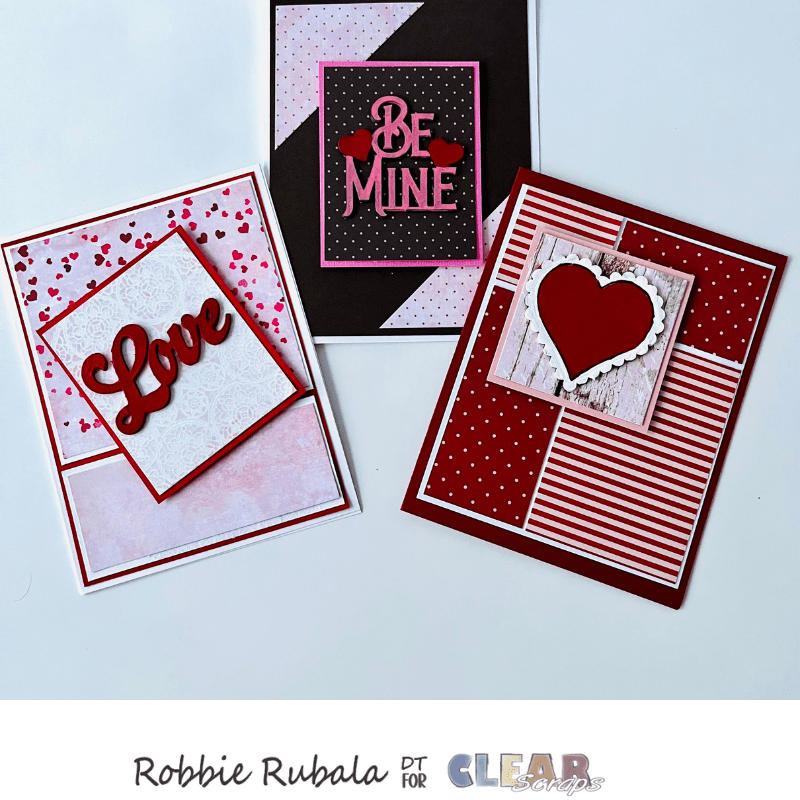
Valentine cards using Love chipboard punch outs
Are you ready for some Valentine card ideas? Look at these pretty cards made using the Love chipboard punch outs.
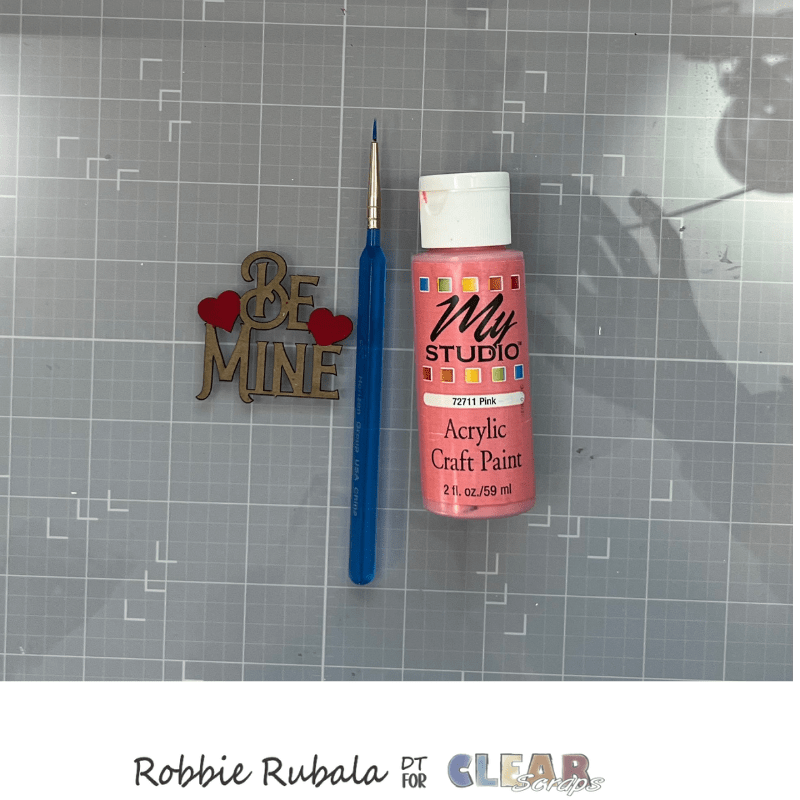
To make these cards you will need the Clear Scraps Love embellishment chipboard punch outs, red, white, and pink acrylic paint, and various brushes.
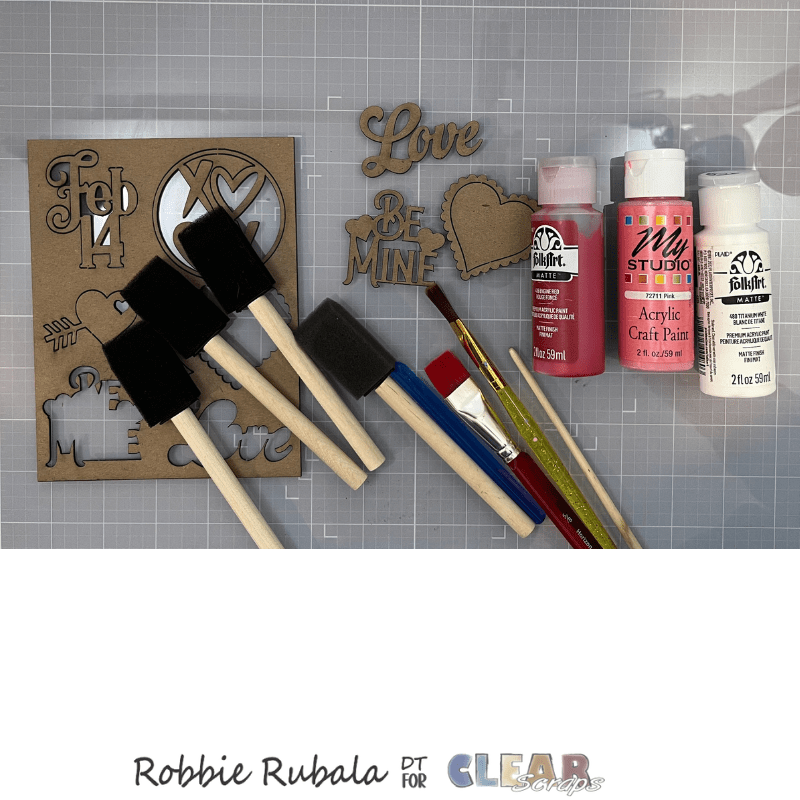
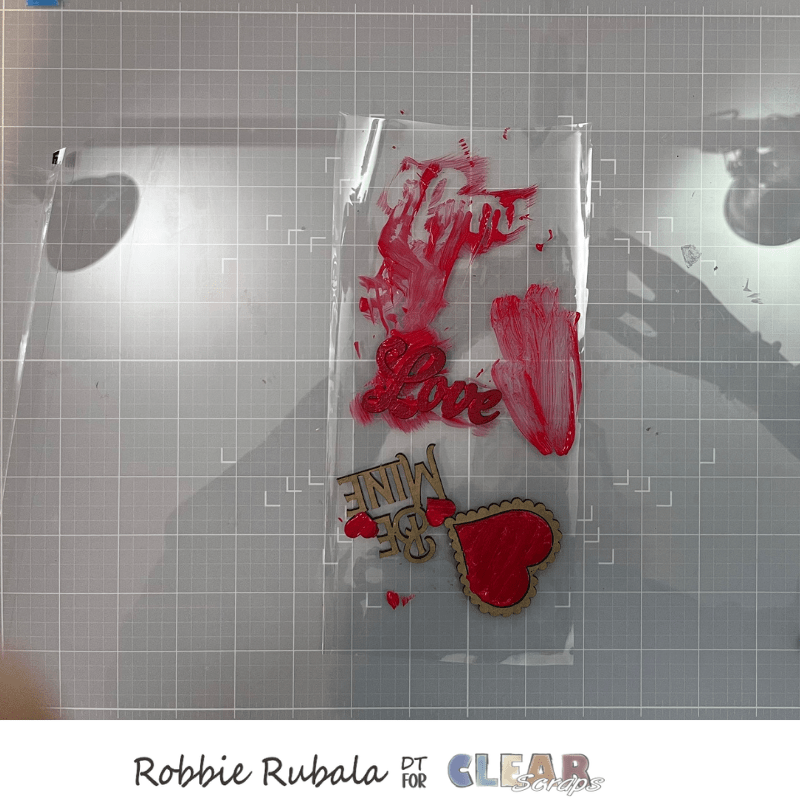
Begin by punching out the ones you want to use. I chose to use the Be Mine sentiment, lacy heart, and the word Love. Take all of the punch outs and paint the middle of the heart, the word Love, and the small hearts on the sentiment red.
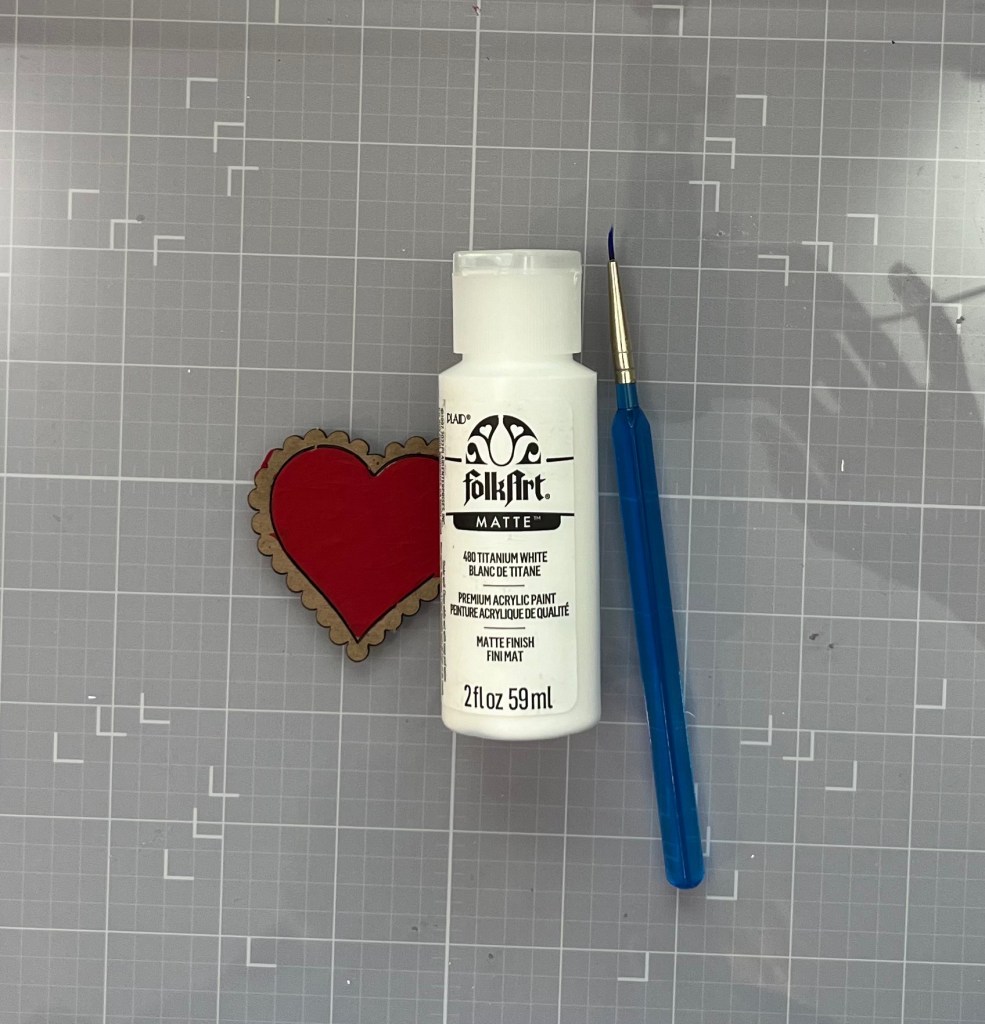
When the red is dry take the lacy heart and paint the lacy heart white.
Take the sentiment chipboard and the pink paint and paint the words. NOTE – THE PINK I CHOSE IS BASED ON THE PATTERN PAPER I WAS USING.
Once all the chipboards are dry, it is time to make your cards. Here is the first card we will make. To make my cards, I shopped my stash for the paper so do the same.
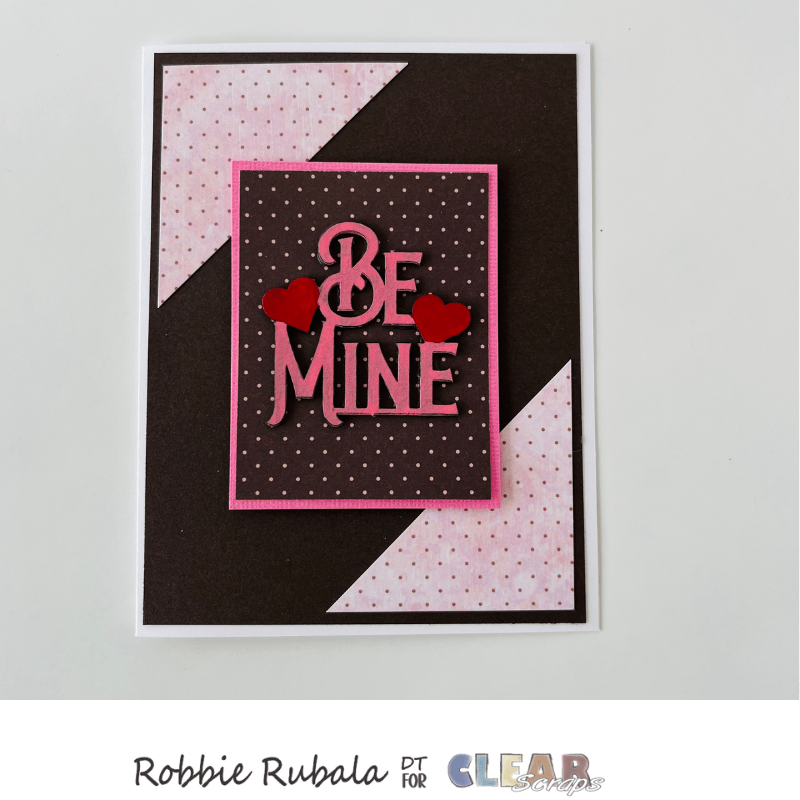
The white card base is 5 1/2″ x 8 1/2″ scored and folded at 4 1/4″ on the long side. The next layer is dark brown and is 4″ x 5 1/4″. Add it to the folded card base centering on all sides.
Take a 2 1/4″ square and cut it in half diagonally. Note if your pattern paper has a direction keep that in mind when you cut your paper. Add one to a top and bottom corner that is opposite of each other.
Take the pattern paper you are using for the background of the sentiment and cut a piece that is 2 1/4″ x 3″. Choose a background. color and cut it at 2 3/8″ x 3 1/8″. Layer the pattern paper and background. Use foam adhesive on the back and add the panel to the card base centering on all sides. Glue the chipboard sentiment to the center of the rectangle. Your first card is finished.
Now let’s make the second card.
The red card base is 5 1/2″ x 8 1/2″ scored and folded at 4 1/4″ on the long side.
Choose 2 pattern papers and cut a 1 1/2″ x 1 1/2″ from one pattern paper and a 2 1/4″ x 3 1/4″ from the same pattern.
From the other pattern paper cut a 1 1/2″ x 2 1/4″ piece and a 1 1/2″ x 3 1/4″.
Take the 4″ x 5 1/4″ piece of white and lay the pattern paper pieces on the white with the smallest piece of pattern 1 at the top left. Add the tall skinny piece of the other pattern paper underneath the first one. Take the wide piece of pattern paper number 2 and add it at the top right. Add the last largest piece of pattern paper number 1 and add it at the bottom right. See photo above.
Determine how much space you need to leave between your pieces and glue them to the white panel. When you have all your pieces glued down, if you need to trim the white panel you can do that now. Add the white panel to the red card base centering on all sides.
Take a third piece of pattern paper that goes with the other 2 – I chose my 3 pattern papers from the same collection – and cut a piece that is 2 1/4″ x 2 1/4″. Cut a background that matches the pattern paper that is 2 3/8″ x 2 3/8″. Glue the 2 pieces together. Add this panel in the upper left corner of the card front centered over the area where the 4 pattern papers meet using foam adhesive. See photo above.
Glue the chipboard piece to the center of the square. Your second card is finished.
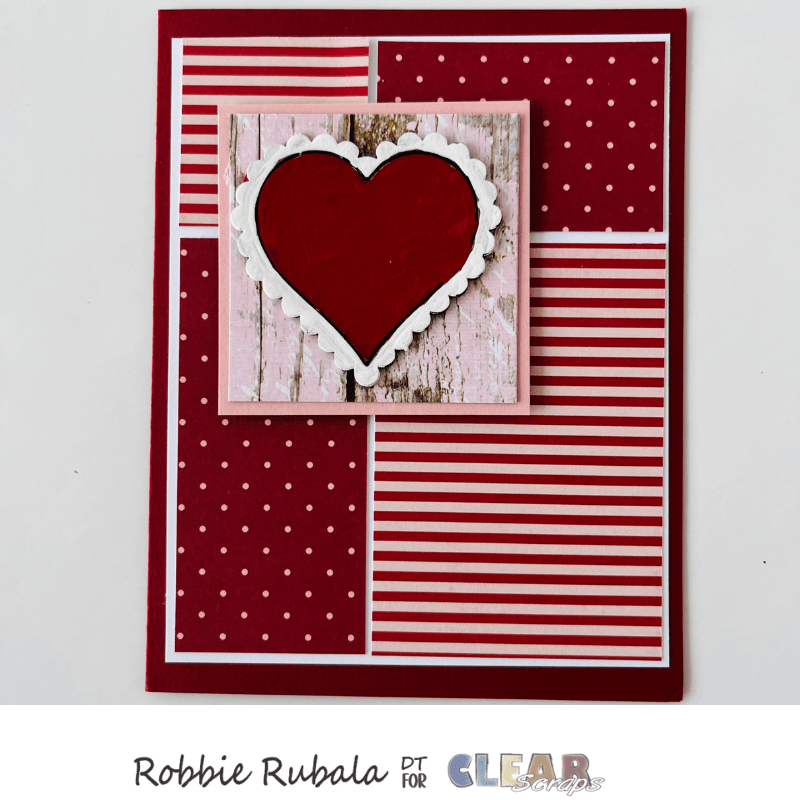
Let’s make the last card.

The white card base is 5 1/2″ x 8 1/2″ scored and folded at 4 1/4″ on the long side. The next layer is red and is 4″ x 5 1/4″. Add it to the folded card base centering on all sides.
Choose 2 or 3 pieces of pattern paper – Note – the background paper is the top and bottom of the same piece. Chose which one you will use for the background. Cut 1 piece 3 3/4″ x 3 1/4″. Use the piece of pattern paper you chose for the bottom and cut a piece that is 3 3/4″ x 1 3/8″.
Cut a piece of white that is 3 7/8″ x 3 3/8″ and another piece at 3 7/8″ x 1 1/2″. Glue the pattern paper to the white panels centering on all sides. Add the larger white panel to the top of the red panel on your card base centering on the top and 2 sides. Glue the smaller panel to the bottom of the red panel on your card base centering on the bottom and 2 sides. The spacing on the sides and between the 2 pattern paper panels should be about the same. See photo above.
Take the last piece of pattern paper and cut it at 2 1/2″ x 3″. Cut a background panel that is 2 5/8″ x 3 1/8″. Glue the 2 panels together. Glue the sentiment to this panel centering as best you can. Add this panel to the card front at an angle using foam adhesive.
Your last card is finished.
Using chipboard pieces is easy in your card making. I hope this inspired you to try this.
Have a Terrific Tuesday!
Robbie


Leave a comment