Welcome back, Clear Scraps friends! Today I’m excited to share the second half of my Perpetual Calendar project—months July through December. This project has truly been one of my favorites this year, and these remaining cards were just as fun to create as the first set!
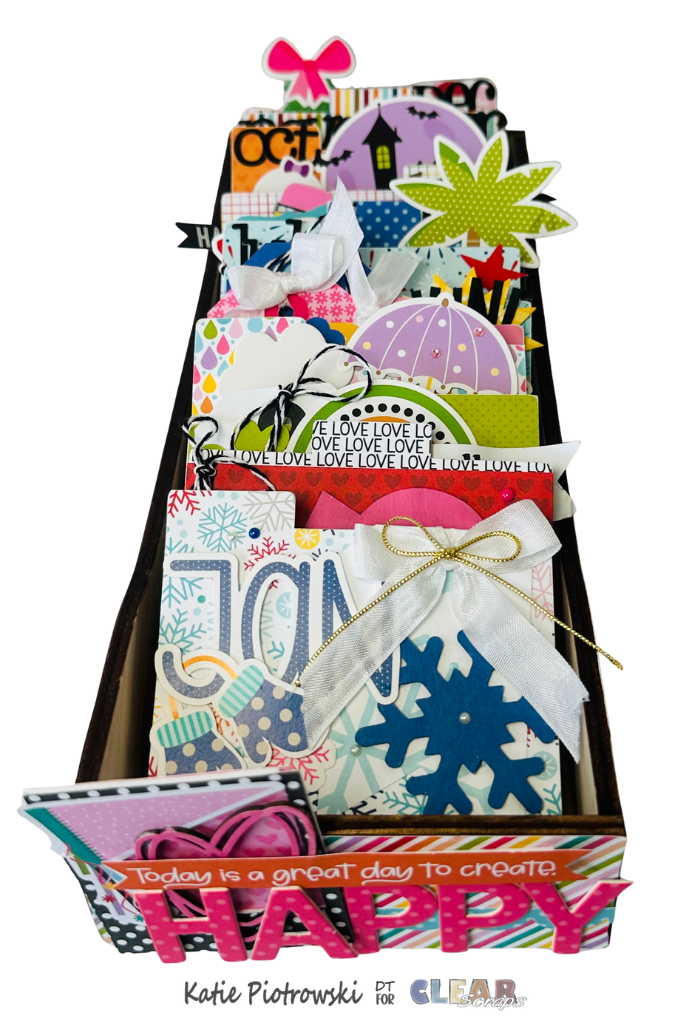
Here’s a shot of the box with all the month dividers in it:
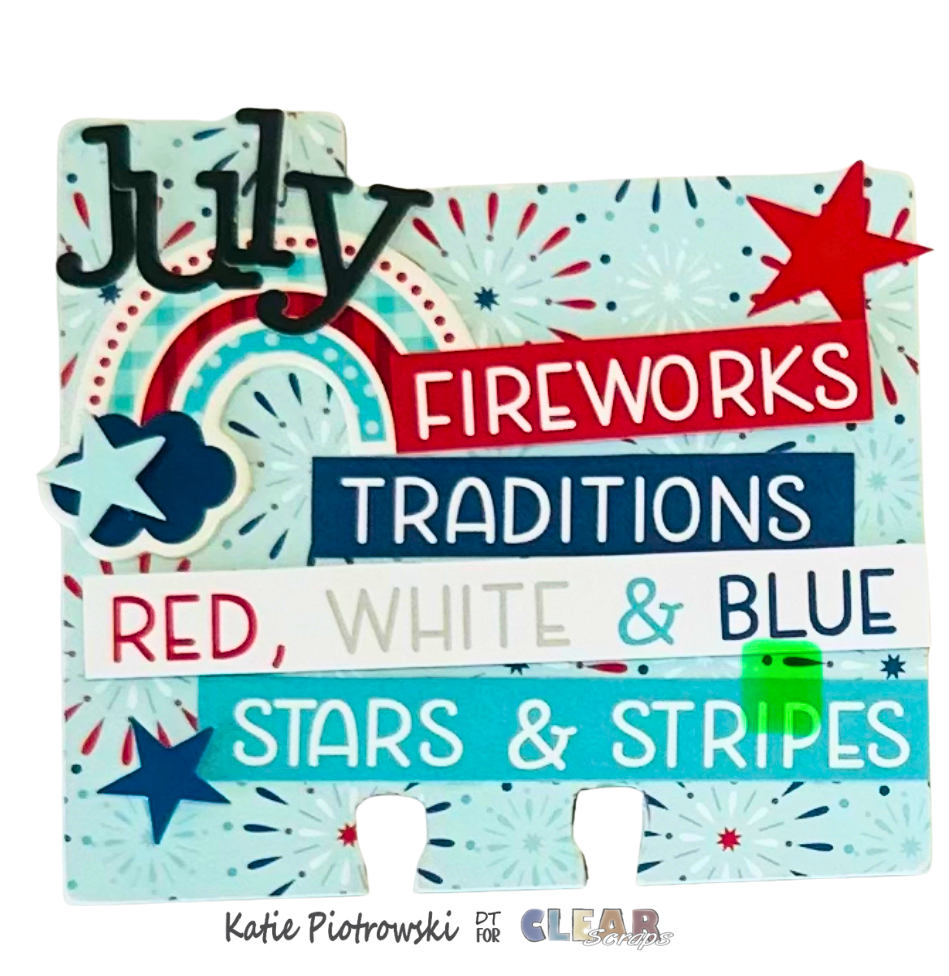
July
For July, I kept things bright and bold! I cut apart several word strips from the 12×12 borders and adhered them with dimensional adhesive to give the card some lift. I tucked a rainbow embellishment under the upper left edge and added the month title with coordinating stickers. To finish things off, I sprinkled a few stars—also popped up with dimensional adhesive—for a festive touch.
August
For August, I went full summer mode! I added the palm tree on the right side, then layered the wave die cut with dimensional adhesive and tucked the “summer” letters behind it. I fussy cut the letters spelling out “August” from a 3×4 card and adhered them across the top of the card. A handful of cute embellishments—sunglasses, crab, starfish, and fish—completed the perfect end-of-summer vibe.

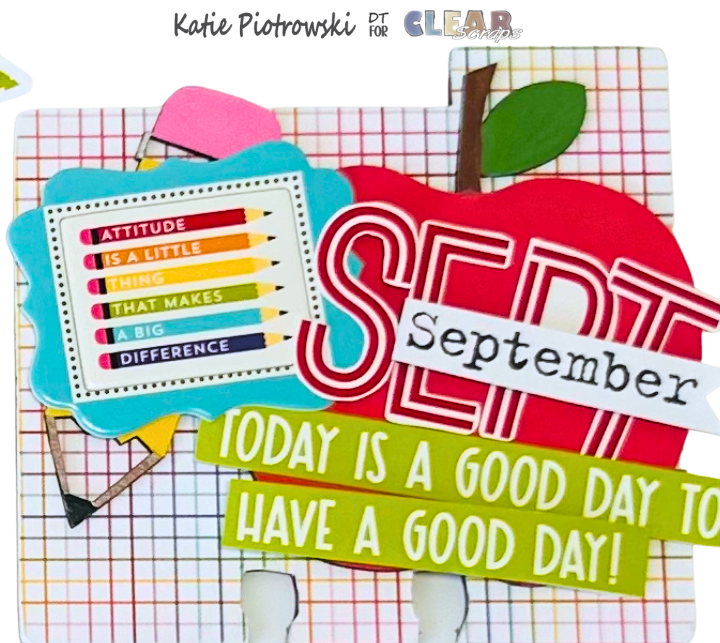
September
September is school-themed, of course! I used the Clear Scraps School Days Chipboard Embellishments and gave the pieces a quick coat of paint. I adhered the apple to the right side of the card and positioned the pencil on the left so it looks like it’s leaning against the apple. I fussy cut the September title apart and added the abbreviated version to the top of the apple, layering a word strip over it for extra detail. At the bottom, I cut apart the die-cut phrase Today is a good day to have a good day and layered it across the apple. A small chipboard embellishment over the pencil finished the look.
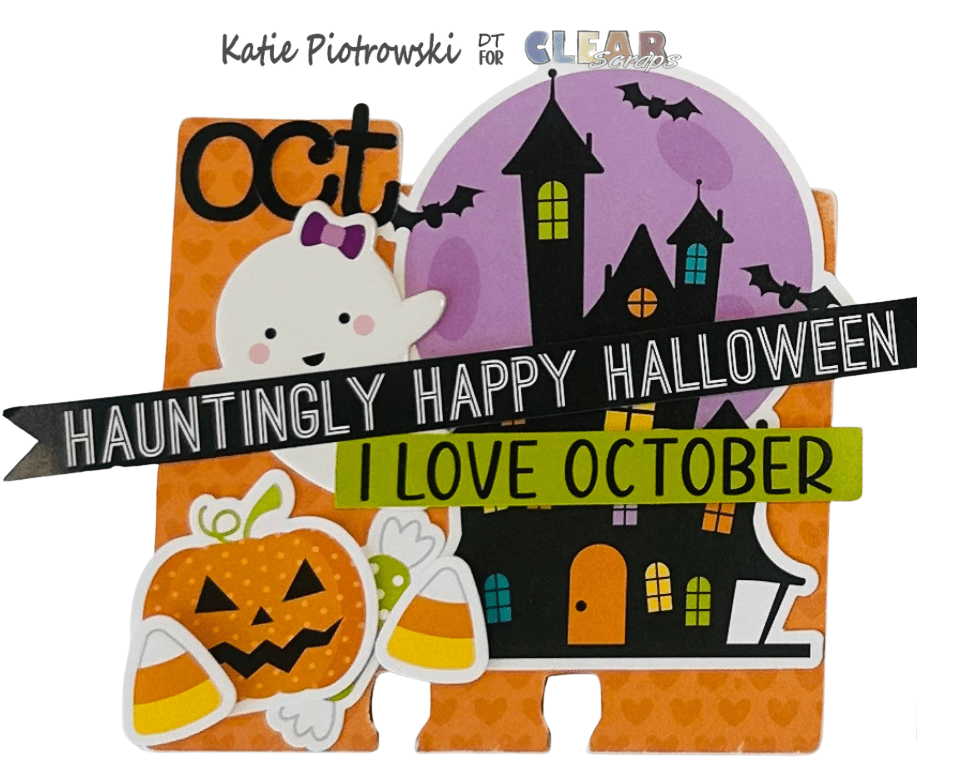
October
October is always a favorite month to create! I added the large haunted house die cut to the right side of the card and placed a cute little ghost on the left. I layered a few word strips across the top of the house for added detail and built a small embellishment cluster in the bottom left corner using candy pieces and a pumpkin. Cardstock letter stickers made the perfect month title.
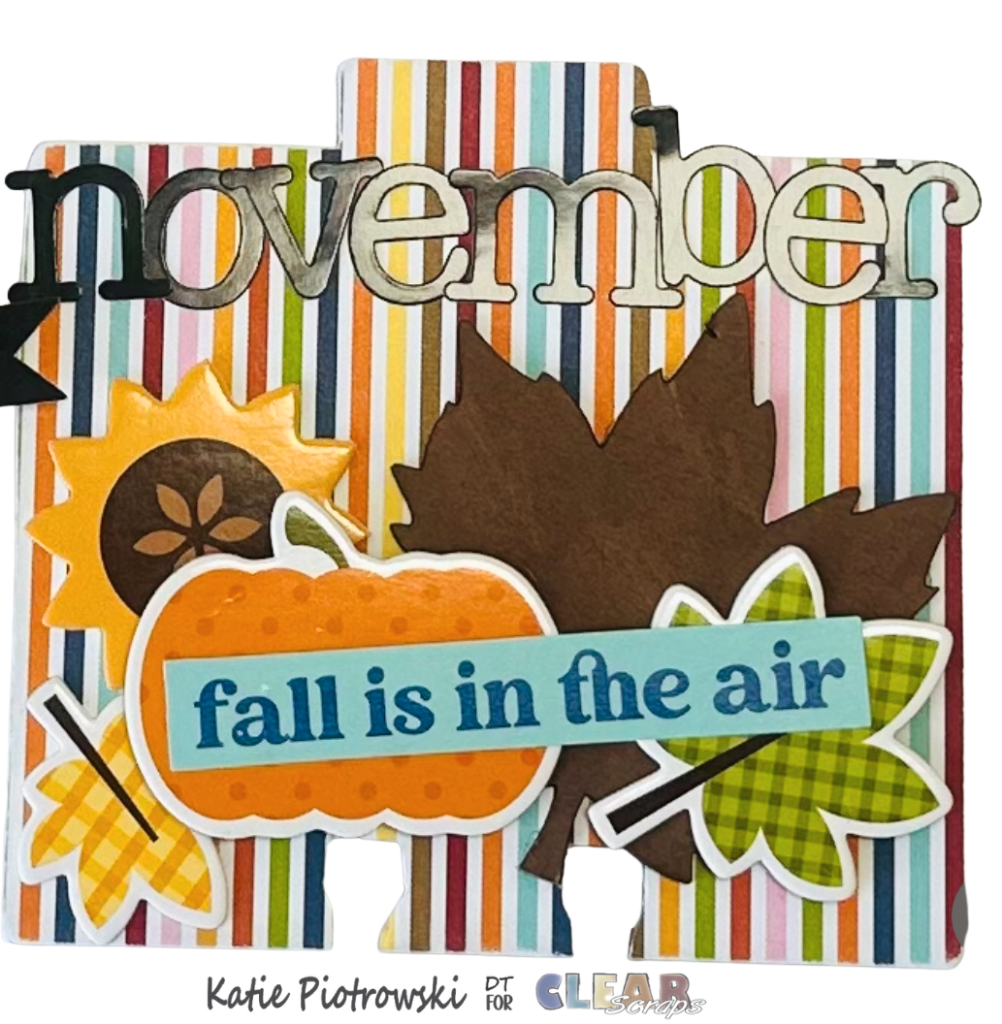
November
For November, I created a warm, fall-inspired cluster around the large leaf from the Clear Scraps Maple Chipboard Embellishments pack. I added coordinating leaves, a pumpkin, and a sunflower to build a full, dimensional grouping. The cardstock month sticker stretches across the top for a clean finish.
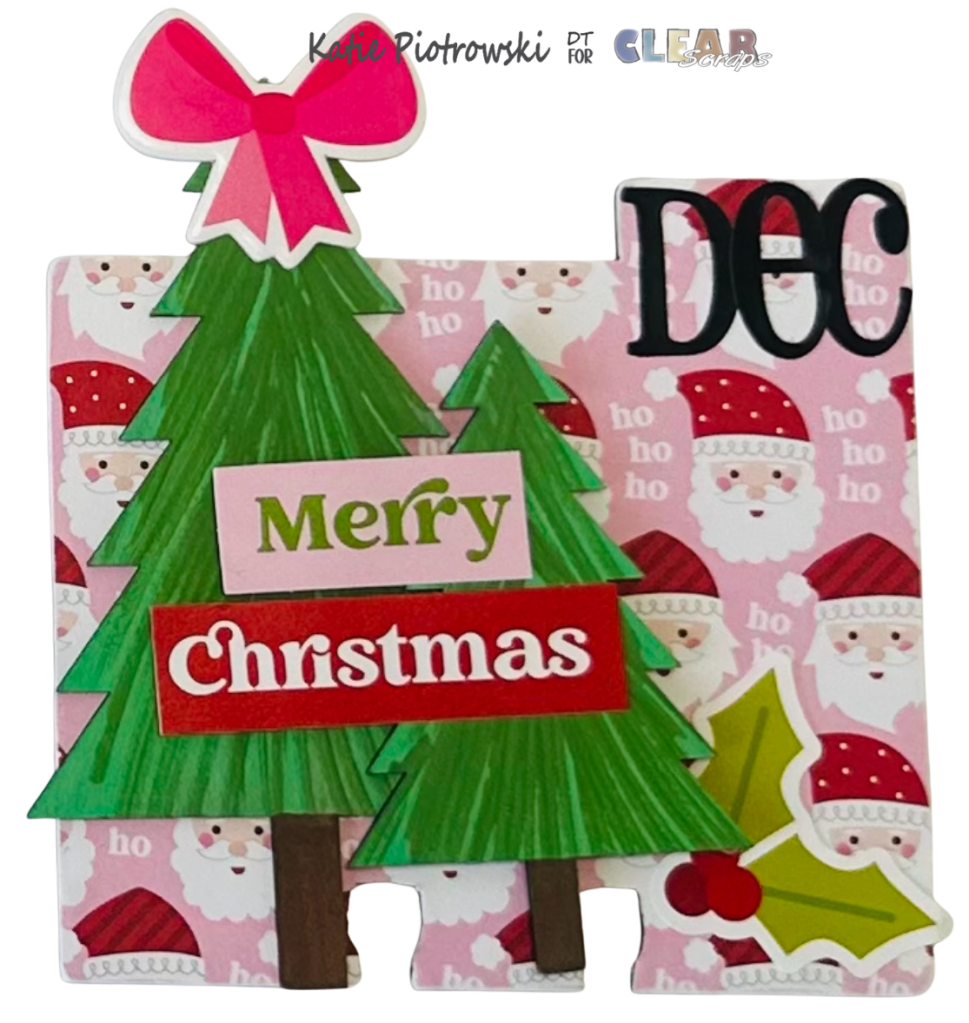
December
December might be my favorite card of all—because I added my favorite color: PINK!
I knew the Clear Scraps Pine Trees would be perfect for this month. I colored them with a light green base, then added darker green streaks to create depth and texture. After layering the two trees on the left side, I tucked a holly/berry embellishment under the lower right corner and added a trimmed Merry Christmas word strip across the trees. I used cardstock stickers for the month title and topped the largest tree with a pink chipboard bow. It’s festive, dimensional, and totally me!
I absolutely LOVED creating this project. It’s not only practical but also a beautiful decor piece for my craft room, and I can’t wait to use it throughout the year.
✨ I hope these cards inspire you to create your own Perpetual Calendar!
Clear Scraps Products Used:
School Days Chipboard Embellishments
Maple Leaves Chipboard Embellishments
Pine Trees Chipboard Embellishments
Thanks for stopping by the Clear Scraps blog! If you’re inspired to try this project or want to see more ideas using Clear Scraps products, be sure to follow along and tag us in your creations! 💛
Katie


Leave a comment