Shiplap chicken from Clear Scraps
Clear Scraps has lots of wooden shapes you can use in your crafting. I saw this Shiplap chicken from Clear Scraps and knew I wanted to try a project with it. Check out this fun chicken home decor idea.

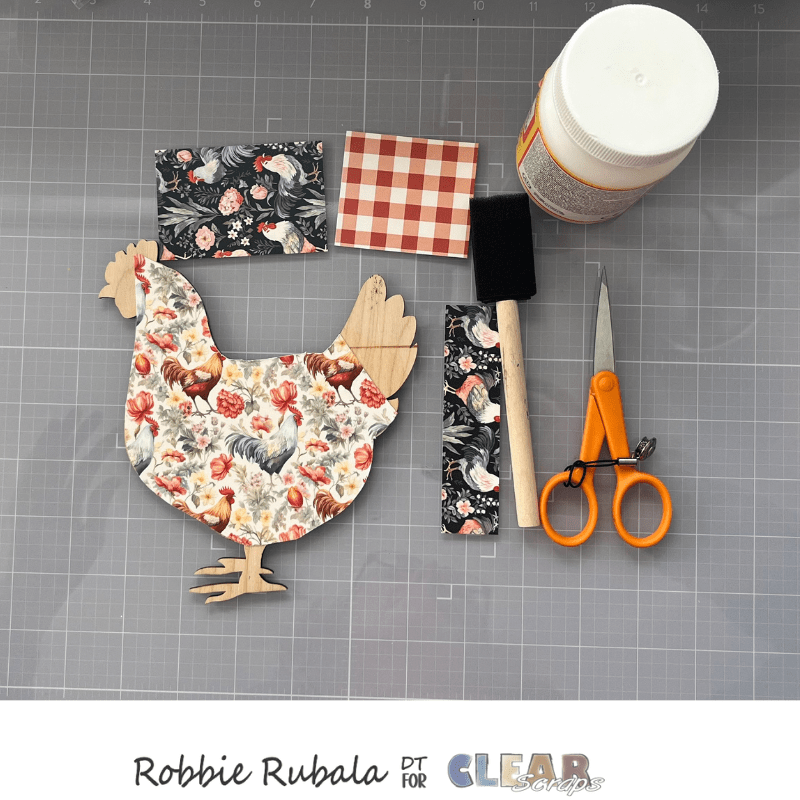
To make this idea you will need the Small Chicken Shiplap Shape, Medium Wood Stand, Chipboard houses dividers, pattern paper, black acrylic paint, black gems, Mod Podge, strong glue, and foam brushes.

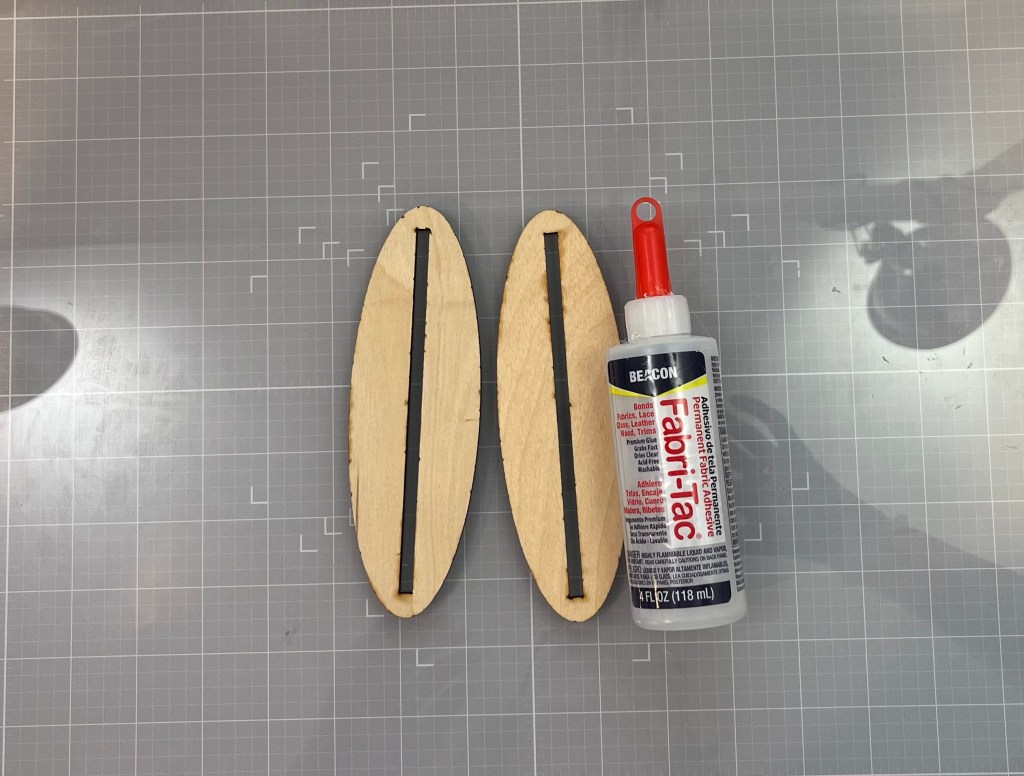
Take the 2 smaller Wooden Stand ovals and the strong glue and glue them together.
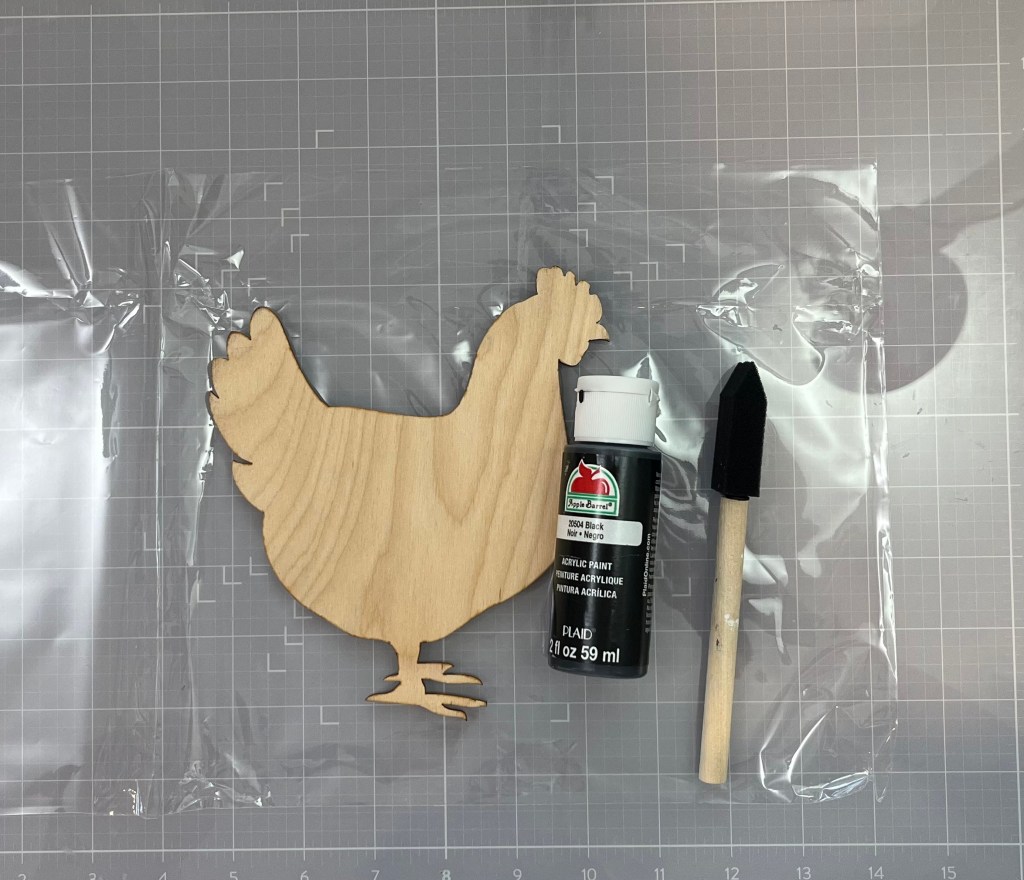
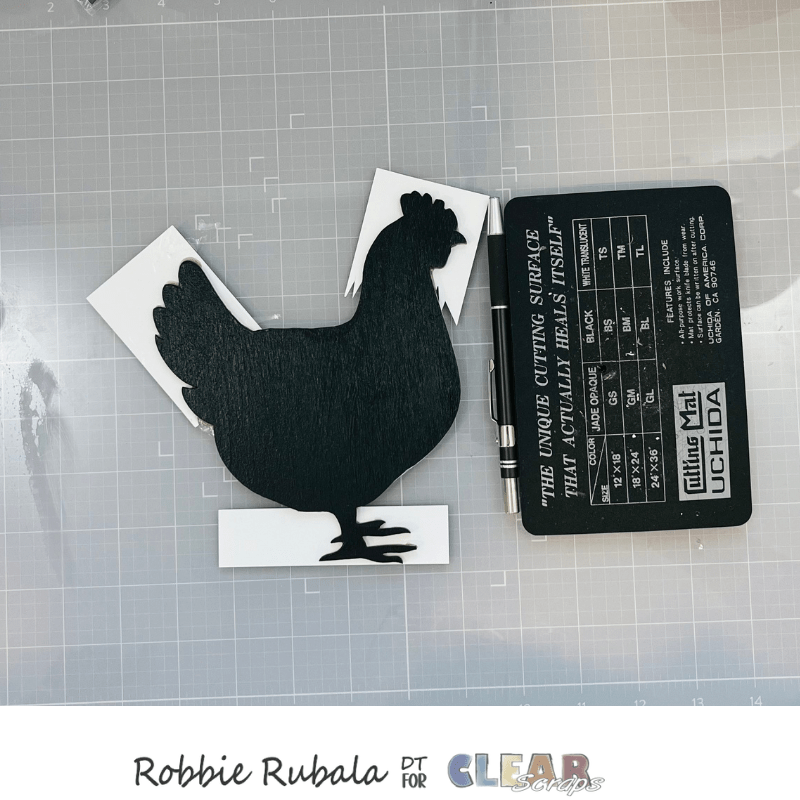
Take the chicken shape, black acrylic paint, and a foam brush and paint the back of the chicken.
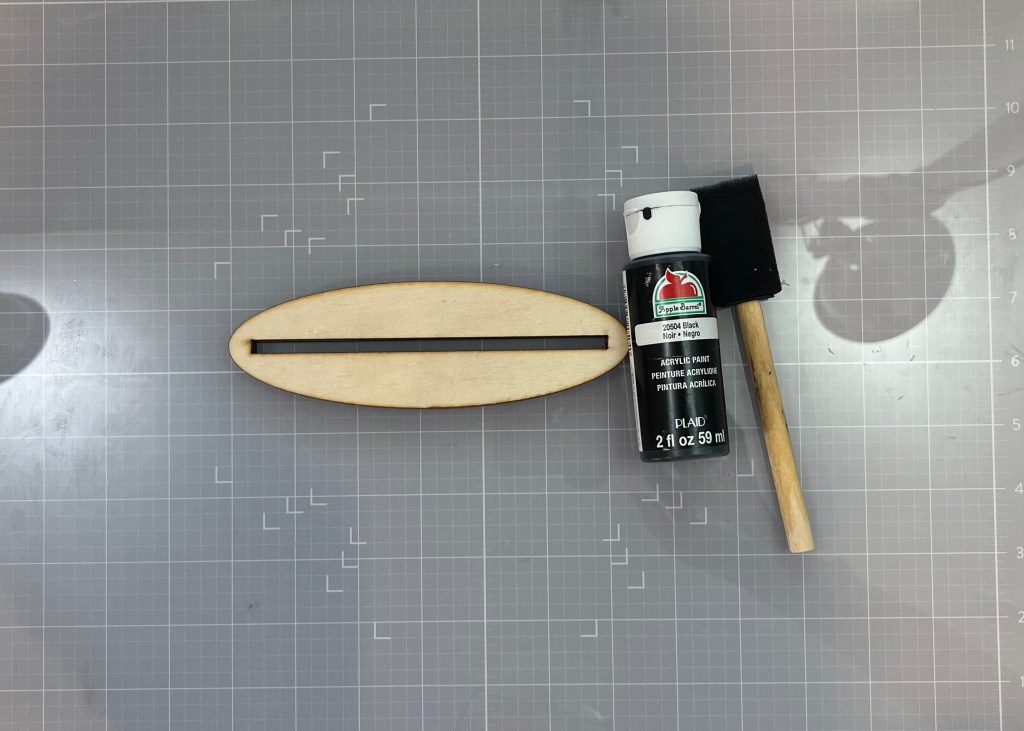
When the glue is dry, take the black acrylic paint and a foam brush and paint the top of the stand.
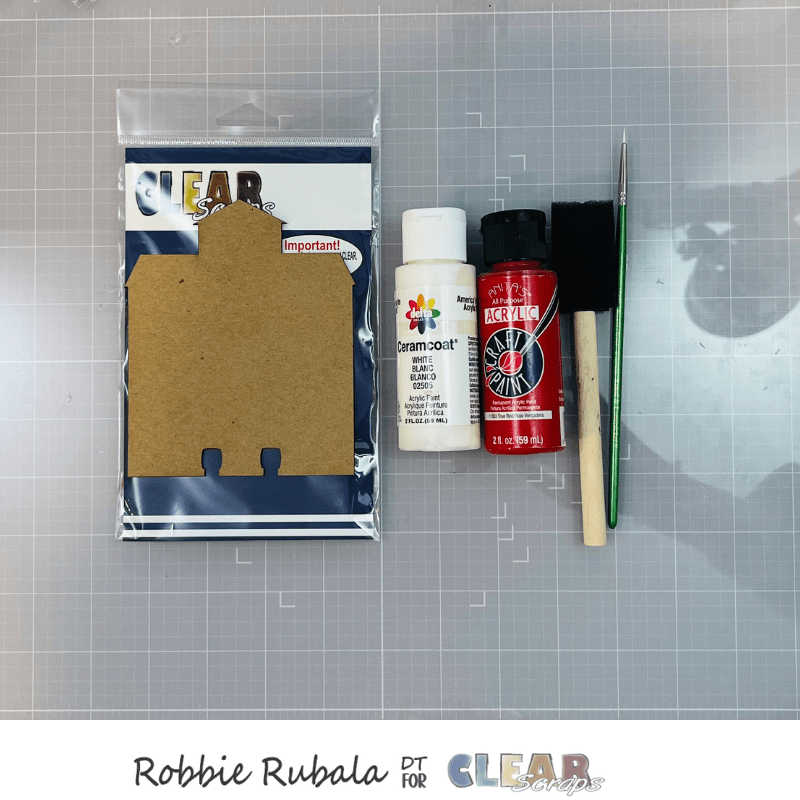
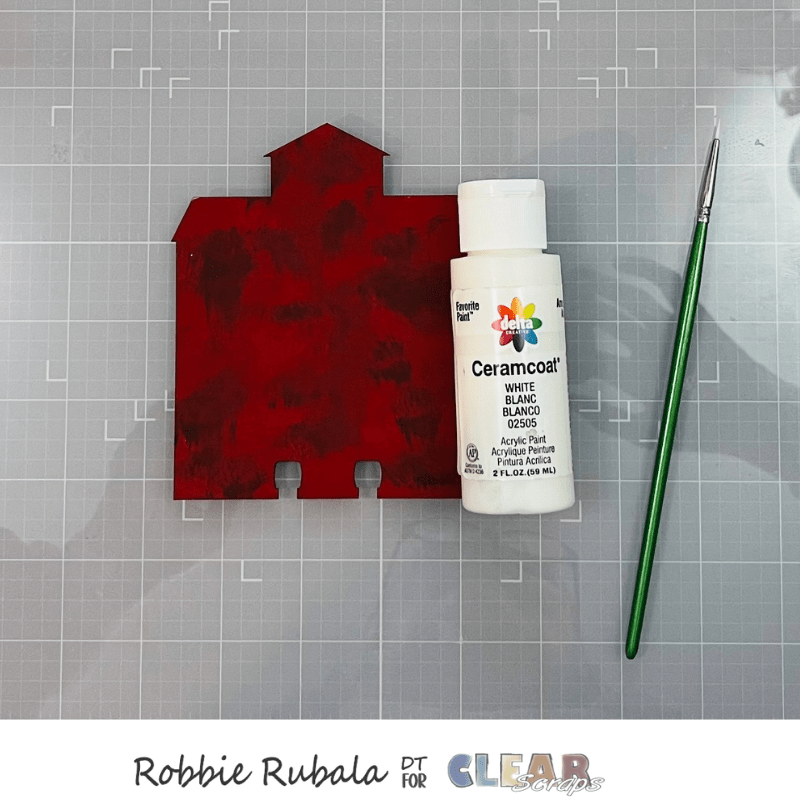
Take the barn shape from the chipboard houses shapes and some brown, red and white acrylic paint. Paint the barn red and when dry use a foam brush to dry brush some brown paint on it to give the look of weathering. Then use the white paint to add accents to make it look like a barn.
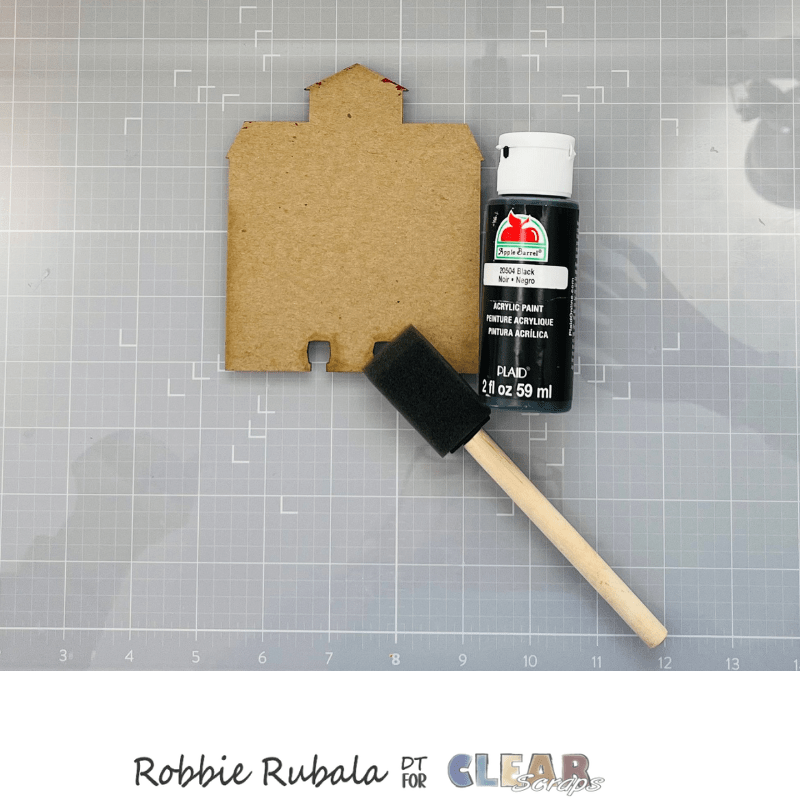
When the front is dry, use the black acrylic paint to paint the back of the barn
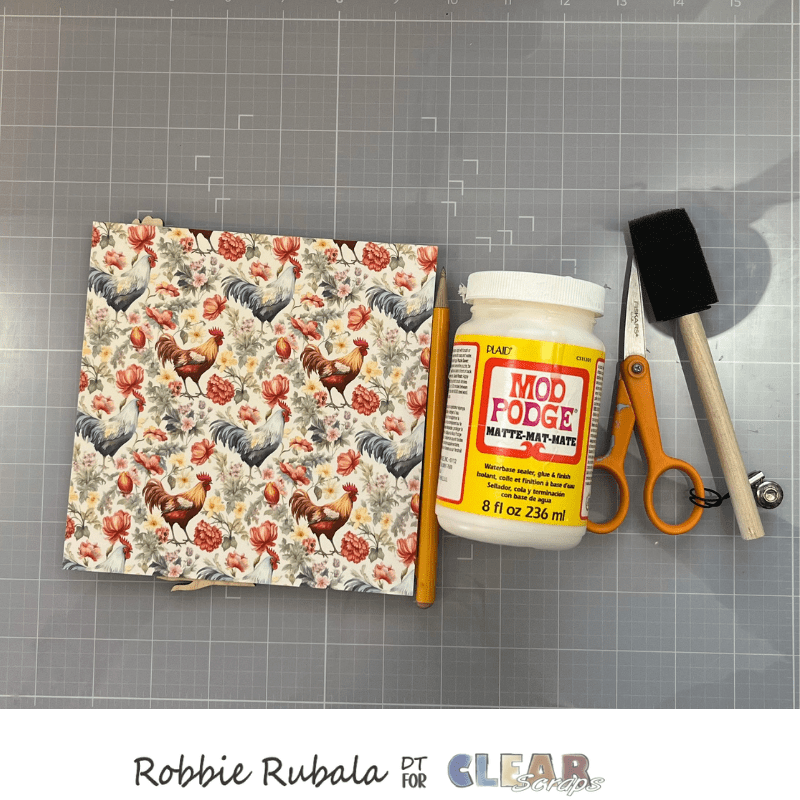
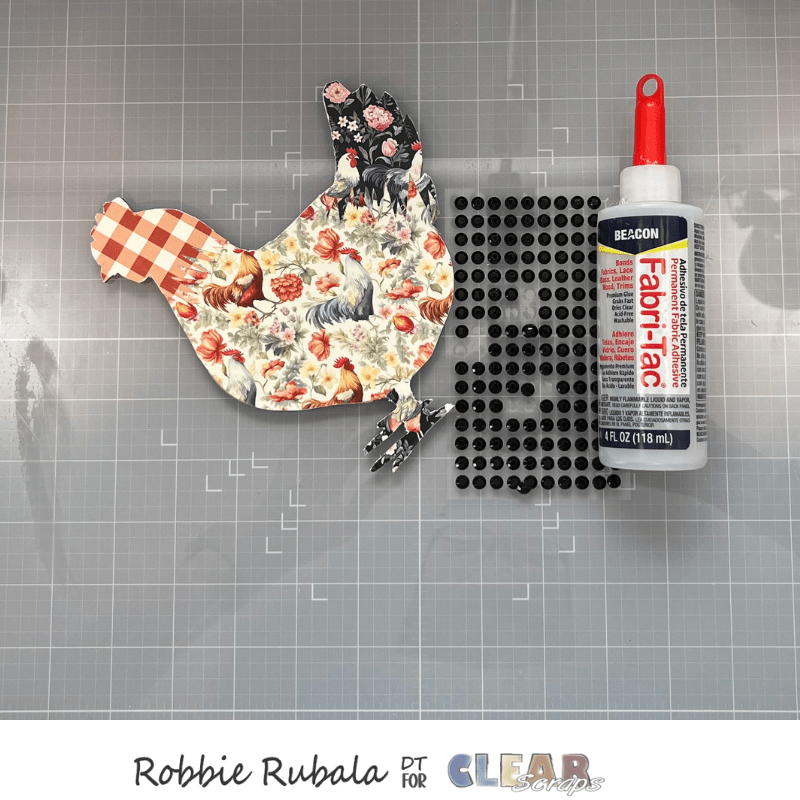
Choose one of the patterns for the body of the chicken. Use the Mod Podge to add the pattern to the chicken shape.
Choose 2 patterns – one for the head and another for the tail. Use your scissors to make one end jagged to it looks like feathers.
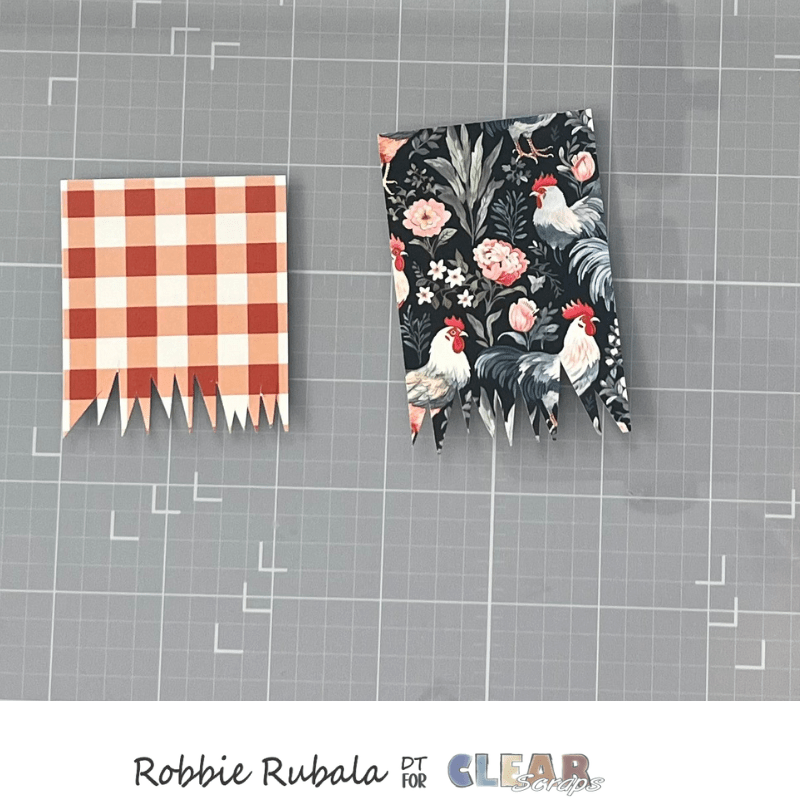
Use the Mod Podge to add the 2 pieces to the head and tail of the chicken. Let dry.
When the Mod Podge is dry, cut off the excess paper.
Take some black gems and add them to the chicken with a strong glue to be the eye.
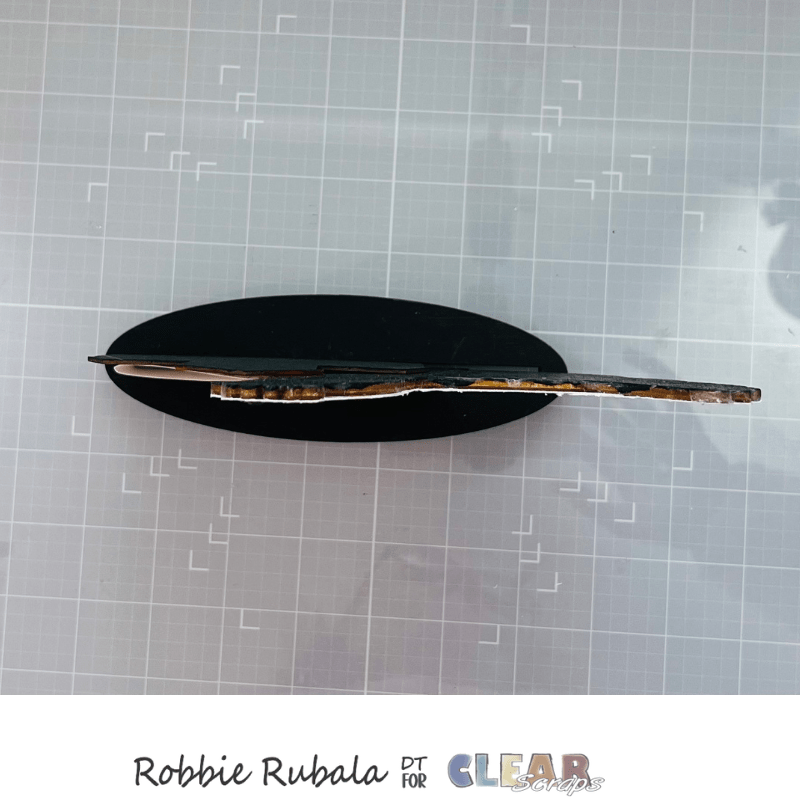
Now that all your pieces are completed you are ready to put your finished piece together. Take the barn and some scissors to cut about 1/8″ off the bottom. Apply glue to the back. Put it in the slit to the left side and attach it to the back. To help hold it against the back of the stand, use a folded piece of cardstock to make sure the shape stays connected to the back of the slit until the glue sets.

Take the chicken and apply glue to the front of the feet. Push the chicken down into the slit on the right side making sure it is against the side of the slit. Add a piece of cardstock to hold it in place if need be.
Your decorative piece is now done and ready to display.
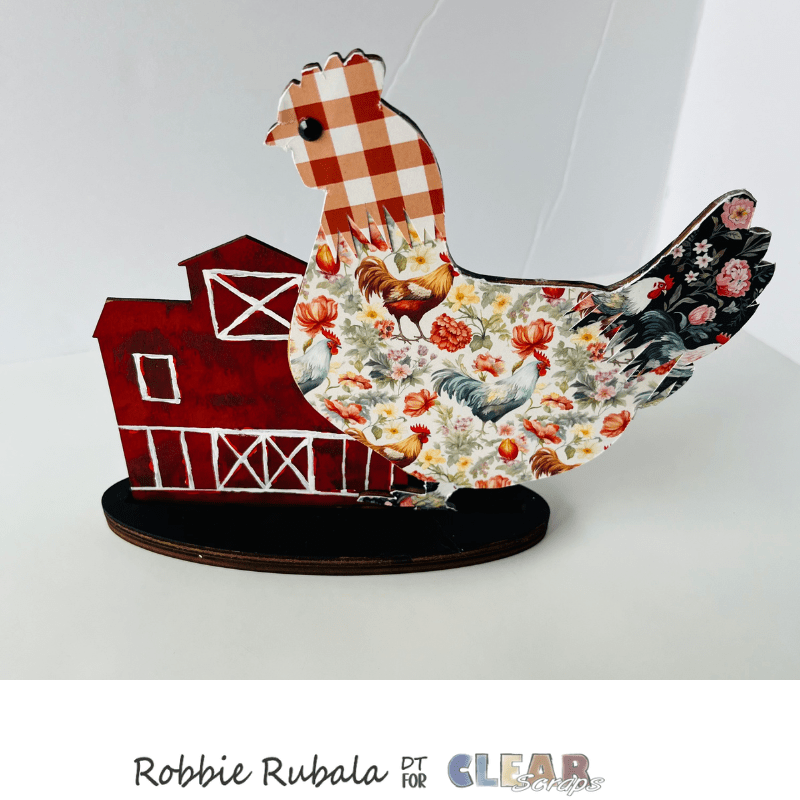
I hope you enjoyed seeing this idea for these fun wooden pieces. How could you use them?
Have a Fabulous Monday!


Leave a comment