Hello and Happy November, y’all! Misty @Mommyofkidz were with you today sharing my newest Clear Scraps projects! Can you believe that it is only a few more weeks until Christmas? Have you gotten any shopping done, or crafty projects completed? I have. been crafting, but not for Christmas! (yet) This past weekend, I hosted a baby shower as I have done many, many times over the years. However, this one was a little different. This one was for my son and his wife…and my very first grand baby, Noel. I am elated and so overwhelmed with joy and excitement! She is due to arrive on December 23rd, but I have a sneaking suspicion that she might decide to pop in a little earlier! So, as you can guess, my projects have ALL been BABY themed!
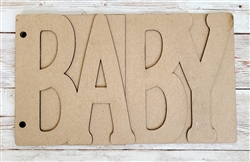
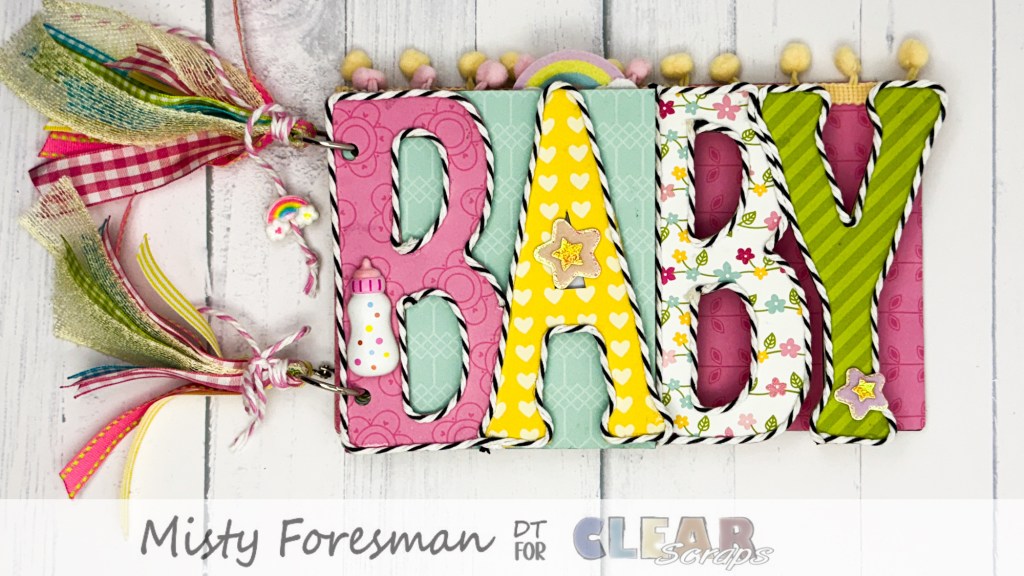
For this first one that I will be sharing…I used the BABY Chipboard album from the Clear Scraps Store.
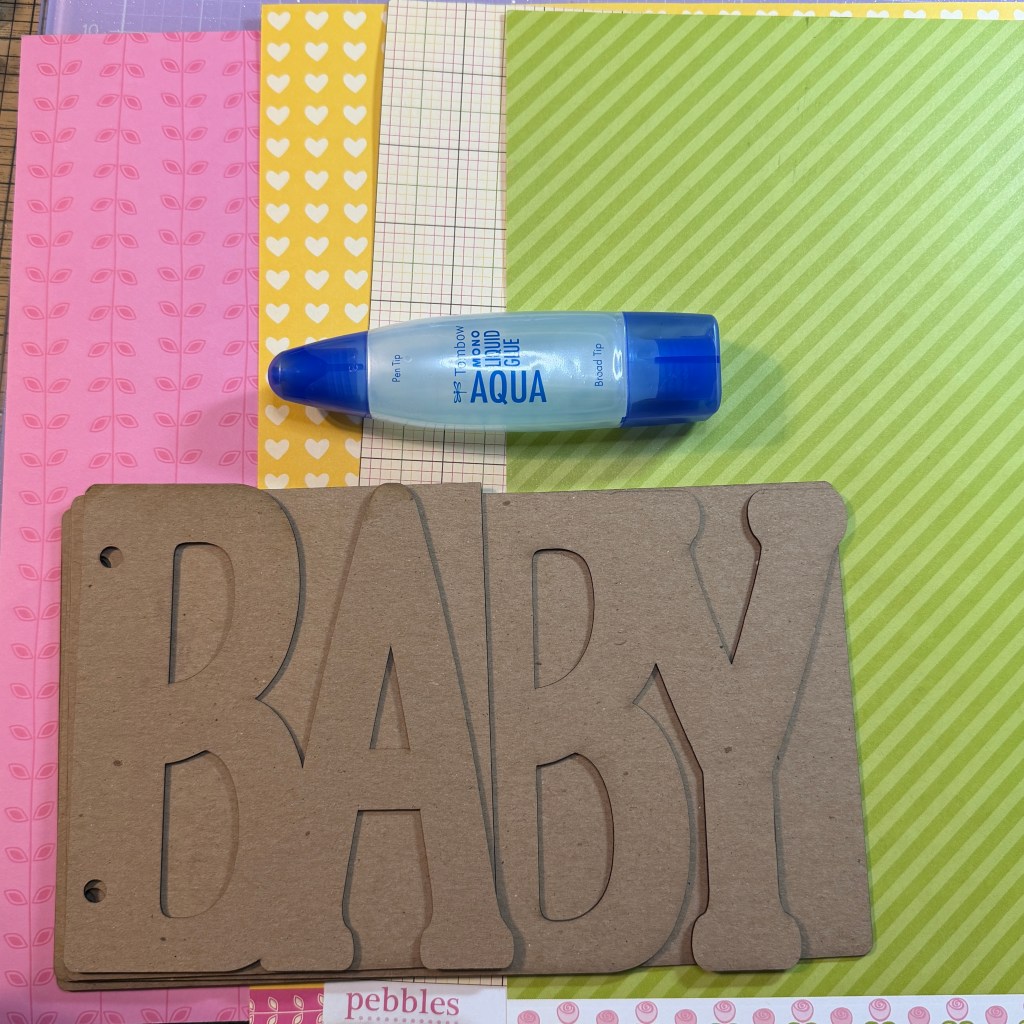
Of course, I always gather supplies first, so I grabbed my Tombow Mono Aqua glue and the papers that I wanted to use to cover the pages. I wanted to make the pages match the colors of the nursery so that this album could serve as a decoration piece beside Noel’s “book Nook”. So, I the I went with soft pink, yellow and green color scheme.
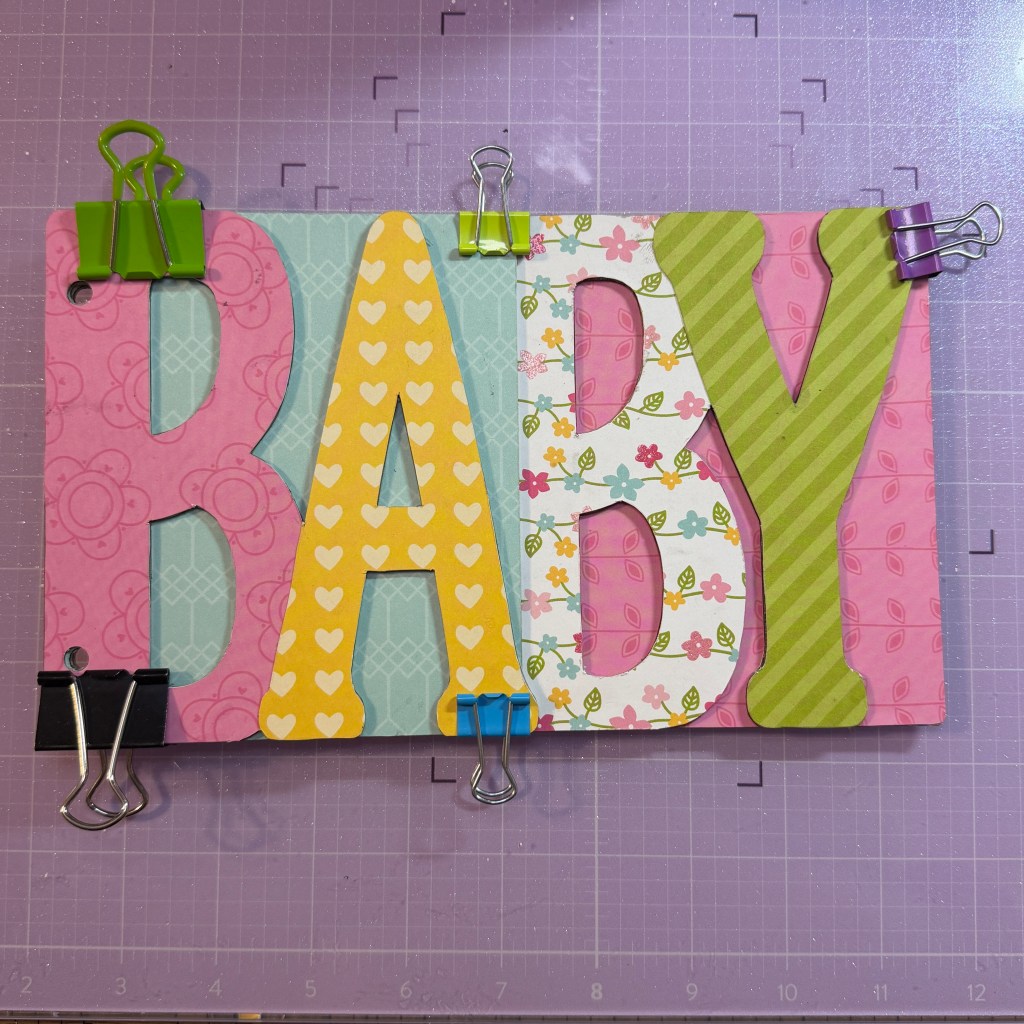
Page by page, I added the patterned paper, transforming the dull chipboard pages into bright, vibrant, eye-catching ones! Front and back of all pages are covered with a different patterned paper, making ready for the decoration part! But first, it needs time to rest. When using the liquid glue to add the pages, the chipboard soaks it all up and begins to warp. In order to reverse the warping effect, use binder clips to secure all the pages together al allow them to lay flat while ALL the glue dries. I usually let it sit over night before going on to the next step.
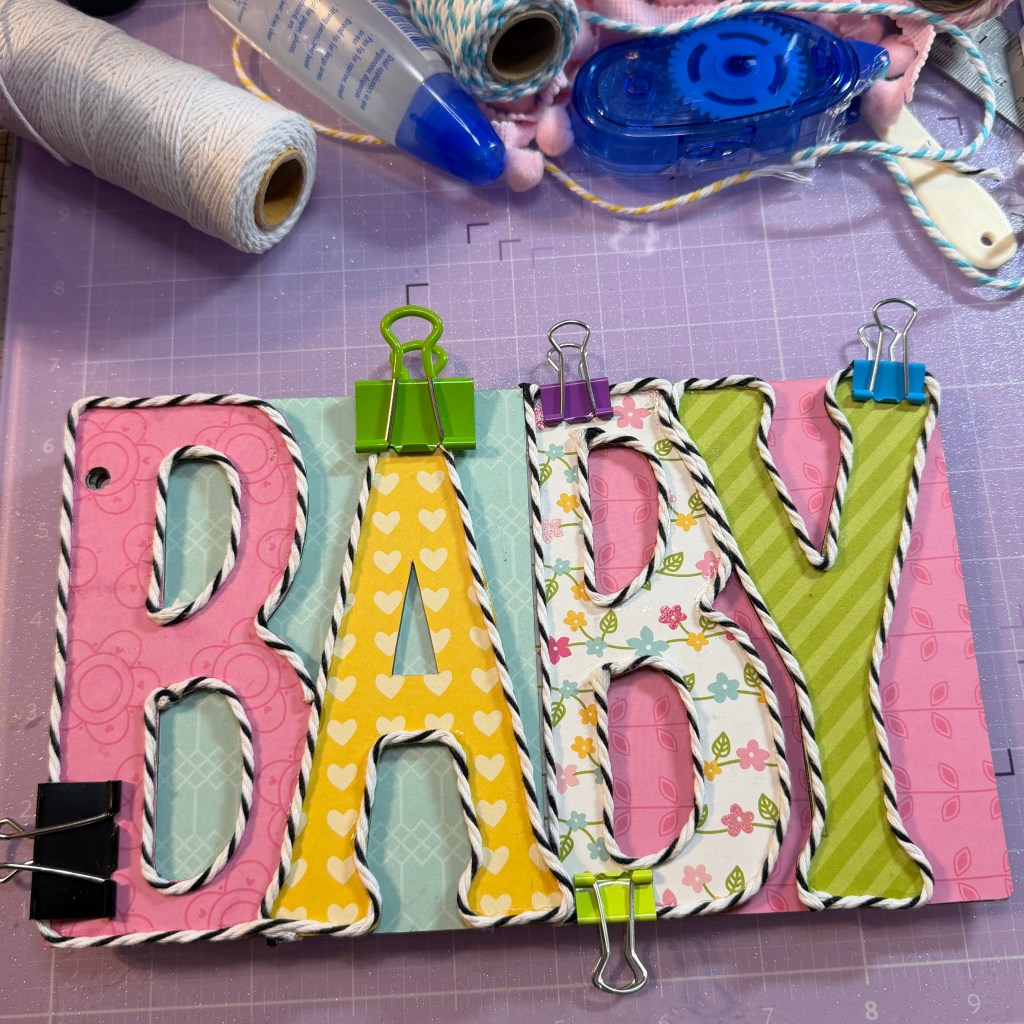
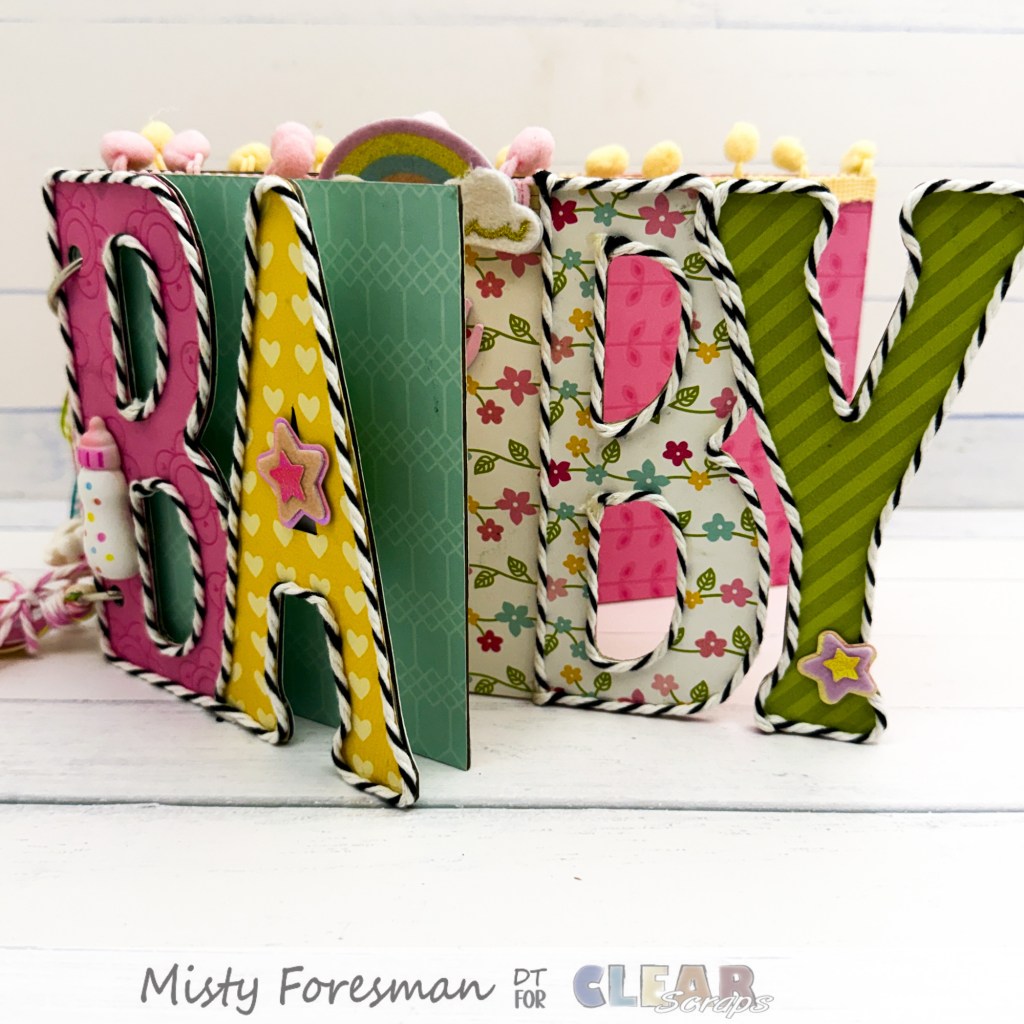
Looking good, right!!?? I already love how it looks and it is not even finished yet! Well, once it is all dry, it is technically a complete project that I can give as a gift. Of course, I could stop here, give it to Mom at the baby shower, and be done. Let her add everything else. However…that is not me! I love the crafty~creative process, so I added more stuff! HA HA! This next step transformed it from pretty to WOW! Well, that is what I told myself! LOL. I kept thinking that there needed to be more distinction between the letters. They just were not “POPPING” enough for my liking. SO…I pulled out my big box of bakers twine and grabbed the black and white. I added it with a quick drying glue all around the edges of each letter. Then of course, I allow more drying time to flatten the pages in case the chipboard soaked up too much liquid glue. I attached the clips again and let it dry.
At this point, all that was left to do was to accessorize, decorate, and add photo mats to a few of the pages. I also add ribbons, because everything looks prettier with ribbon! HA HA. Well, I did add a couple of Chipboard elements. The Baby and the Princess pieces were perfect additions to the pages of this “Baby Board Book” that I was making!
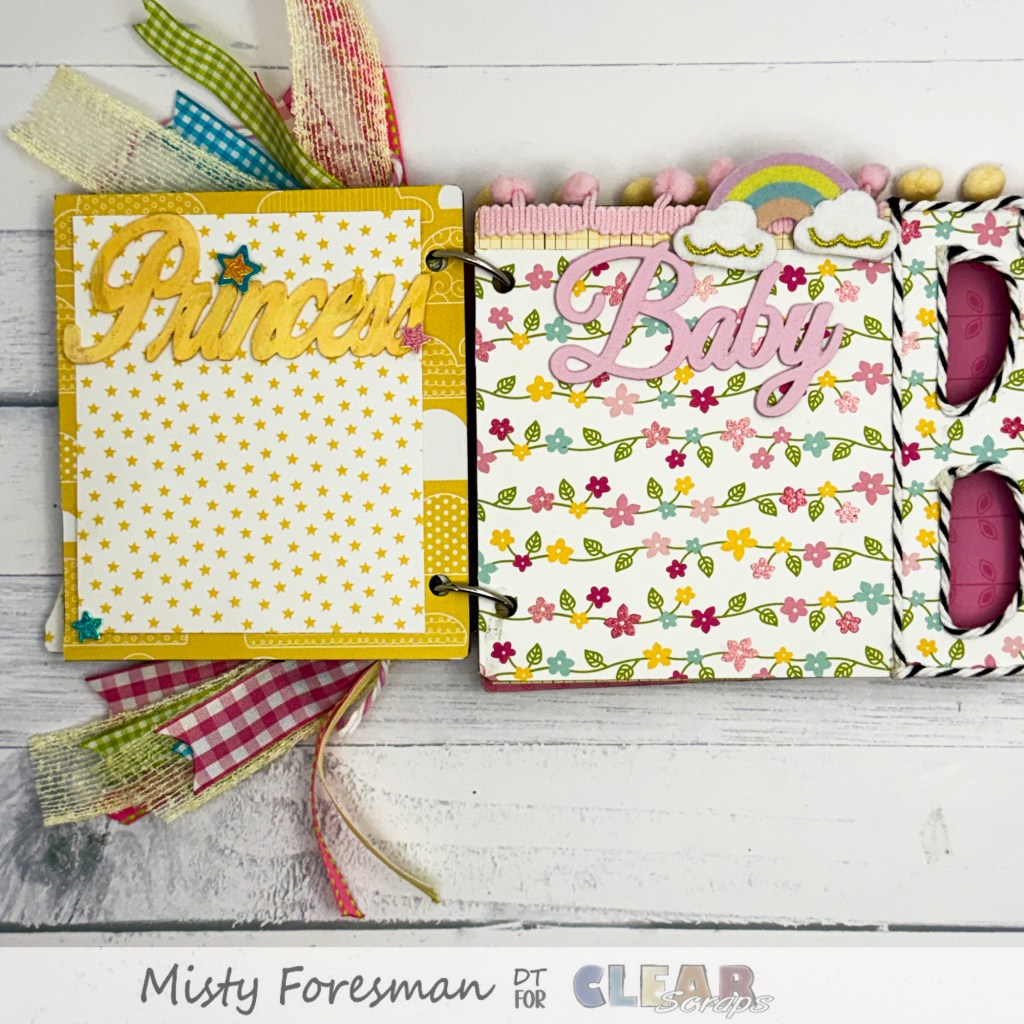
Once it was all assembled, dried, and decorated, I sat back and adored the finished result. All the colors of the baby’s room, all the fun of a chipboard flip-book, and all the frill and ribbons that a baby girl could want!
Thanks for stopping by today! If you are inspired by my project, please hop on over to the Clear Scraps Store and pick up all the elements for your own project!



Leave a Reply