Welcome Crafty Friends – Annie here – There’s nothing quite like creating handmade Christmas cards to share a little holiday sweetness! Today I’m sharing this fun and festive Sweet Christmas card featuring a beautiful Christmas tree, peppermint embellishments, and a cheerful combination of traditional holiday colors.
For this card, I combined the adorable Candy Cane Christmas Paper Pack from Tonic Studios with a Chipboard Pine Tree Embellishment, colorful cardstock, and lots of fun little details. The layered design, decorative borders, and festive twine give this card plenty of dimension and holiday charm.
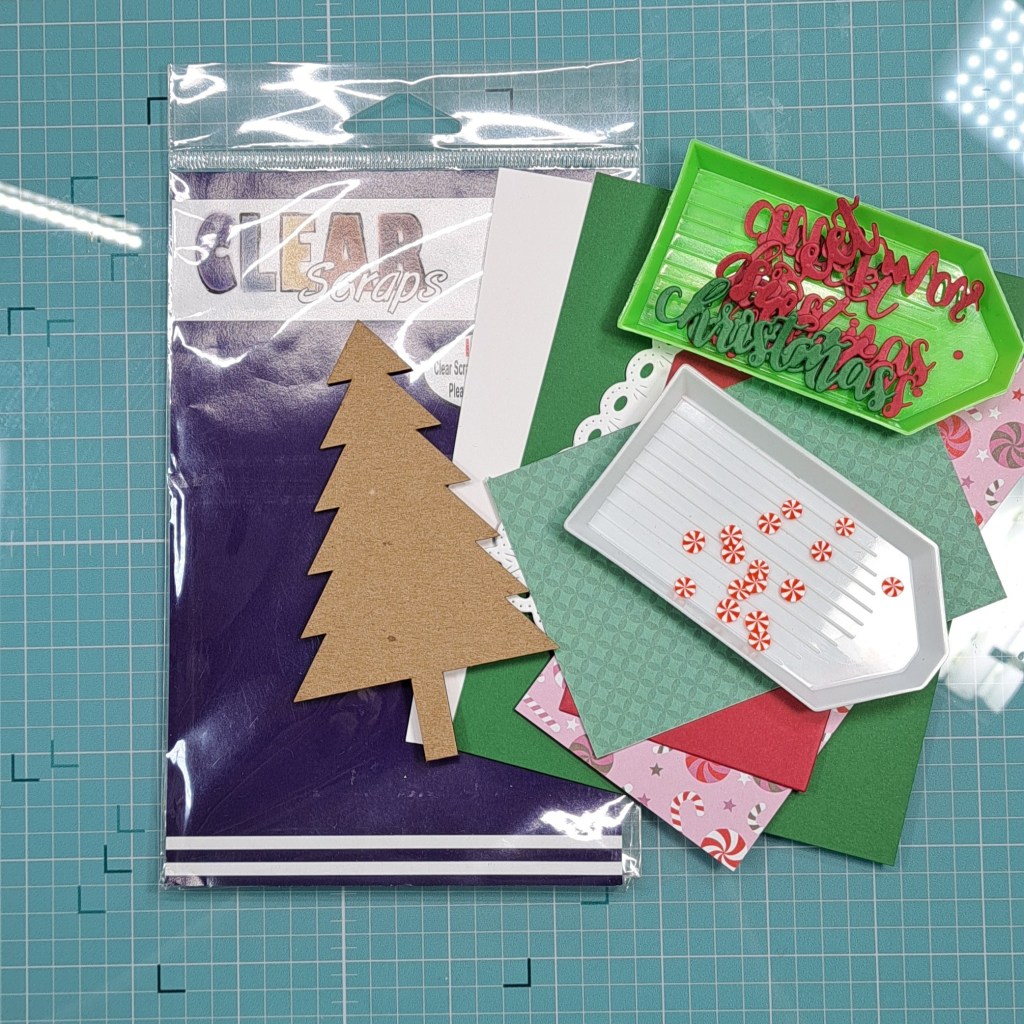
Supplies Used
- Chipboard Embellishment: Pine Trees
- Distress Oxide Ink: Rustic Wilderness
- Tonic Studios: Candy Cane Christmas Paper Pack
- Cardstock: Red, Green & White
- Various Dies
- Twine: Red & White and Red & Green
- Peppermint Clay Bits
- Red & White Sequins
- Bearly Art Glue
- Imagine Crafts Tear Tape
- Glue Dots
Creating the Sweet Christmas Card
Step 1: Create the Card Base
Start with your standard A2 card base. Then,
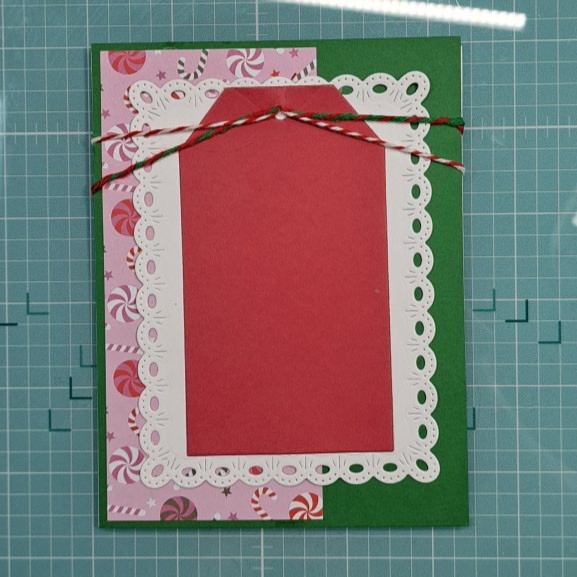
Step 2: Add the Patterned Paper Layers
Onto a green cardstock panel I choose to adhere a coordinating peppermint-themed pattern from the Tonic Studios Candy Cane Christmas Paper Pack. Trim(2-1/2×5) the patterned paper to create a decorative panel along the left side of the card.
Next, cut a piece of red cardstock into a tag shape for the main background panel. Layer the red tag over the white cardstock panel that I die cut to bring focus to the tree, adding a decorative white die-cut frame to create interest and contrast.
Step 3: Prepare the Christmas Tree
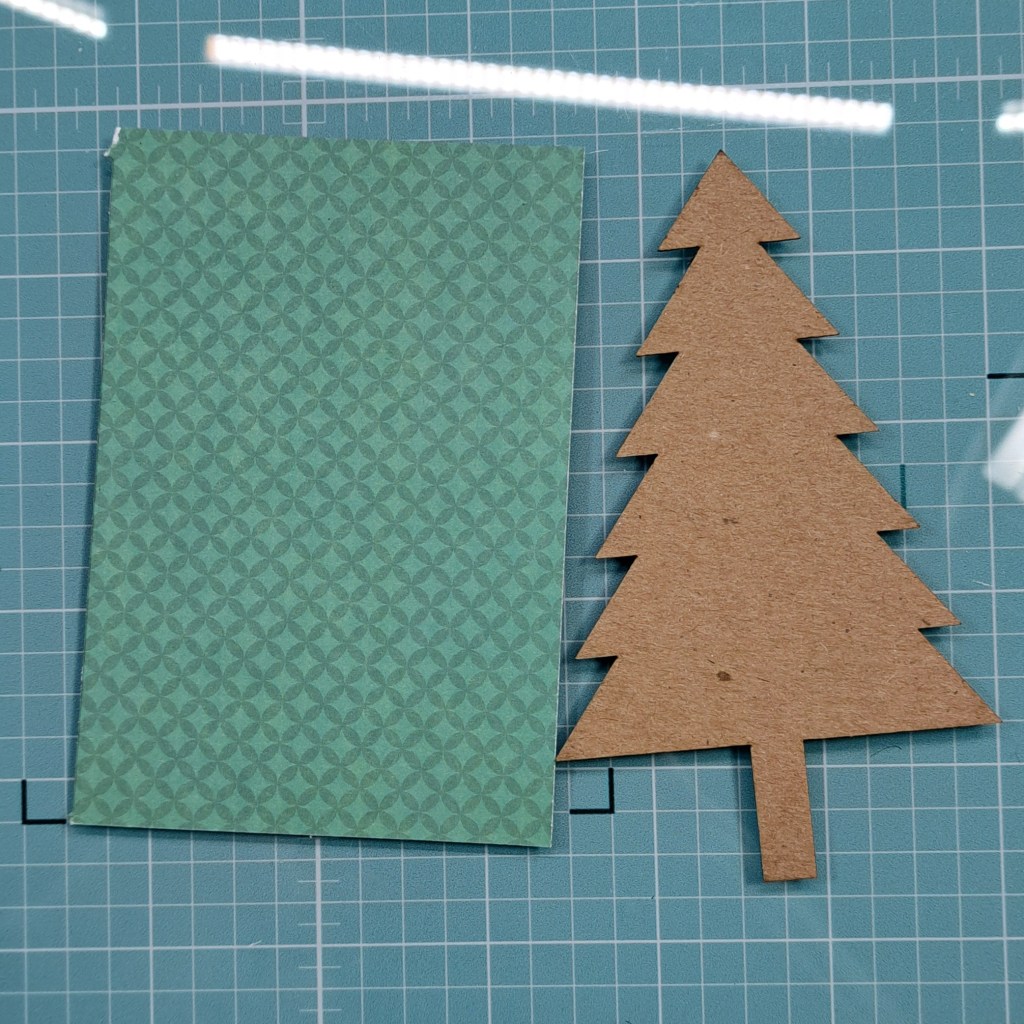
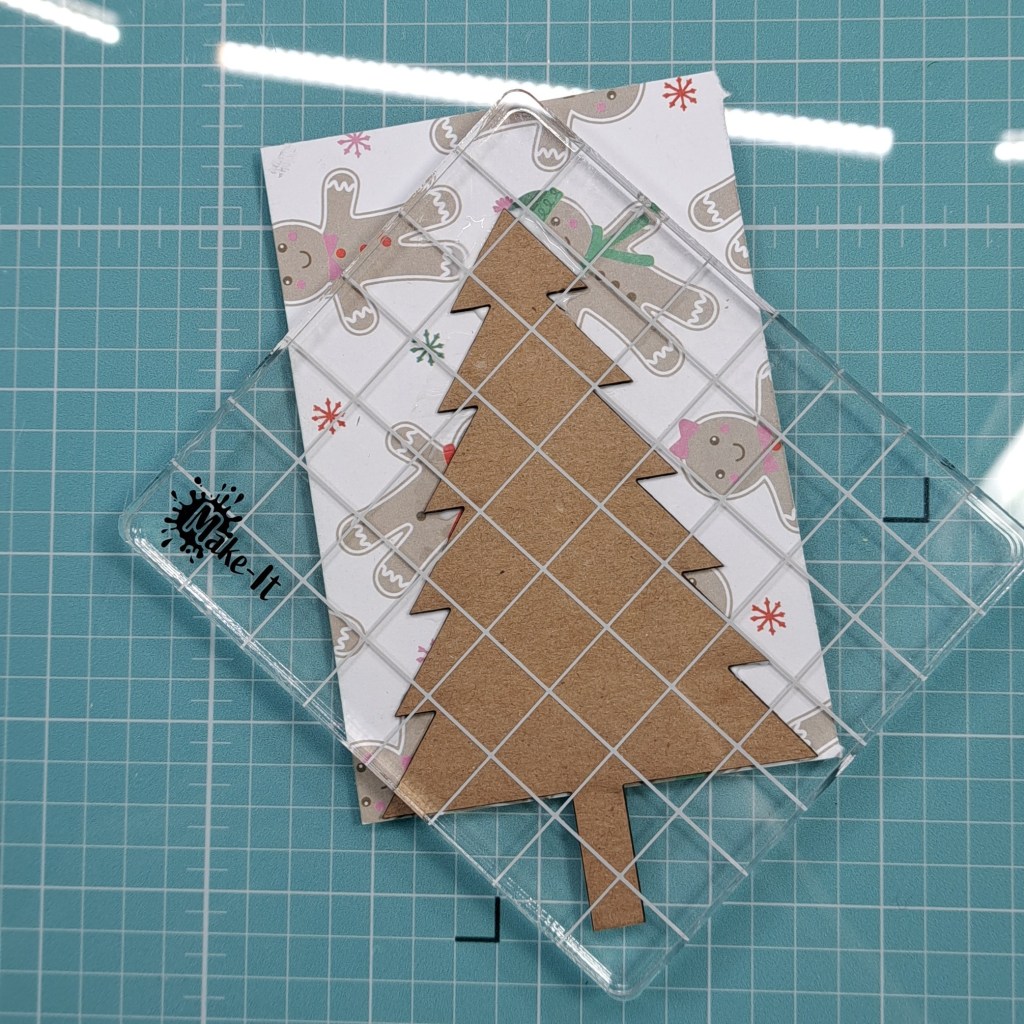
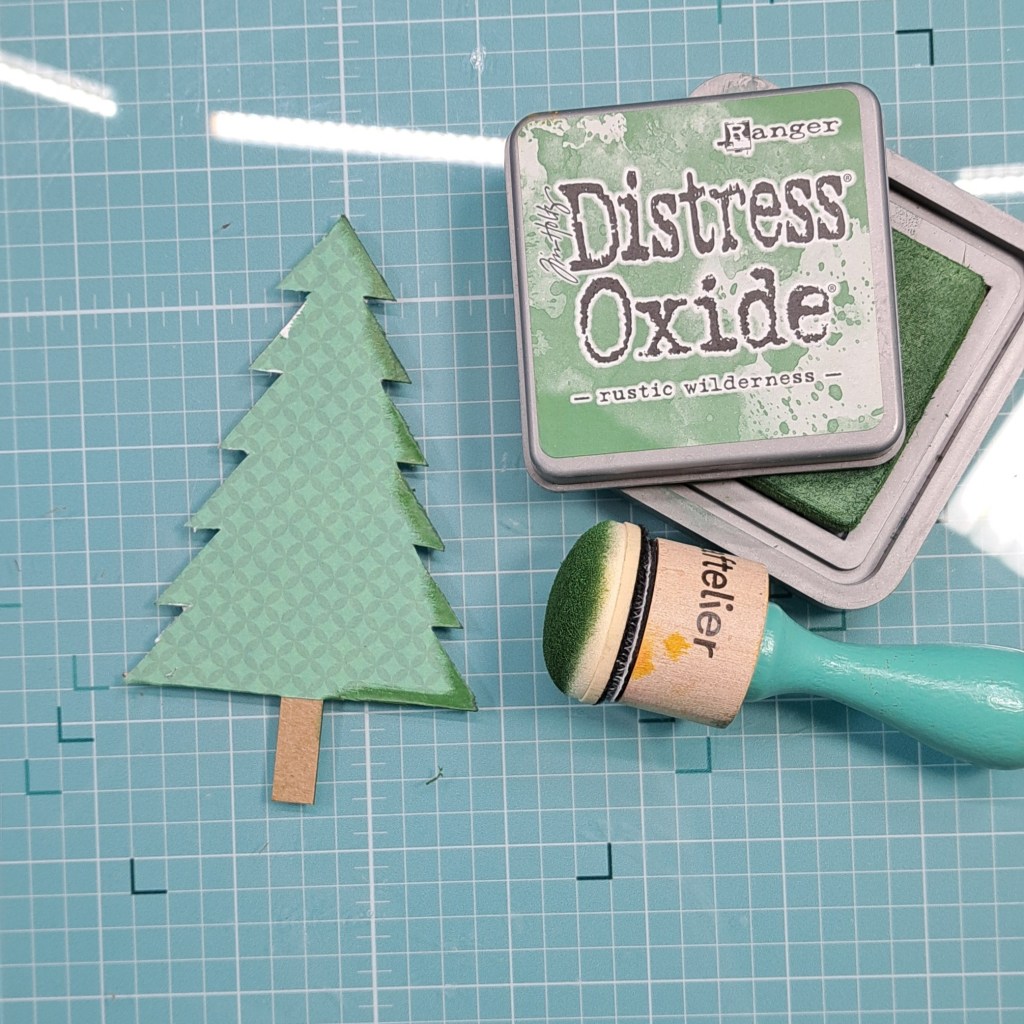
For the focal point, use the Chipboard Embellishment: Pine Trees I covered the tree with a piece of pattern paper. I set it under an acrylic block to dry. Once dry I trimmed away the excess paper. Then I applied Distress Oxide Ink in Rustic Wilderness to give the tree a beautiful deep green finish.
Step 4: Decorate the Christmas Tree
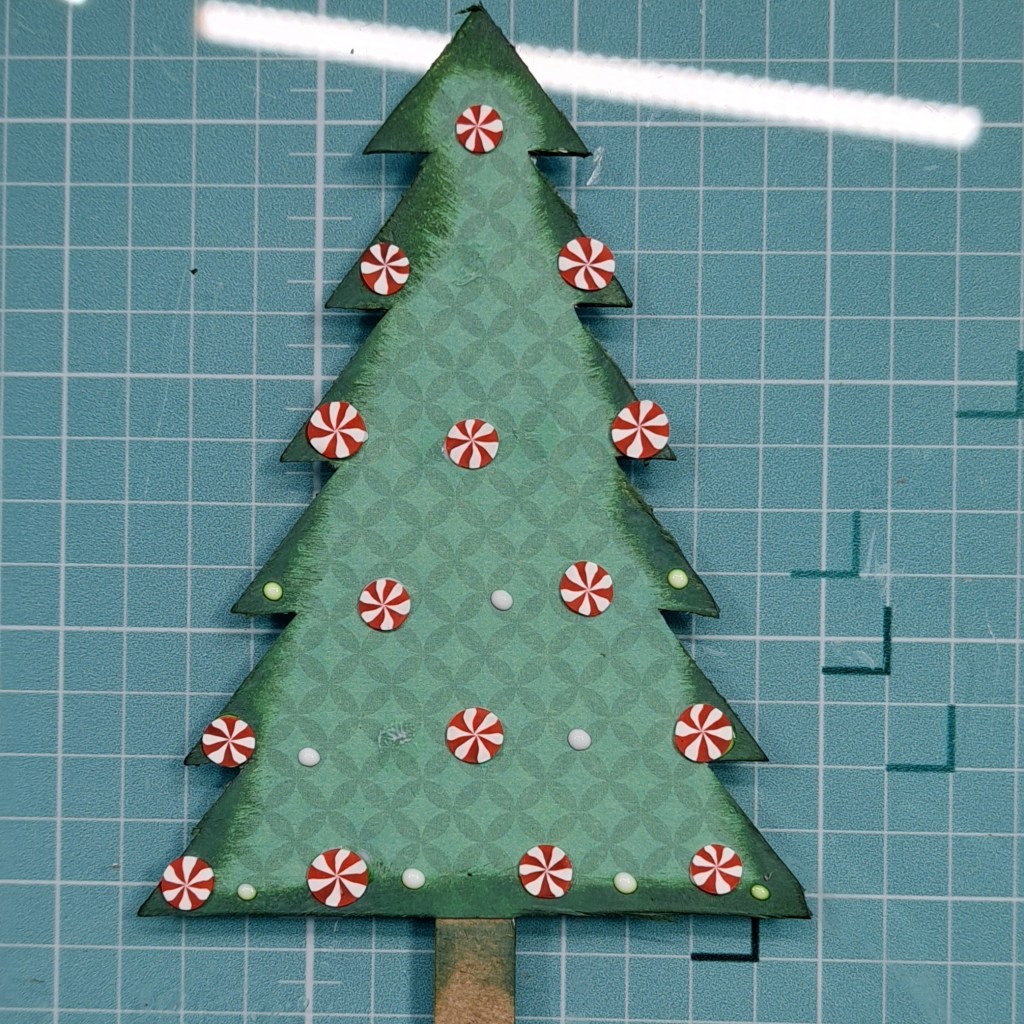
Now comes the fun part! Decorate the Christmas tree with peppermint clay bits and red and white sequins to create colorful little ornaments. Arrange the embellishments throughout the tree, mixing the peppermint designs with the sequins for a playful and festive look.
Step 5: Add the Finishing Touches
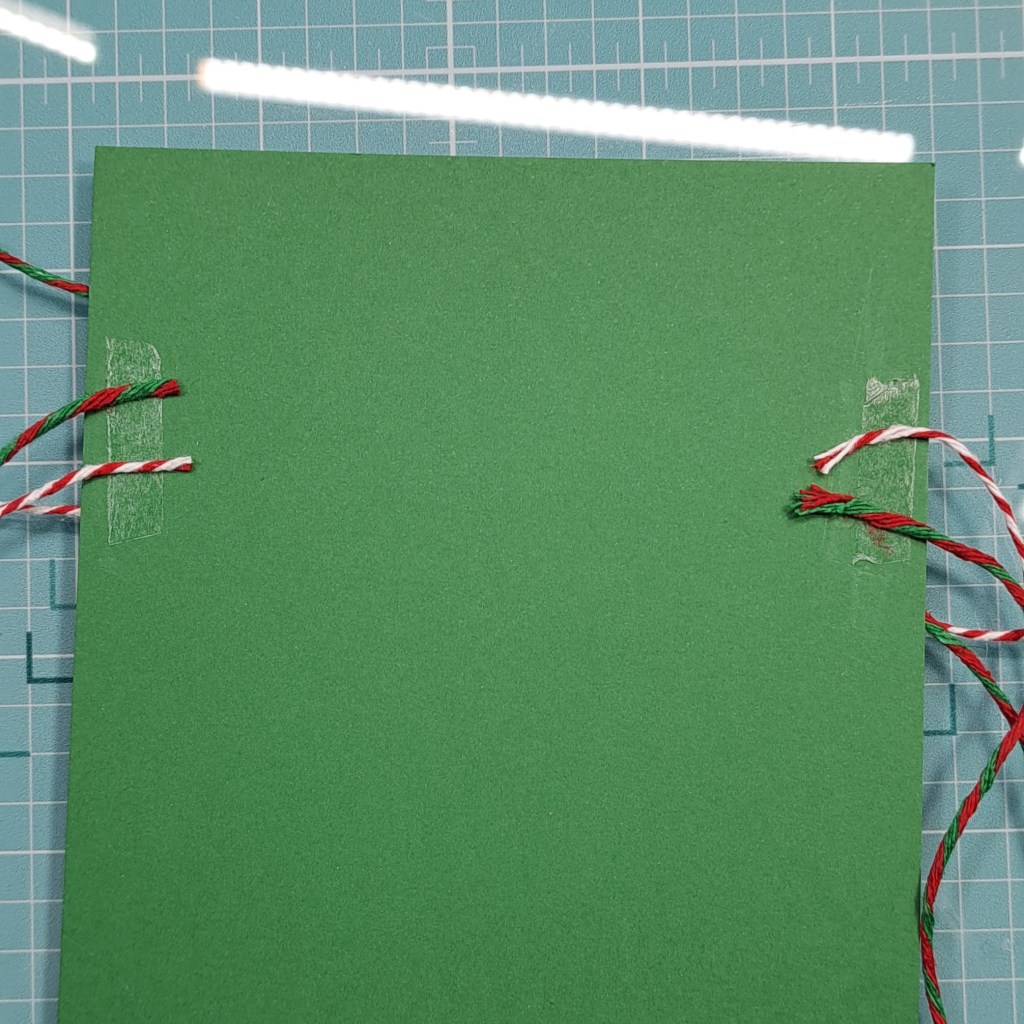
To add the twine I add some tear tape to the back of the green panel. A small piece on each side I press the tails of the twine onto the tape and then flip over the panel and cut the twine to the length I need.
Next, I wrap red and white twine and red and green twine around the card front, bringing the strands together and tuck them into the hole in the tag and whtie cardstock panel. I used some tear tape to secure them behind the panel.
I then adhere the Christmas tree onto the red tag and adhere the a pretty bow near the top of the Christmas tree using a glue dot to help secure the bow in place.
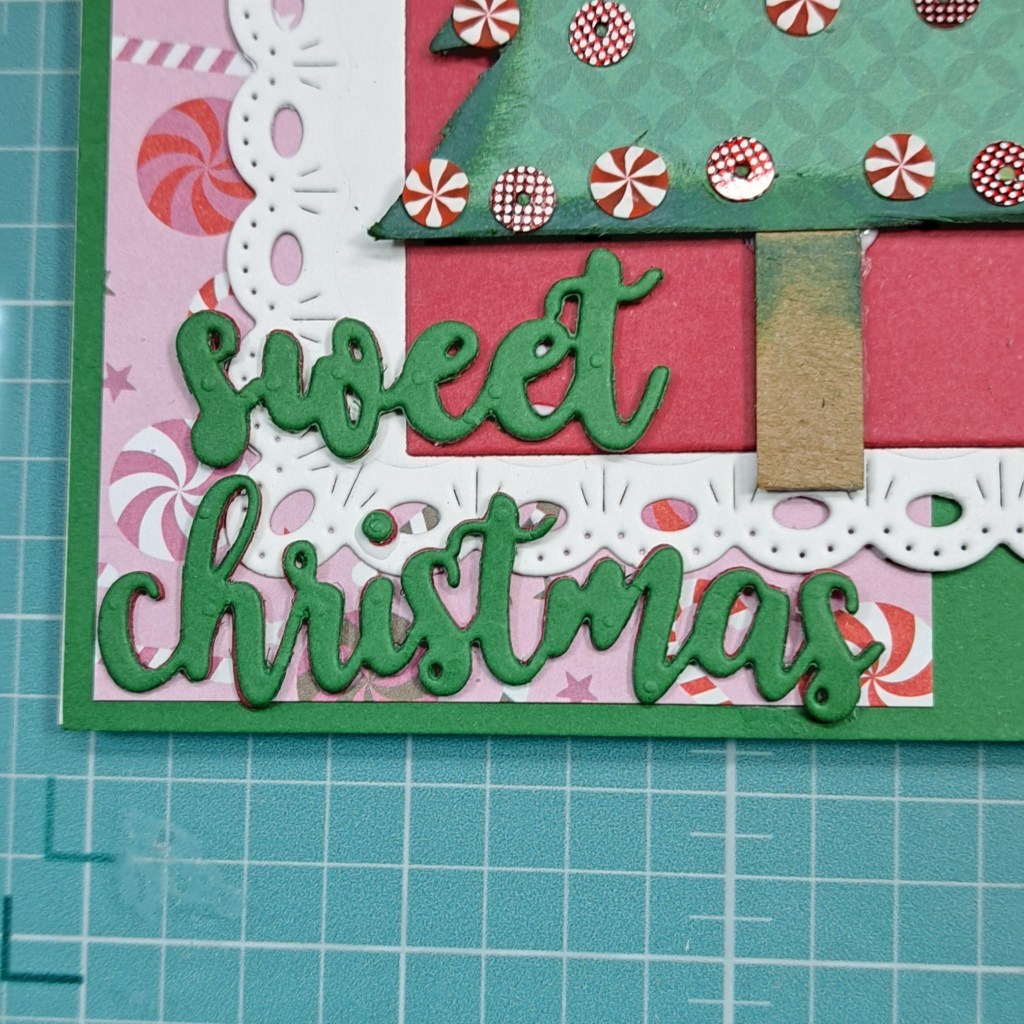
Finally, add your die-cut Christmas sentiment near the bottom of the card. The green lettering ties everything together and adds the perfect finishing touch!
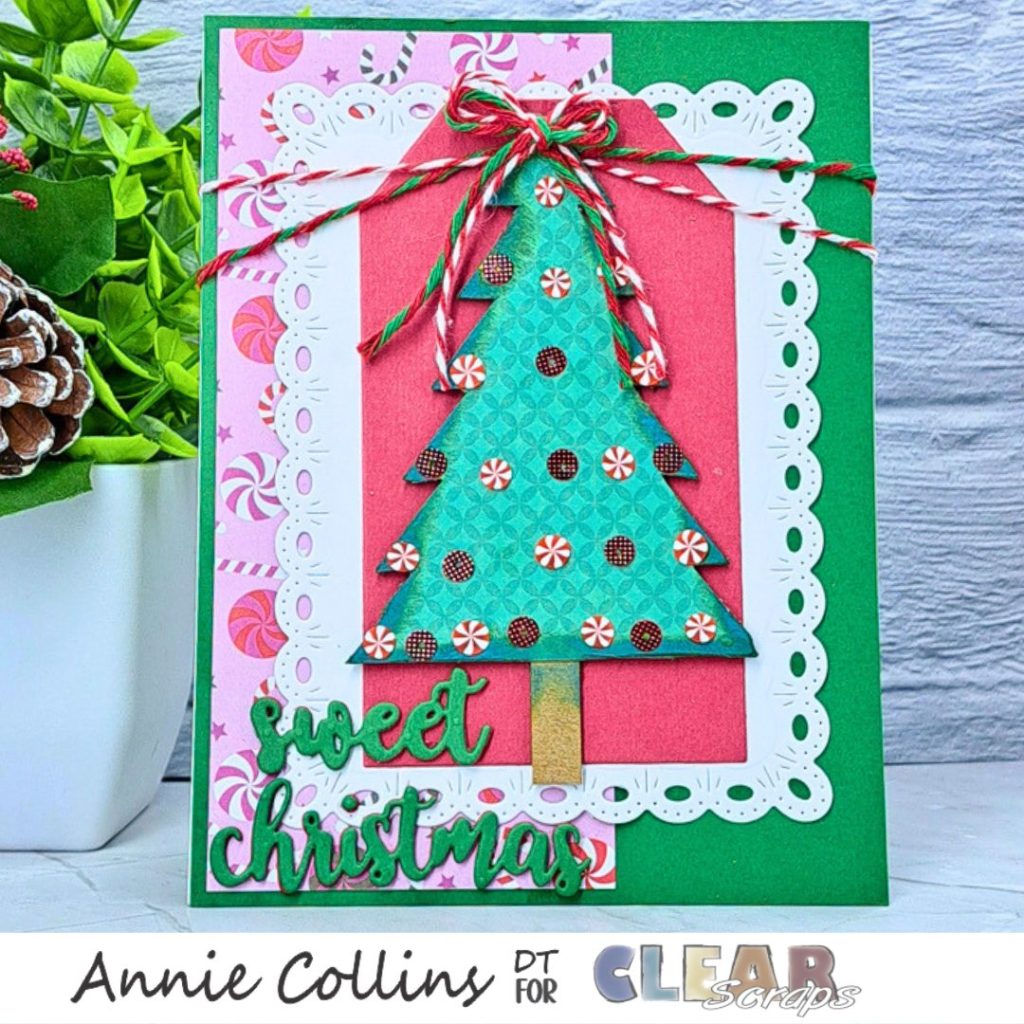
Now your card is complete. It;s a quick and easy way to create Christmas cards full of dimension.
Thank you for stopping by the blog today. I hope you found some inspiration!
I hope you give some of our amazing Clear Scraps products like: Chipboard Embellishment: Pine Trees
Follow us for more inspiration on social media:





Leave a Reply