Hi , Connie here with an acrylic card, with a little something extra. Let me show you~
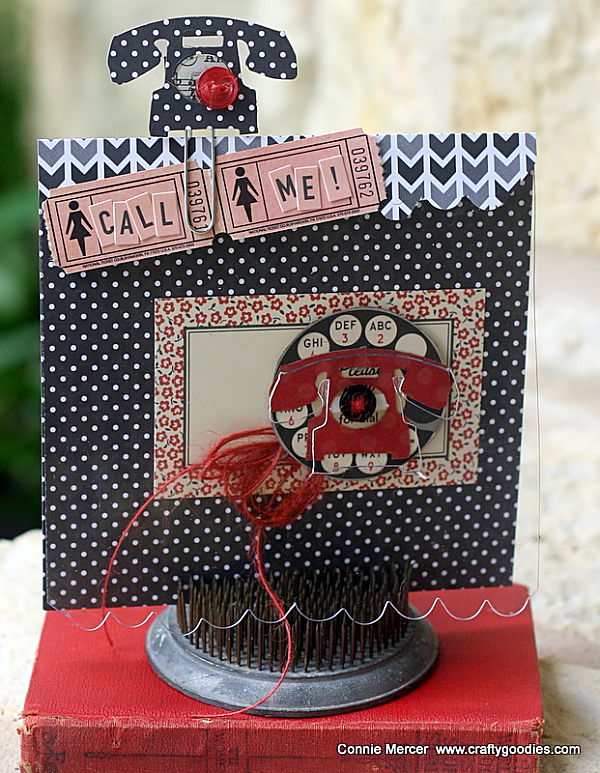
That extra is, the paper clip at the top of the card.
I started out like this~
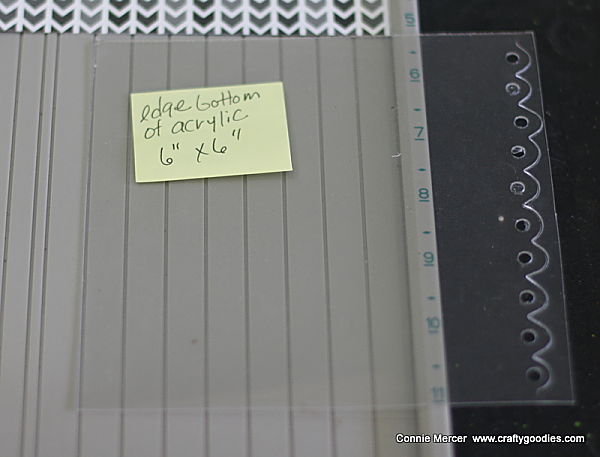
1. Cut the acrylic sheet 6" X 6". Use a die to put a decorative edge on one end of the acrylic sheet.
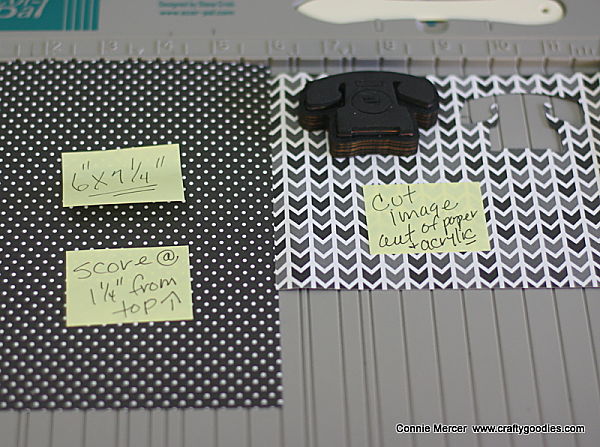
2. Then cut two shapes (I used the Tim Holtz telephone) out of a piece of pattern paper and the acrylic sheet ( with the decorative edge). You should have one acrylic shape and two paper shapes.
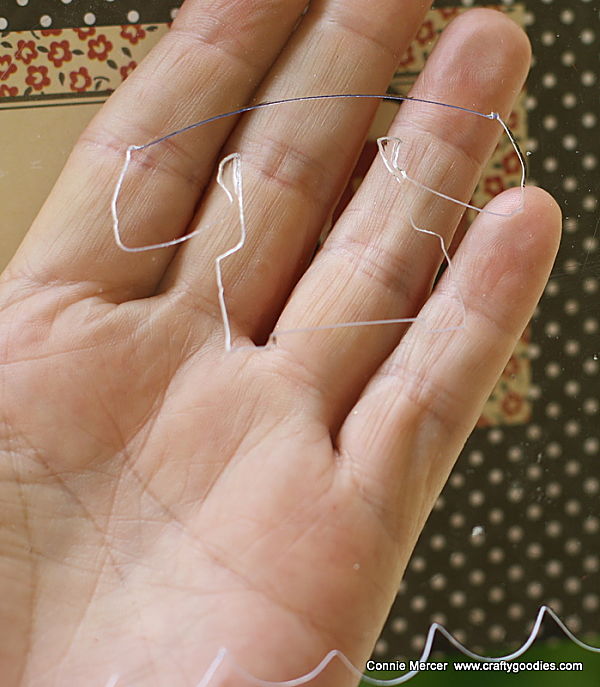
3. This how the acrylic sheet should look (above photo).
4. Take your pattern paper and score 1 1/4" from the top of the paper.
5. Fold and adhere the acrylic sheet to the paper. I used Beacon 3-1.
6. Line up one of the telephone shapes to show through the acrylic (telephone shape). Adhere to the pattern paper. Add extra embellishments if you desire.
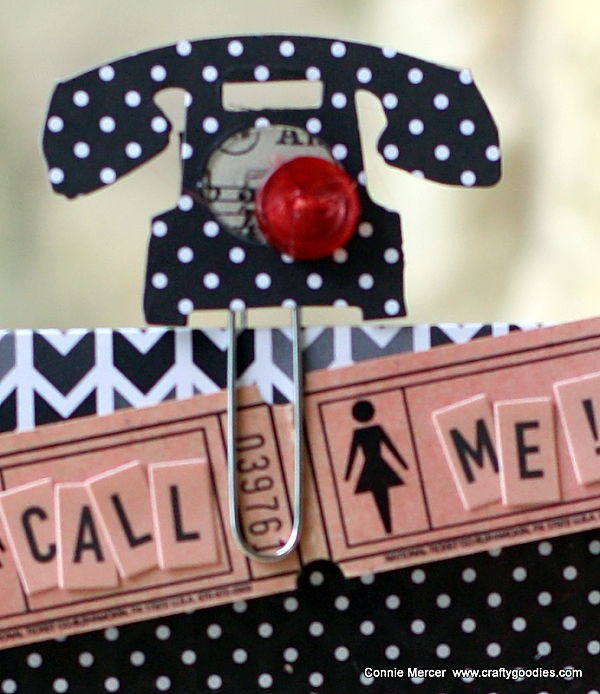
7. Adhere ( Beacon/ 3-in-1) the second paper (telephone) to the acrylic (telephone ) and glue a large paper clip to the back.
8. Add buttons or pearls to the center of the telephone paper clip.
You could also use it to clip a photo to the card, in my case I used the tickets and put my message on those. Have fun with it~ any shape will work and the acrylic looks so "fancy"
Thanks for stopping by~
ConnieM





Leave a Reply