
Hello there! It’s Judy V here and I am excited to share my very first post as a Creative Guest Team Member for Clear Scraps.
Do you enjoy creating home decor projects? I do and have created a Spring Cutting Board Decor project with step-by-step instructions below.
I have used the Medium Cutting Board Shiplap Shape and Bunnies Chipboard Embellishment.

My 1st step was to paint the cutting board with white acrylic paint.

Next, I chose a pretty 12 x 12 inch spring themed patterned paper with a border of flowers along the bottom. This piece was trimmed down to 6 inches wide and about 6 1/4 inches long after fussy cutting the flower border.

The patterned paper was adhered to the center of the cutting board with decoupage medium.

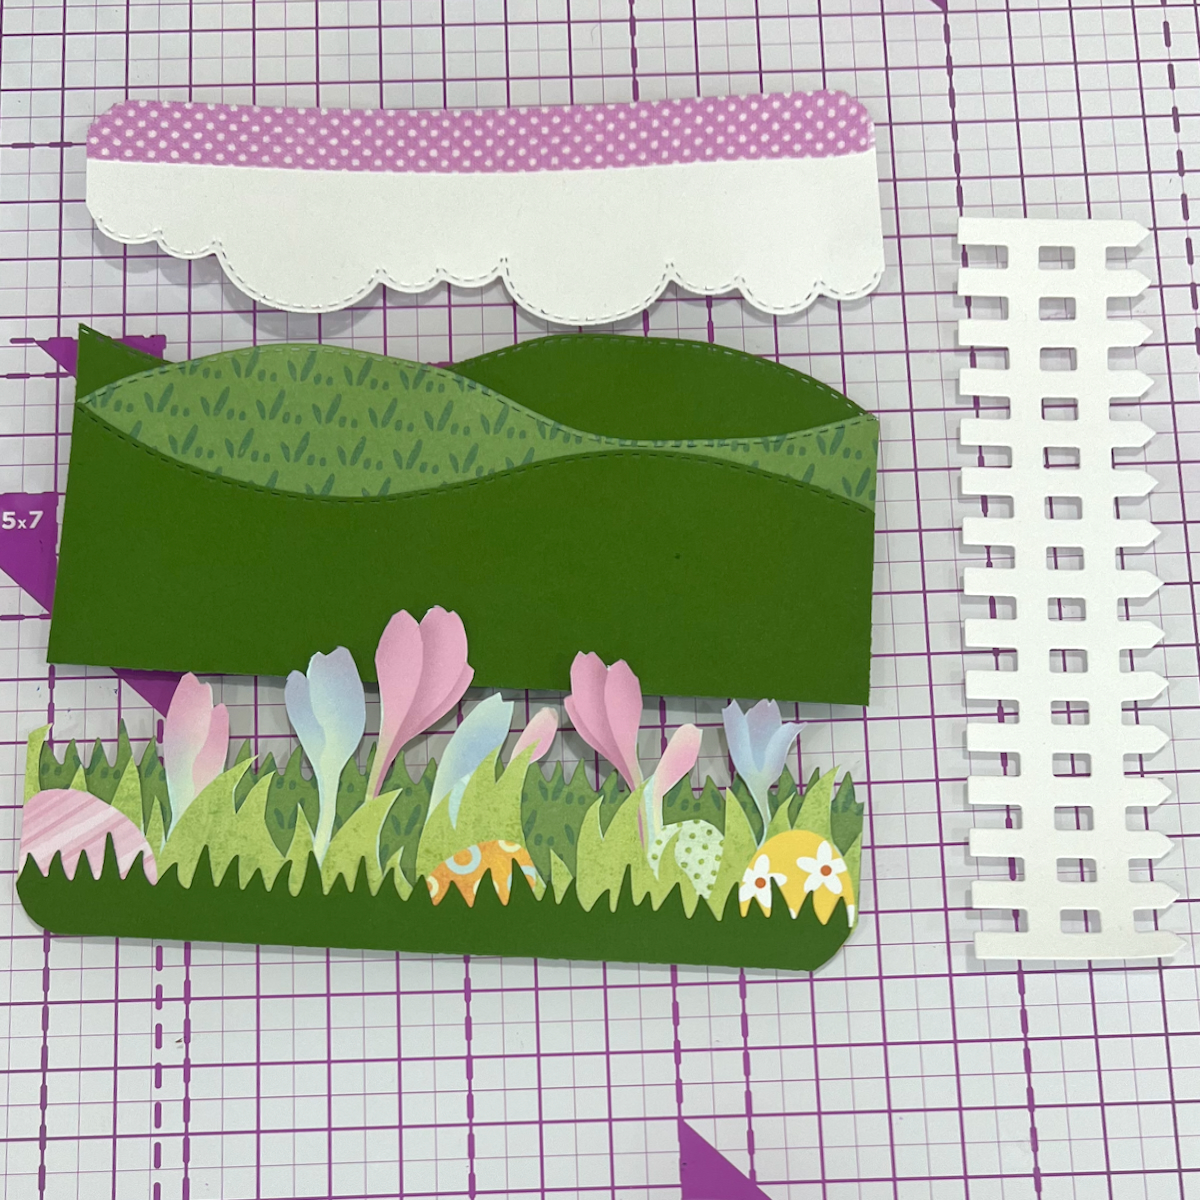
I die cut clouds, hills, grass and a fence to create borders for the top and bottom of the board.
A piece of washi tape was added to the top of the cloud die cut to add a little extra color. The other die cuts will be combined with the fussy cut flowers.
Corners were rounded on the top of the cloud piece and the very bottom piece.

Piece the hills, fence, grass and flowers together.

Both borders were adhered to the cutting board.

Now to add a few embellishments.
With the bunny face down on the back of a piece of patterned paper, I traced the outline with a pencil.

Fussy cut the patterned paper and adhere to the bunny with wet glue. I also added a bow to the bunny.

Finish the project by adding the bunny and other embellishments. I added a hand punched and die cut butterflies, stickers to spell “SPRING” and a pretty bow. A few gems were added to the butterflies.

Thanks for taking a look at my project! I hope I have inspired you to create a spring home decor piece.


Leave a comment