Hi , Connie here with an acrylic pop n' cut card. Yes sir!!! It cuts beautifully. Let's get started. I used my scissors and cut the 12 x 12 acrylic sheet right down the middle.

1. Put the acrylic piece on the die and run it through the Big Shot machine.

2. Fold your card just like you would a paper card.

3. Then cut the cover of the card~like the photo shows above.

4. The backside will be the pattern that will face inside the card. I cut another piece and cut about 2" off both ends and inserted it in the middle. The darker color makes the acrylic pop more.

6. I used 3-in-1 (Beacon) to glue it to the S.E.I. (Chalet) paper.

7. I used Zip Dry ( Beacon) to adhere the trim to acrylic card. I pulled my scraps out and picked a trim that would match~so, not sure of a brand.

8. I pulled out the sticker sheet from the S.E.I. ( Chalet) collection and started decorating the card. That is always the fun part.

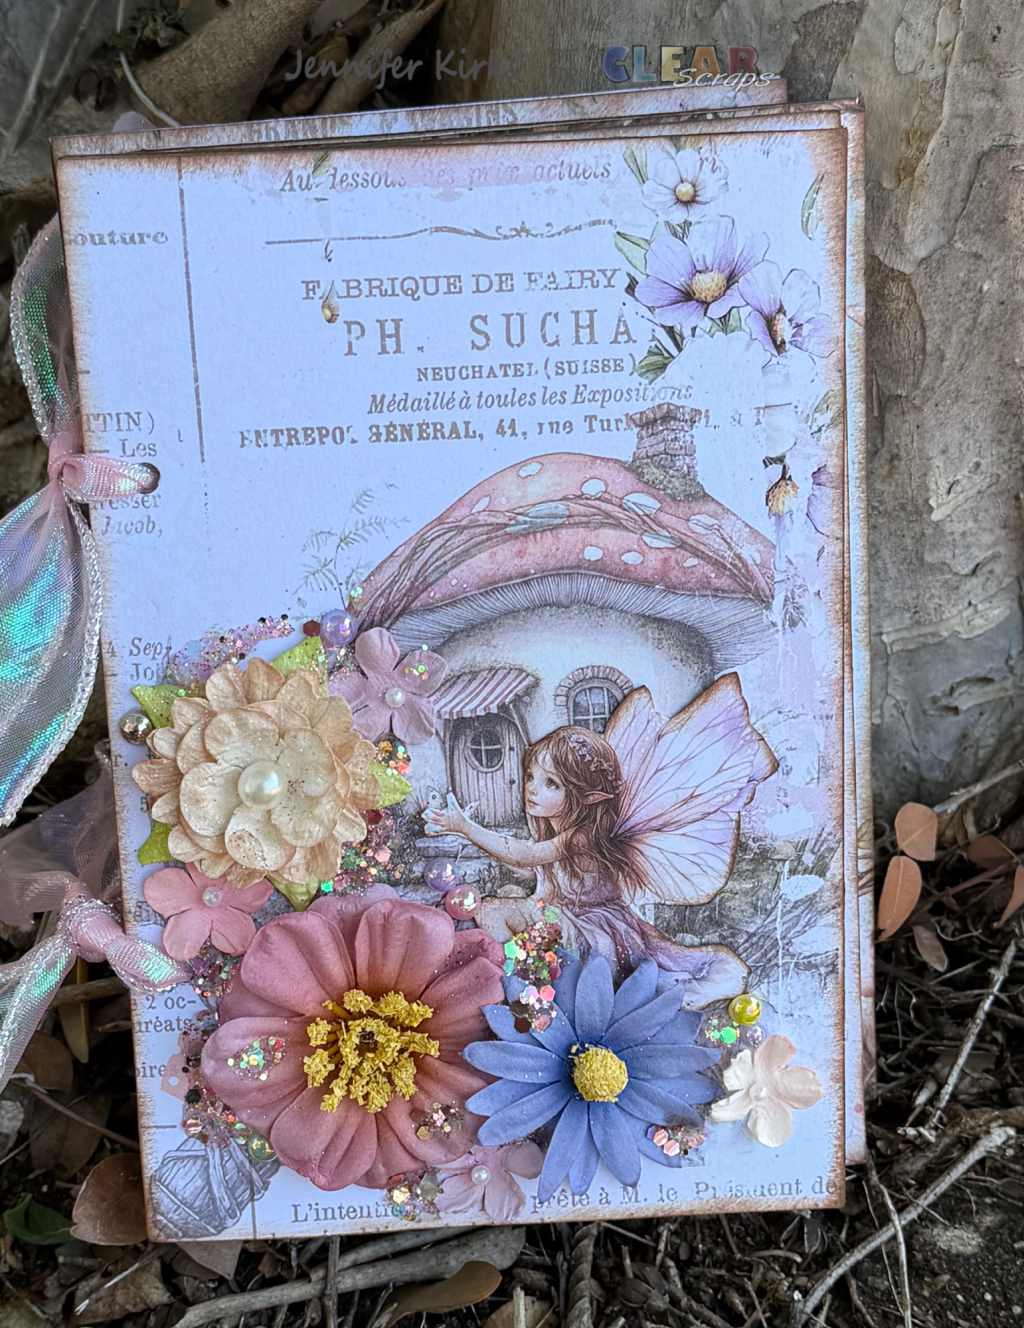
So here is the front of the card. You know with a pop n' cut card it is always what is inside that counts the most:):)

Here is the inside!!! I love how it came together.

I used pop dots on some of the embellishments to raise them up!!

Thanks for stopping by and I hope you enjoyed this project!
cm


Leave a reply to Julie Tucker-Wolek Cancel reply