Hi, Connie here with a, step by step, tutorial on how I put this Mixable ( chipboard and acrylic) mini album together.

Step by step~here we go.
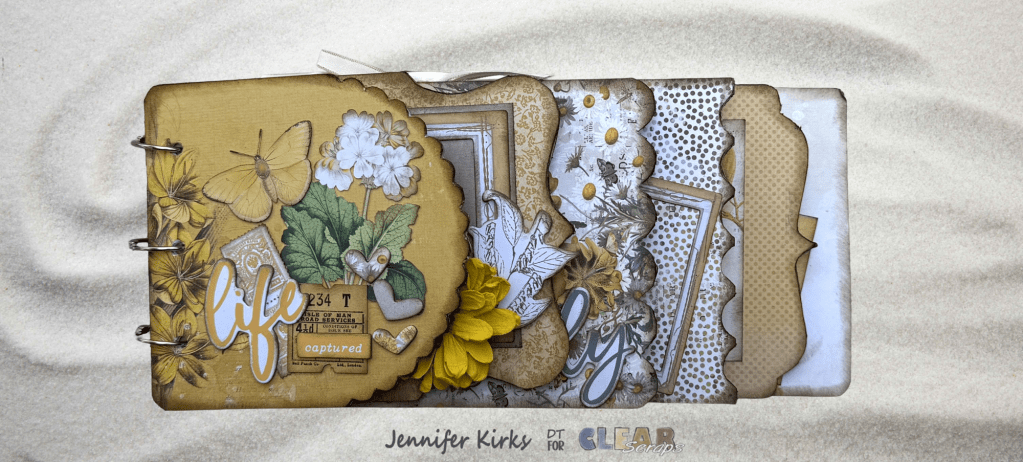
1. Cover the two chipborad pages (both sides) with pattern paper. I used Fast Finish Decoupage by Beacon.
2. Sand off edges and ink all sides (shade).
3. Remove the protective film from the acrylic cover. Adhere a 3×4 piece of pattern paper to the center of the acrylic cover. I used ZipDry by Beacon. By doing this step you will have a clean back (of cover) when you open your album. Covering up the mechanics (glue). On the inside add another 3×4 and all mechanic are covered. See first picture on left.
4. Cover the large Feather Mixer with old dictionary paper. I used Fast Finish Decoupage by Beacon. This is added to the cluster on the front cover.

5. The embellishments are adhered with 3 in 1 by Beacon on the cover.
6. I added some extra pages also, depending on your need.
7. The acrylic page in the center , I left plain. To me the beauty is in the see through effect you get with acrylic.
8. I added scraps of trim for dimension.
What I love about this little album is it is tabbed, both acrylic and chipboard and I can add cardstock for extra pages.
Thanks for stopping by~


Leave a comment