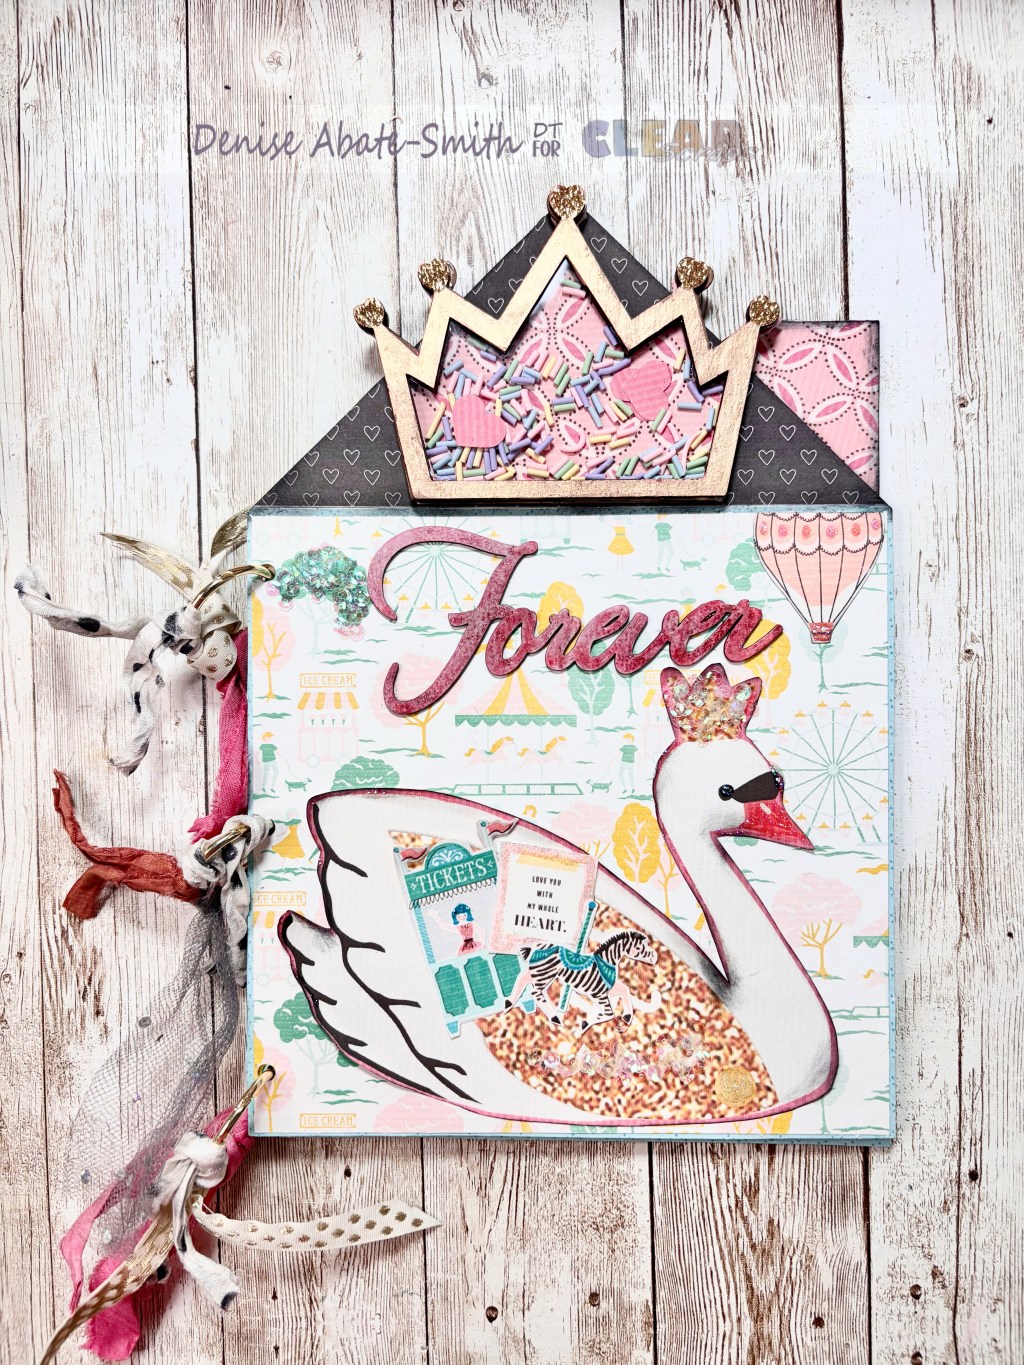
Hello and thank you for stopping by.
Denise here with a fun and quick project.


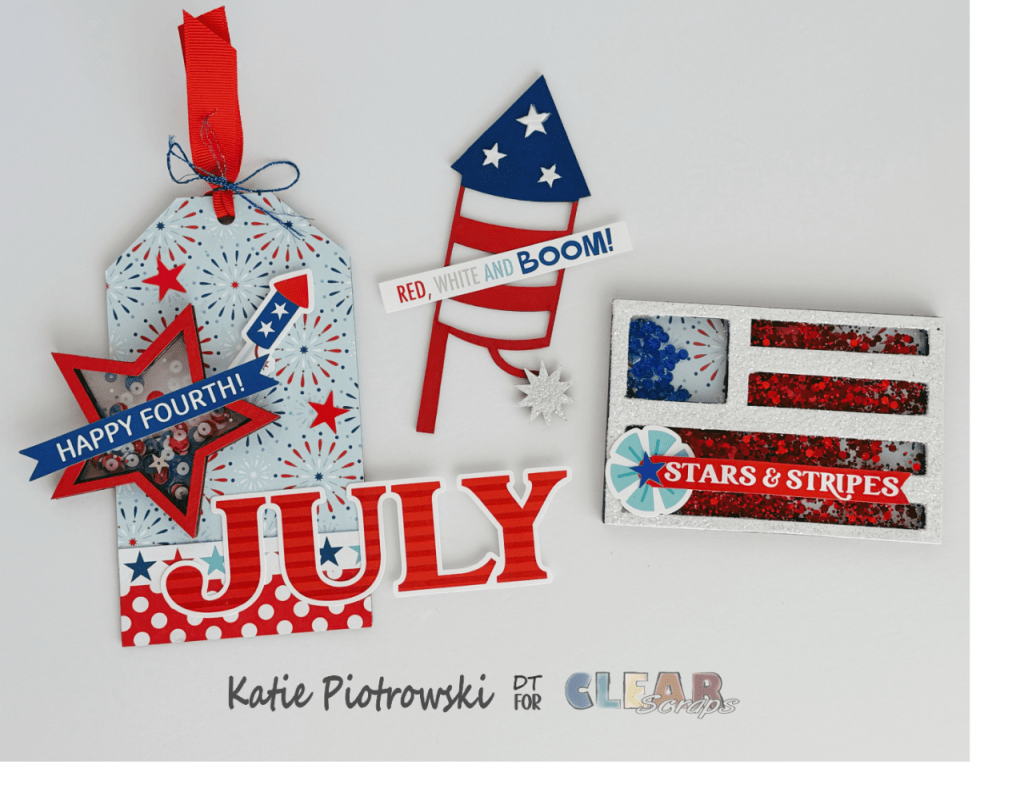
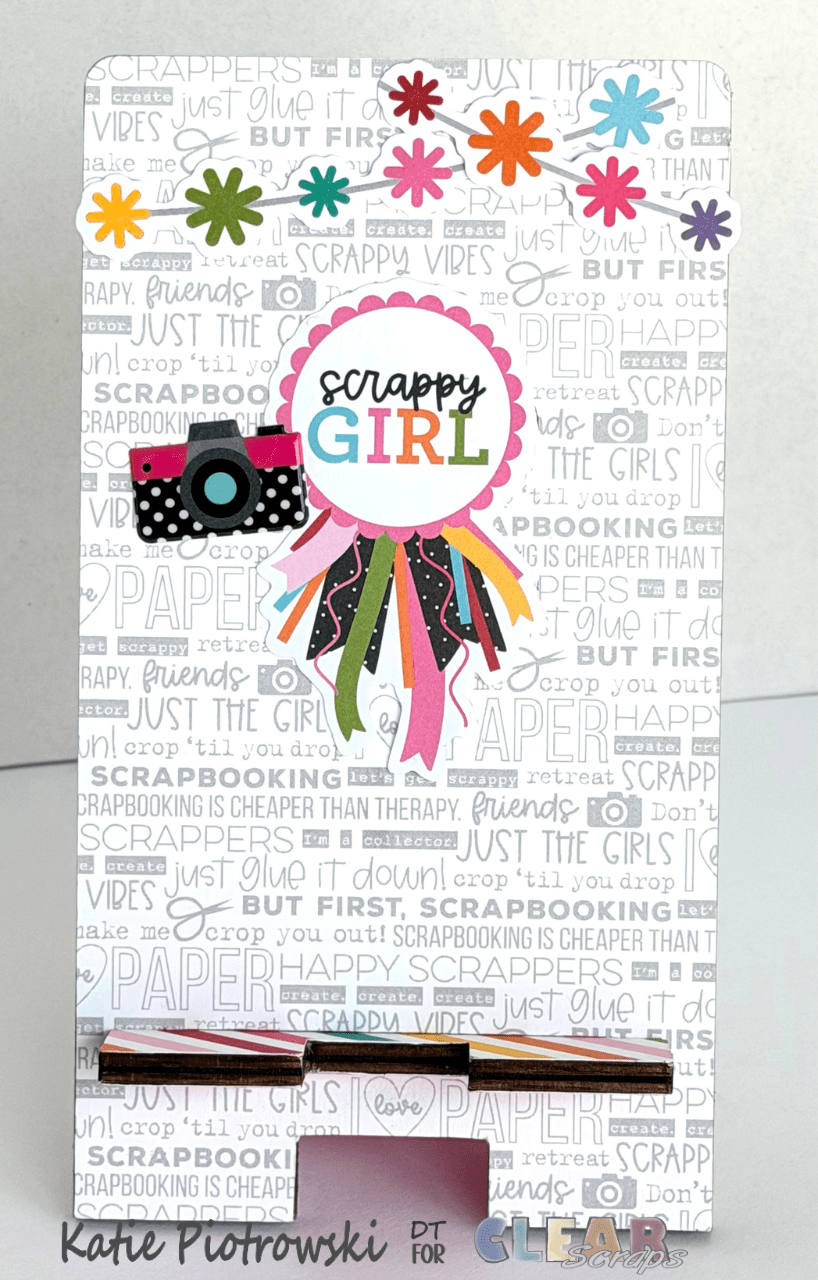
I am working with Clear_Scraps__Chipboard_Embellishments
We have many to choose from and all fit cards and projects as the ones I’m sharing today.

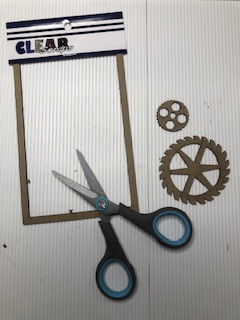
Above is the Chipboard_Wheel_Gears
I am mainly working with these today.
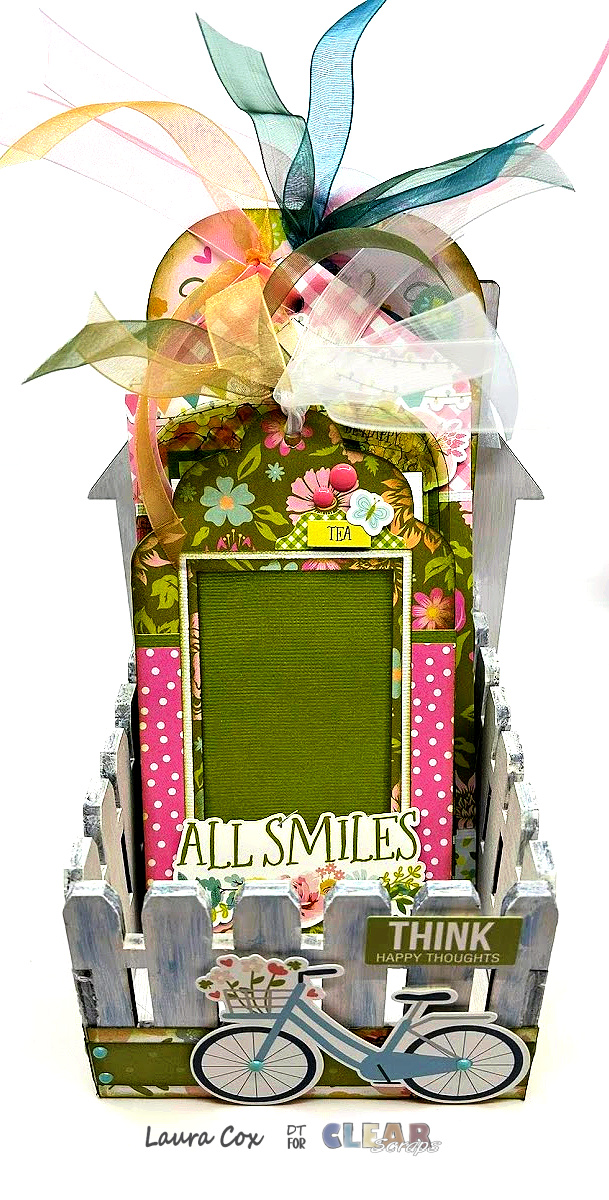
The Lampposts are also available if you would like to make a Christmas themed one.
I wanted to share another style perfect for Christmas.
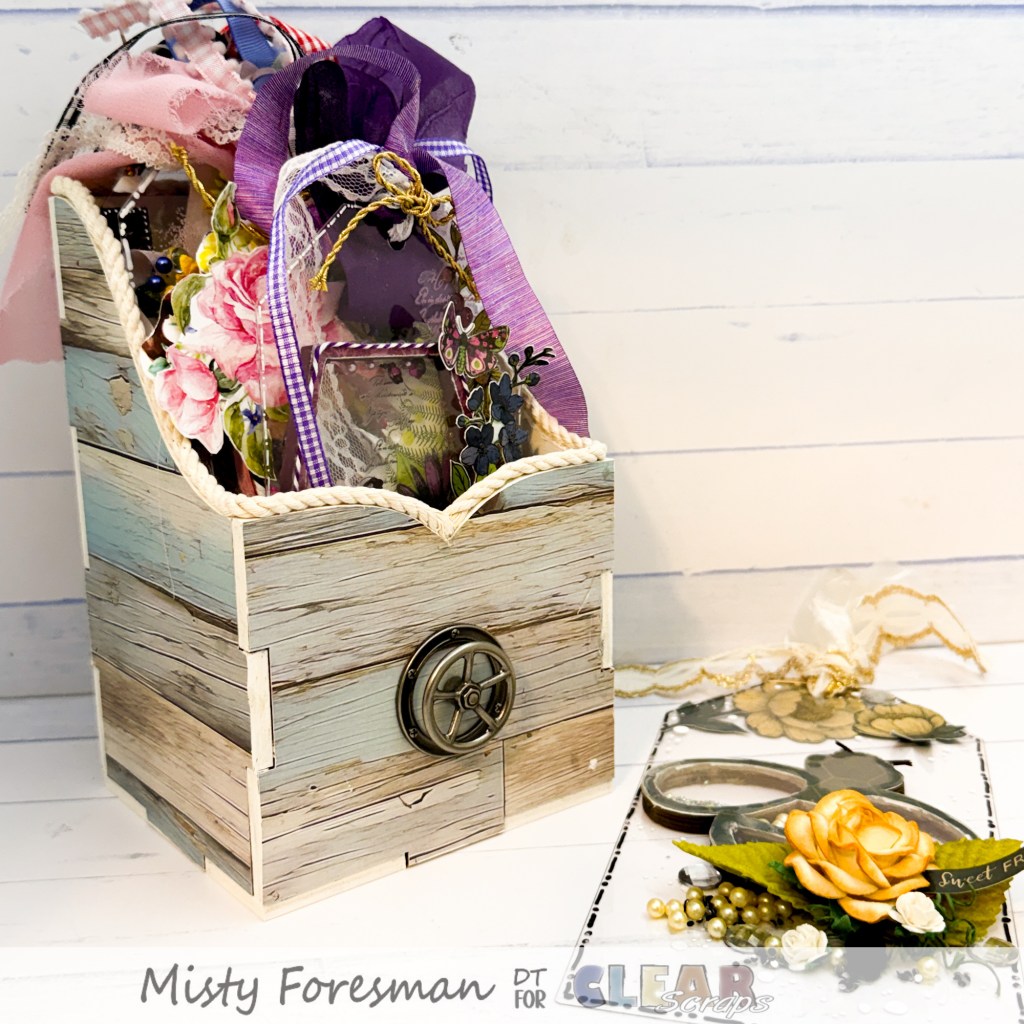
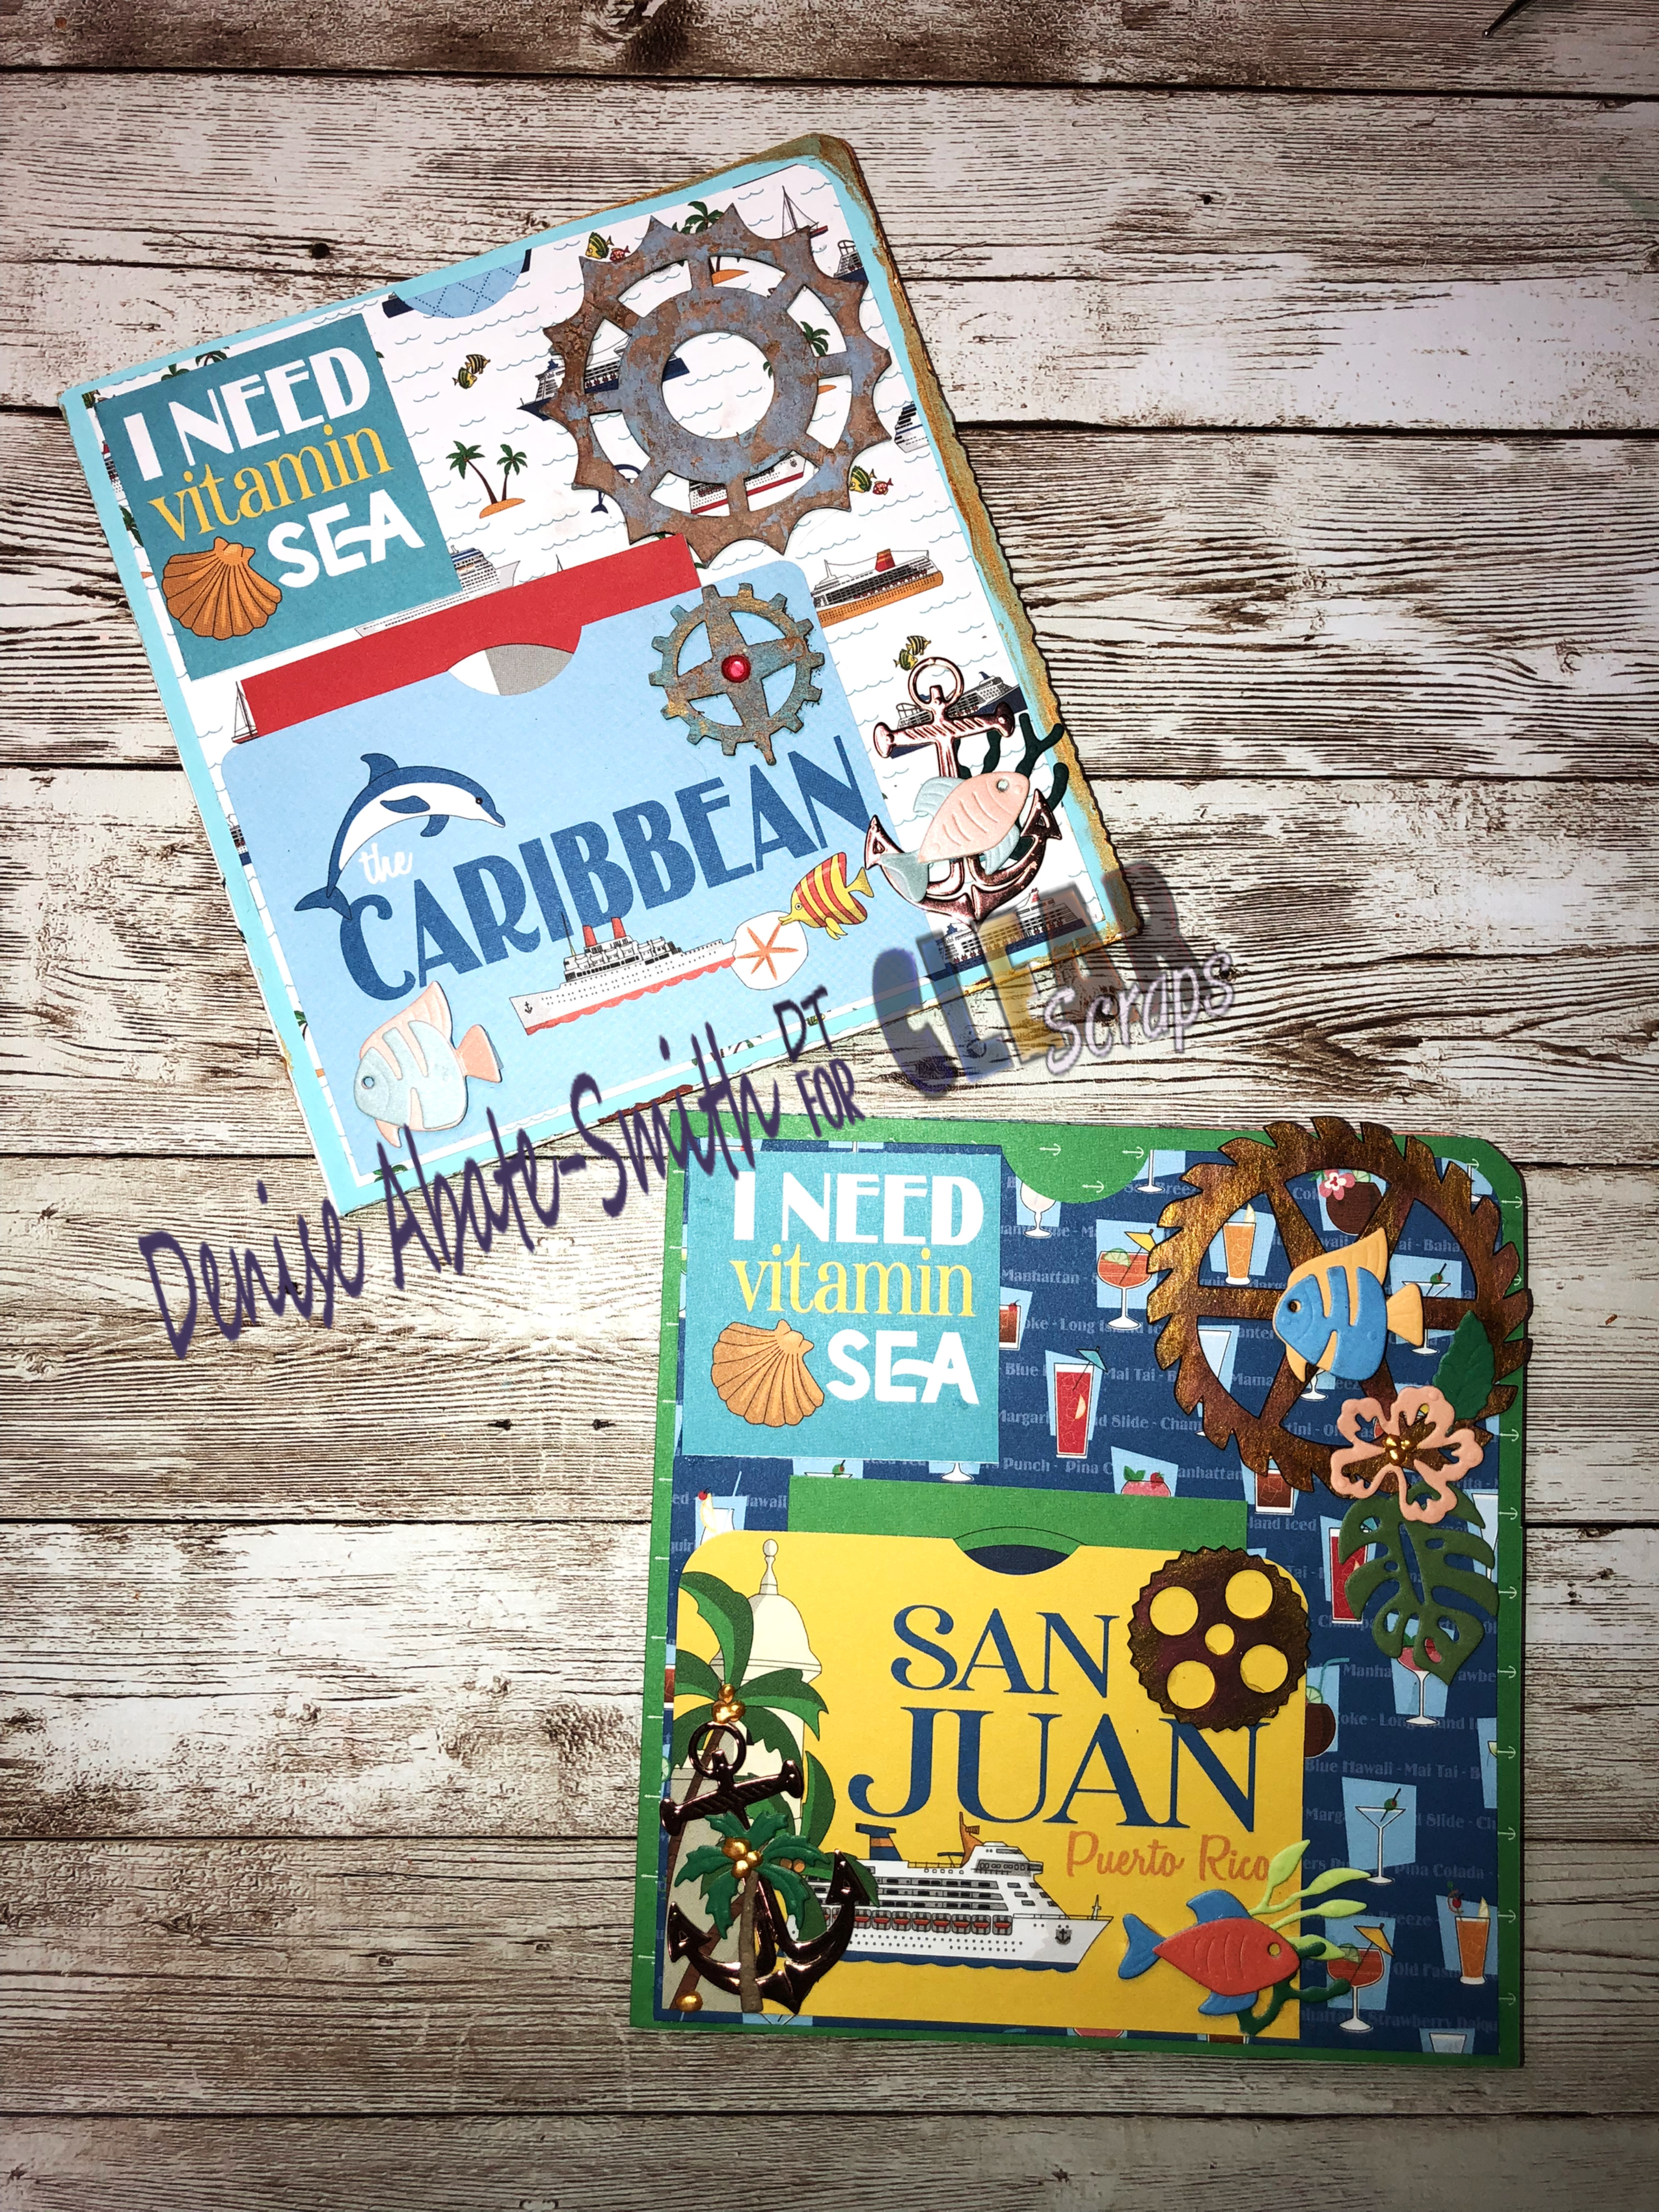
I really wanted to make a fun gift for someone whom enjoys Cruising and overseas adventures.
I will be using the Lampposts for my next project.
Now let’s make the book.
You will need a decent plain cardstock and a designer collection ir printed paper if you like the combination.
Get a score board and cutter or scissors, any of your favorite supplies will be perfect.
I am also choosing to work with wet Glue.
1 Standard 11”X8 1/2 cardstock printer size cardstock.
fold or score long side in half
Score short side one side only to make interior pockets.
Here are pictures to illustrate the measurements and steps.


score at 5 3/4” to make the inside pockets.

now fold and and grab you scissors to do some cutting.


Now scissors to cut the fold to make two separate pockets.
Here’s a closeup

Let’s get our glue and make the pockets.
What we do to one side we will do to both.
and get a corner rounder if you like rounded corners like mine.


Let’s glue the flaps up on the outside of the flaps.

Gold up and adhere to page.
Do the same to other side.

We now have our interior pockets.
Now get the Papers you chose to cover your book.
Get your chipboard embellishments.
Have some mixed media fun or leave plain.

It’s really easy to cut out the embellishments.

Scissors work best.
I grabbed my stash of mediums I was inspired to work with. I even had some die cuts that were perfect for me and my project.

Gomd paint is my favorite.
I enjoy distress oxide inks for the shabby and or vintage effect.

Here’s the paper and dies cuts I mentioned earlier.

Let’s cover our books.
Following illustration and measurements.
Sizes of cardstock.
2 matting pieces for front and back of book.
A thumb notcher or 1” circle punch for pockets.

First we cover plain cardstock.
5 3/4” x 5 1/2” and round the top right corner.
Now second piece is also our first large pocket.
5 1/2”x 5 1/4” notch center and punch right corner.

If you want to start with a print you can just do the other matting piece in the next steps.
Now let’s glue the on the pocket and cover to the front of our book.
First gets glued entirely and the second is our pocket.
glue sides and bottom only.


Do the same to the back but switch orientation of the notched pocket.


Now let’s decorate the front. And then the interior.
Some cut aparts or journaling cards will work great.


I had a lot of fun with these pocket books.

Dimensional tapes and dots work well for popping up images.

This liquid pearls works well too if you have it handy.
To finish up I’ll somewhat do the same as to the first Book.


Thank you and have a Happy Crafty Day.
See you in the next post.


Leave a comment