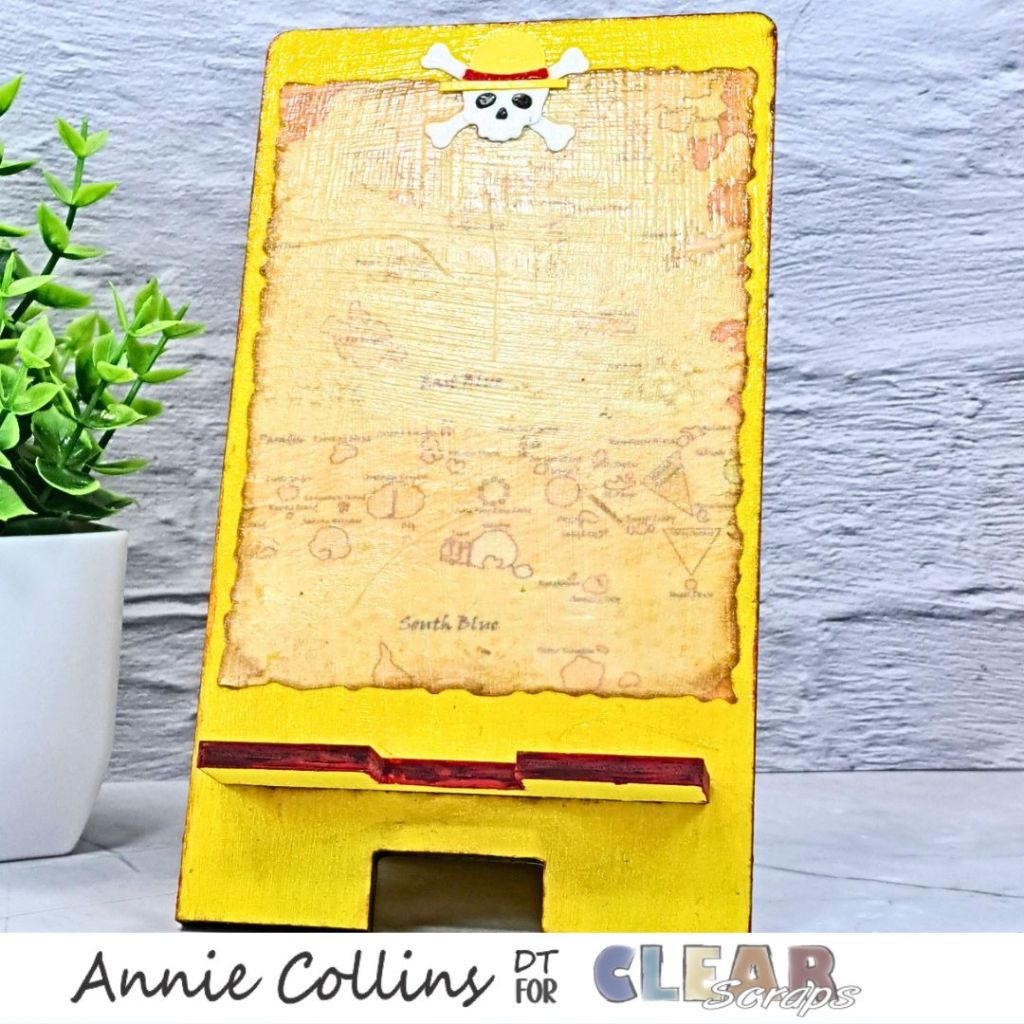
Ahoy, matey! Annie here today I’m sharing a fun mixed-media project that transforms a simple wooden phone stand into a pirate-inspired treasure map display. With a little paint, ink blending, and a printable map, you’ll have a unique desk accessory that’s both functional and decorative!
Supplies
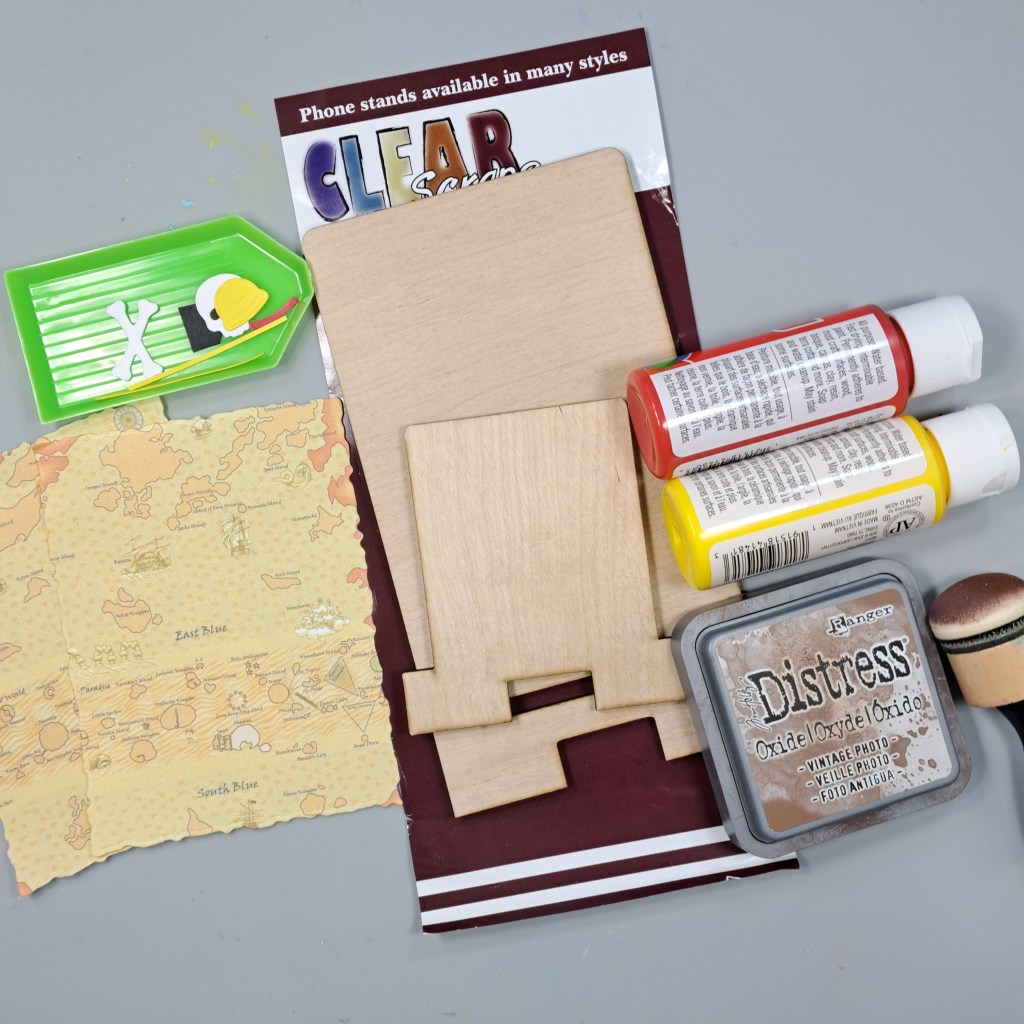
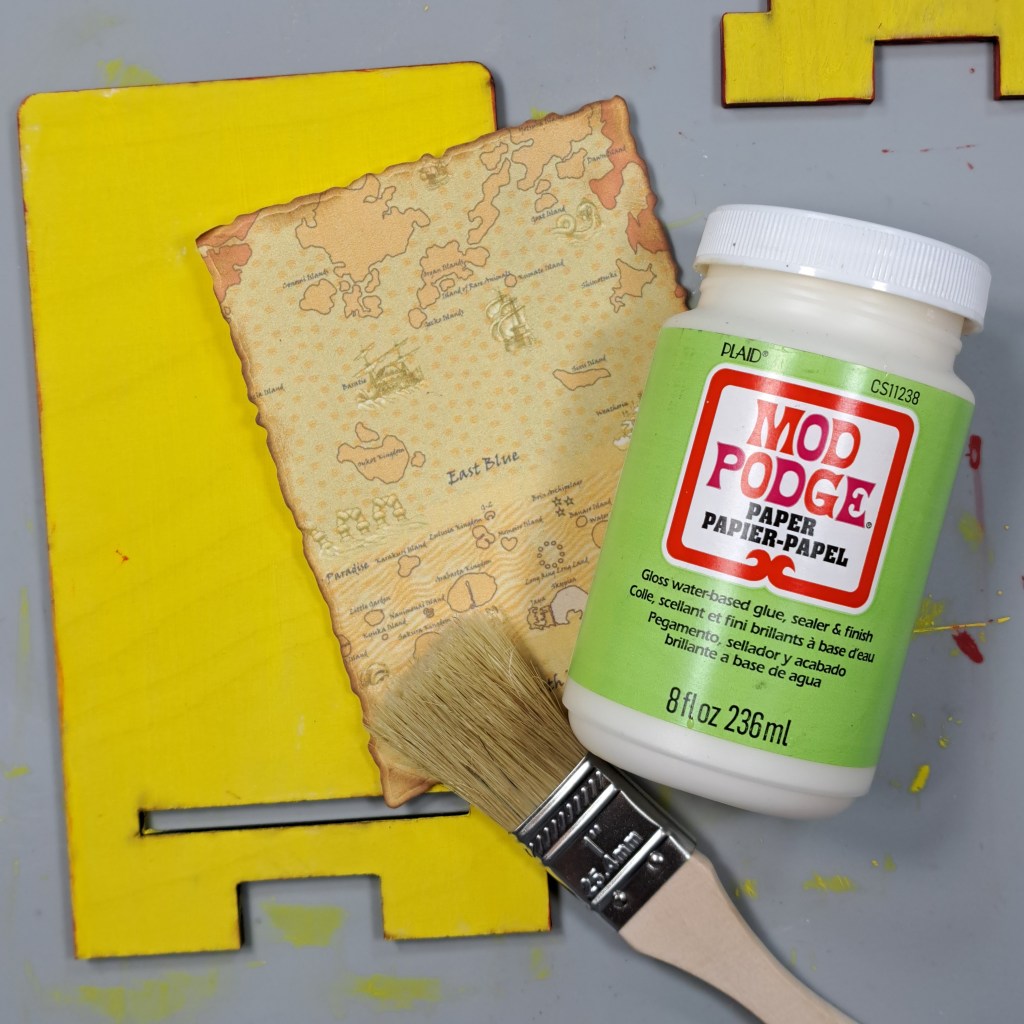
- Wooden Phone Stand Regular
- Pirate Map Printable
- Acrylic Paints: Yellow and Red
- Mod Podge Gloss
- Distress Ink – Vintage Photo
- Cardstock: Red, Yellow, White & Black
- Various Dies
- Adhesive
Instructions
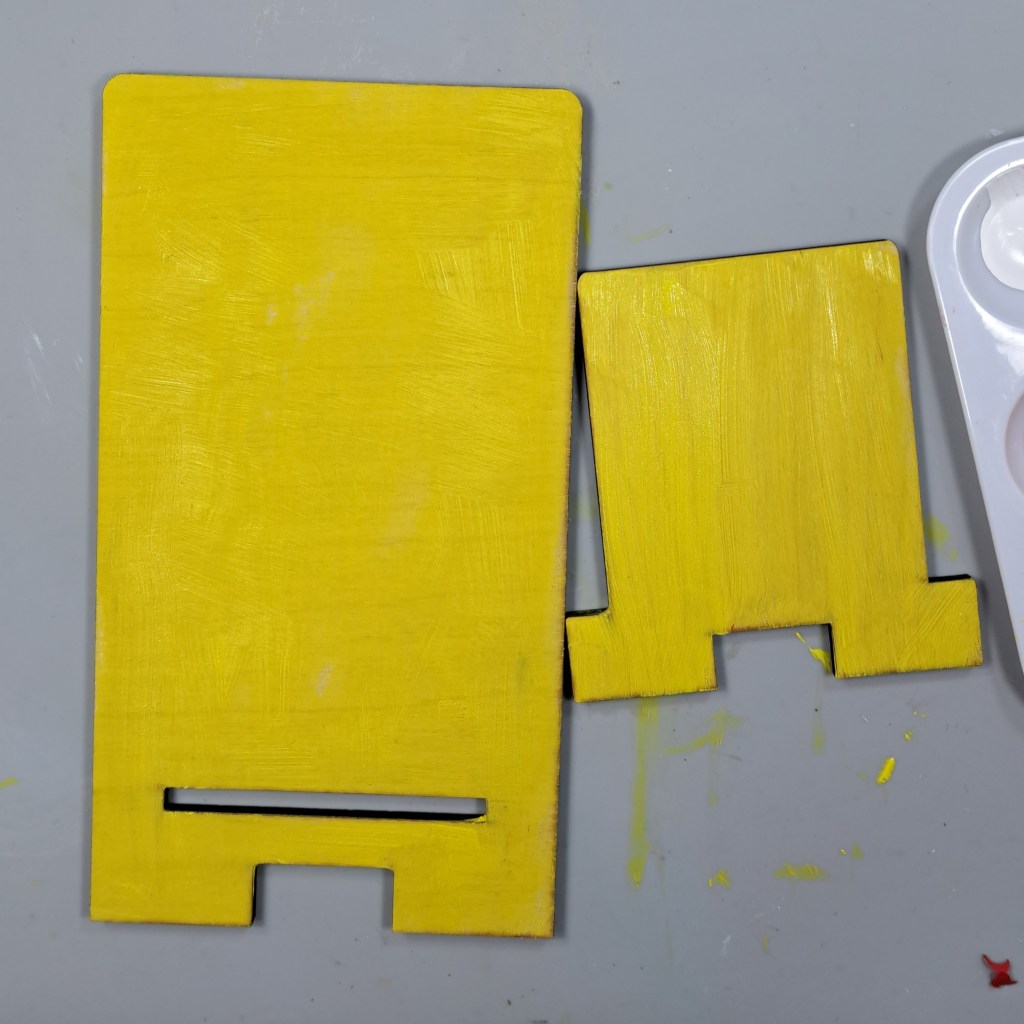
Step 1: Paint the Phone Stand
Begin by painting the entire wooden phone stand with yellow acrylic paint. Apply two coats if needed for full coverage, allowing each coat to dry completely.
Step 2: Create the Pirate Map
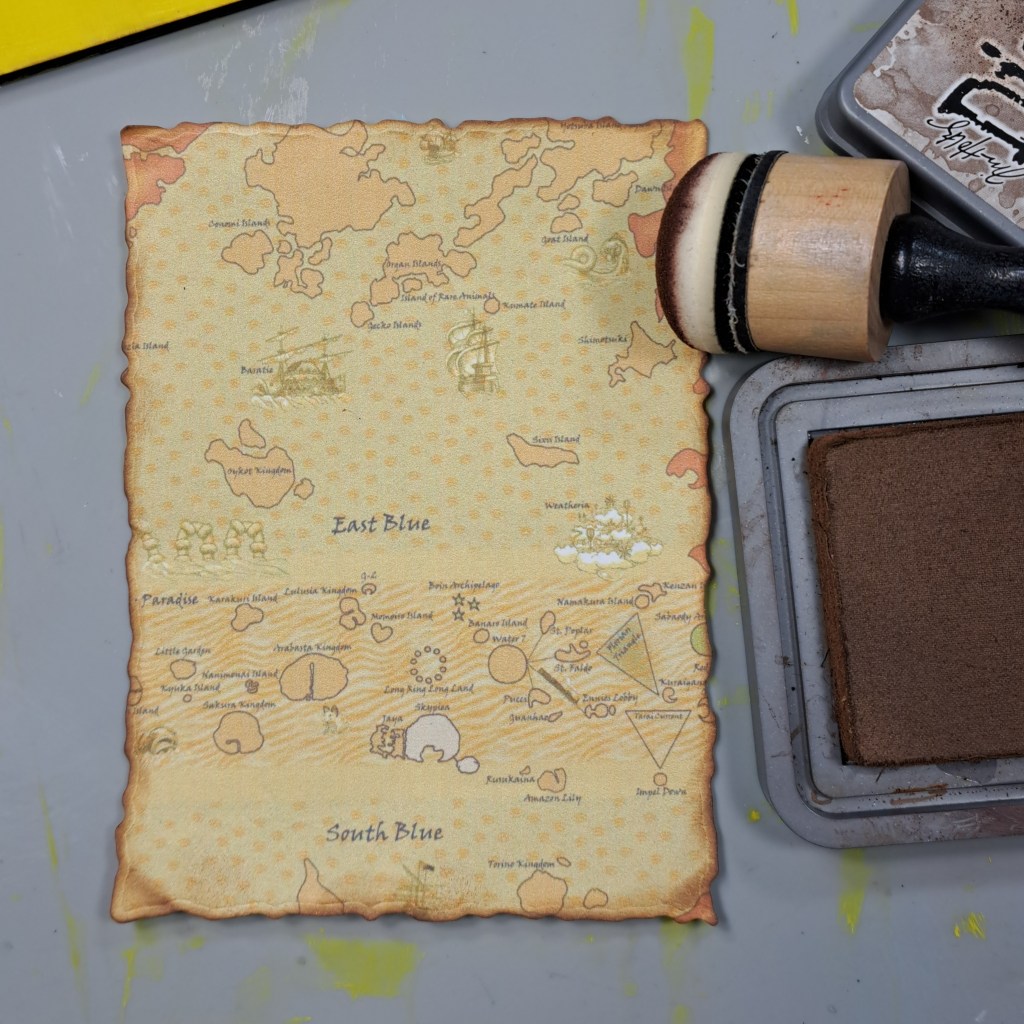
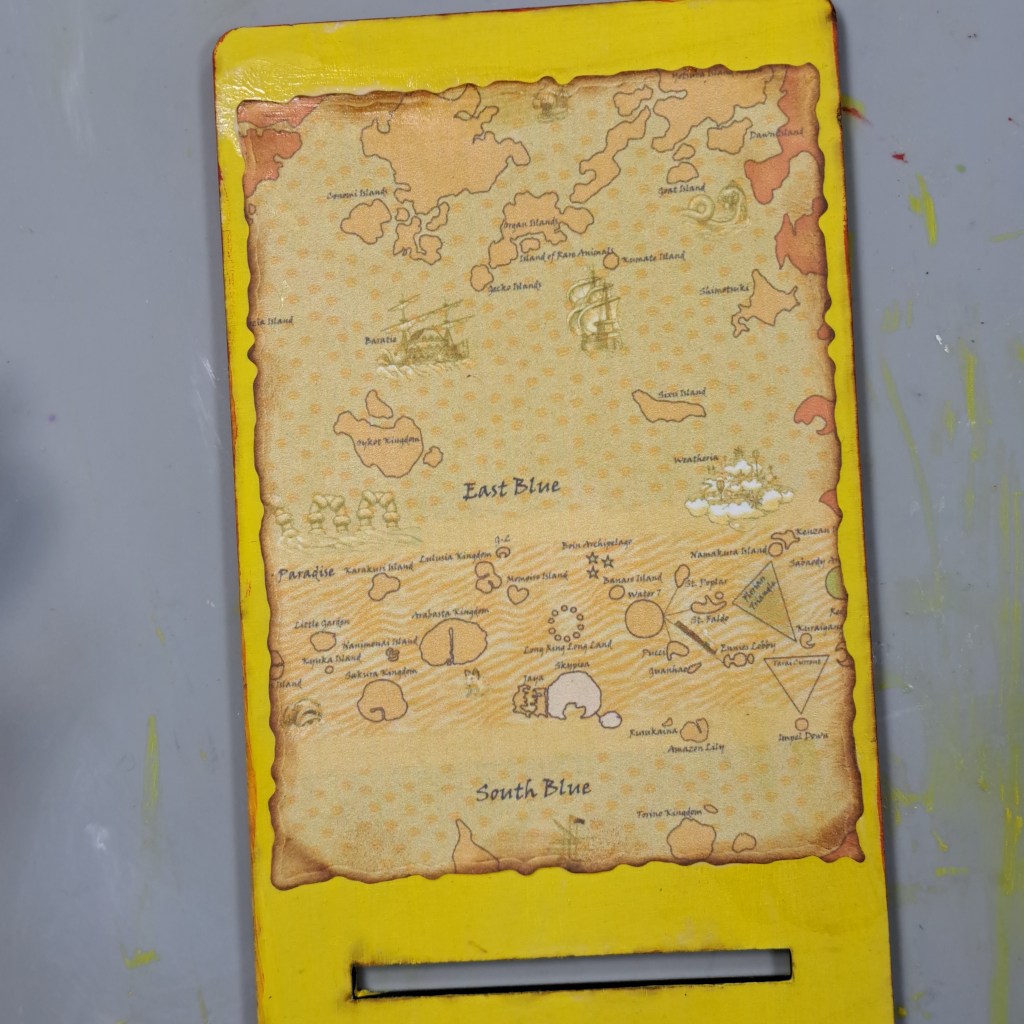
Print the Pirate Map (I chose an anime one for this project) onto white cardstock. To create an authentic treasure map look, gently blend Vintage Photo Distress Ink around all the edges and across portions of the map.
For extra aging, lightly crumple the paper before smoothing it back out. Ink the creases for added dimension and character.
Step 3: Attach & Seal the Map
Adhere the finished map to the back panel of the phone stand, centering it within the painted frame. Press firmly to ensure the map lays flat and smooth.
Apply a thin coat of Mod Podge Gloss over the map. This not only protects the printable but also gives it a slightly worn parchment appearance.
Allow the map to dry completely before moving on.
Step 4: Add Pirate Details
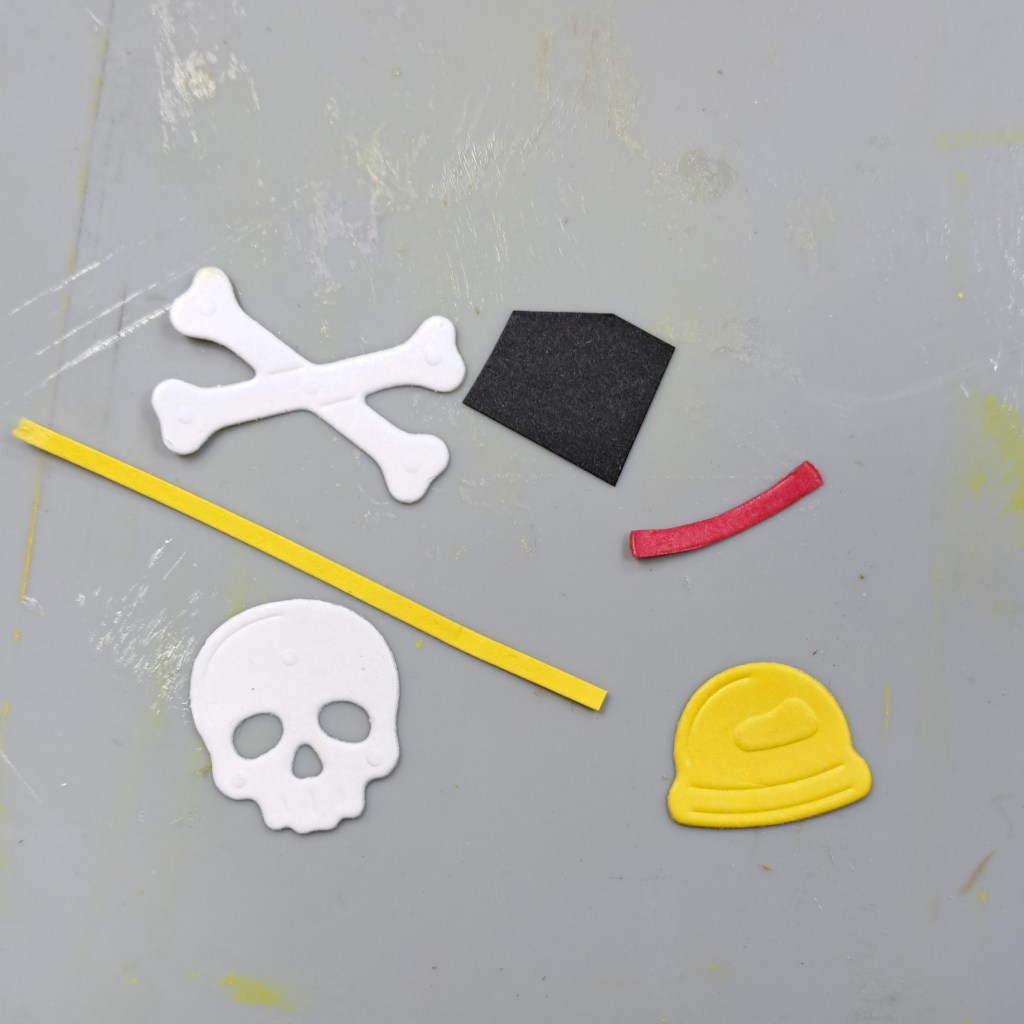
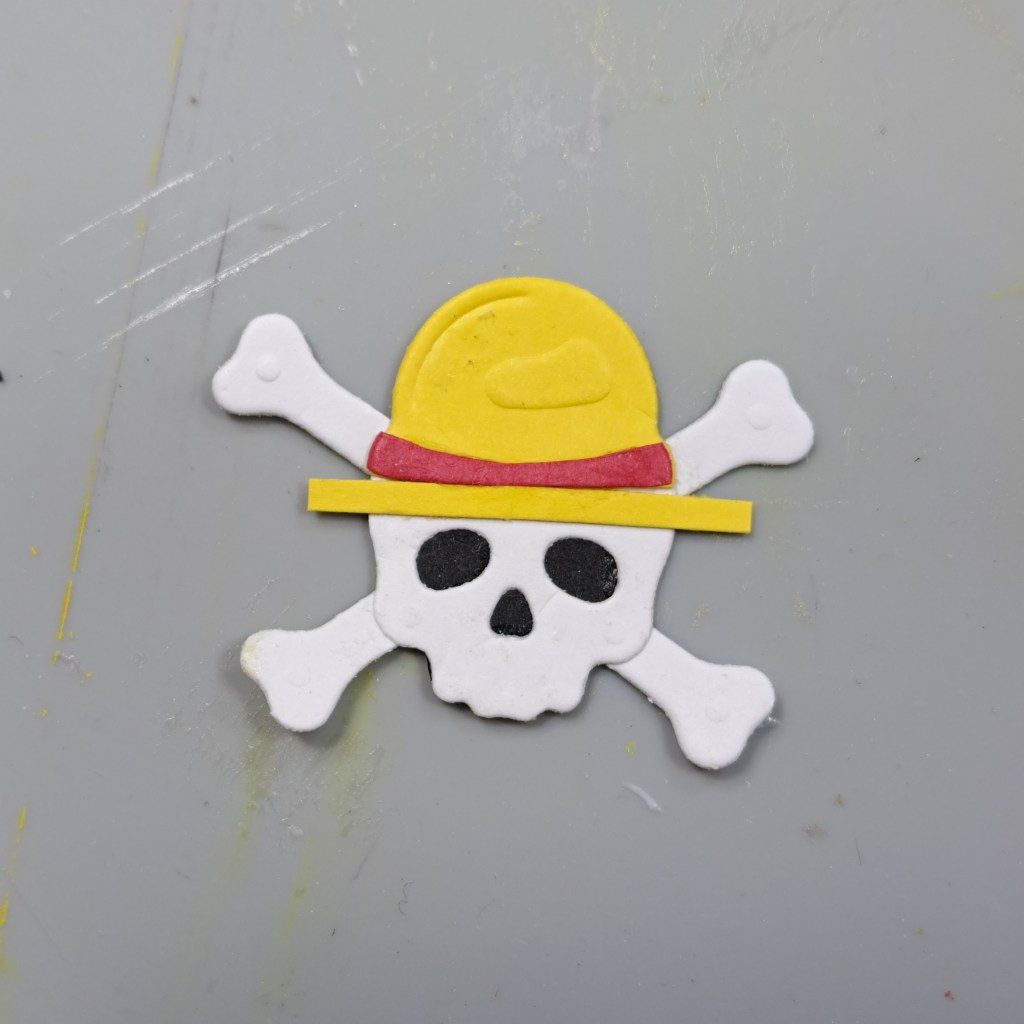
Using your various dies and cardstock, create a pirate-themed embellishment:
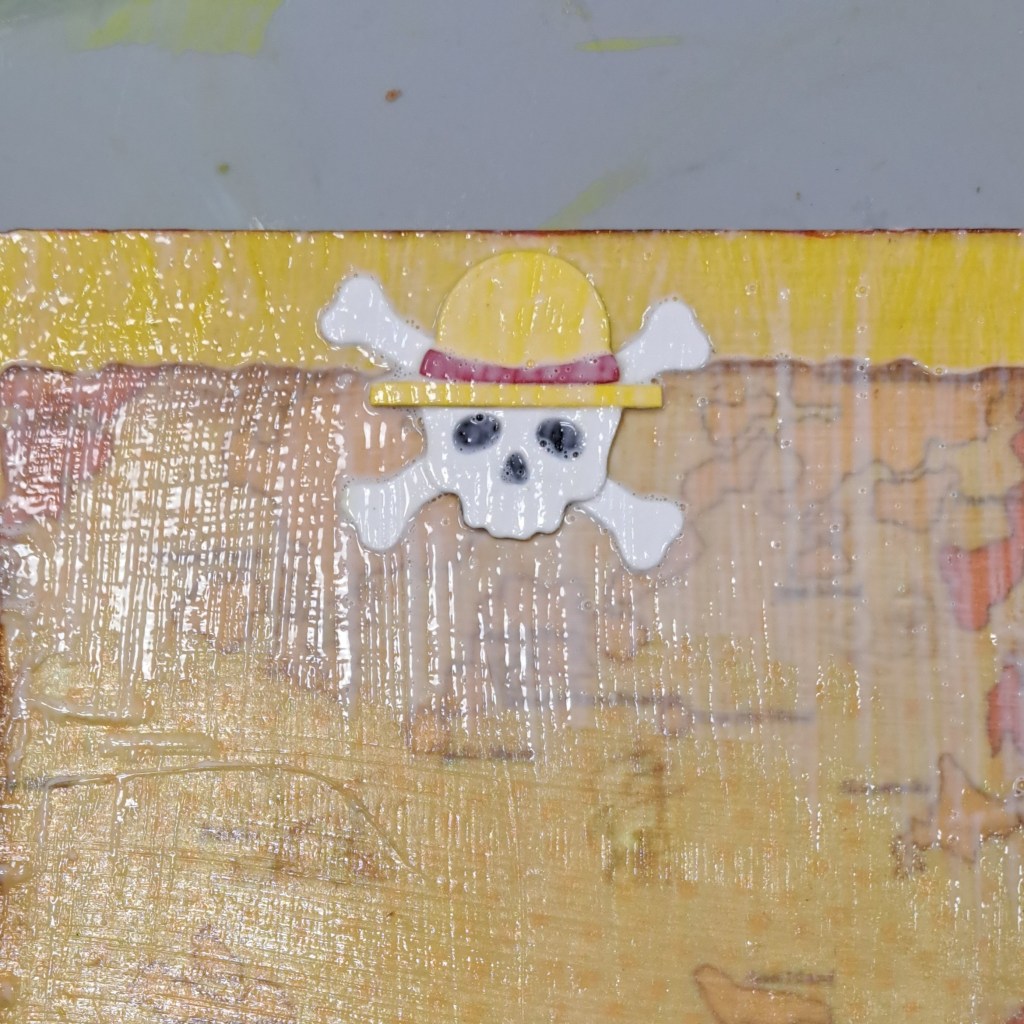
- Die cut a skull shape from white cardstock.
- Cut facial details from black cardstock.
- Die cut or hand-cut a pirate hat from yellow cardstock.
- Add a red cardstock band to the hat.
Assemble the pieces and adhere them near the top of the stand for a fun pirate accent.
Step 5: Enhance the Shelf
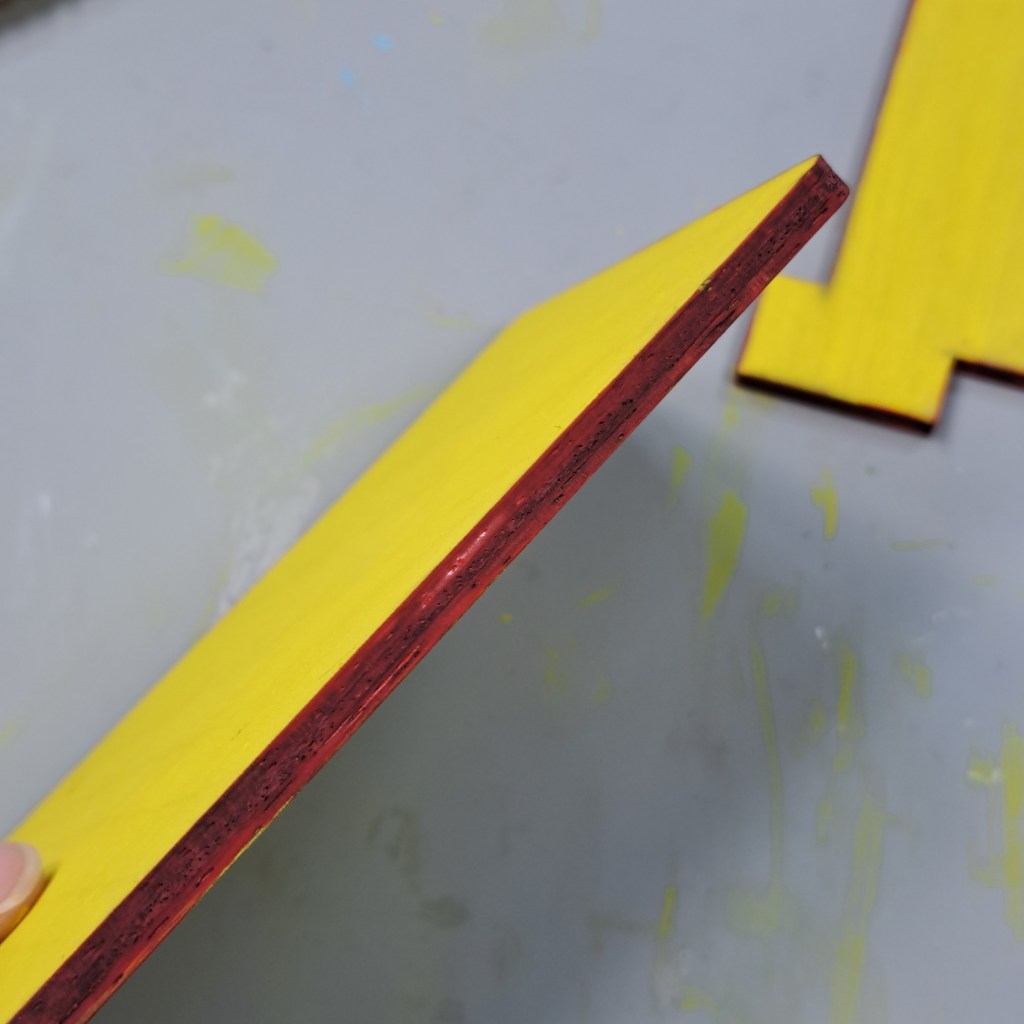
Paint the phone ledge with red acrylic paint to coordinate with the pirate hat band.
Step 6: Final Touches
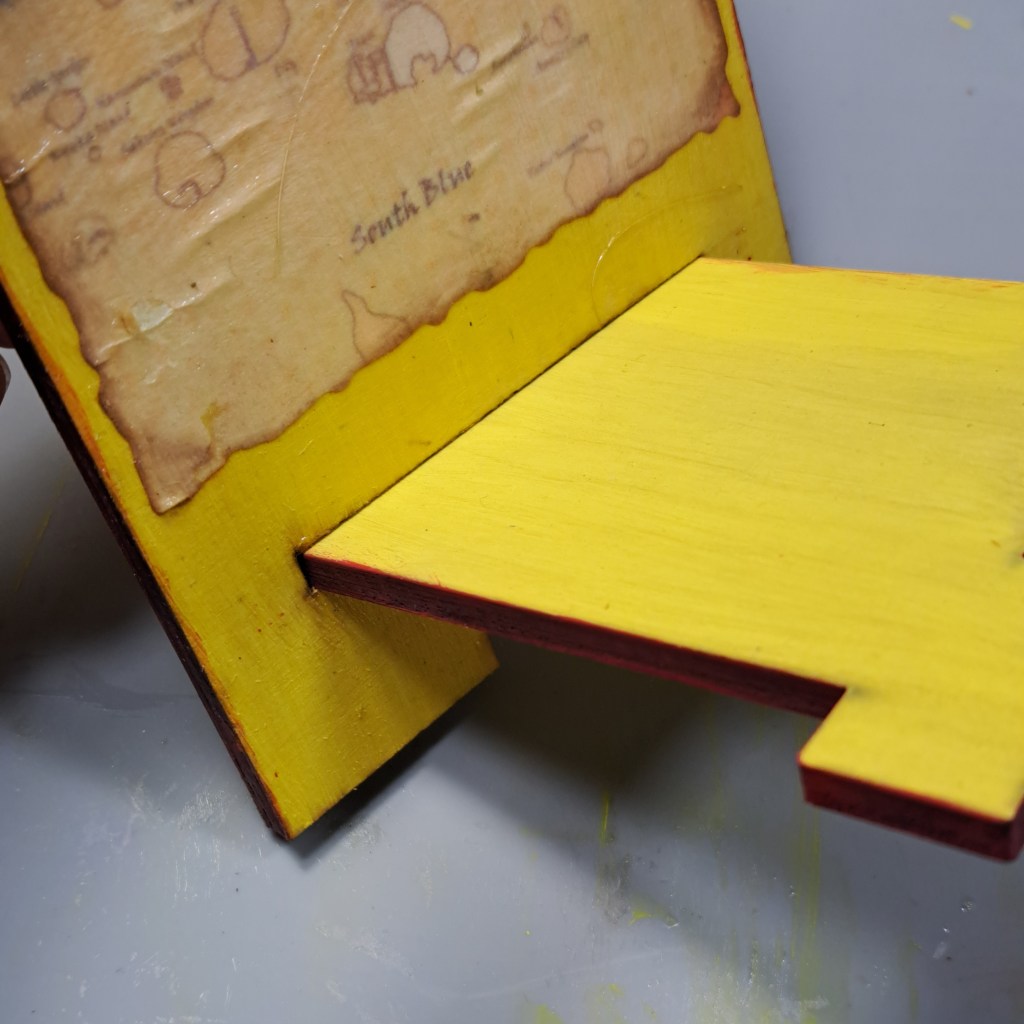
Inspect the entire project and add additional distressing where desired. A little extra ink around the edges helps create the appearance of an old treasure chest discovered on a faraway island. Then insert your holder piece into the slot to create your phone stand. I didn’t glue mine so that I could wrap it for a gift.
Allow everything to dry completely before placing your phone on the stand.
Finished Project
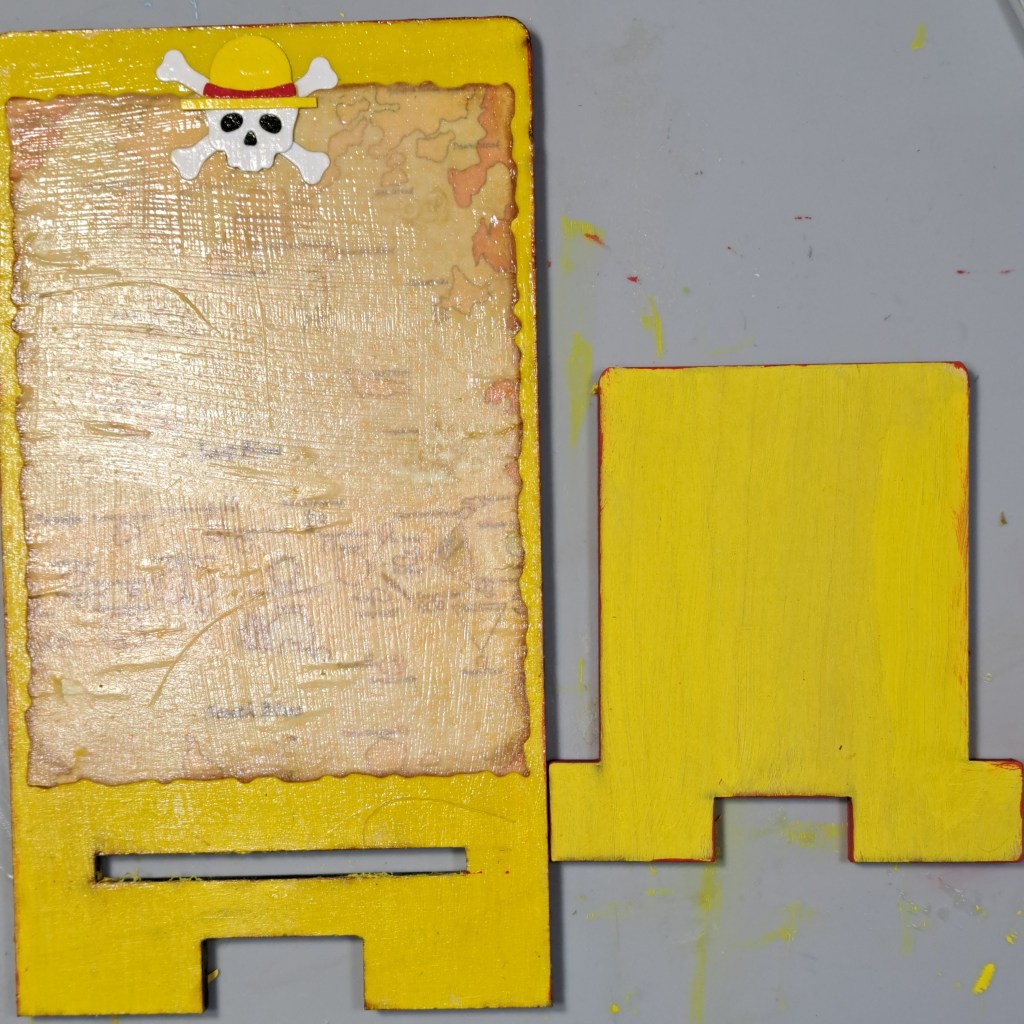
This pirate-themed phone stand is a fun way to bring a bit of adventure to your workspace. The aged treasure map, distressed details, and playful skull embellishment make it a unique piece that any pirate enthusiast will love.
Thank you for stopping by the blog today. I hope you found some inspiration!
You can find even more Wooden Phone Stands and a variety of amazing products on the Clear Scraps site.
Follow us for more inspiration on social media:





Leave a Reply