Back-to-school season is the perfect time to preserve those special moments, and today I’m sharing a fun and compact School Days Folio created with chipboard embellishments from Clear Scraps. This little folio is the perfect size for holding favorite school photos, report cards, journaling, and other treasured keepsakes from the school year.
The finished folio measures 4¼ x 6¼ x ½ inches, making it easy to tuck onto a bookshelf or display on a desk while still offering plenty of room inside for memories.
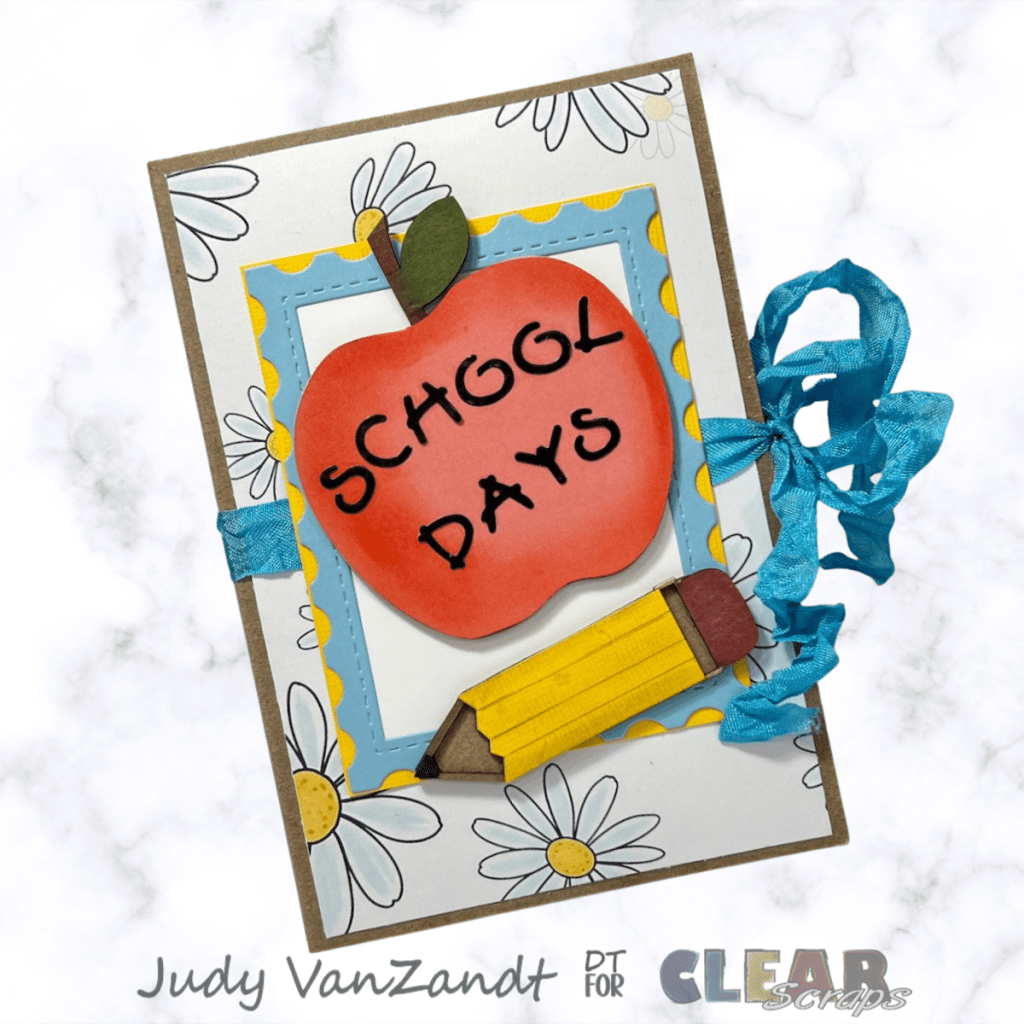
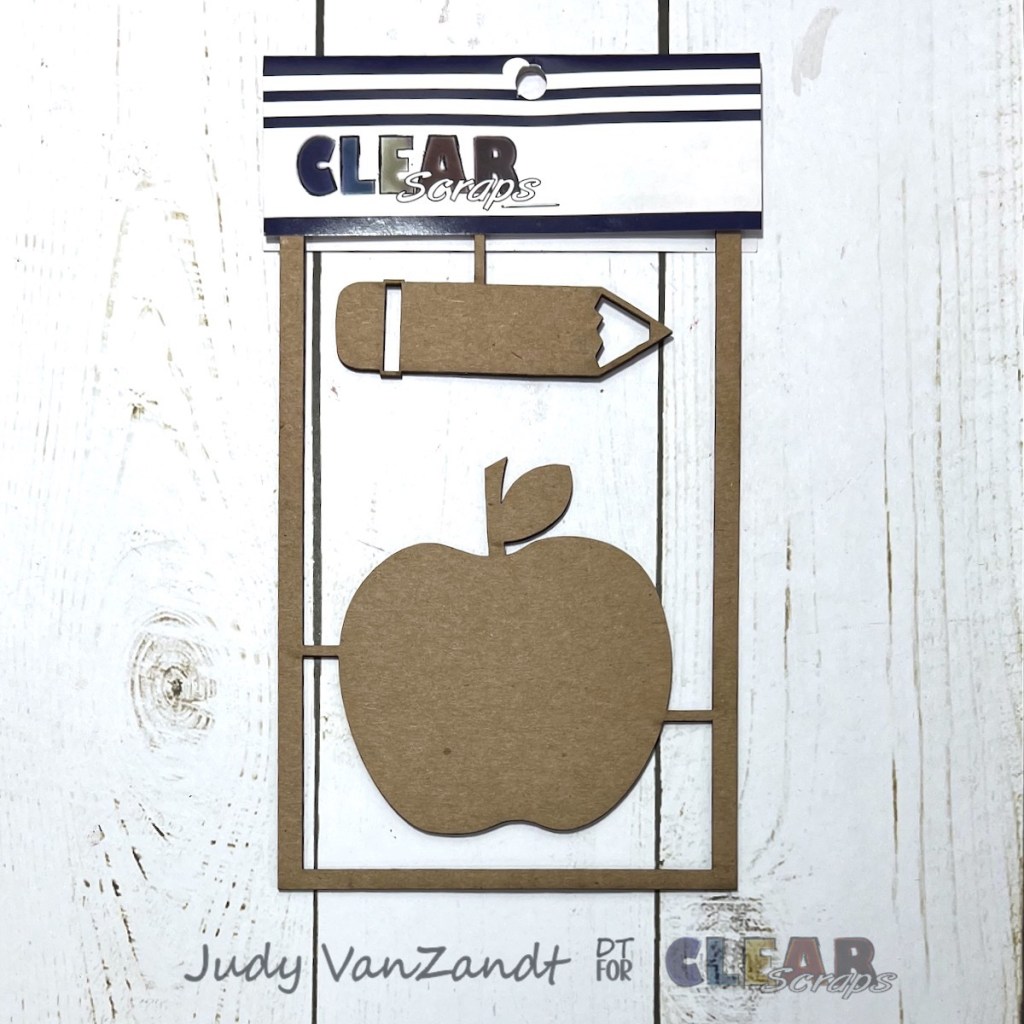
For the cover, I used the School Days Chipboard Embellishments as the focal point. Chipboard embellishments are a wonderful way to add dimension and personality to any project.
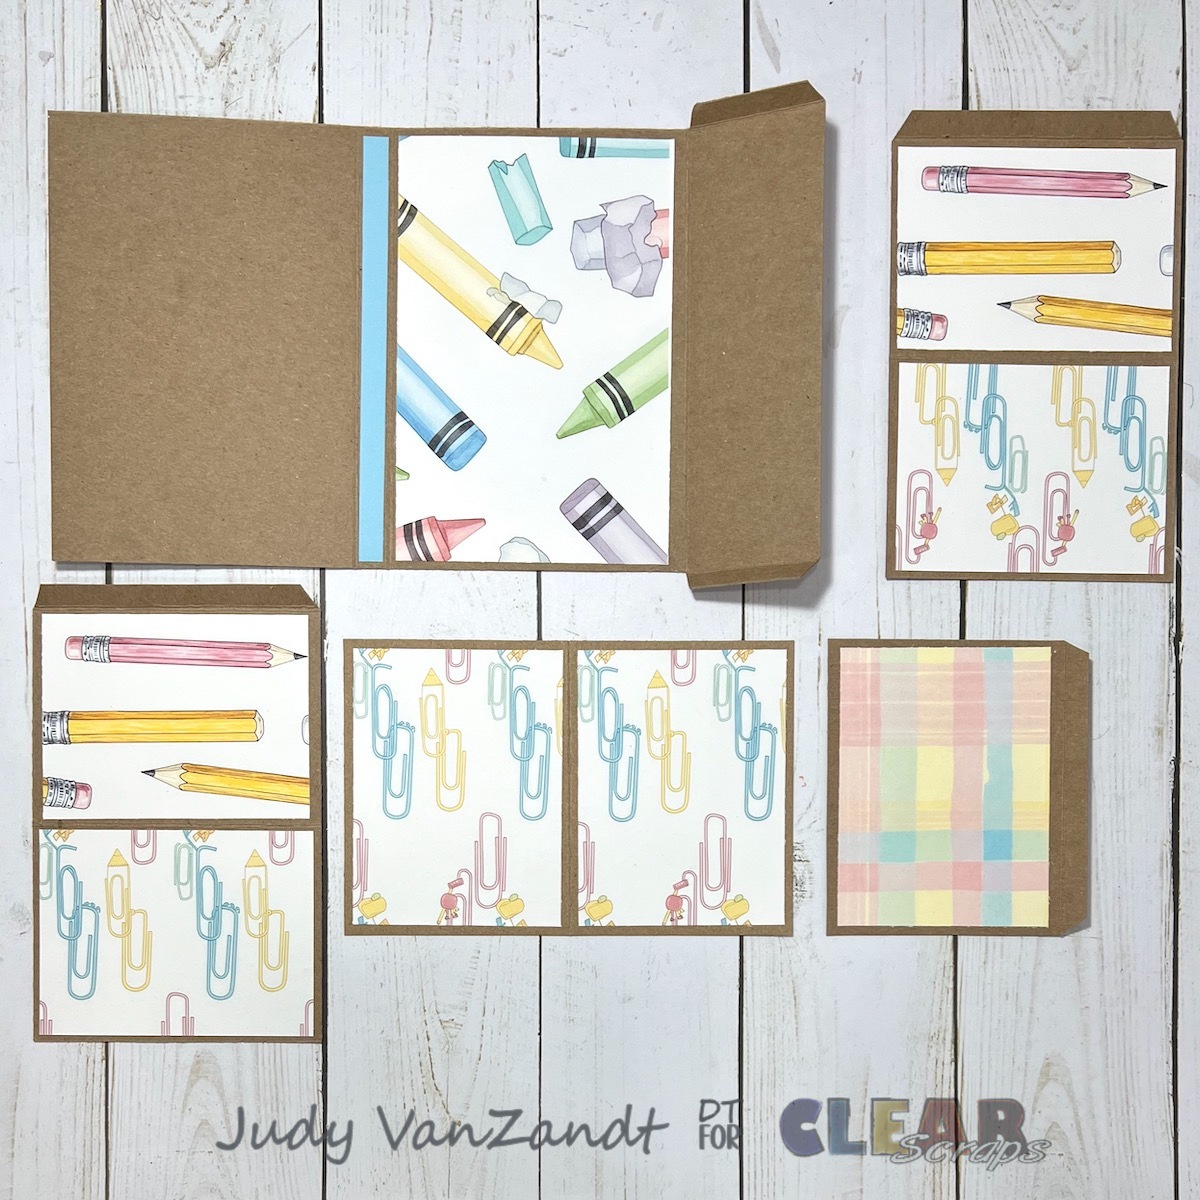
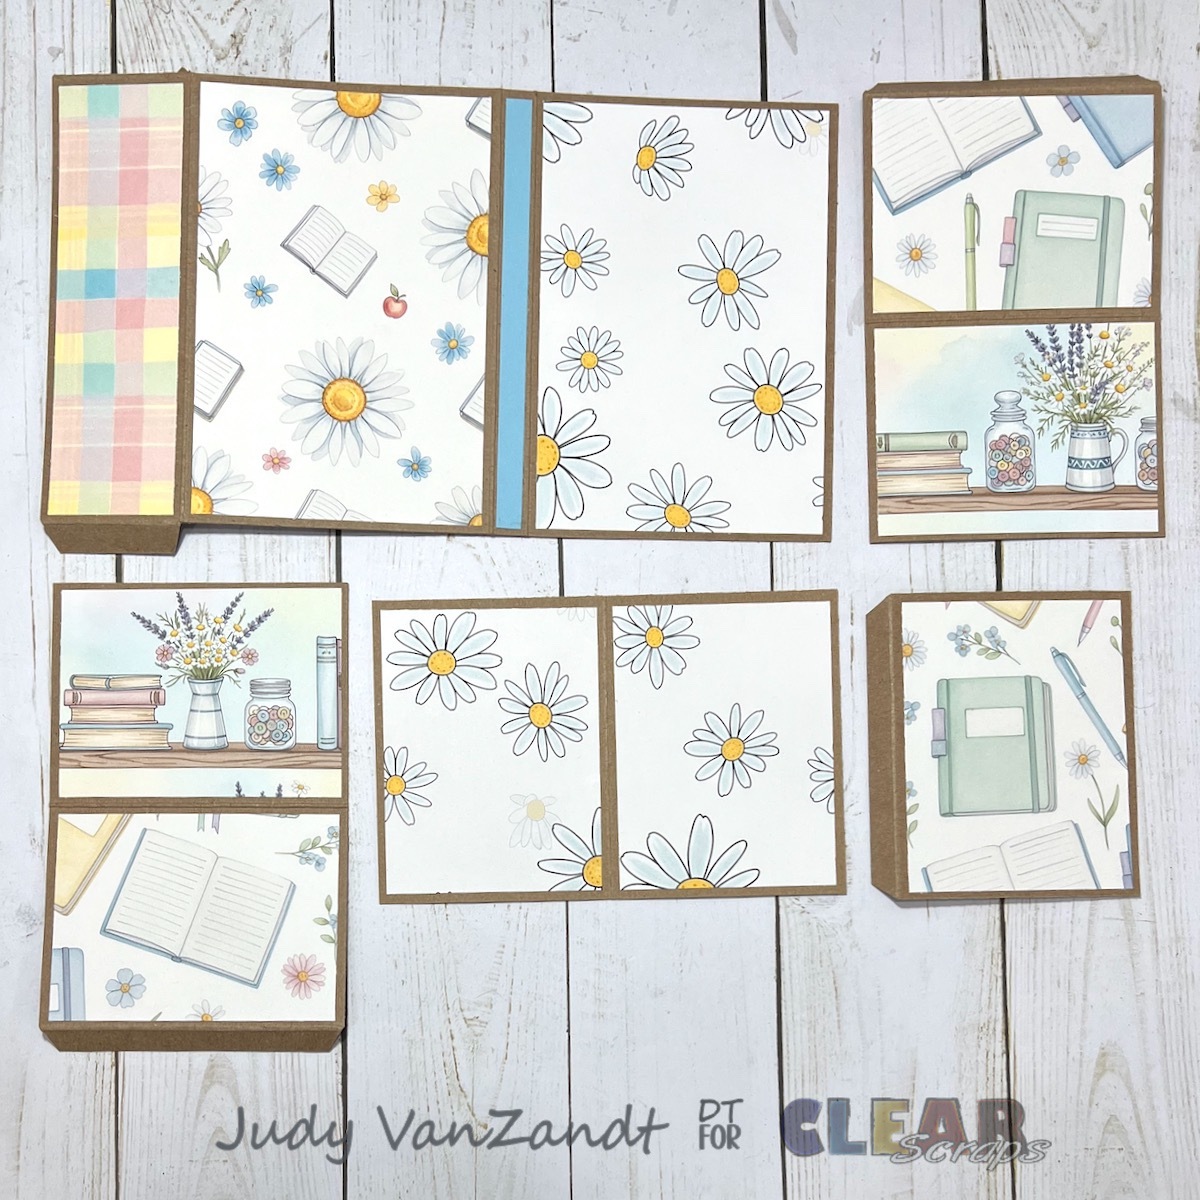
Start the project by cutting a piece of heavy weight card stock to 11 x 7 1/4 inches for the folio cover. Score at 4 1/4, 4 3/4 and 9 inches along the 11 inch side. Score at 1/2 and 6 3/4 inches on the shorter side. Cut away the 1/2 inch score lines down to the 9 inch score line to form tabs for a pocket. Notch the tab portions by cutting from the edge to the score line diagonally.
The next pieces will form the interactive parts of the folio.
Cut 2 pieces of card stock measuring 4 1/8 x 6 3/4 inches. Score these at 1/2 and 3 5/8 on the long side. Notch the 1/2 inch ends as above forming tabs.
Cut 1 piece to 3 7/8 x 4 1/4 inches, Score at 1/2 inch on the 3 7/8 inch side.
Cut 1 piece to 4 1/4 x 6 1/2 inches. Score at 3 1/4 inches on the longer side.
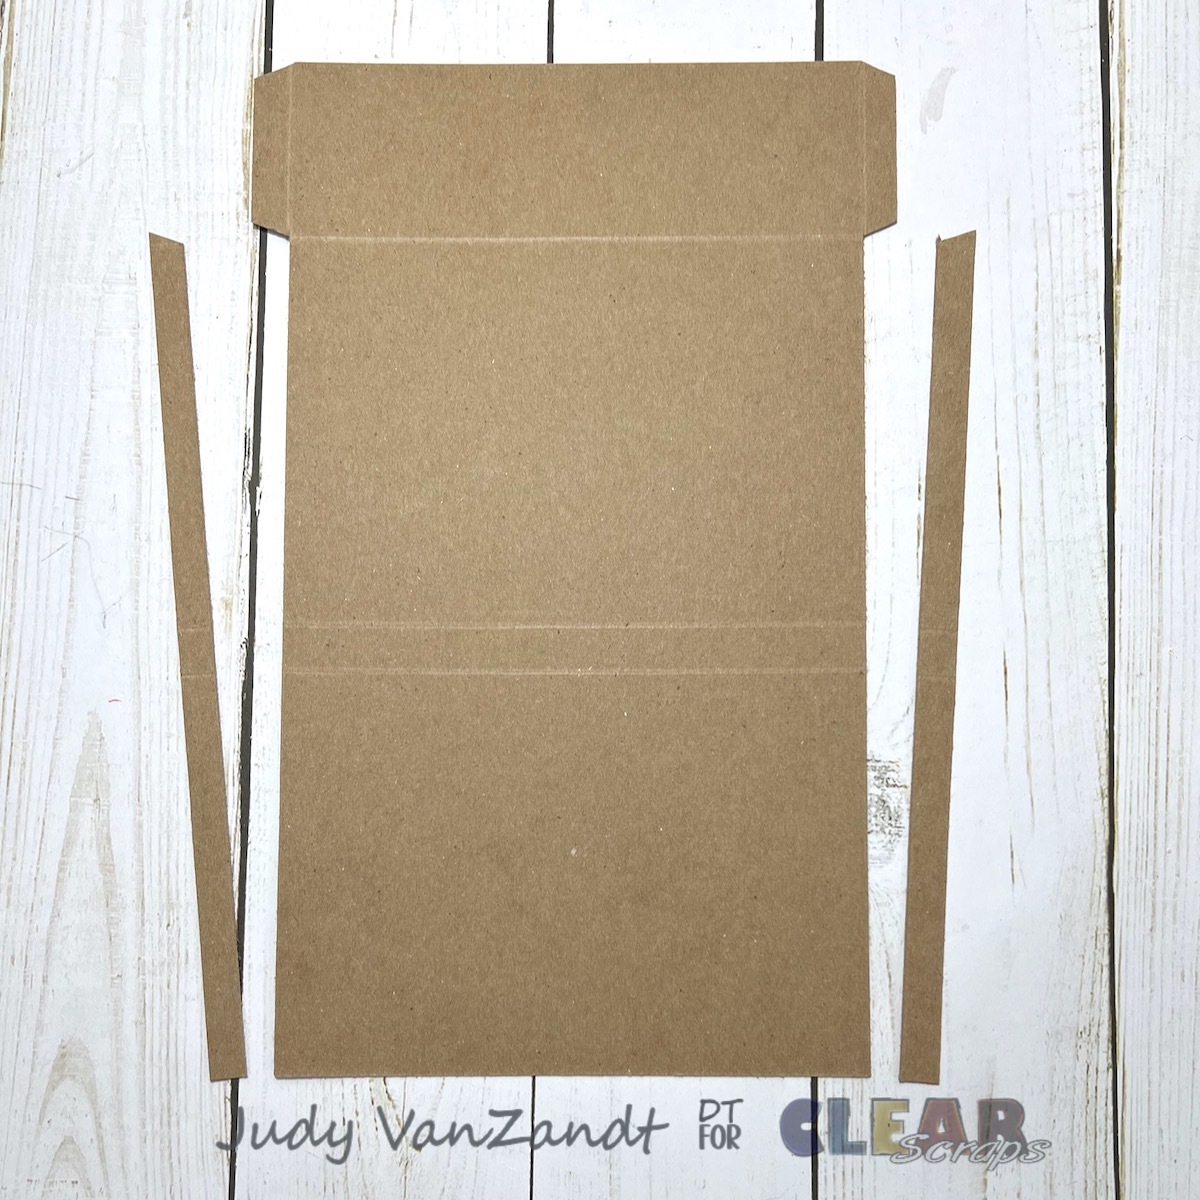
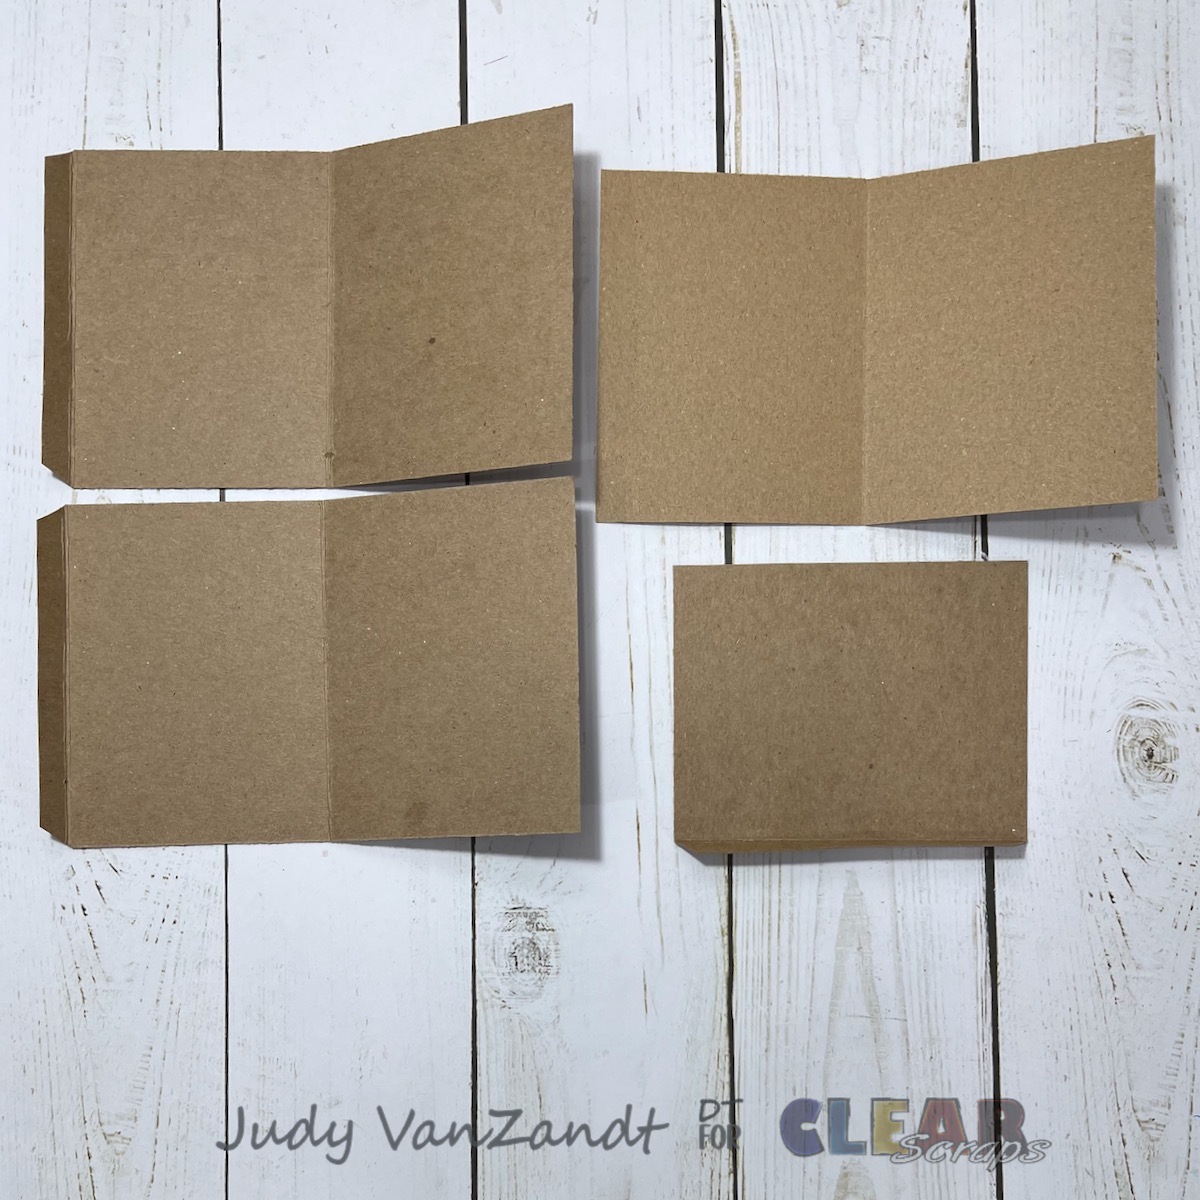
Choose pattern papers and/or solid card stock to cover all sides of the folio pieces except the inside part of the cover that will form the pocket and the inside front cover. Each of these pieces are cut 1/4 inch smaller than the panels.
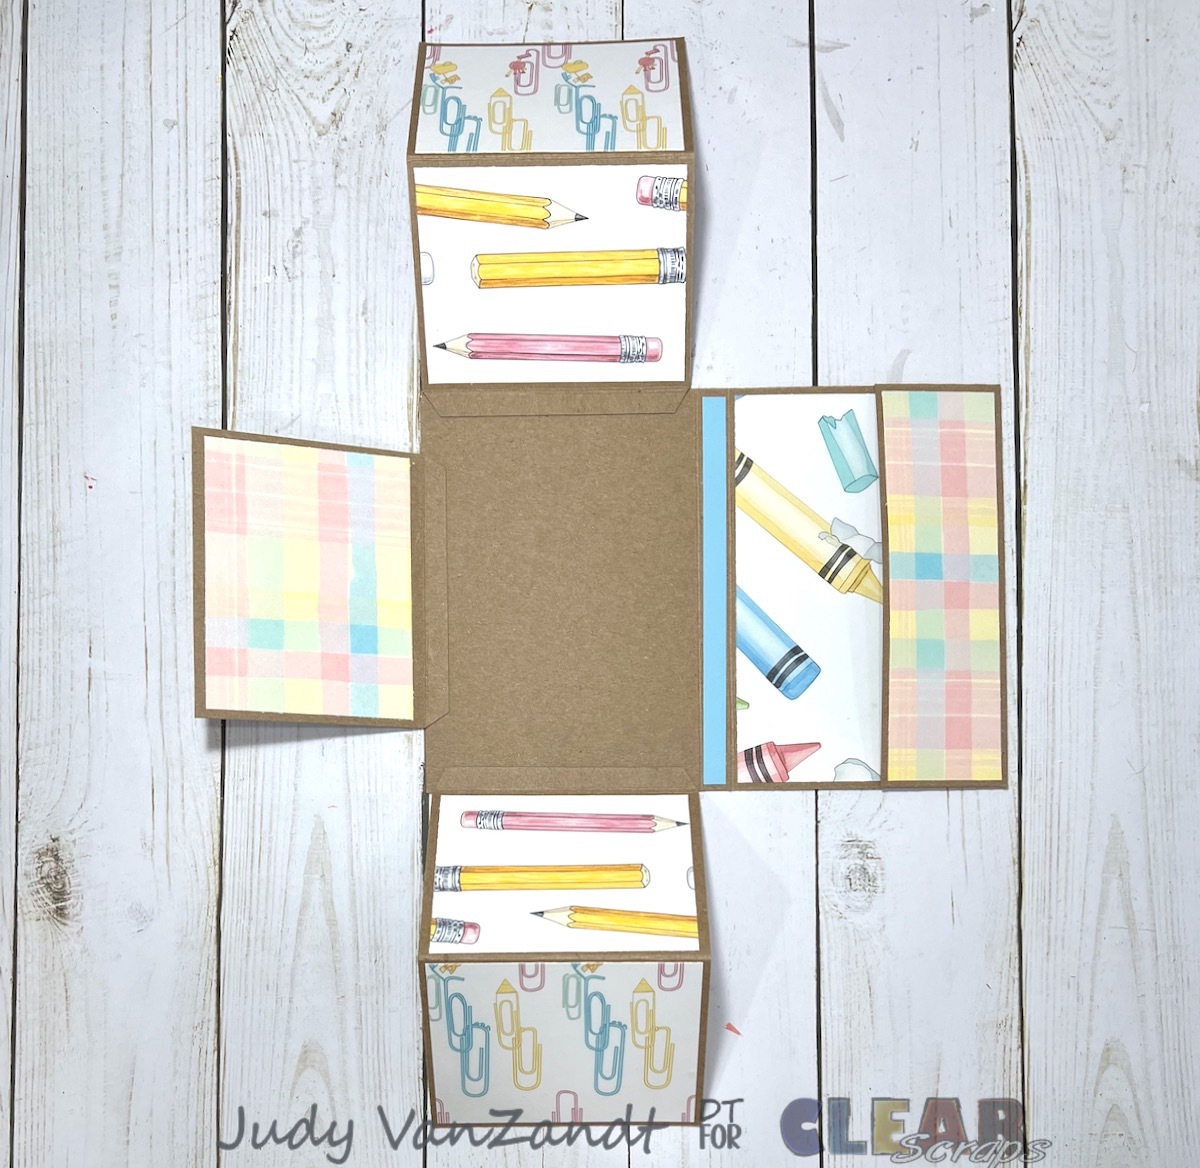
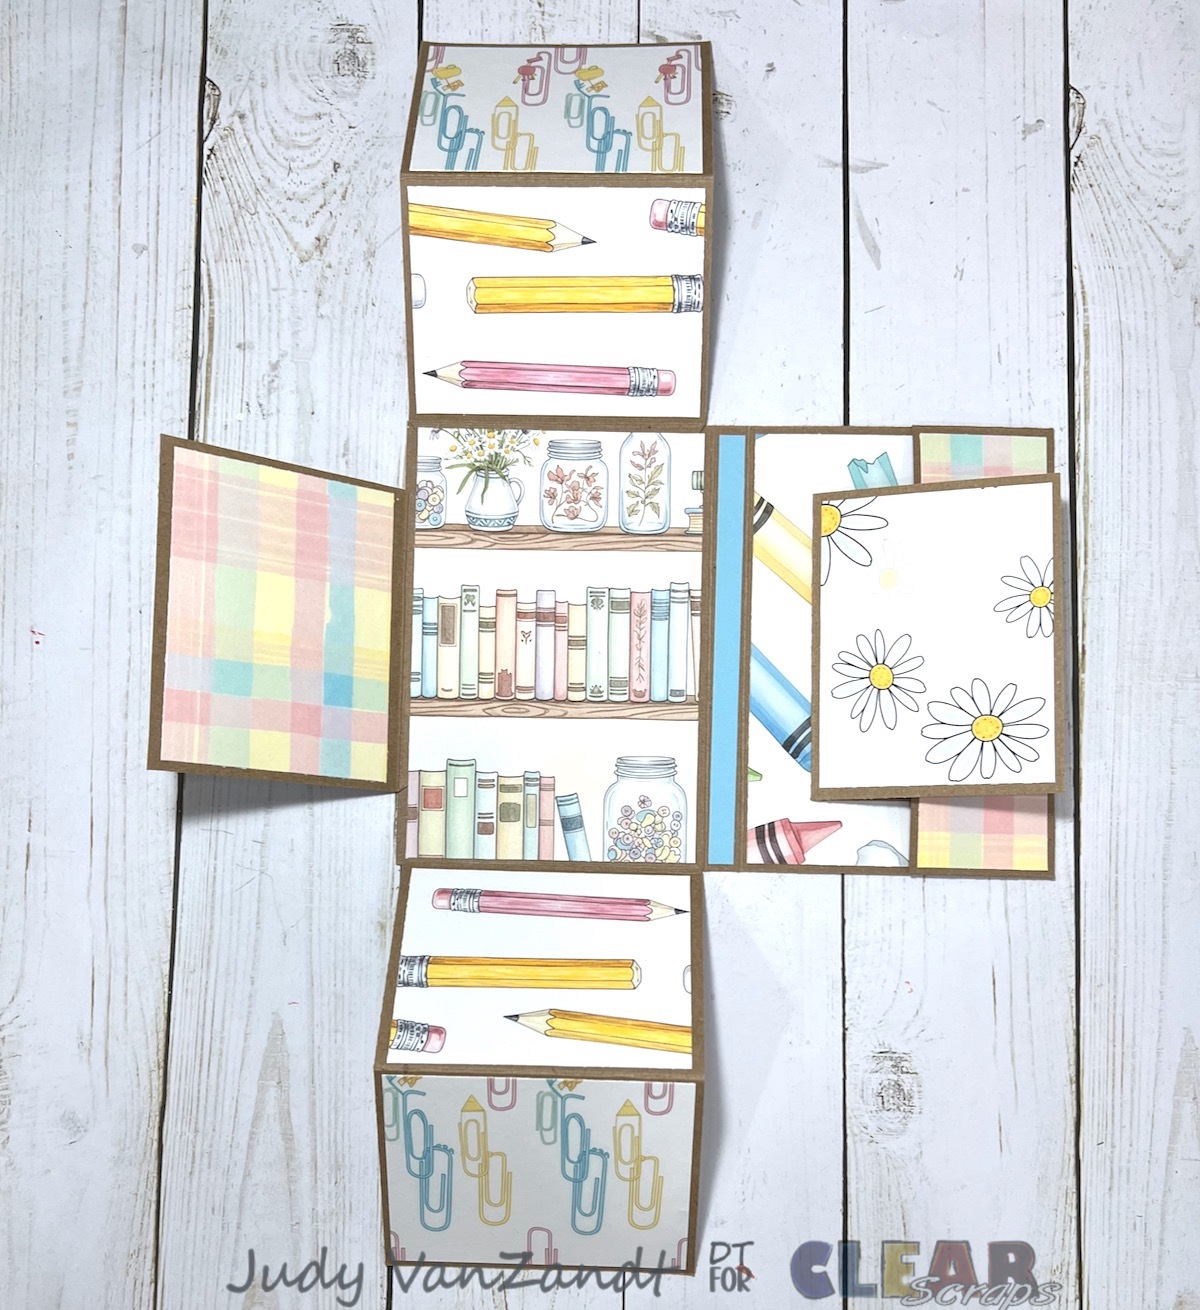
Adhere the 3 panels with tabs to the inside of the front cover. Fold and glue the tabs for the pocket on the inside back cover. See photo on the left for reference.
Add a piece of pattern paper or card stock to the inside front cover to hide the adhered tabs.
With the construction of the folio complete it’s time to embellish the front cover with the chipboard pieces.
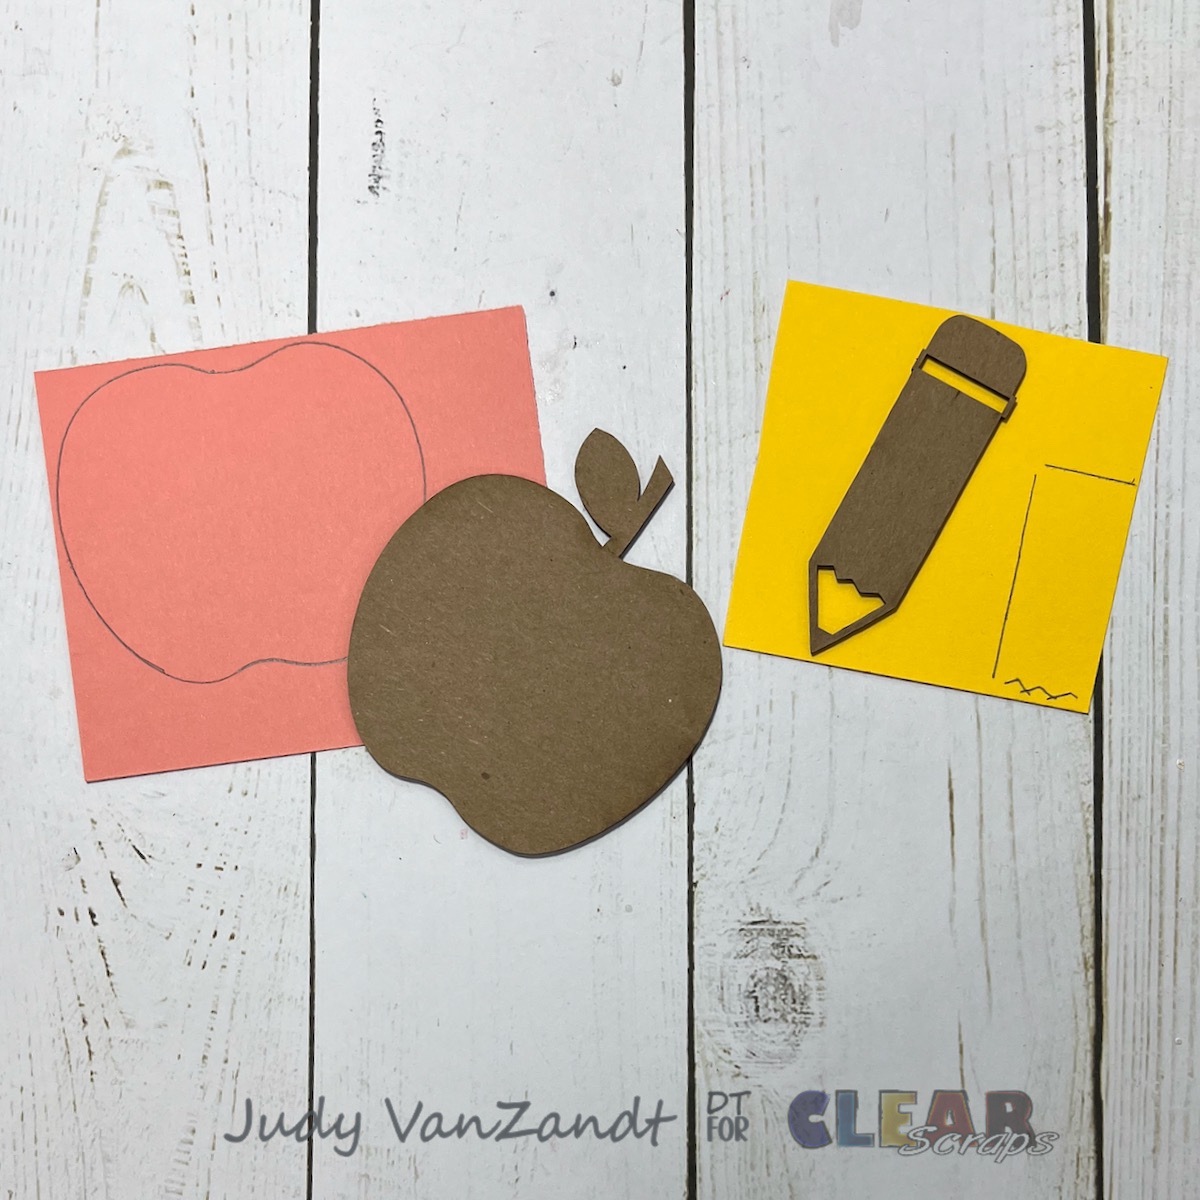
Trace the apple and pencil onto the backside of cardstock.
Cut and add some shading with ink.
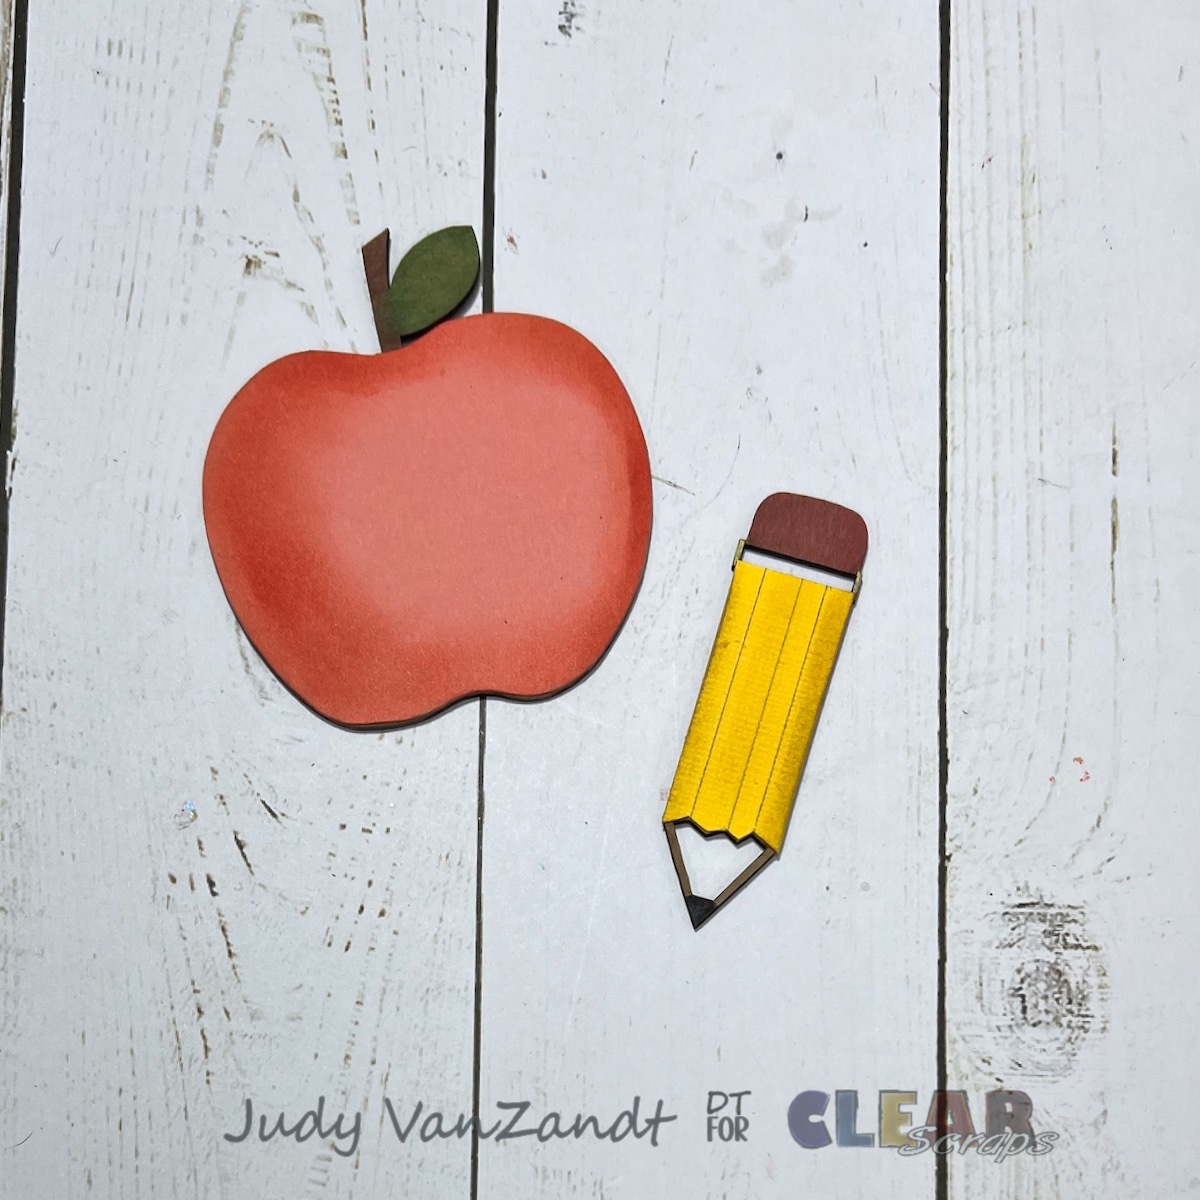
Adhere the card stock to the chipboard. Add color to the leaf & stem on the apple and eraser and lead on the pencil with markers.

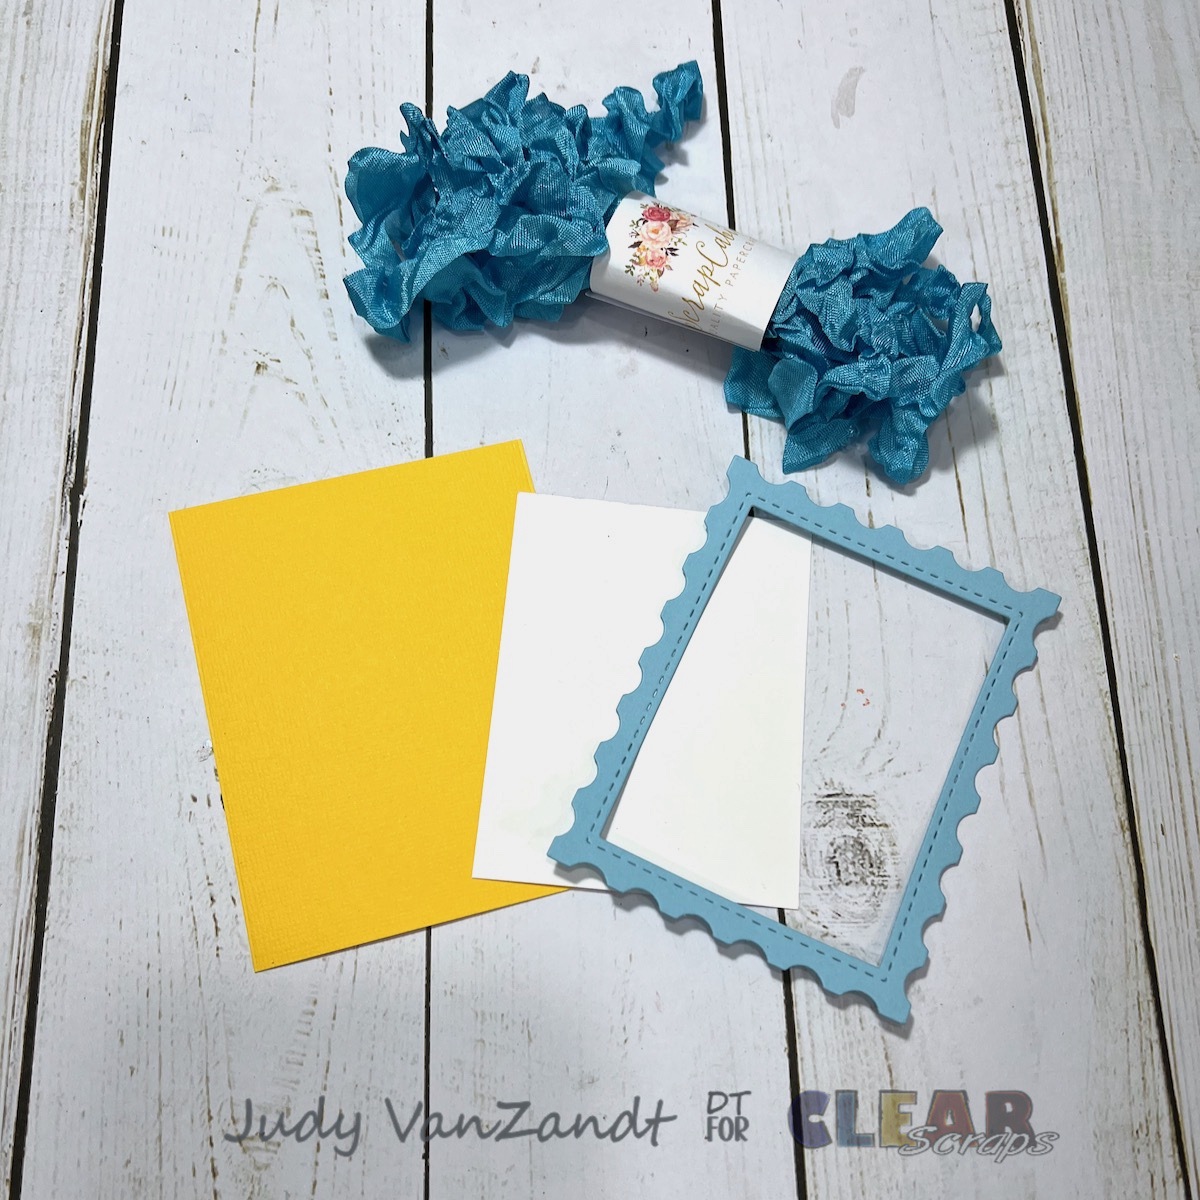
Before adhering the chipboard to the front, add a ribbon for closure and die cut frame to cover the ribbon.
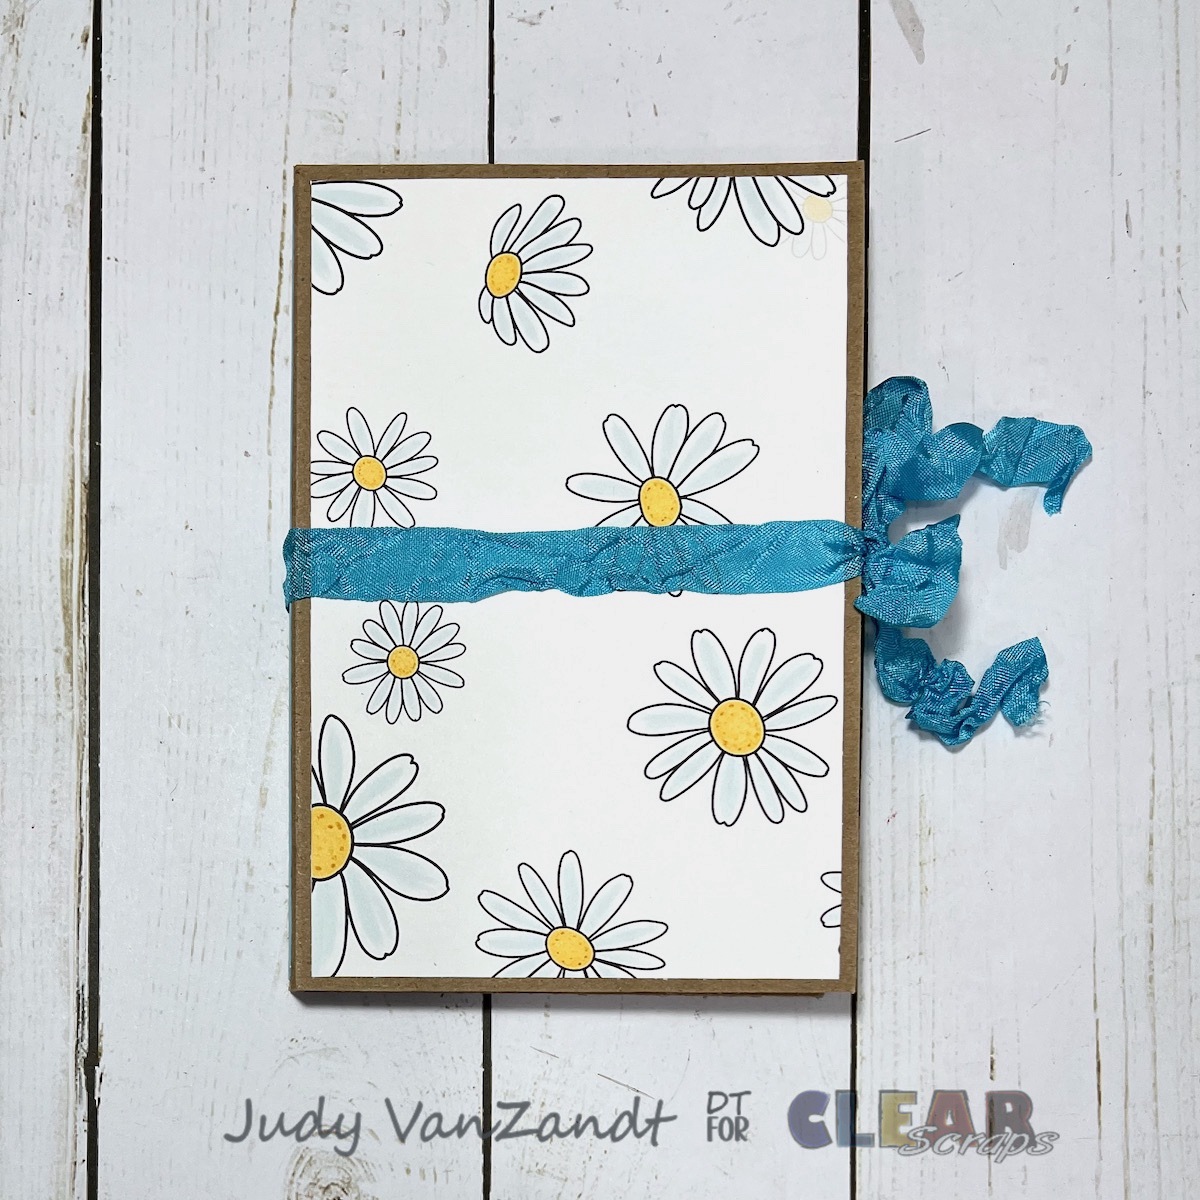
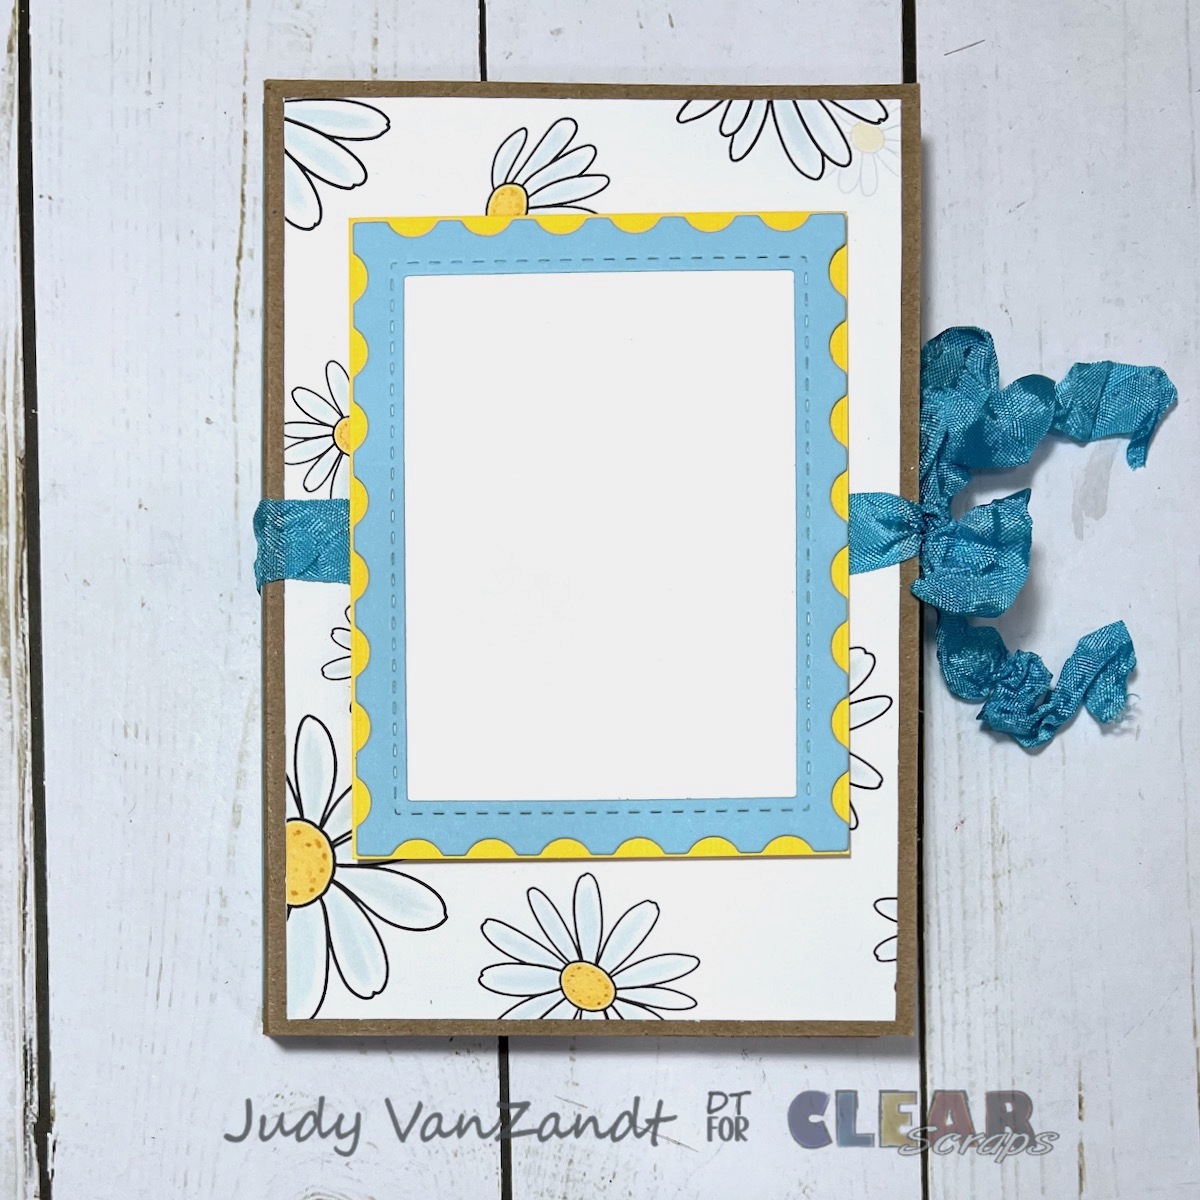
Adhere the chipboard to the frame to complete. Add a “school days” title to the apple with stickers or die cuts.
The interactive sections can be customized to fit your needs. Add photo mats, pockets for memorabilia, flip-out pages, journaling spots, or even handwritten notes from teachers and classmates. It’s a wonderful project that can grow along with a student’s memories throughout the school year.
This folio would make a thoughtful back-to-school gift, a teacher appreciation keepsake, or a memorable way to celebrate the first and last days of school.
I hope this project inspires you to create a special place for preserving school memories.




Leave a Reply