Hello Craft Friends!
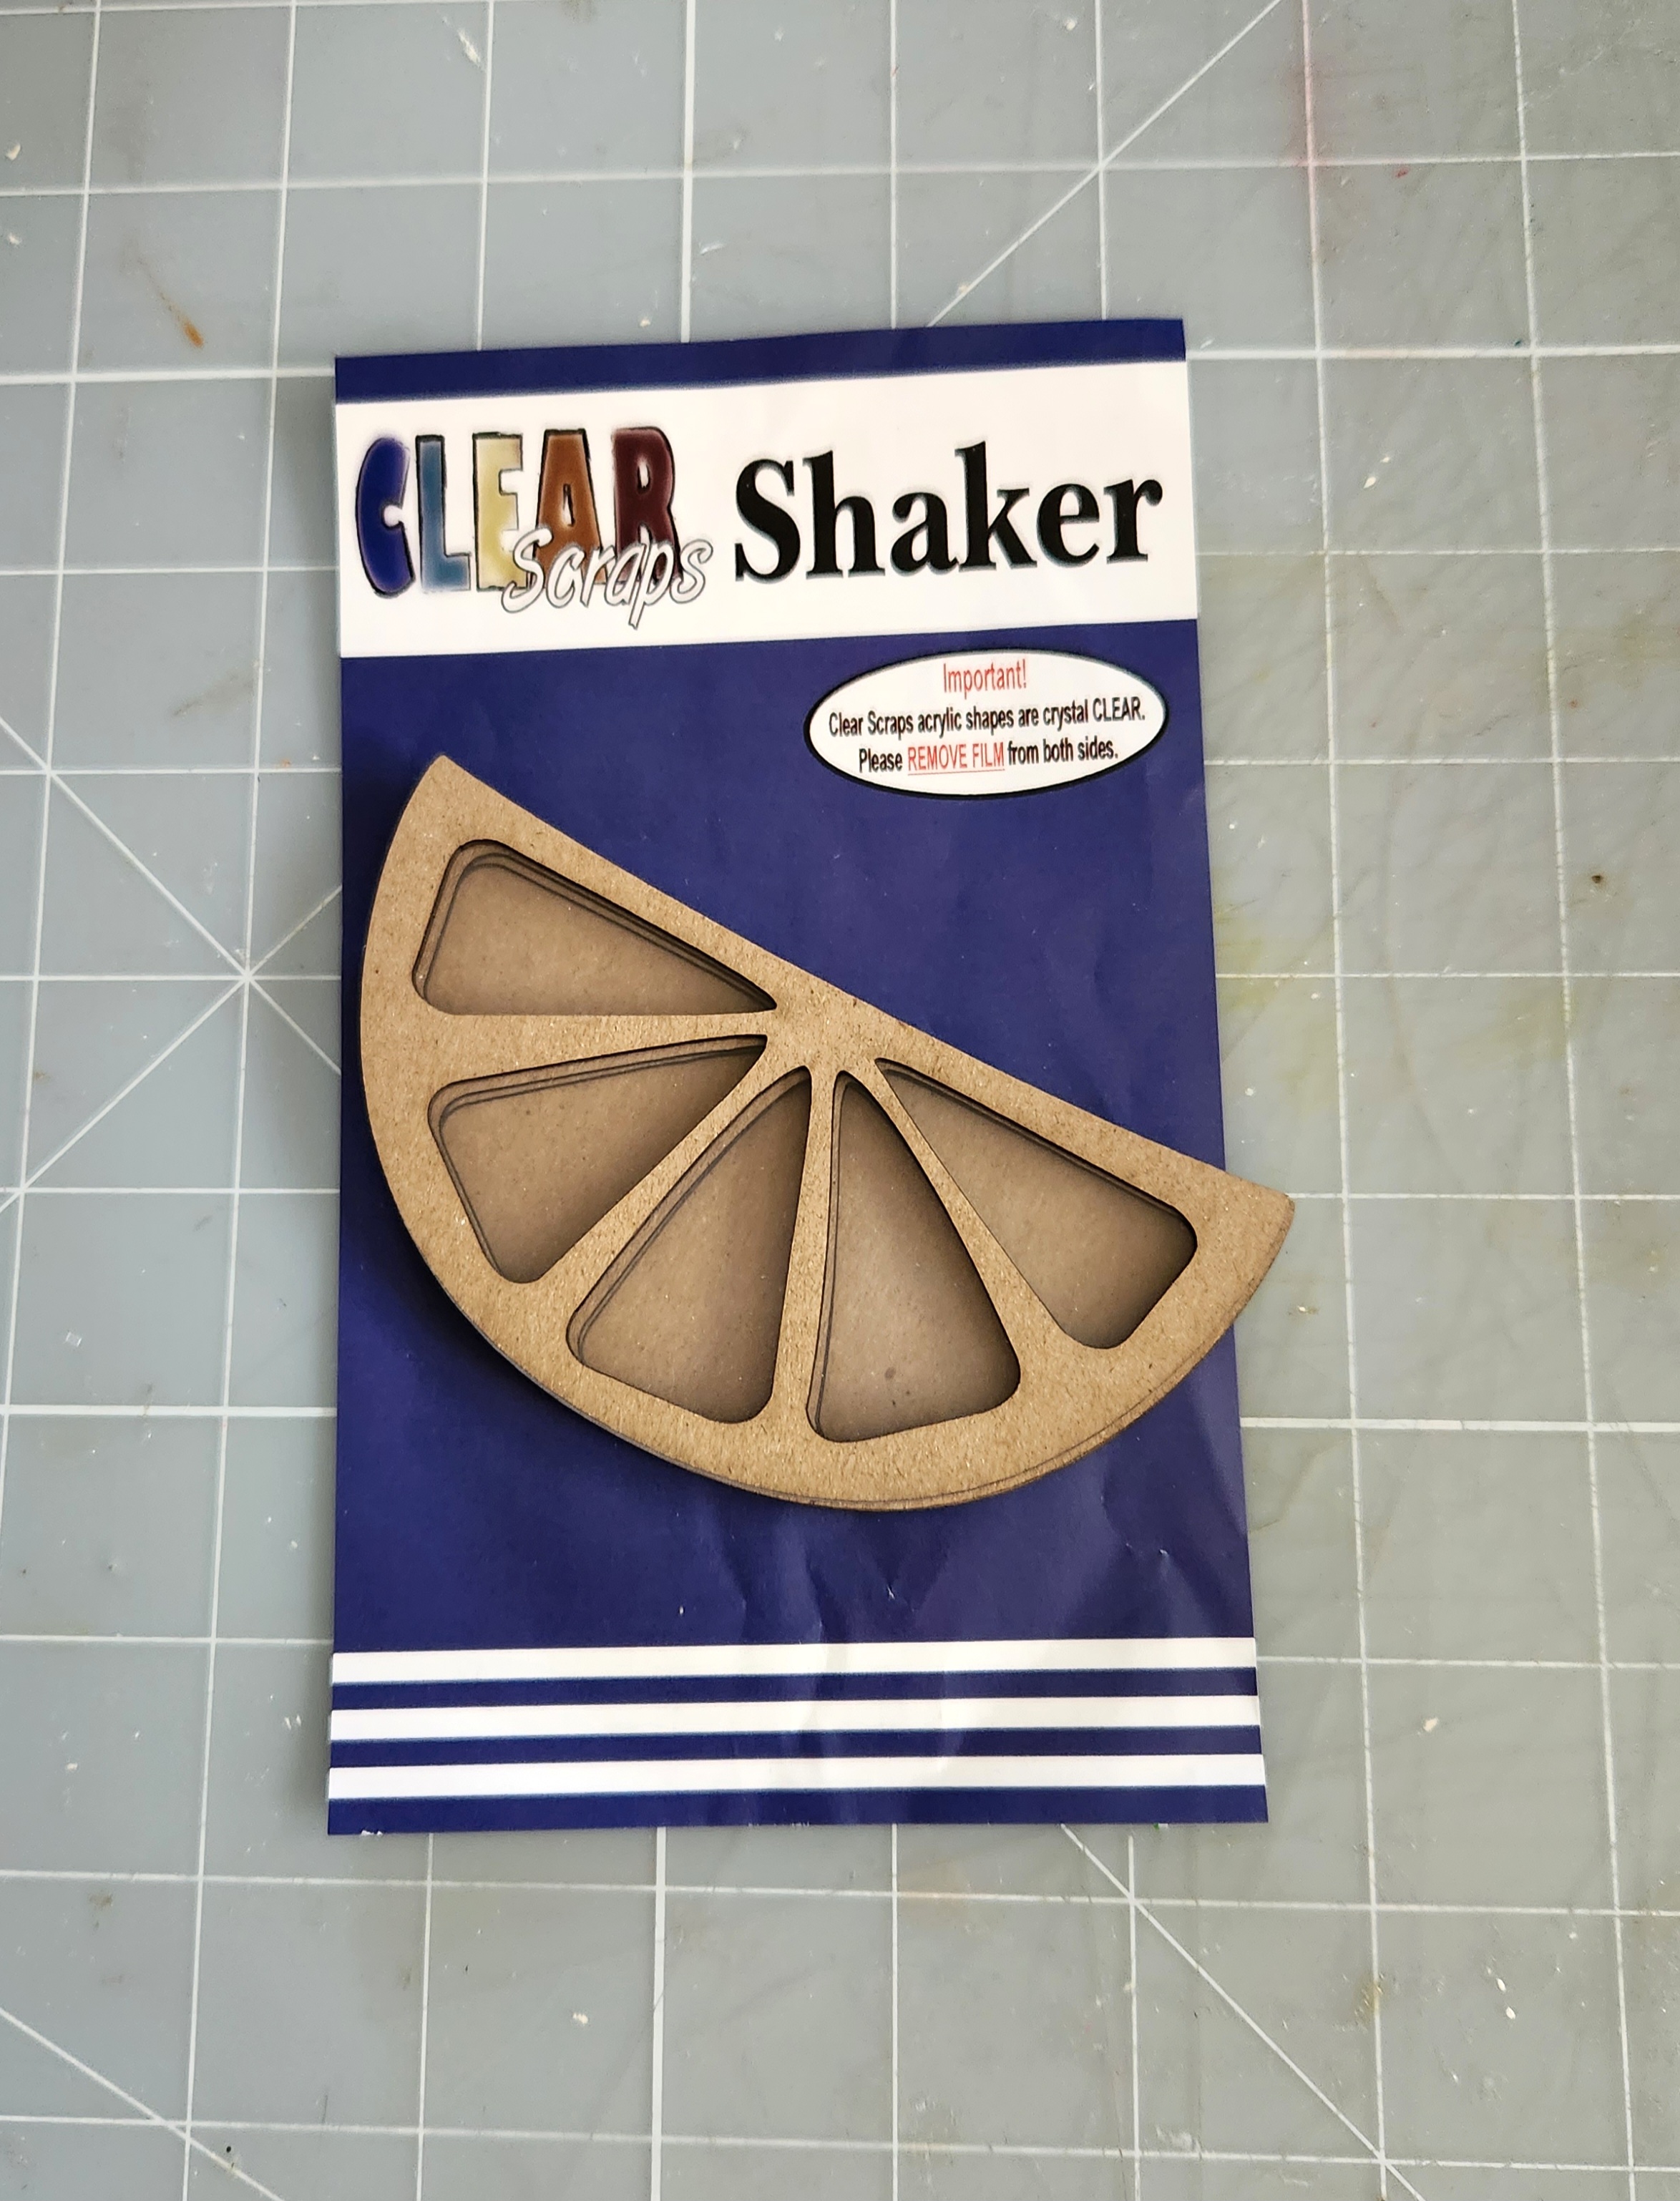
Happy July! Hope you are all enjoying the Summer season so far. I have a Home Decor project to share featuring the new Mini Shaker "Lemon Slice" from Clear Scraps! Click here
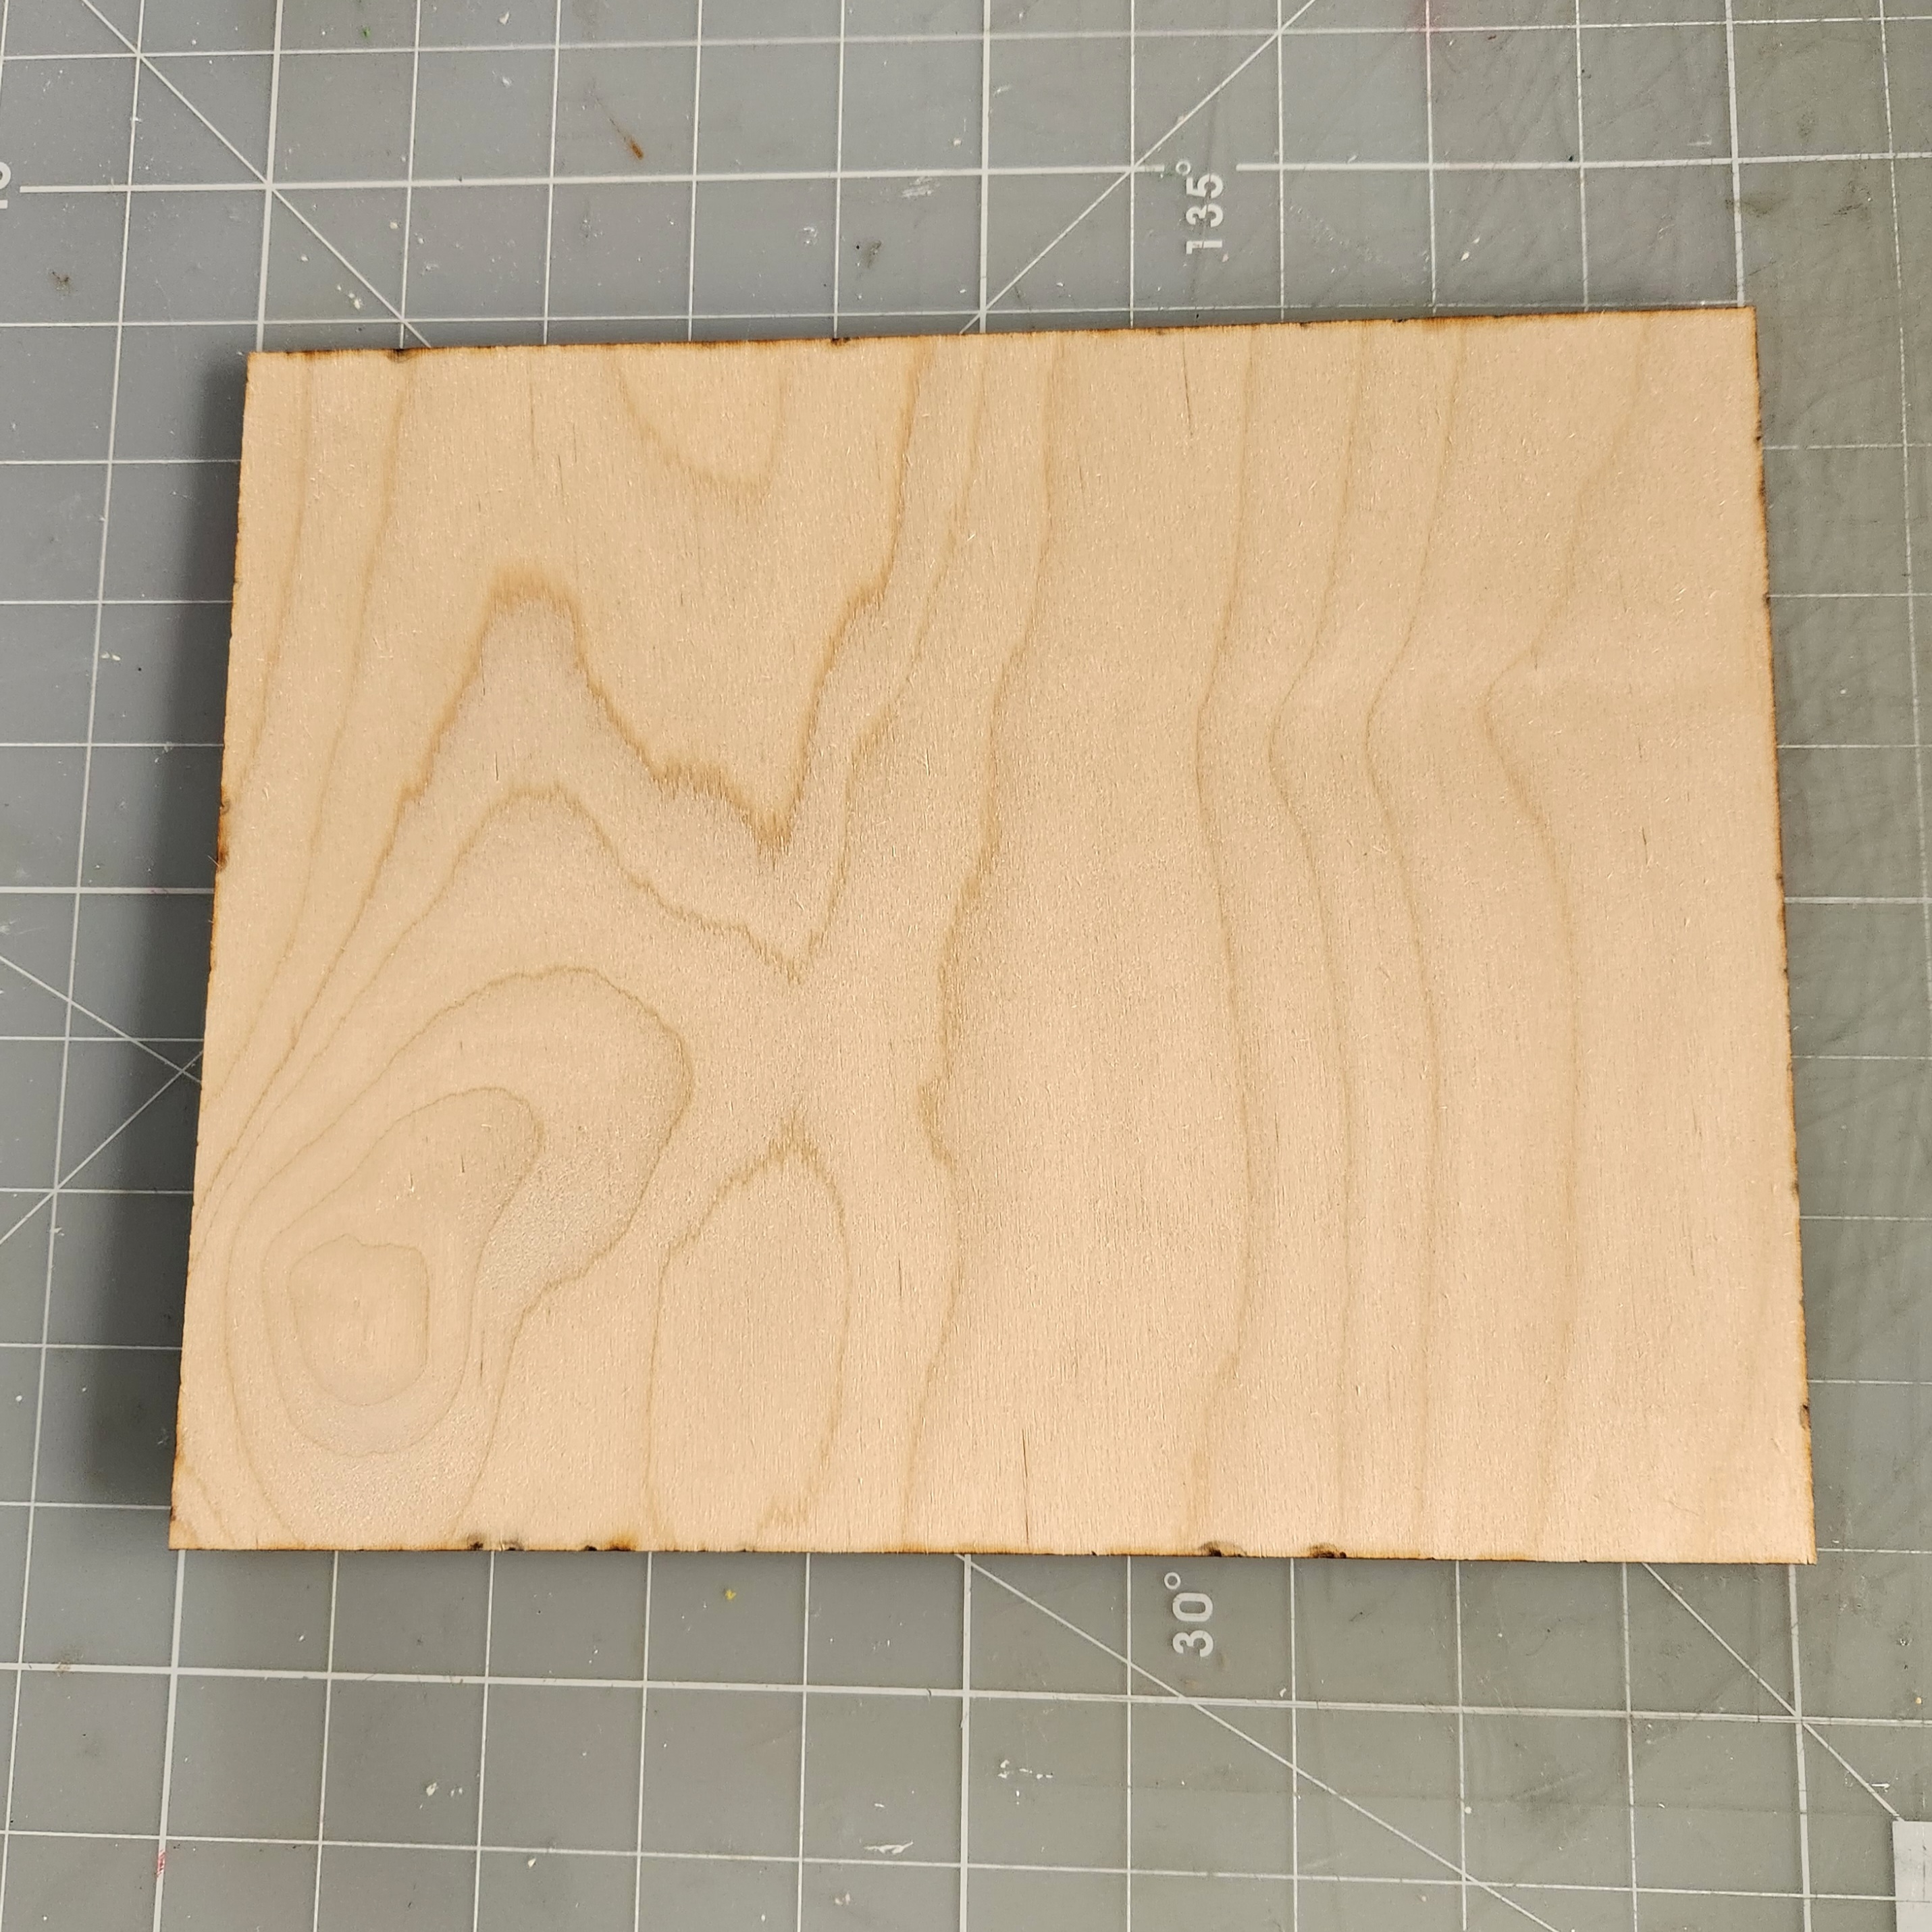
Lemons and Summer go together! Who doesn't like to cool off with a nice tall glass of Lemonade! For the base of my project, I'm using Clear Scraps Rectangle Wood shape. This item is discontinued however you can use any of our Shiplap shapes as your base. Click here
My wood base measures 10 x 7 7/8 inches.
The papers I chose are from Prima Marketing "Fruit Paradise" Let's get started.
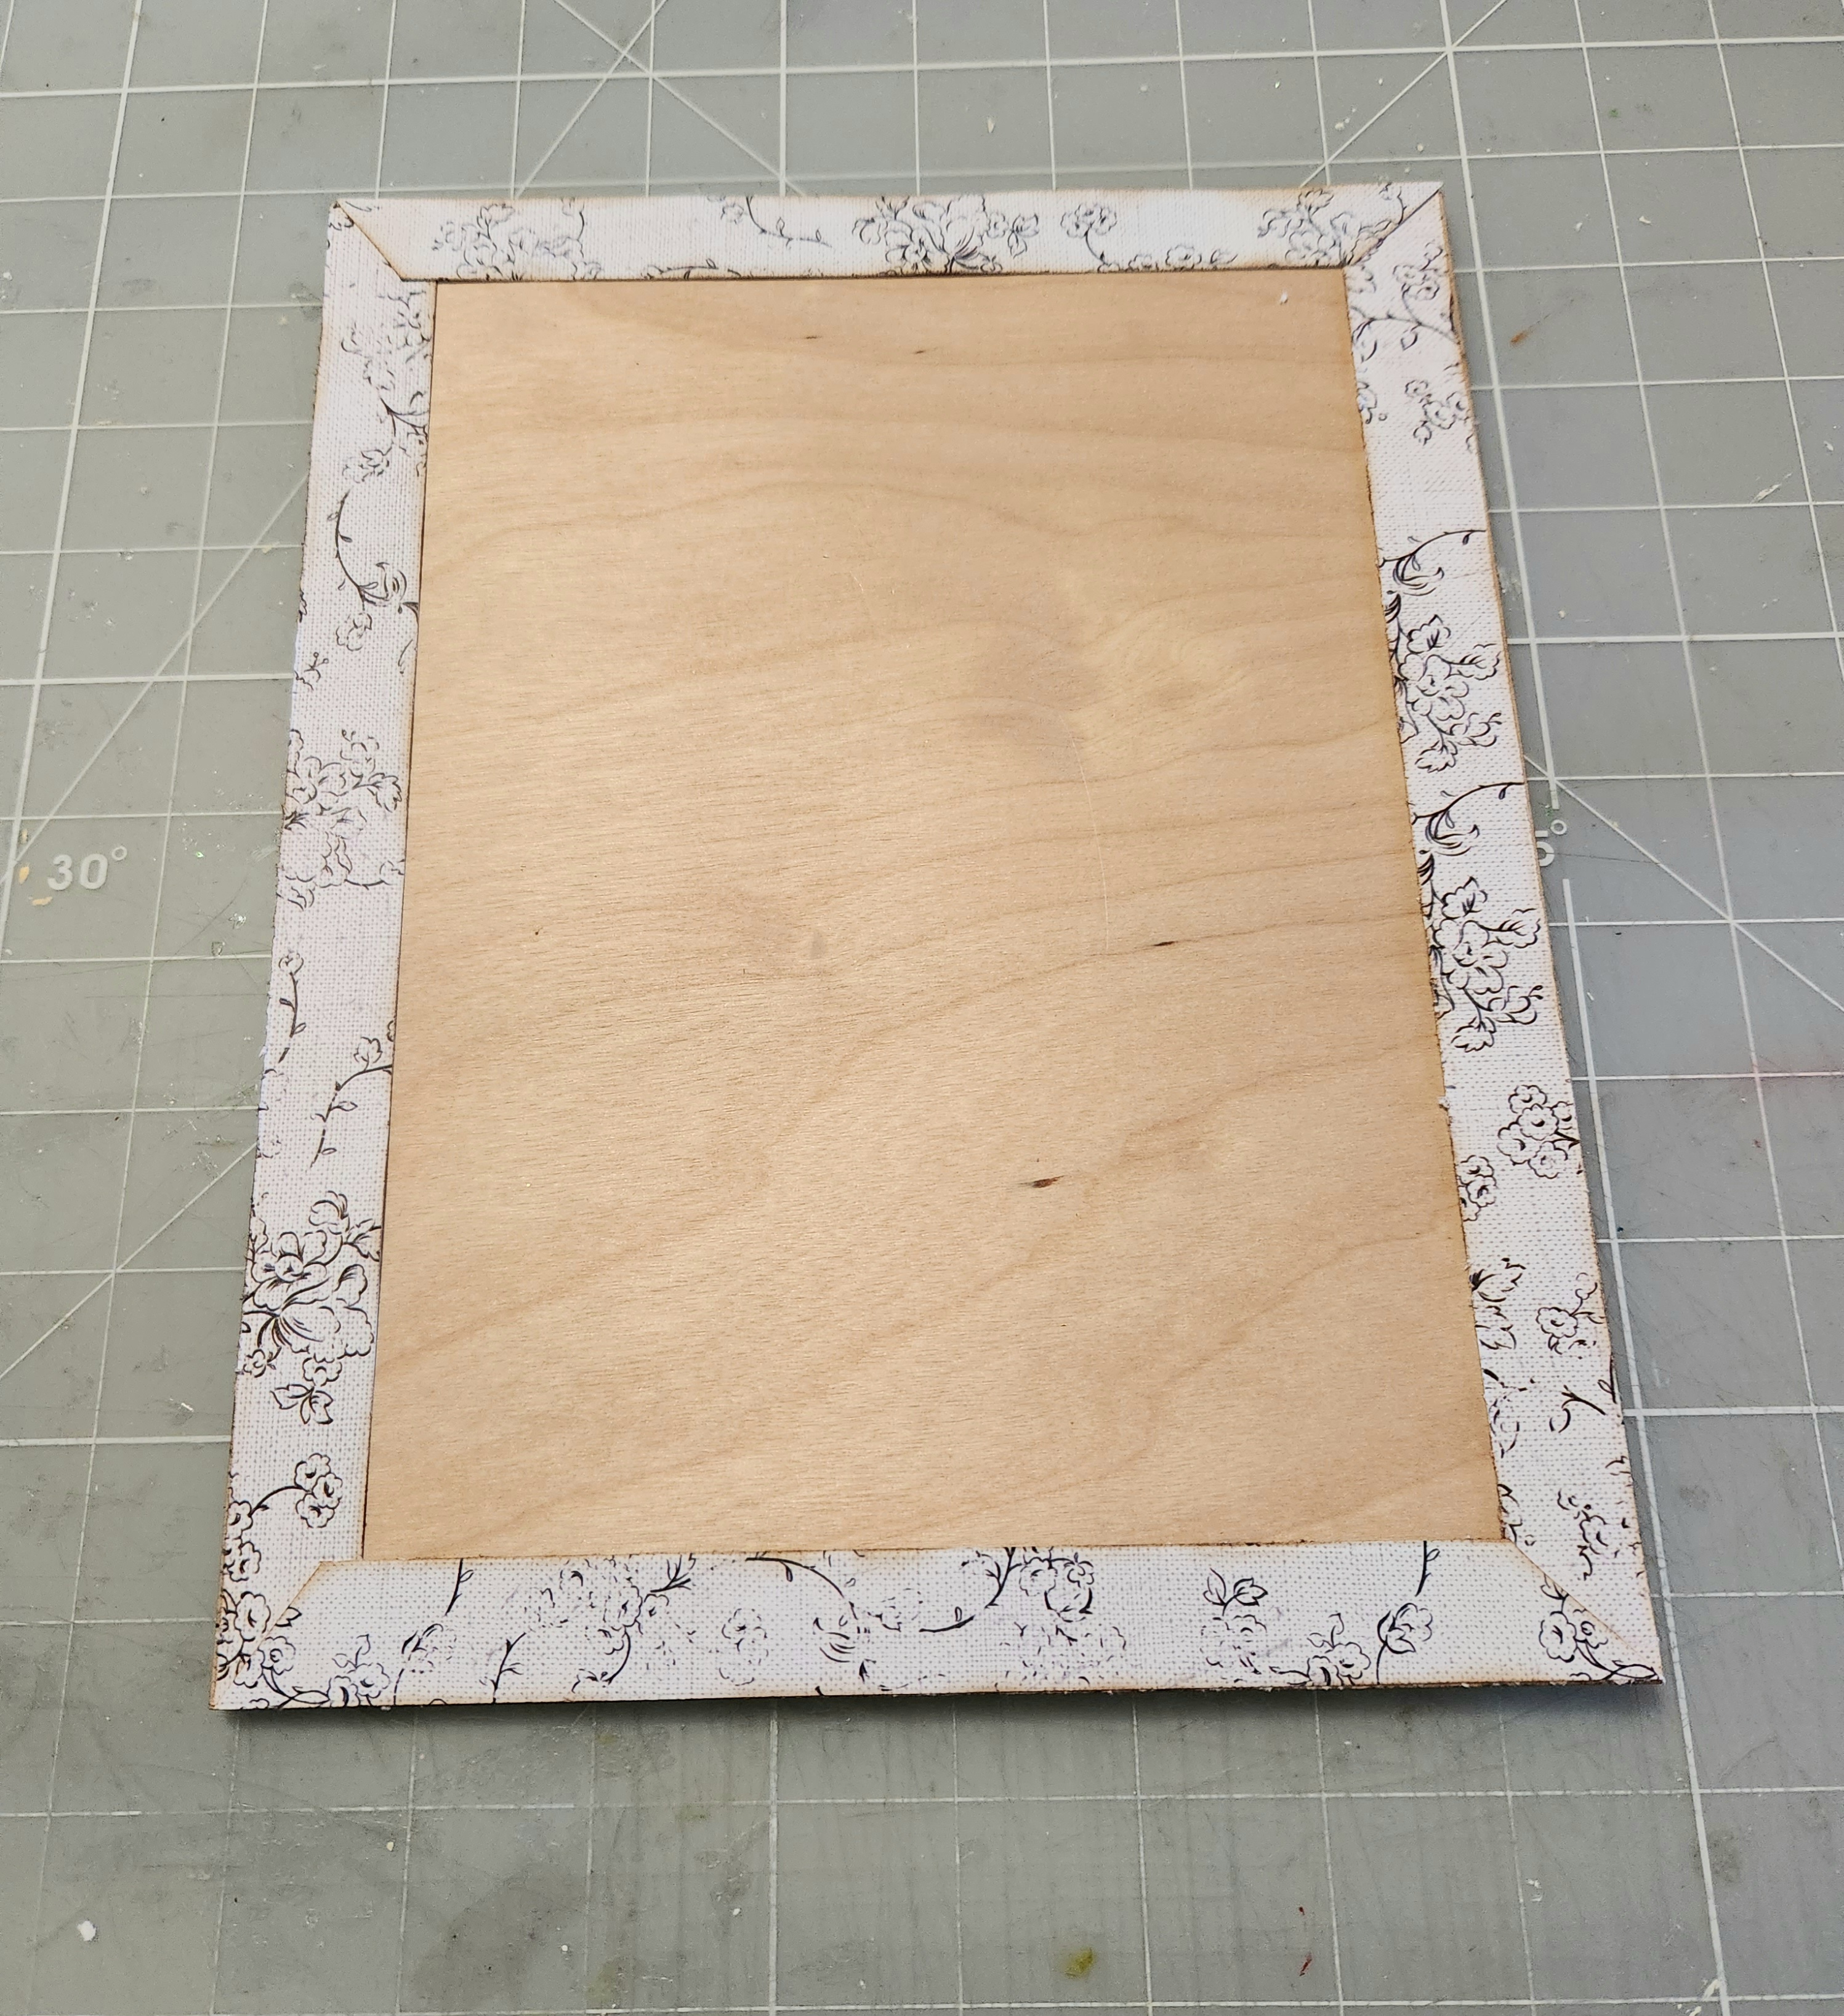
I took one of my patterned papers and cut 2 strips measuring 3/4 x 8 & 1/4 inches. And I cut another 2 strips to measure 3/4 x 10 inches. I inked along the edges of my paper strips using Distress Ink Gathered Twigs. I glued my strips along the outside edges of my wood base, and mitered the corners to make a nice clean look. Here's a photo!
Then I chose another coordinating paper measuring 7 & 1/4 x 9 & 1/2 inches, and adhered to my Wood base using foam tape on the backside. This adds dimension. Here's a photo: 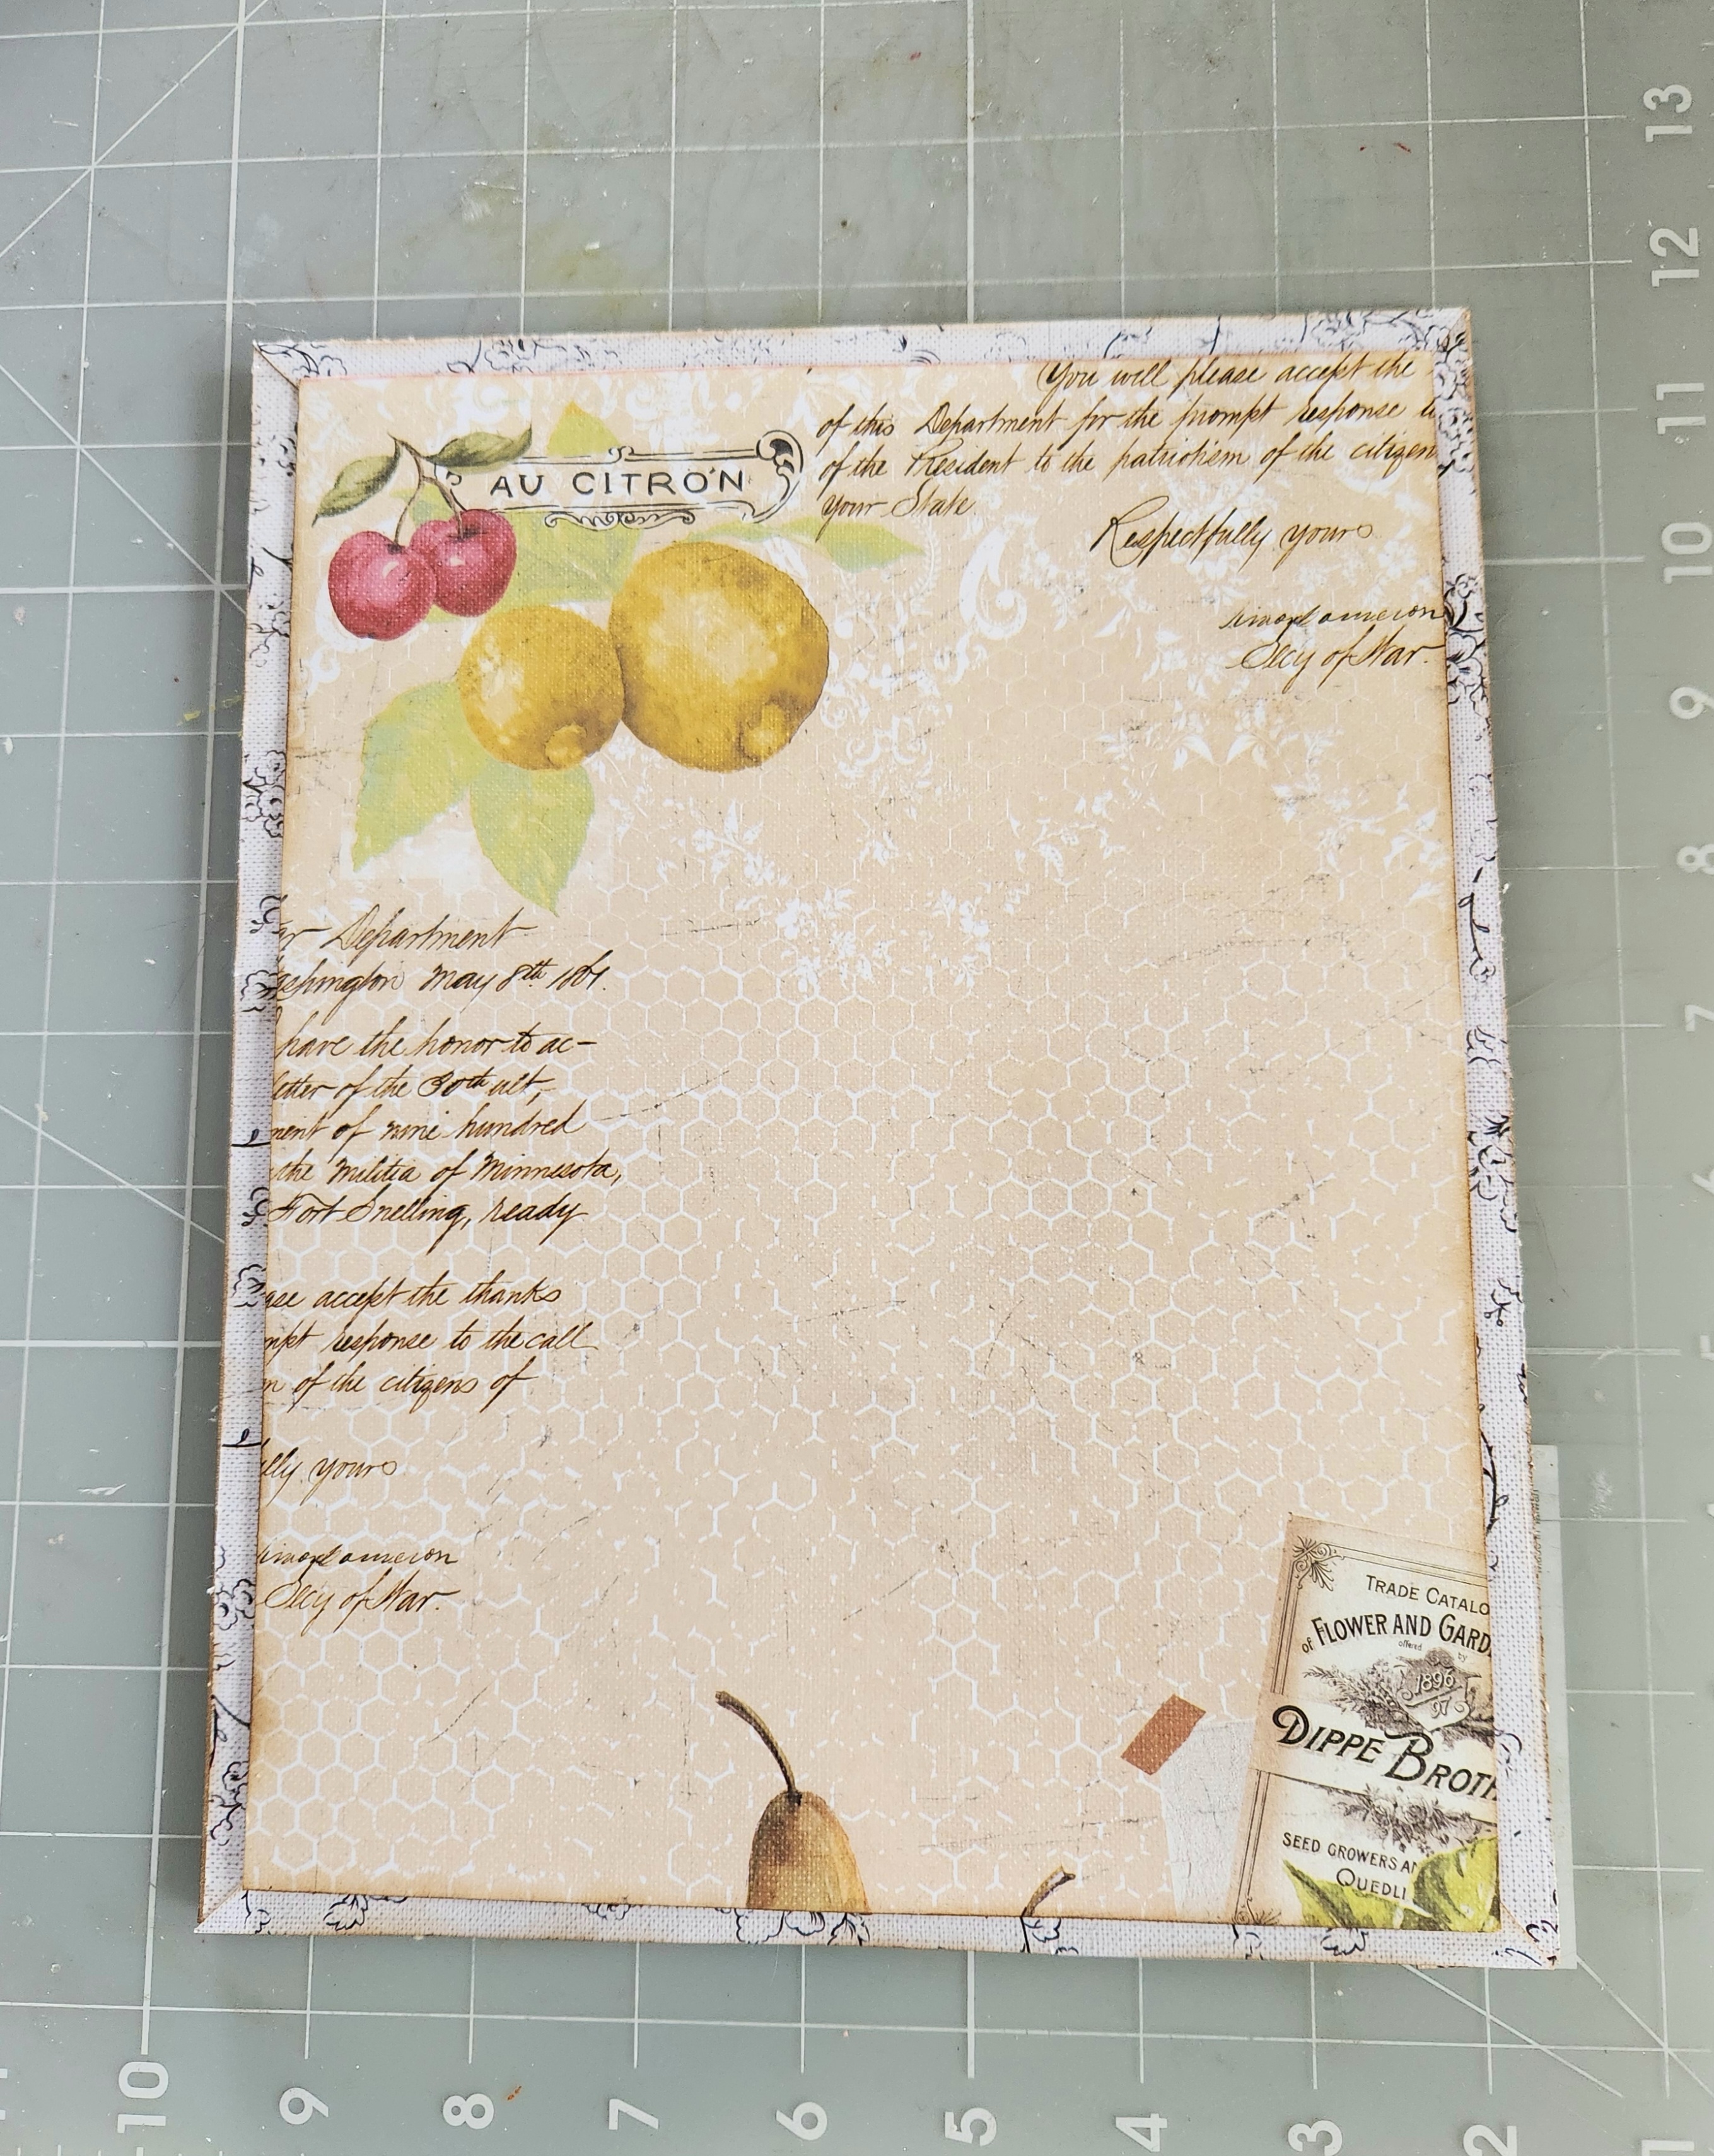
Set your wood piece aside for now. Next we will work on our mini shaker. Remove your shaker pieces from your package. I applied some Folkart "Day Break" acrylic paint to the top piece of my shaker as well as along all sides. Let dry.
Taking your bottom shaker piece I traced onto another patterned paper. Trimmed away any excess paper using my x-acto knife. Distress any rough edges using your Distress tool. Here's a photo!
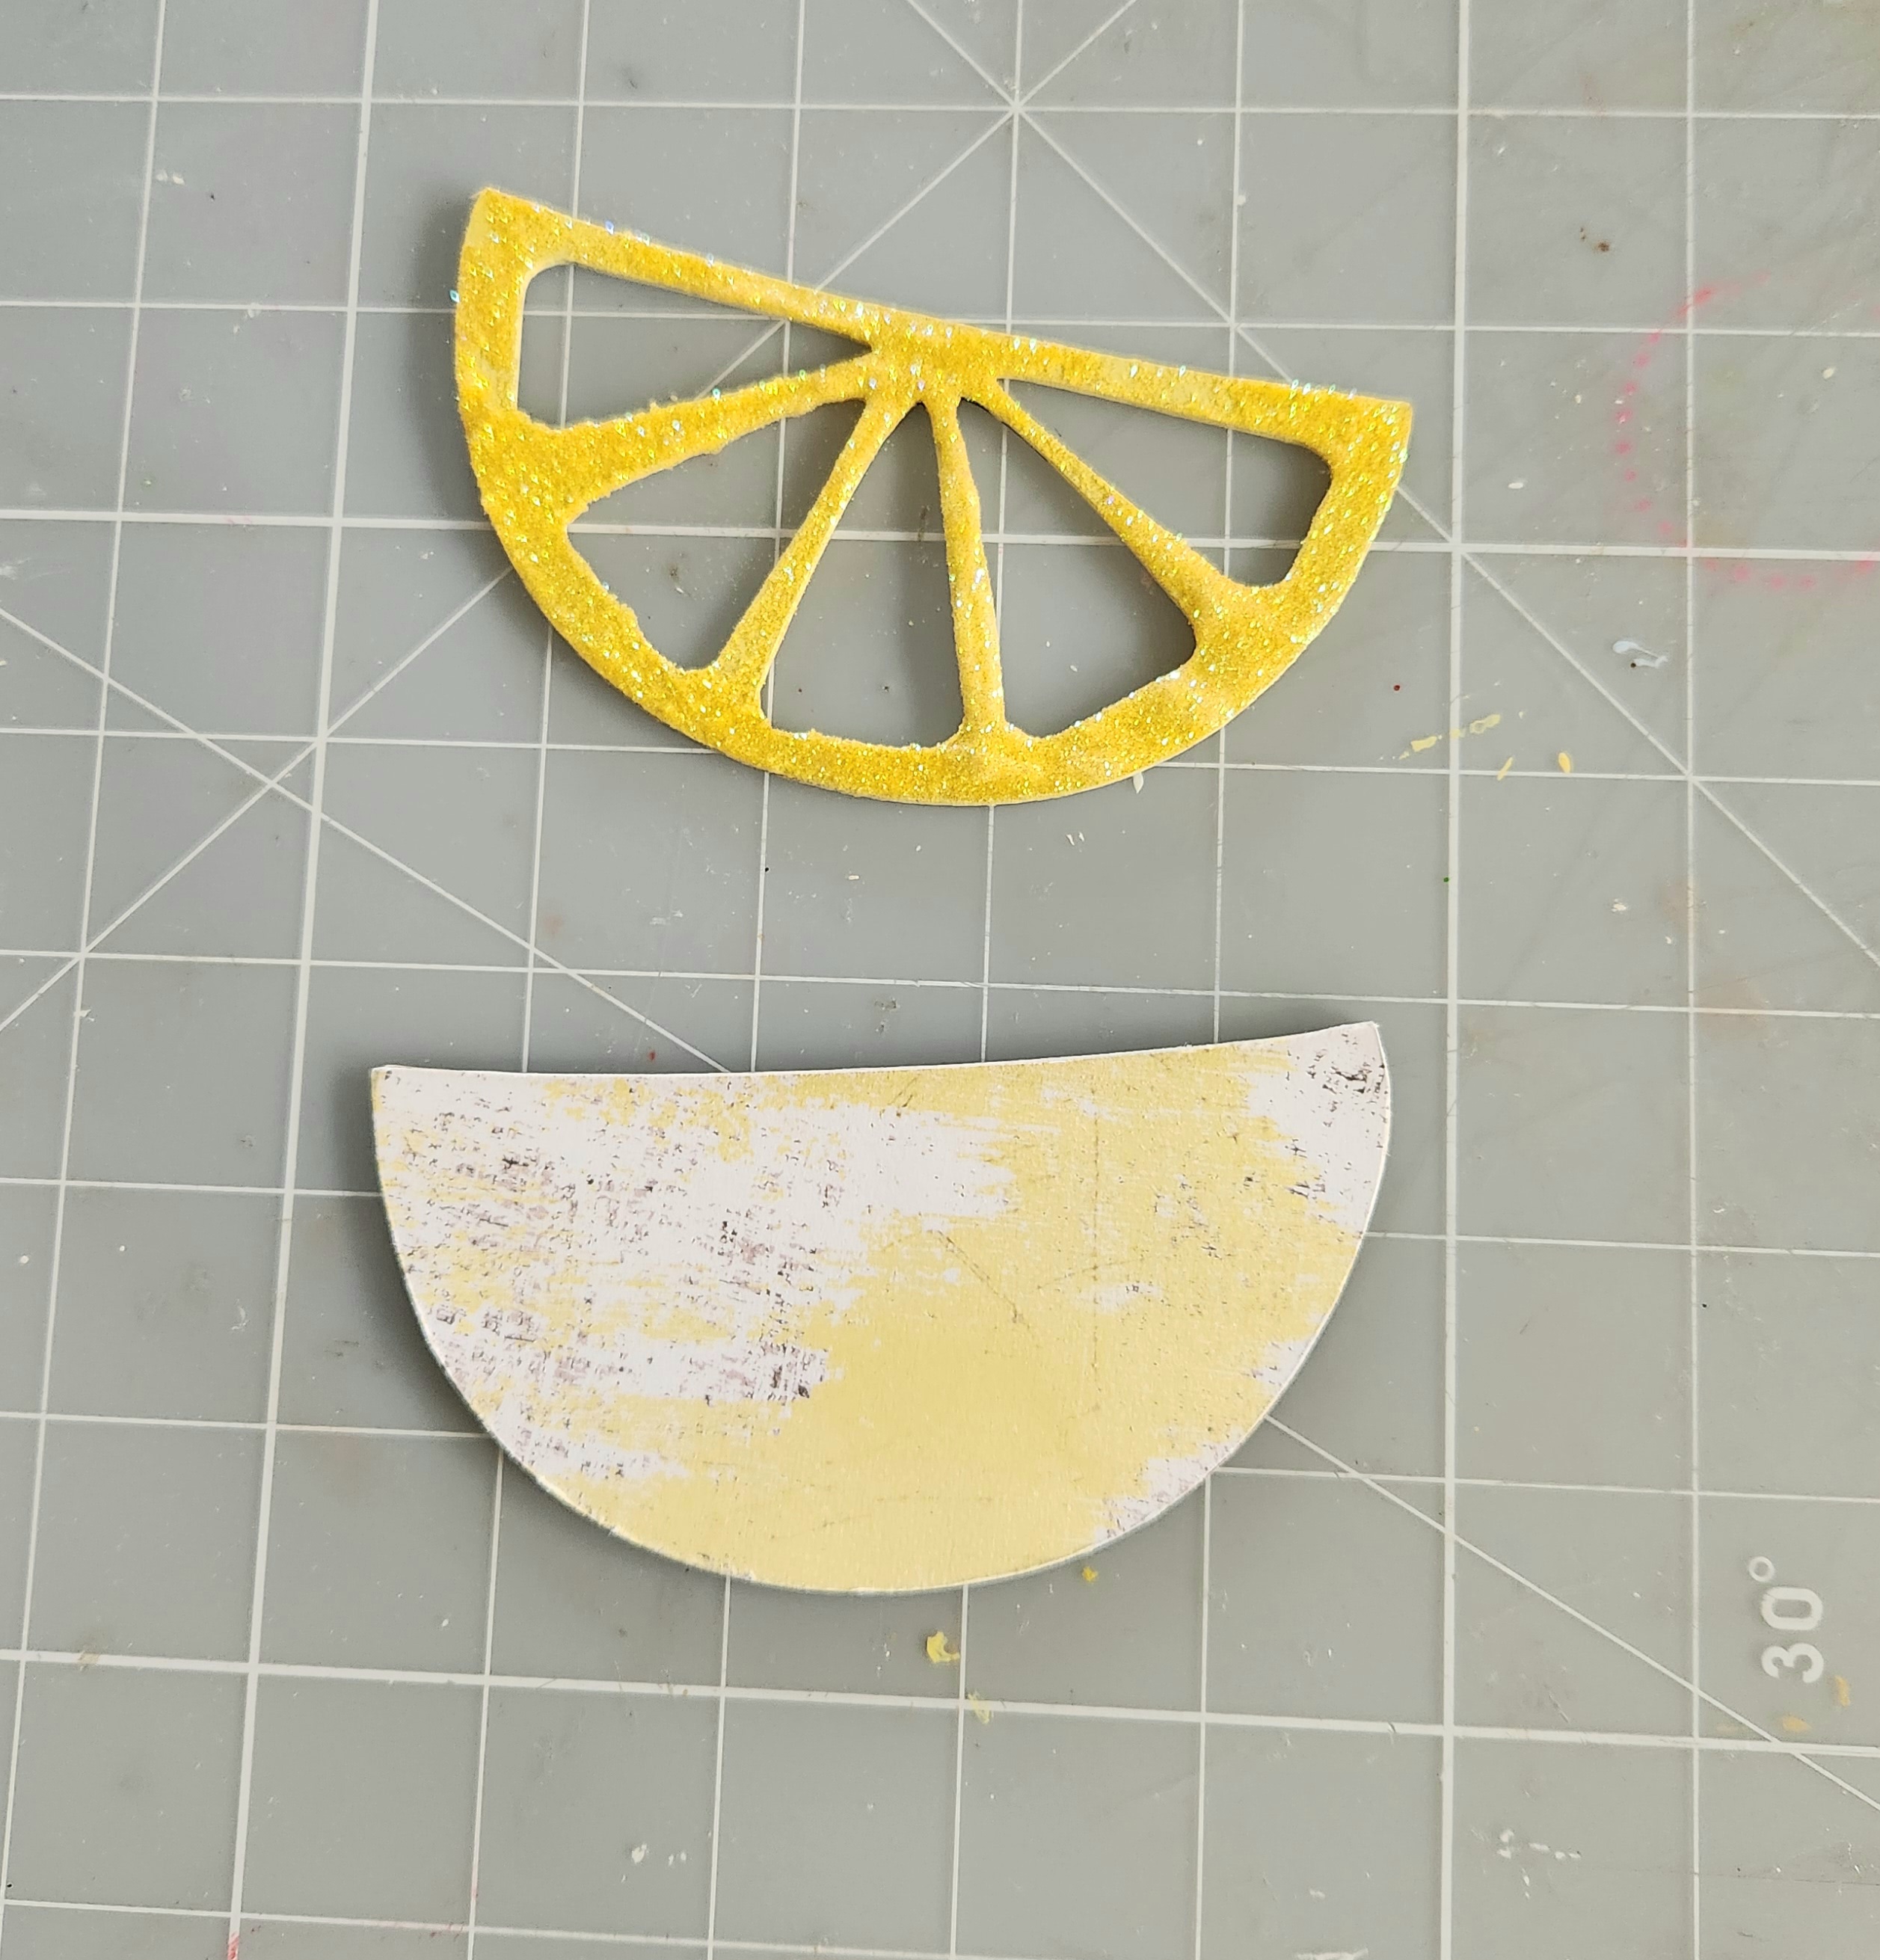
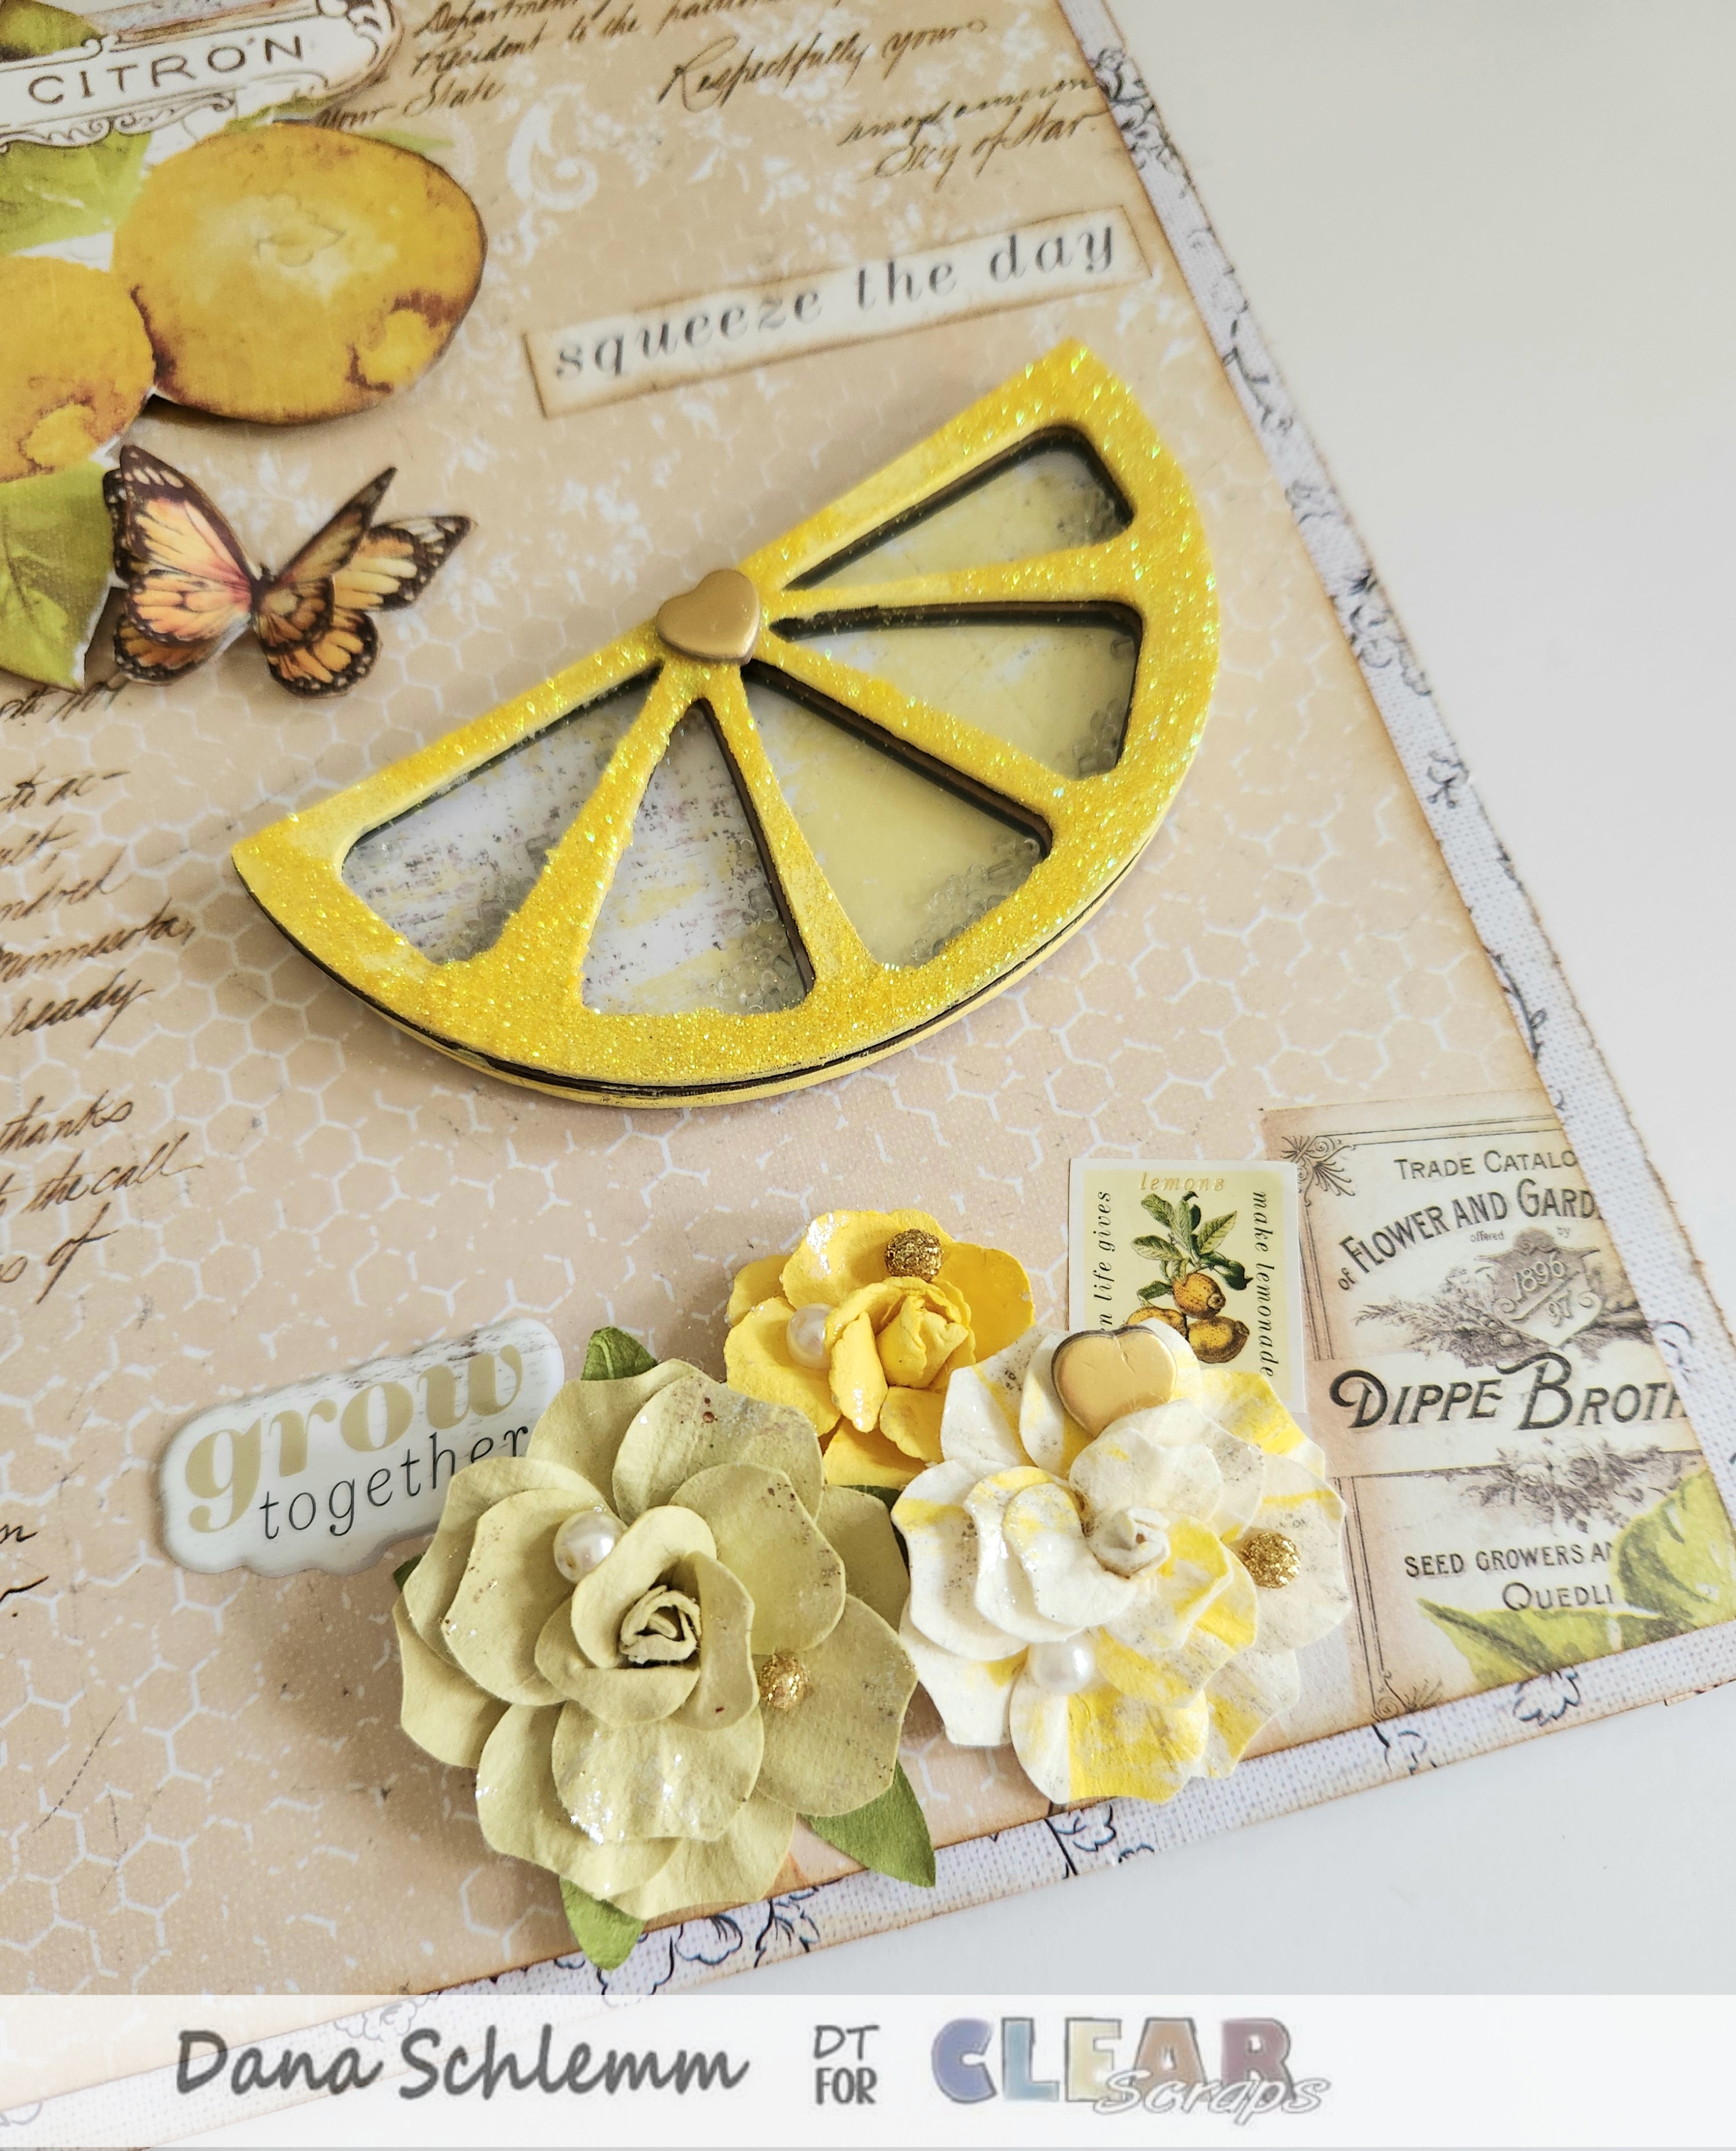
After your top shaker piece is dry, I applied some Martha Stewart "Lemon Drop" glitter. Shake off any excess glitter, and set aside to dry throughly. Now glue your 2 bottom shaker pieces in place. Now fill your shaker with the filler of your choice. I added some clear beads (to resemble seeds) to each section of my lemon slice, Remember to peel off the protective film from both sides of your acrylic shaker piece before gluing in place. Add your top shaker piece and set aside to dry. Don't shake until your shaker has throughly dried, or your beads will stick to the edges. Here's a photo!
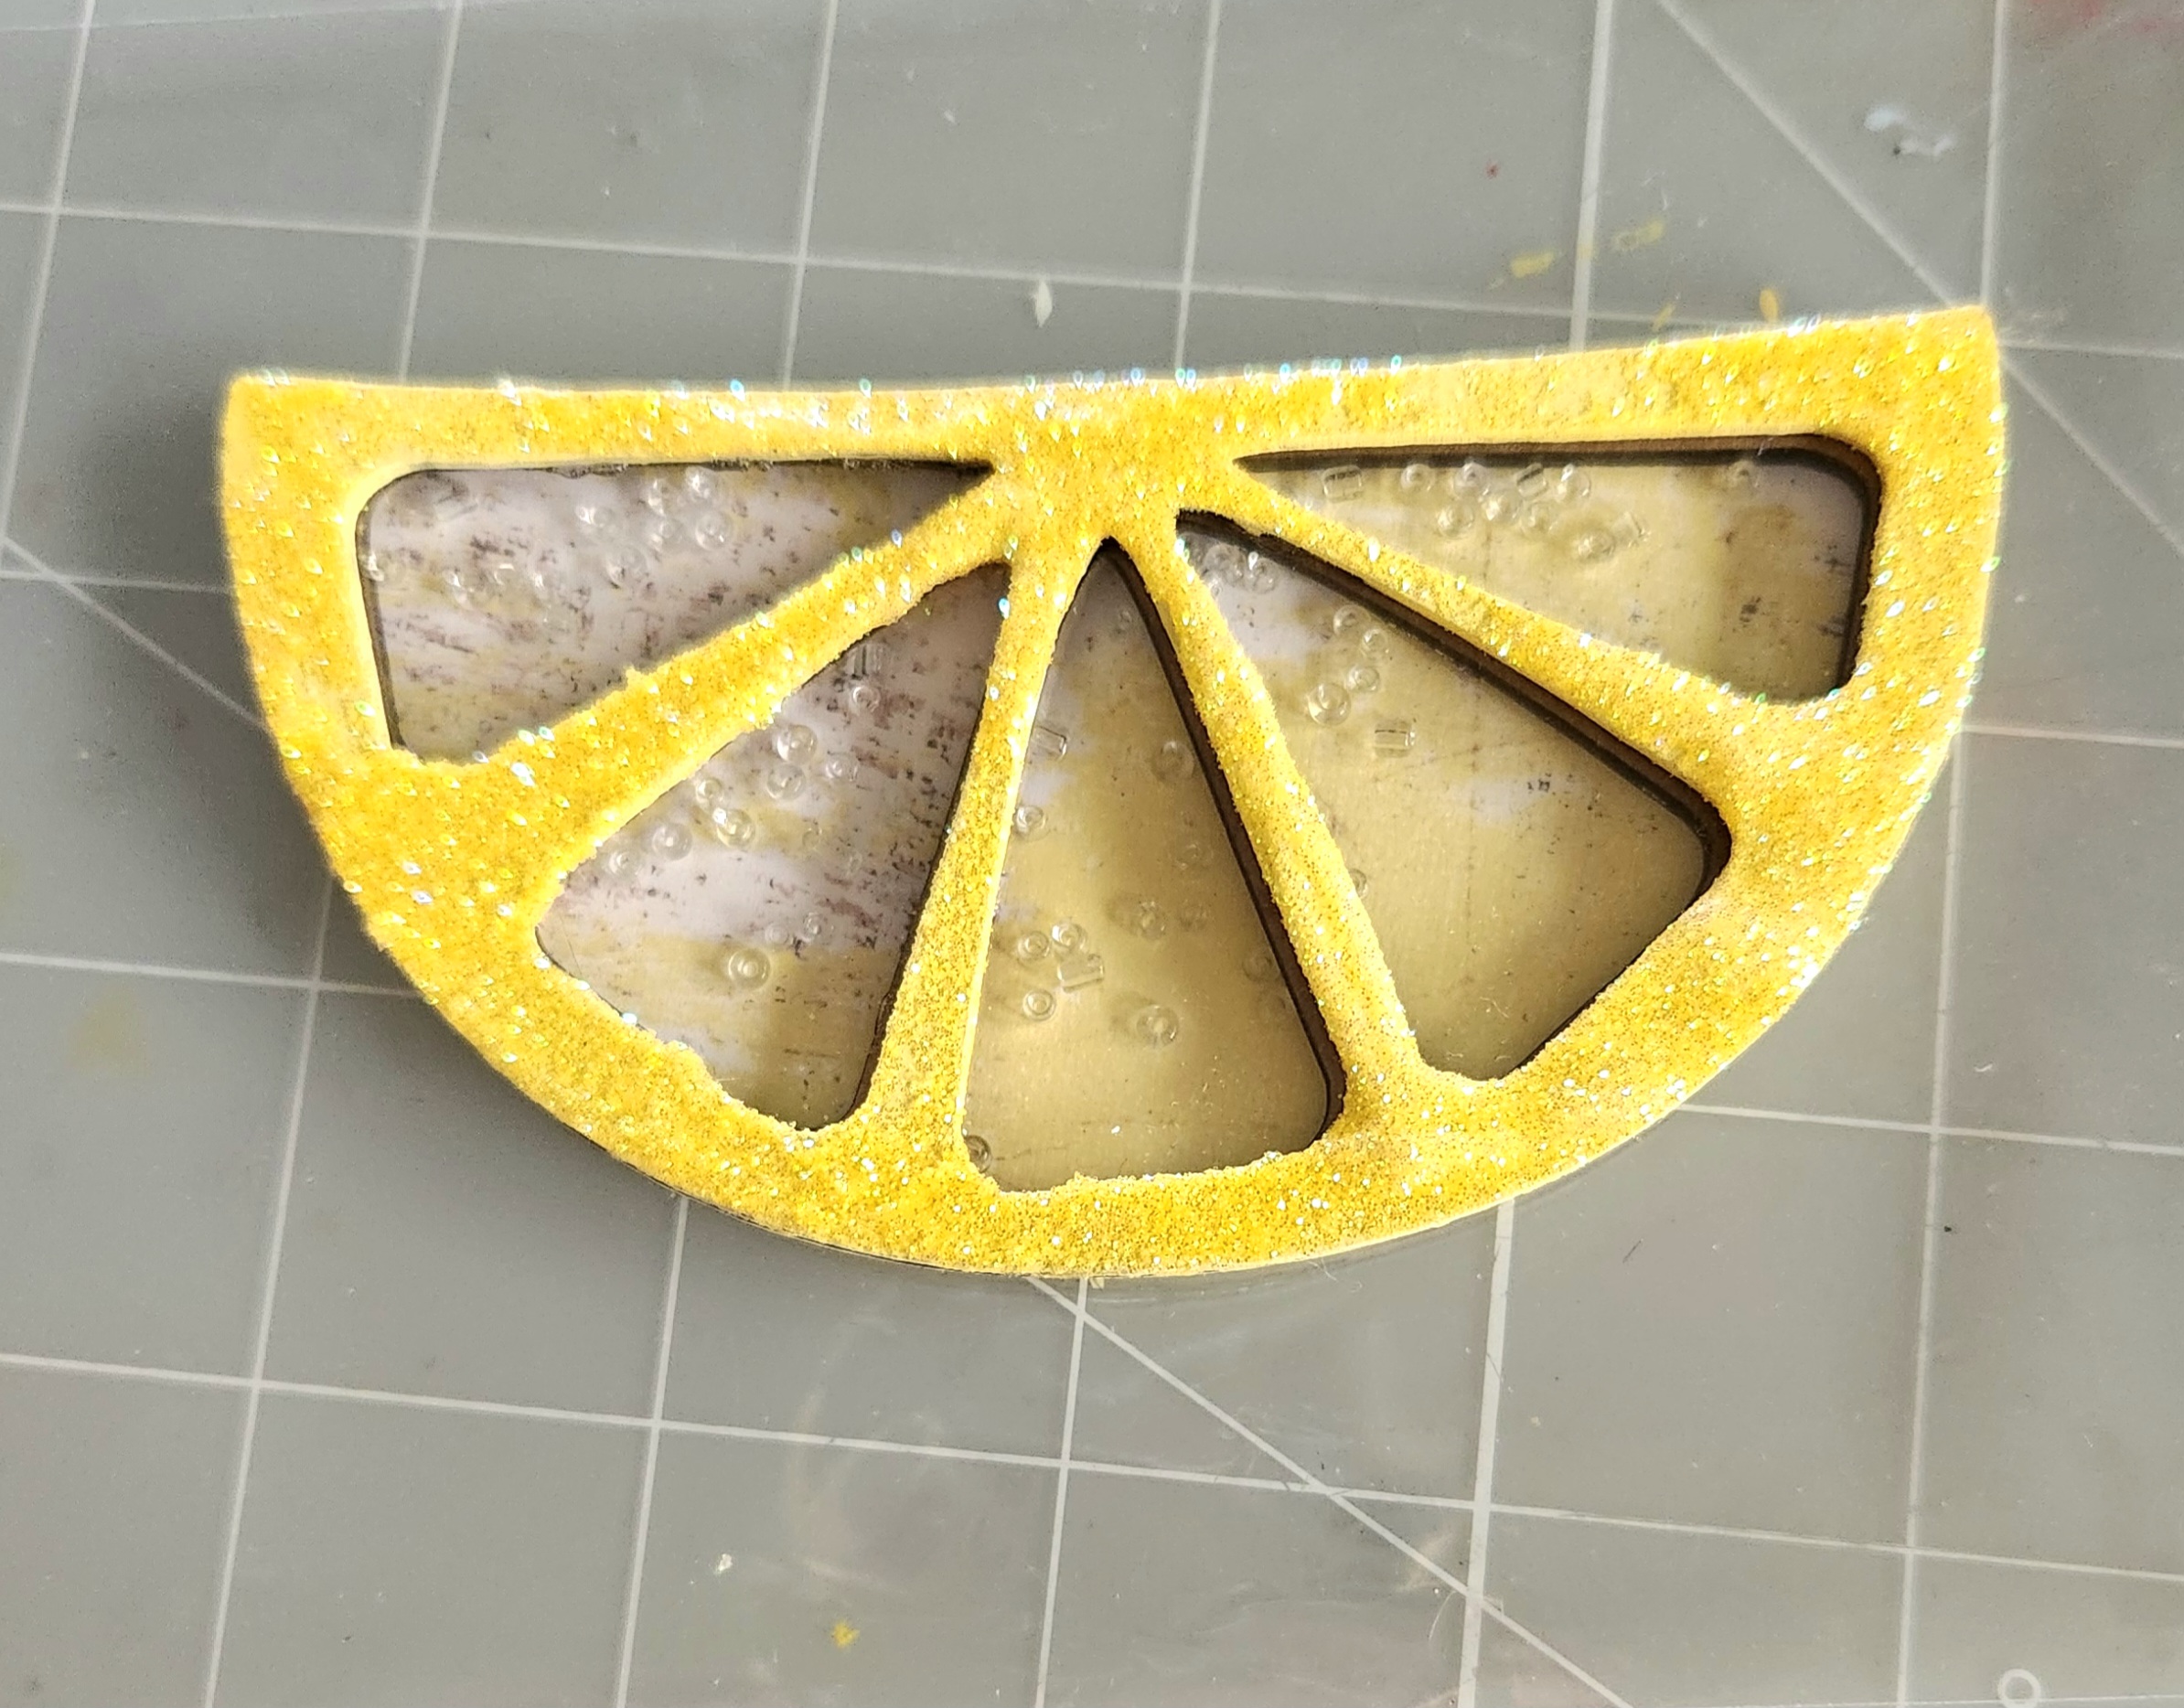
While your shaker is drying, I fussy cut out acouple elements from my papers, including a sentiment and butterfly.
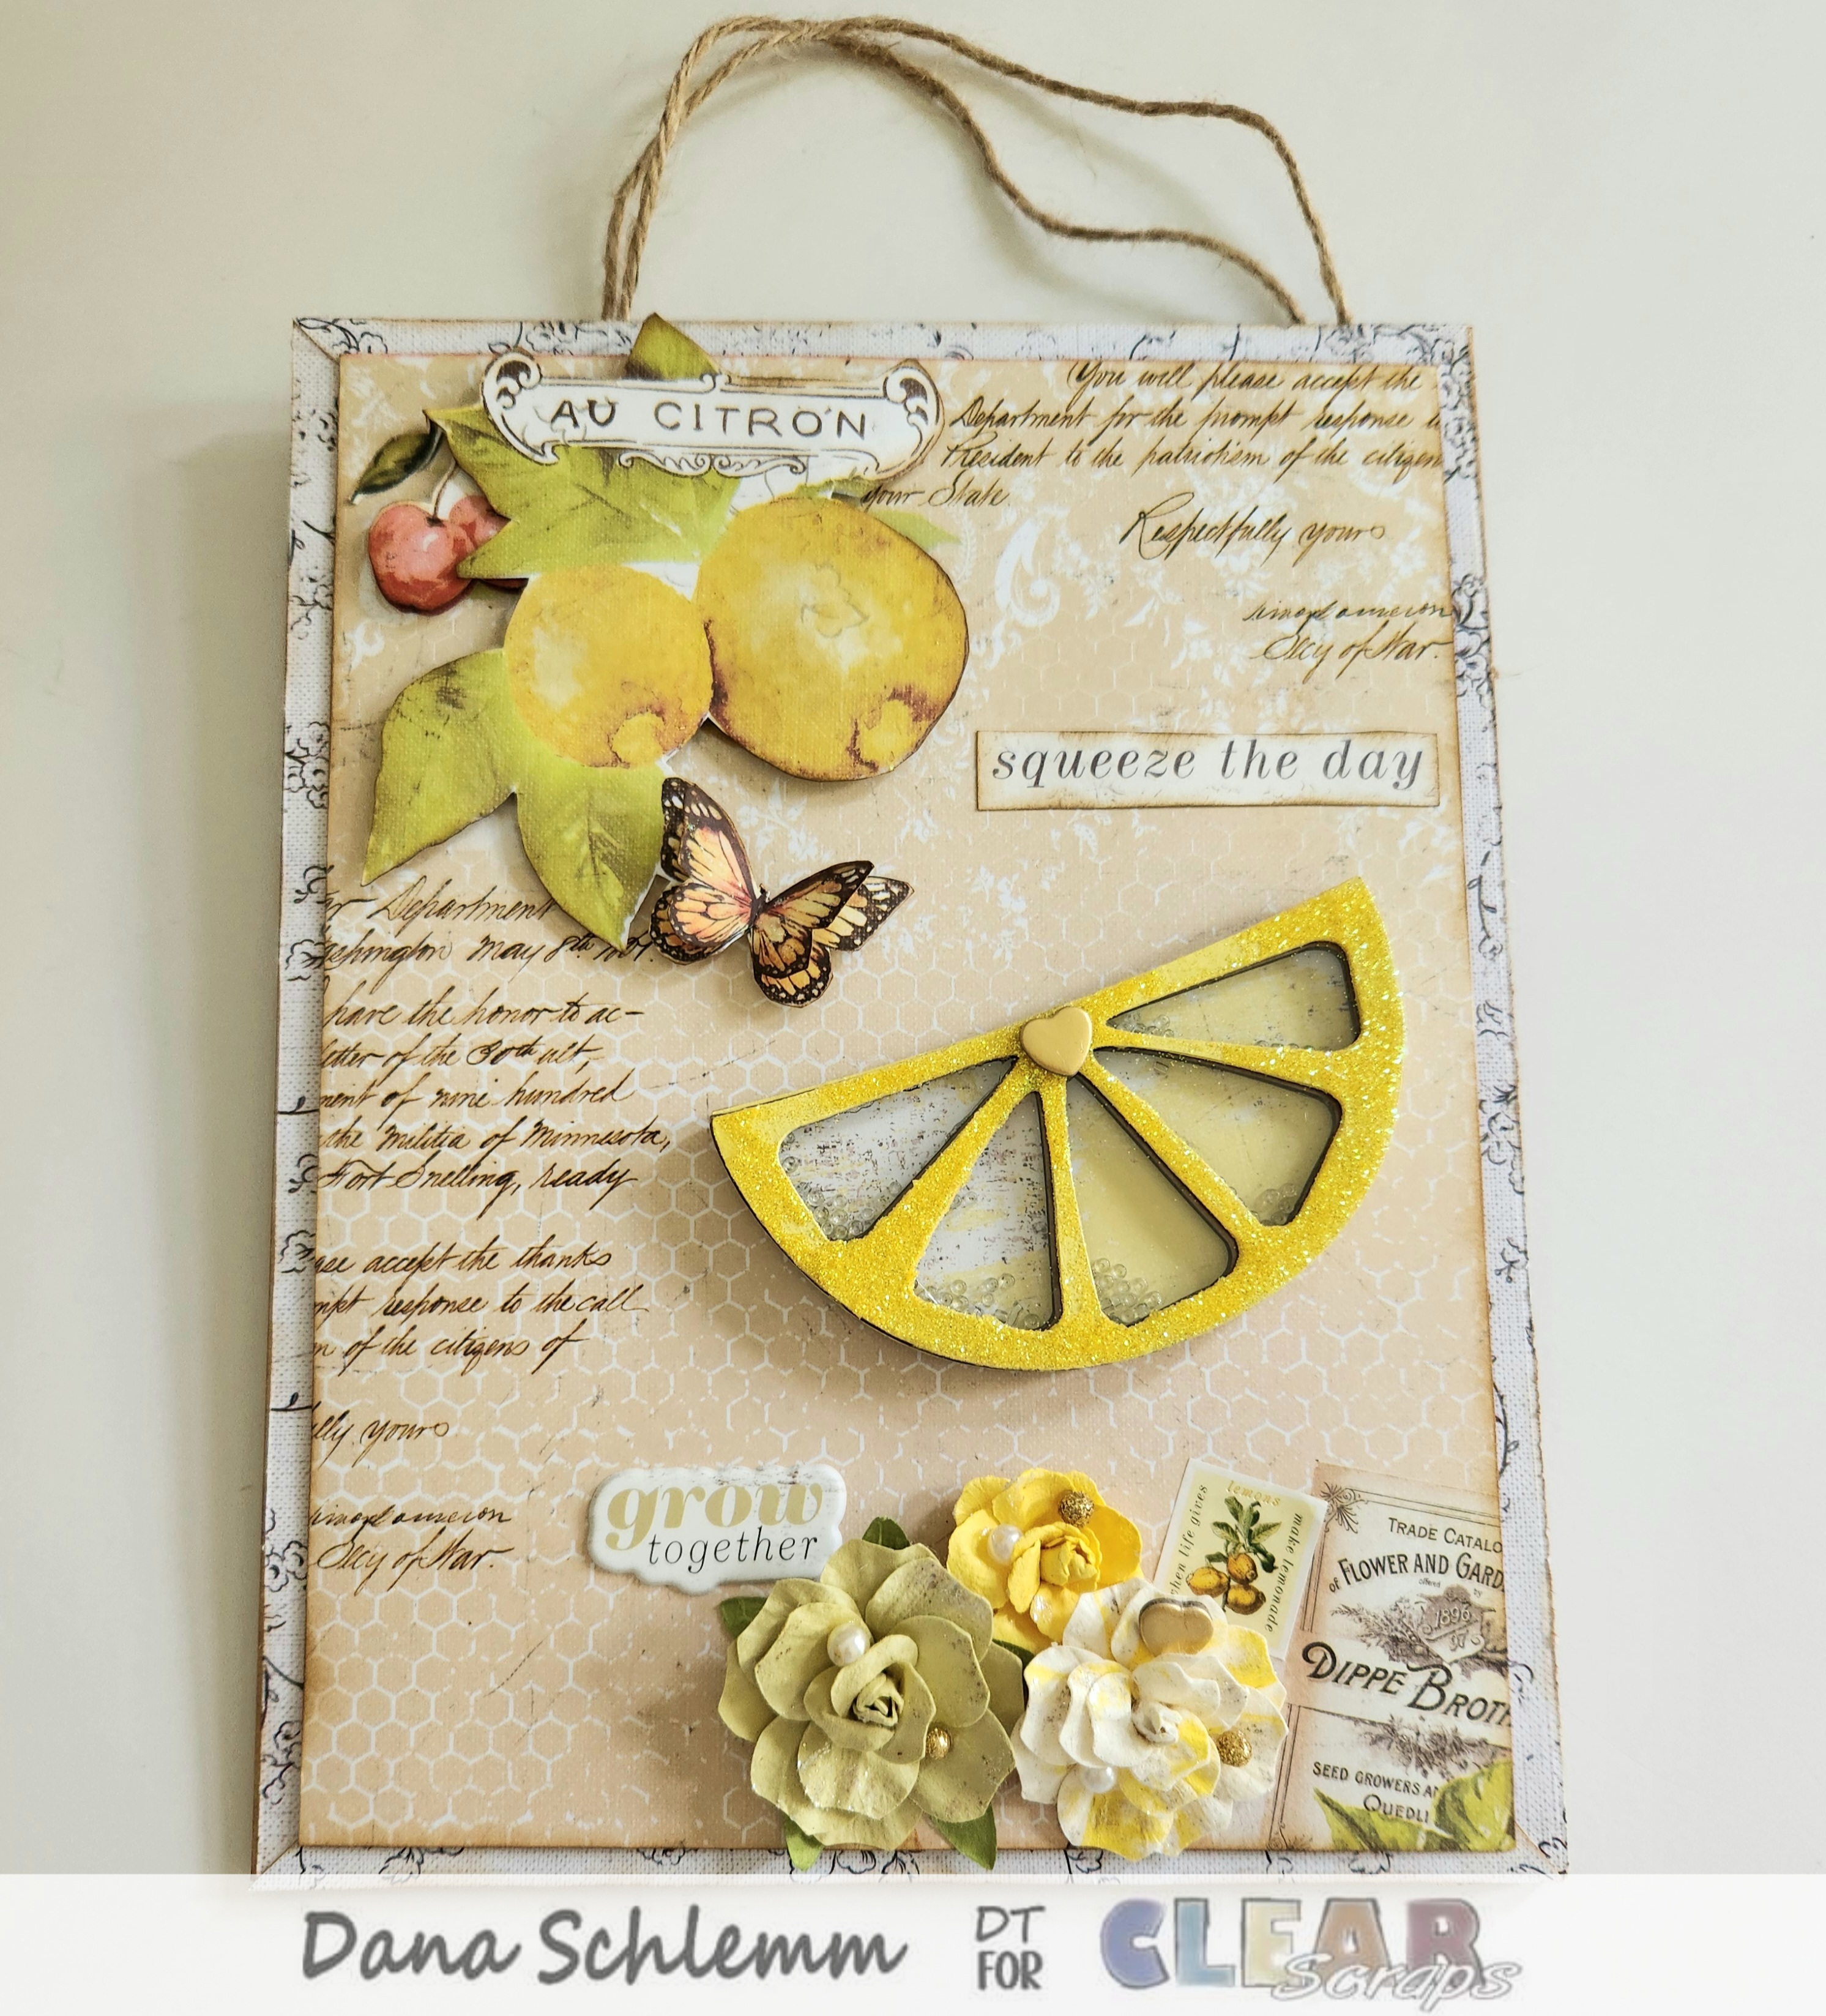
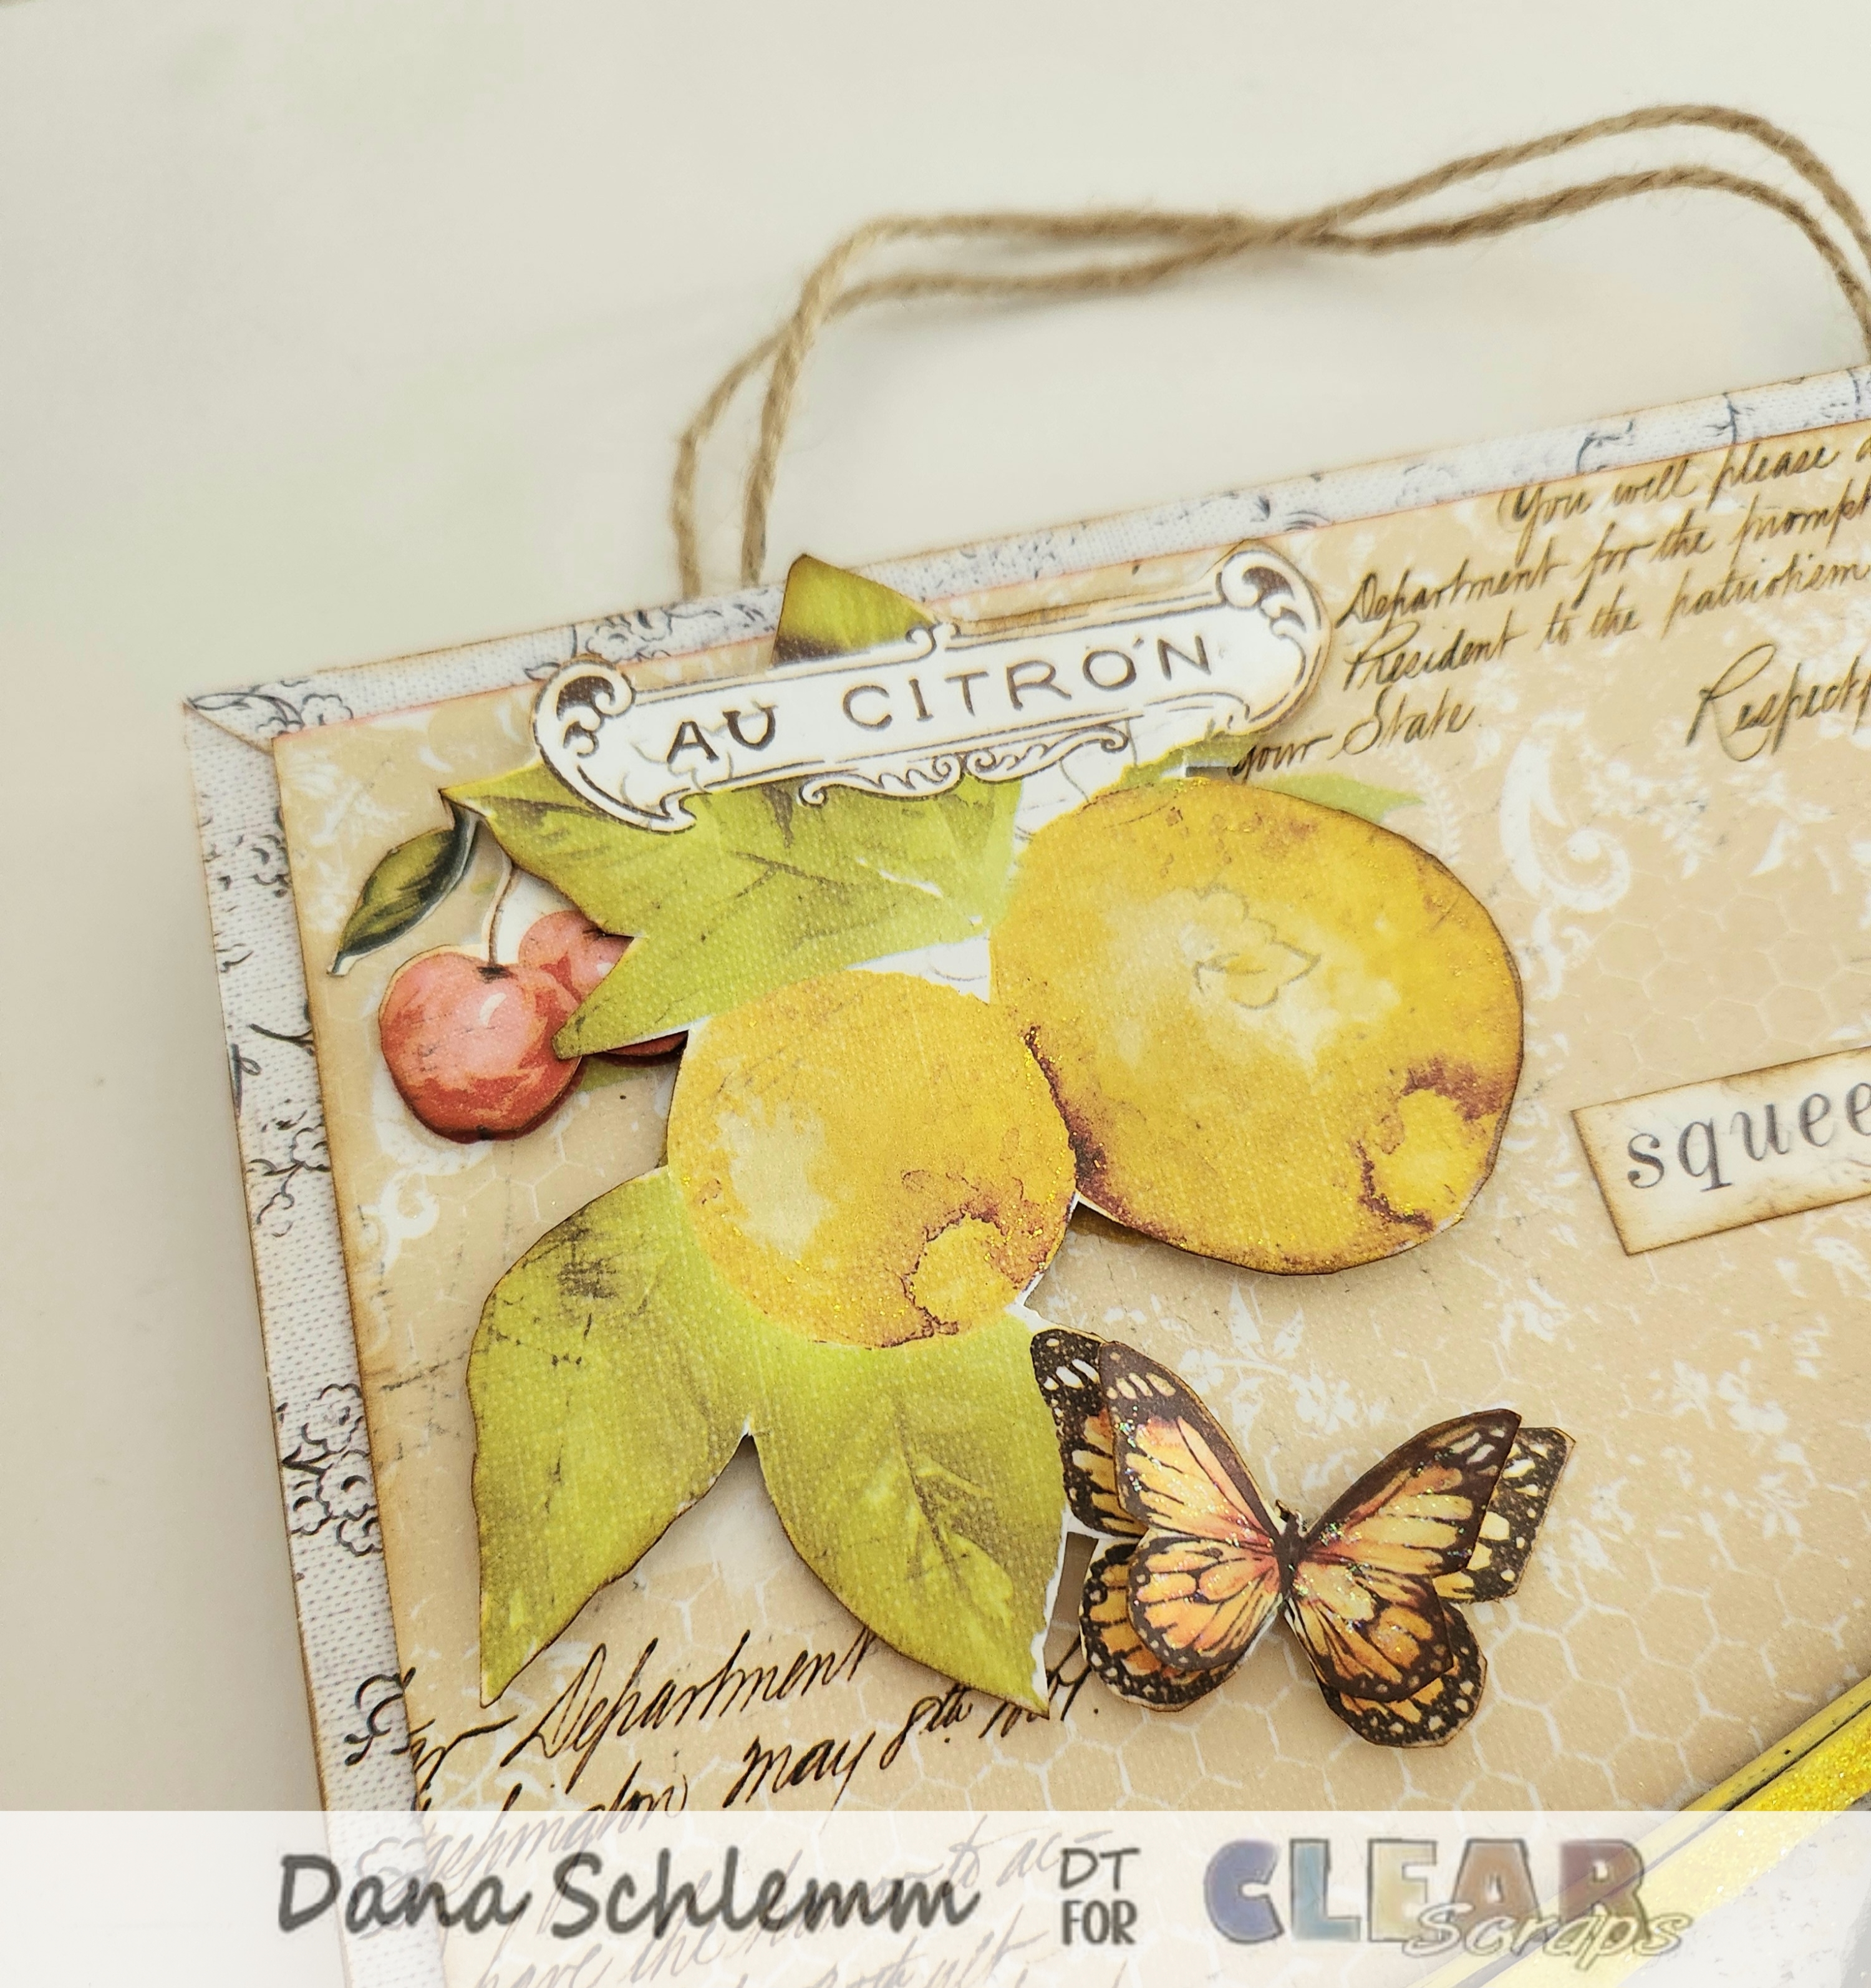
Now we can start decorating and adding all our embellishments. I used foam dots on my fruit fussy cut piece as well as on the back of my shaker. I glued my sentiment above my Lemon slice shaker. Added some Prima flowers, a puffy sticker sentiment and lemon stamp sticker I tucked behind my flowers at the bottom. I tucked some pearls and a gold chipboard heart sticker in between my flower petals. And glued a gold chipboard sticker heart on the top of my lemon slice! The butterfly I layered two of the same image on top of each other and bent the wings upward slightly to create movement.
To finish this project, you can add a piece of jute cord on the back. Now your home decor piece is ready to hang! Here's some closeup photos!
I hope you'll try creating your own home decor project using any of Clear Scraps Shakers and other products available for your crafty makes! Click here
Thanks for stopping by the Clear Scraps blog! We'd love to see what you create. So please share on our Facebook Creative page!
Until next time, Happy Crafting!
Dana
Other Supplies Used: Prima Marketing Fruit Paradise Collection, paper trimmer, x-acto knife, foam dots and tape, Martha Stewart Lemon Drop glitter, Folkart Day Break acrylic paint, Tim Holtz Distress Ink Gathered Twigs, Distress tool.



 Clear Scraps Project Post
Leave a comment