Hello everyone – did you know you can use the shakers to make sun catchers?
The shaker items in the Clear Scraps store are perfect for making sun catchers. There are a variety to choose from and you can make them for every season. So grab several of them and follow along with this tutorial to make yours.

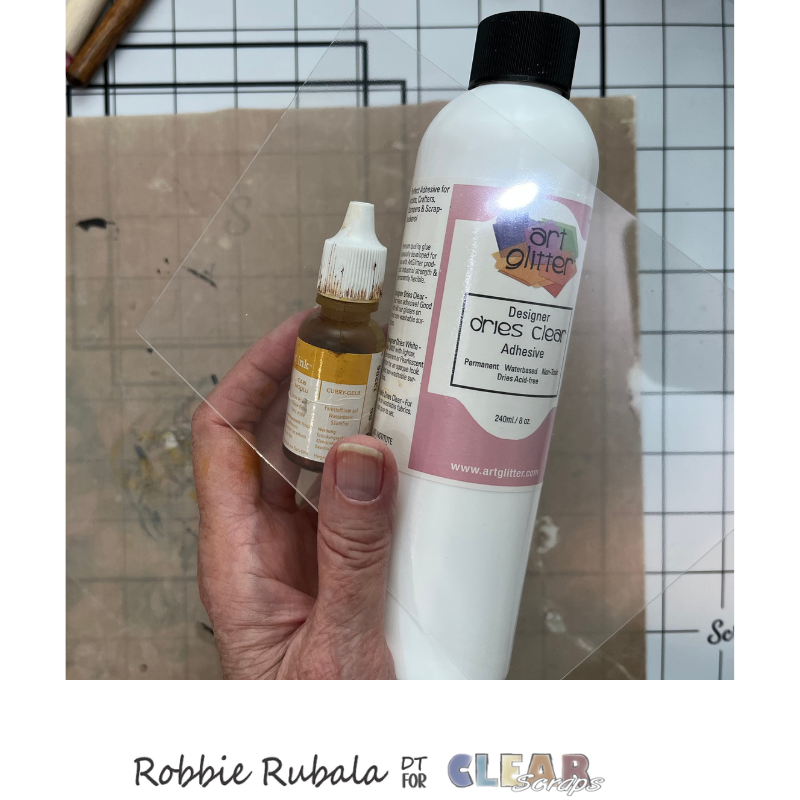
For today's project you will need Mini shaker bee and Mini shaker beehive, black – red – yellow paint, black – yellow reinker, thin gold ribbon, a piece of acetate, gold – iridescent – silver sequins, paint brushes, toothpicks, and a strong glue.

Let's start with the bee.
Use the black paint to paint one side of the 3 bees. Set aside to dry. When dry, choose one of them to paint the back so your bee looks good from both sides.

We want the bee to have some color for when the sun hits it. Using your acetate, place a pile of glue on it. Add a few drops of the yellow reinker. Mix with a toothpick and spread out. Make sure your blob is big enough to cover the section of the bee where you will glue it down. Set aside to dry.


Repeat this procedure using the black reinker.


While the glue from above is drying, take one of the bees, another piece of acetate, and a pen to trace the wings. Use your scissors to cut out the oval shapes. Use a strong adhesive to glue the wings onto the bee.


When the colored glue is dry, use the bee to trace the shape of the area where you will glue it. I used a black micron pen and traced the outside area. Cut out with scissors. Use the strong adhesive to glue the shape in place. Repeat with the other piece of body.


Next we will put the layers together. Take the acetate sheet that was in the kit and remove one of them protective coverings. Use a strong glue to glue it to the back of the bee that will be the front. Use the glue to glue a loop of the gold ribbon to the top of the back bee. Glue the middle layer of the bee to the back layer.

Take all of your sequins and fill in the different sections. I used some silver ones for the tail, gold ones for the body, and the iridescent ones for the wings. To make sure you have enough sequins in each section, place the top of the bee on the shape and squeeze it tightly so you can hold it up to see how the sequins fall. If you need to add more now is the time to do it.

When you are happy with the number of sequins in each area, glue the top on. Add a heavy block on top and let dry.

Now let's make the beehive shaker sun catcher. Grab your hive shaker, yellow and red paint, gold sequins, and a paint brush.

Paint the layers with the yellow paint and set aside to dry. When they are dry paint the back of one of them to make sure the back looks as nice as the front.

While the paint is drying take the acetate from the kit and another piece of acetate and use a pen to trace the shape. Cut out with a pair of scissors.


Once everything is dry, use your red paint to paint the heart on each outline. Remember to paint the one on the back also.

After it is dry use a strong glue to glue the hive shape you traced to the bottom hive. I glued my pieced to the inside of the back hive so it is sandwiched in the hive when it is finished.


Remove the protective covering from one side of the acetate hive from the kit and use the strong glue to glue it on the back of the front hive shape.
Take a loop of the gold ribbon and glue it to the top of the hive with a strong glue. Glue the middle section to the back section sandwiching the ribbon ends between the 2.
Grab your gold sequins and fill the different sections with them. Test to see if you need more sequins by adding the top layer and holding it tightly while you lift it to check. Now is when you can add more sequins.


When you have enough sequins, use the strong glue to glue the top on. Remember to remove the protective covering from the acetate hive before gluing it onto the base.

Your suncatchers are ready to hand in your windows!

I hope you will give these shaker suncatchers a try. We have some fun mini shakers in the store so check it out.
Have a Fabulous Friday!
Robbie


Leave a comment