Hello and Happy Monday all my Clear Scraps Friends! Misty @Mommyofkidz here with you today. Can you believe that the year is almost HALF OVER!?? Where has all the time gone? I had so many goals…so many things that I wanted to accomplish and places that I wanted to go this year, and I feel like I have missed all those opportunities! What about you, have you had a productive year so far?
Either way, I plan to make the rest of the year a memorable one! My goal is to find a balance between home, work and crafts…and maybe toss in a few extra crafts! Ha Ha Ha~~
Today I will be sharing my newest Clear Scraps Project with you.
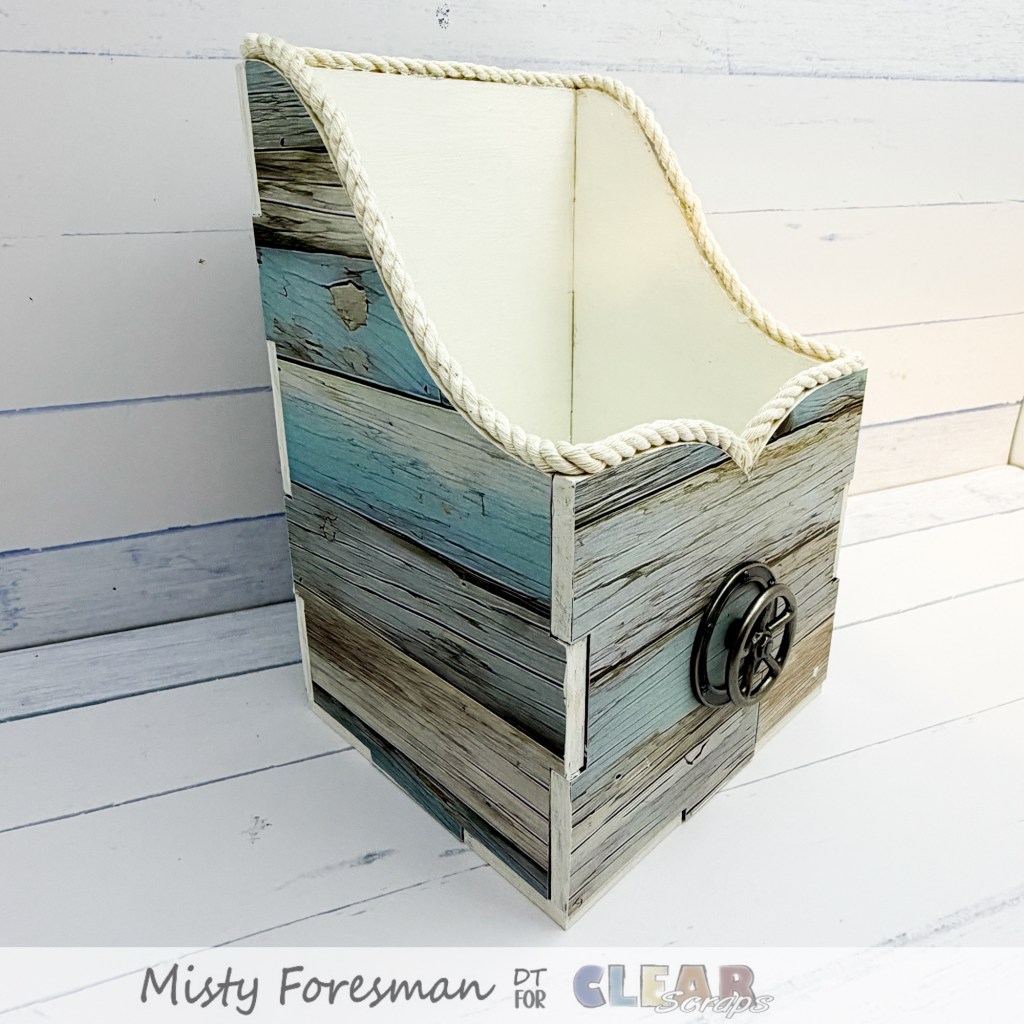
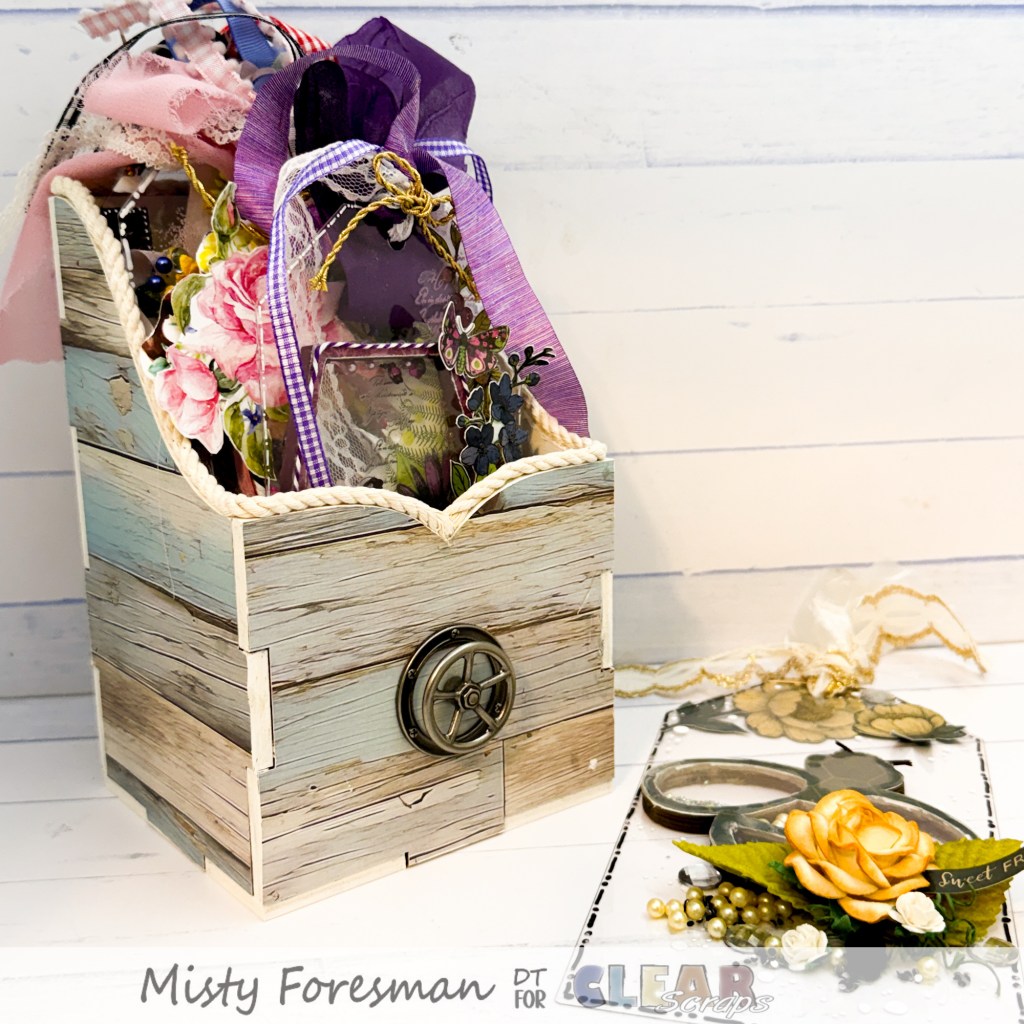
I have been making so many of those super fun shaker tags that I am so addicted to and I do not really hav e place to put the unused ones. Correction…I DIDN’T have place. As of today, they all now have a place to call home! Clear Scraps has several different Wooden Tag Boxes in their store just waiting to be decorated! I loved the detailed front of the Regular Tag Box, so I grabbed that one and set to work!
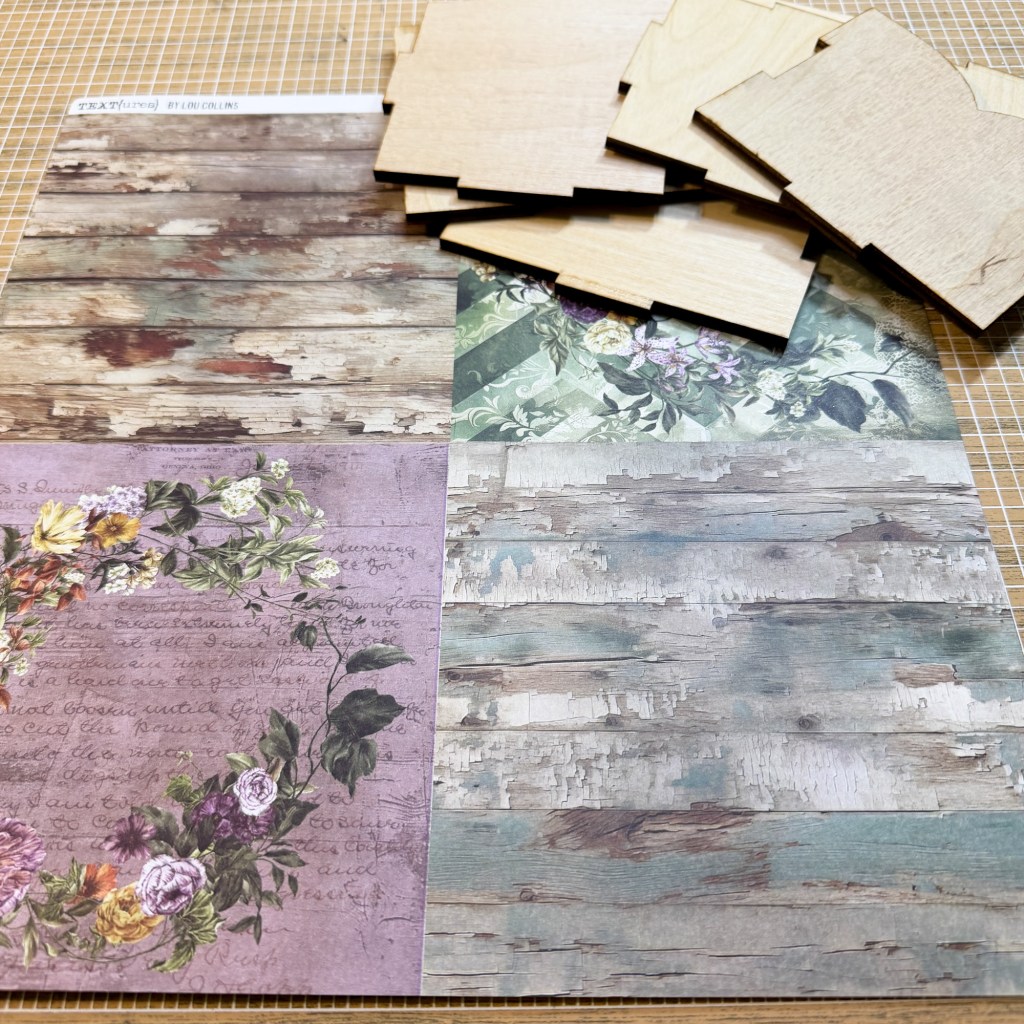
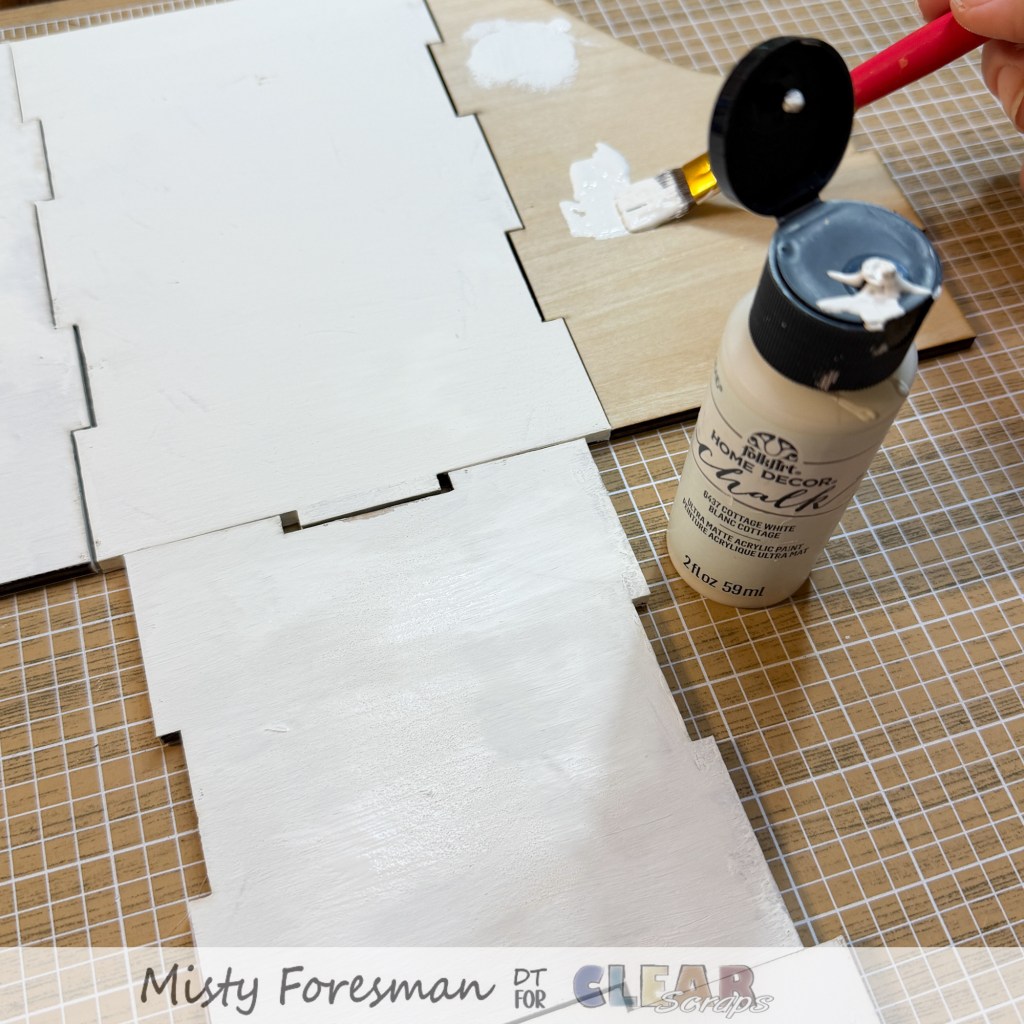
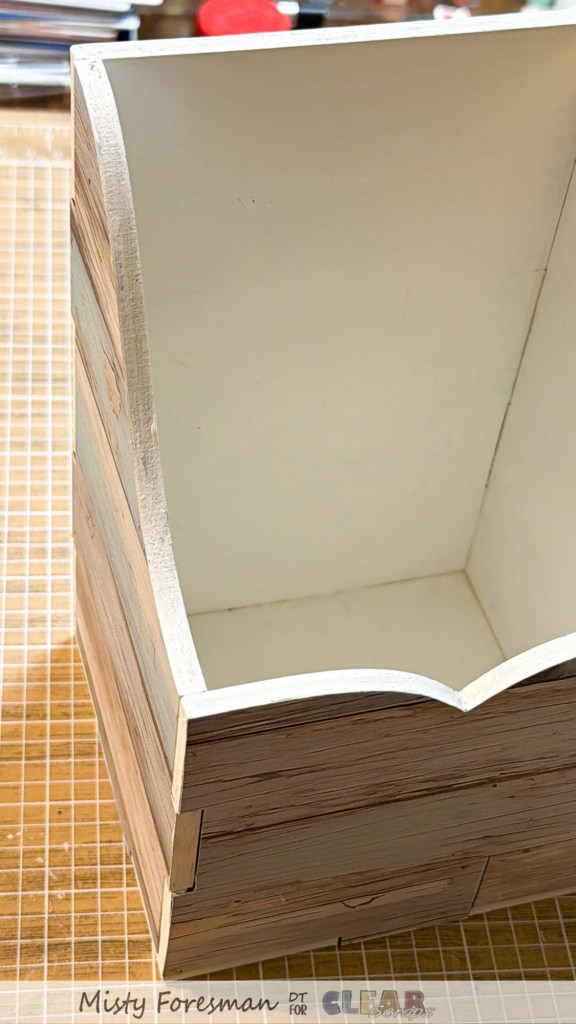
I knew that I wanted to use a woodgrain paper to cover the outside, but I wanted the inside and edges to be painted. I decided that white was the color that would work best for my purposes, and I started painting. I used a quick drying paint, so by the time I finished painting the last section of the box, the first was dry. I was able to paint and cover the outer edges all at the same time with no extended waiting time. I LOVE that kind of project!! WOOO HOOO! I was even able to assemble it all in that same sitting! WOW~! This is the best! Of course, I had to allow it to sit overnight for the wood glue to dry , but I was ok with that…it was time for me to go to bed after all that anyway! HA!!!
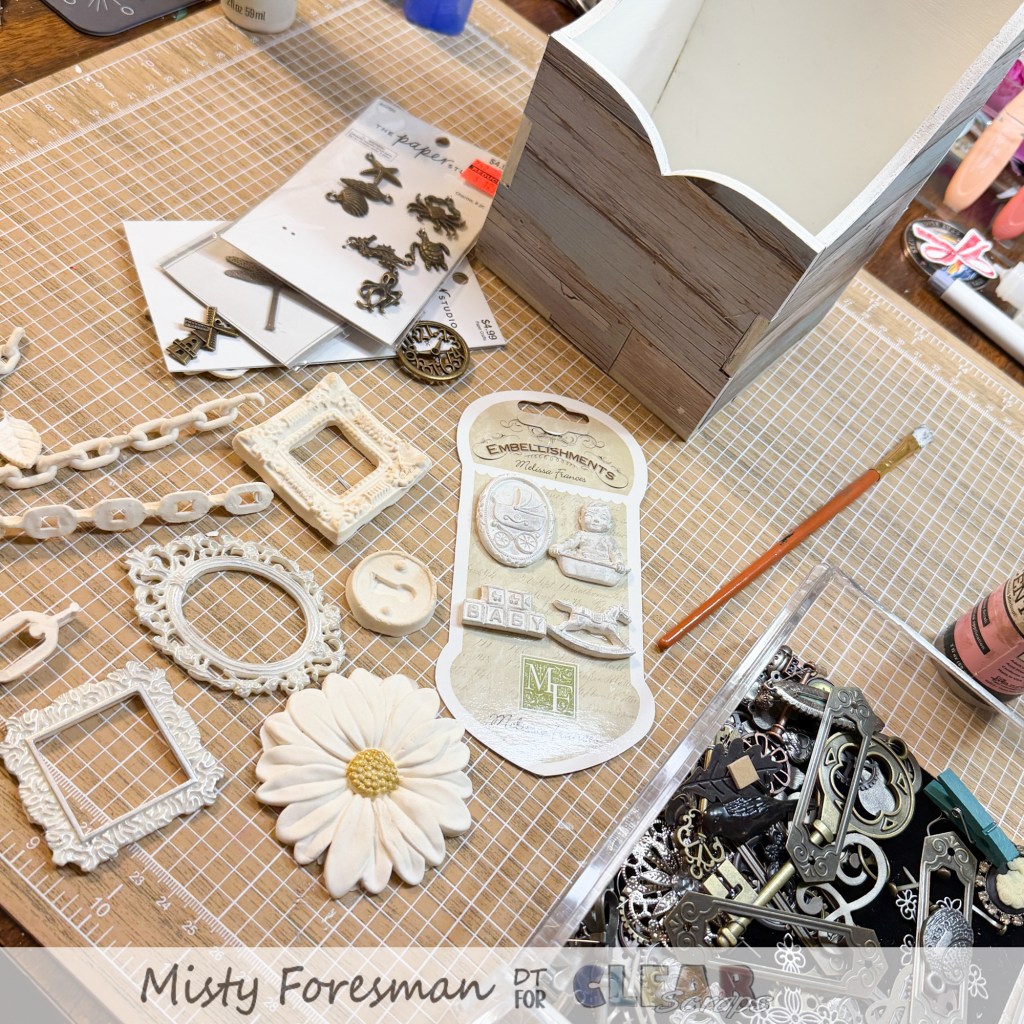
So, the next day after I got home from work, my Tag Box was ready for the hardware and any final touches. I wasn’t exactly sure what I wanted to use, so I pulled out several options. I finally landed on a very minimal design, and only added two metal pieces to the front. I did use a thick jute rope as a border around the top edges of the box.
When it was finished…I sat back and smiled. It is exactly what I was hoping for! I love the beach marine vibes that it gives off! And below is a photo of it filled with some of my recent tags! Beautiful AND Functional…Heck YES!!!!! Below is a photo of the finished box, actually holding some of my recent tags!
Thank yo so much for stopping by the blog today! We love it when you visit! Be sure to pop on over to the Clear Scraps Shop and fill your basket with fun projects!


Leave a comment