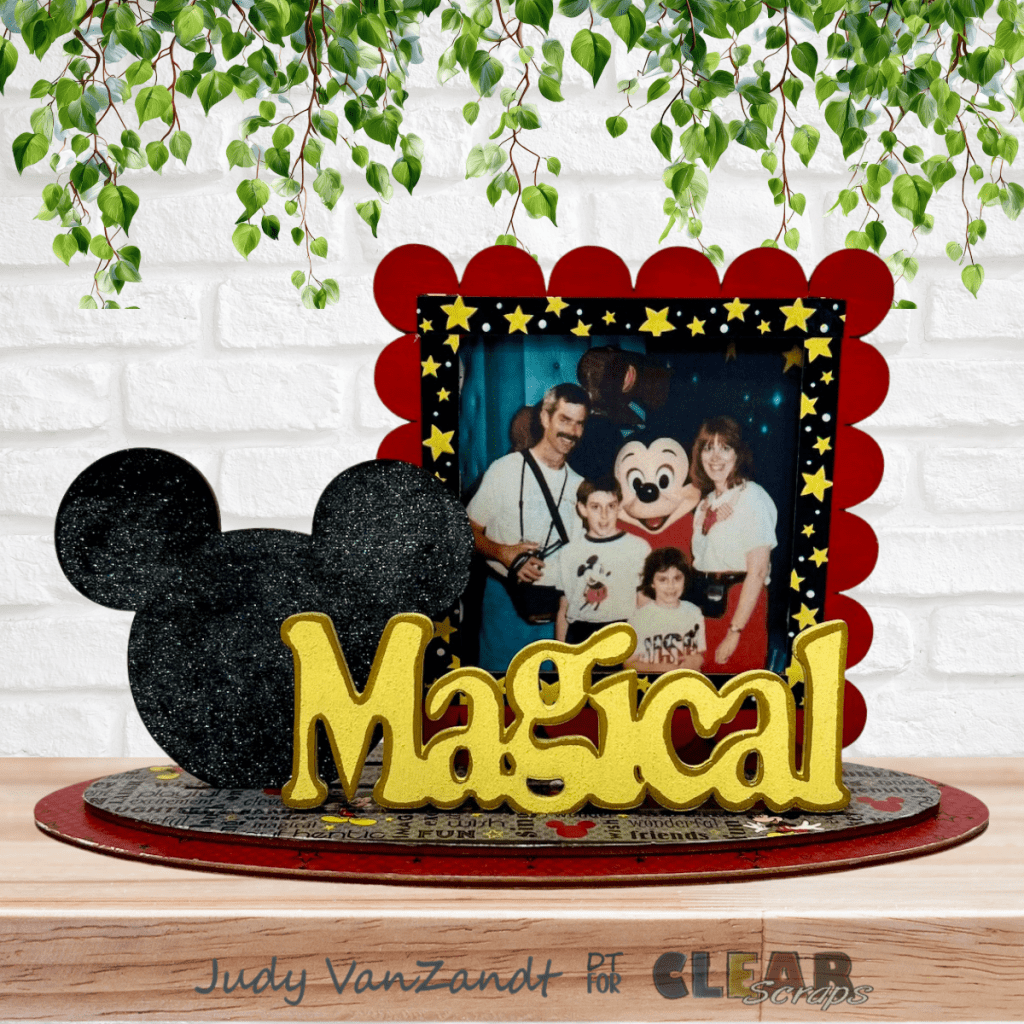
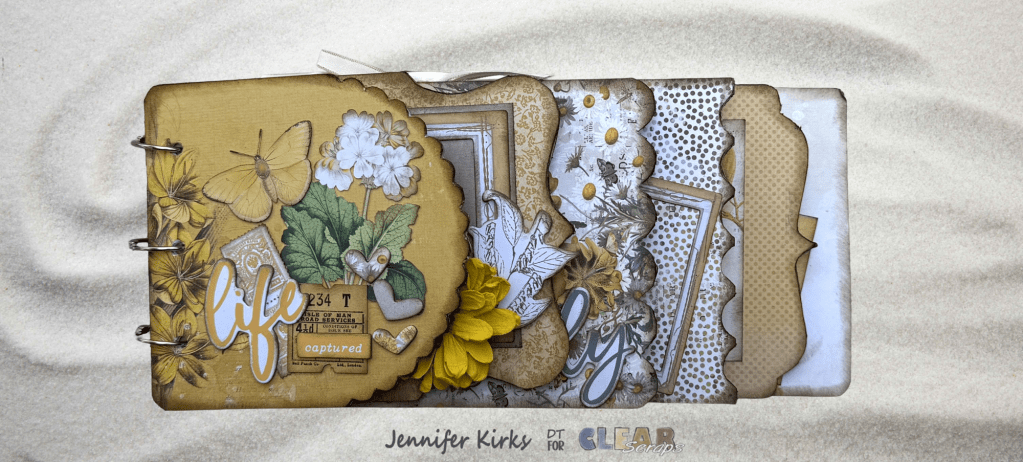
Hello! It's Jennifer and I'm back to share another great Clear Scraps product! The new Desktop Wood Frames have been a huge hit and they make for wonderful gifts! Today, I'm sharing the Friends Desktop Wood Frame which I will share some techniques I used.

I began by coloring the word frame and larger base piece with Inka-Gold in Pewter. It is helpful to apply in a circular motion with a foam applicator after spritzing the surface of the ink with water. Also, the more you apply the ink the shinier your end result will be.

I set those pieces aside and used my Beacon 3-in-1 Adhesive to cover my frame and small base piece with patterned paper. I cut away any excess paper with scissors as well as used an x-acto knife and healing mat. I then used a sanding tool to smooth the edges as well as added Inka-Gold to the edges of the wood pieces.

Here is a close up of the end effect of the inking! I love the way it looks…you can also use Inka-Gold on our chipboard!

To assemble my project, I affixed the cut out frame to my photo and then trimmed as needed. The cut out can be attached to the word frame. I then adhered the two base pieces together followed by inserting the frame into the slots. For all, I again used my Beacon 3-in-1 Adhesive.

Last, I added some paper flowers and embellishments from the collection I used to accent.

Thank you for stopping by the blog today! You can see all the Desktop Frames by going HERE! Have a great day!
Additional products used: patterned paper, die cuts, stickers, flair: Cocoa Vanilla Studio; adhesive: Beacon, Thermoweb; paper flowers: Mon Ami Gabi; Inka-Gold: Viva Decor; foam applicator: Ranger.


Leave a comment