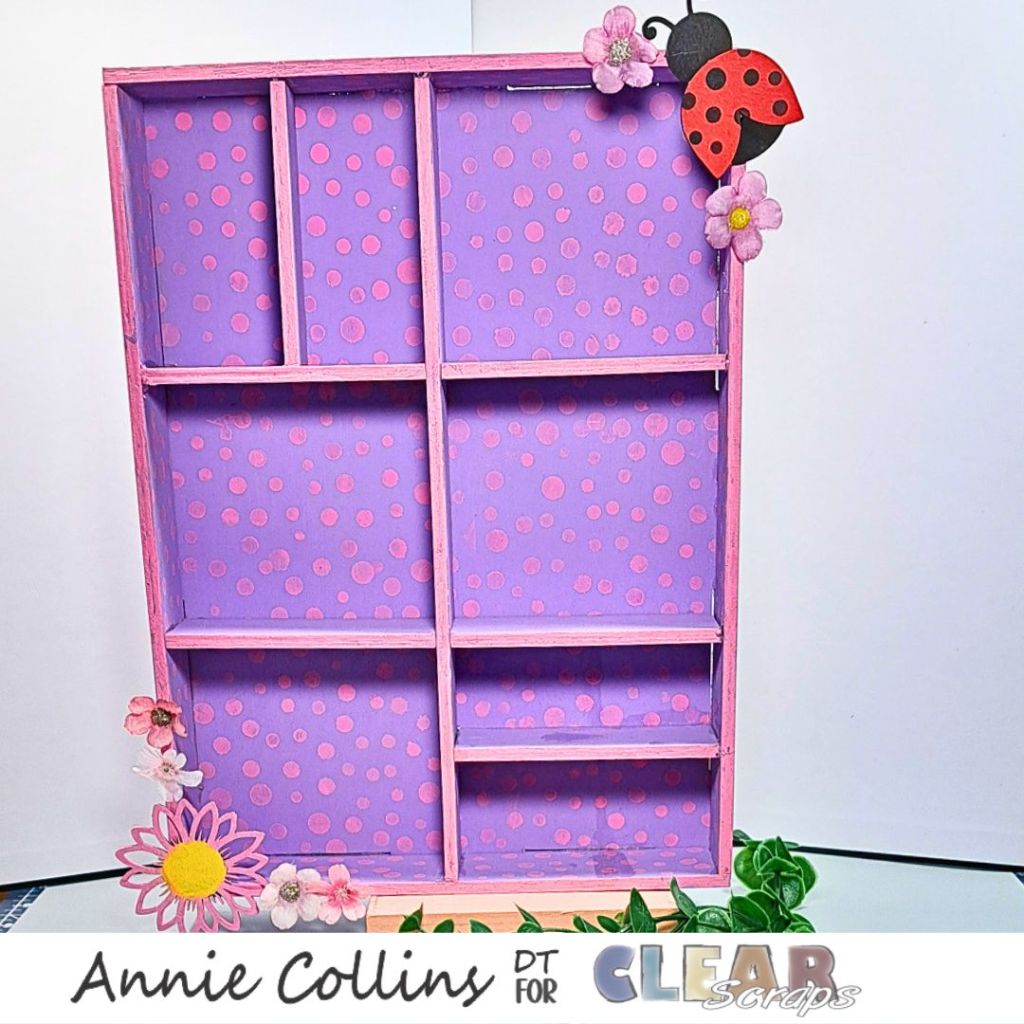
Hello Crafty Friends – Annie here with a polka dotted Spring Shadow Box featuring products from Clear Scraps. I was inspired to create this shadow box for my granddaughter. She loves lady bugs, Flowers, Purple and Pink. So, I decided to create this fun pink polka dot shadow box.
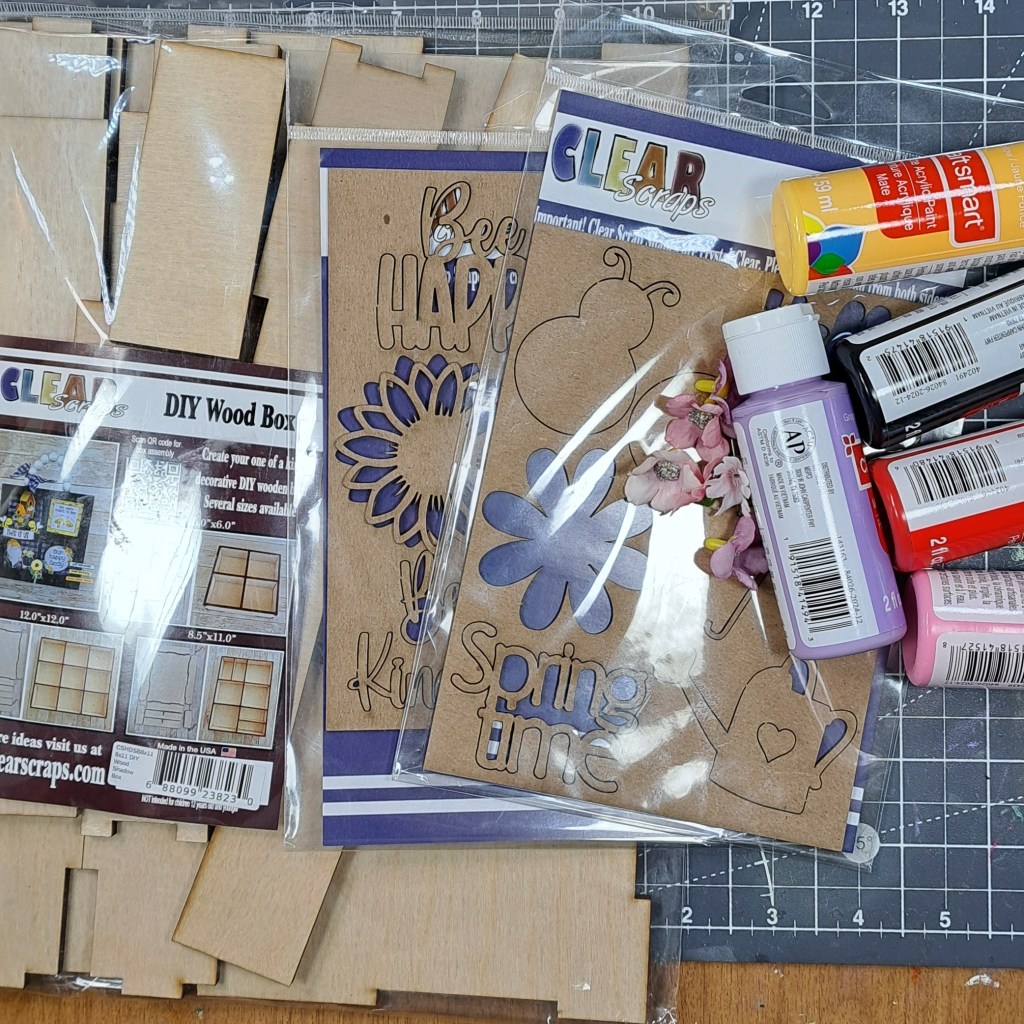
Supplies Used:
Chipboard Punchout Embellishments Spring
Chipboard Punchout Embellishments Bee Happy
6″ Polka Dot Stencil (just linked not used)
My Stash:
Acrylic Paints: Grape Taffy, Pink blast, Red, Black & Dark Yellow
Fabric Flowers
Circle Stencil not pictured
Hot Glue Tool & Glue Stick
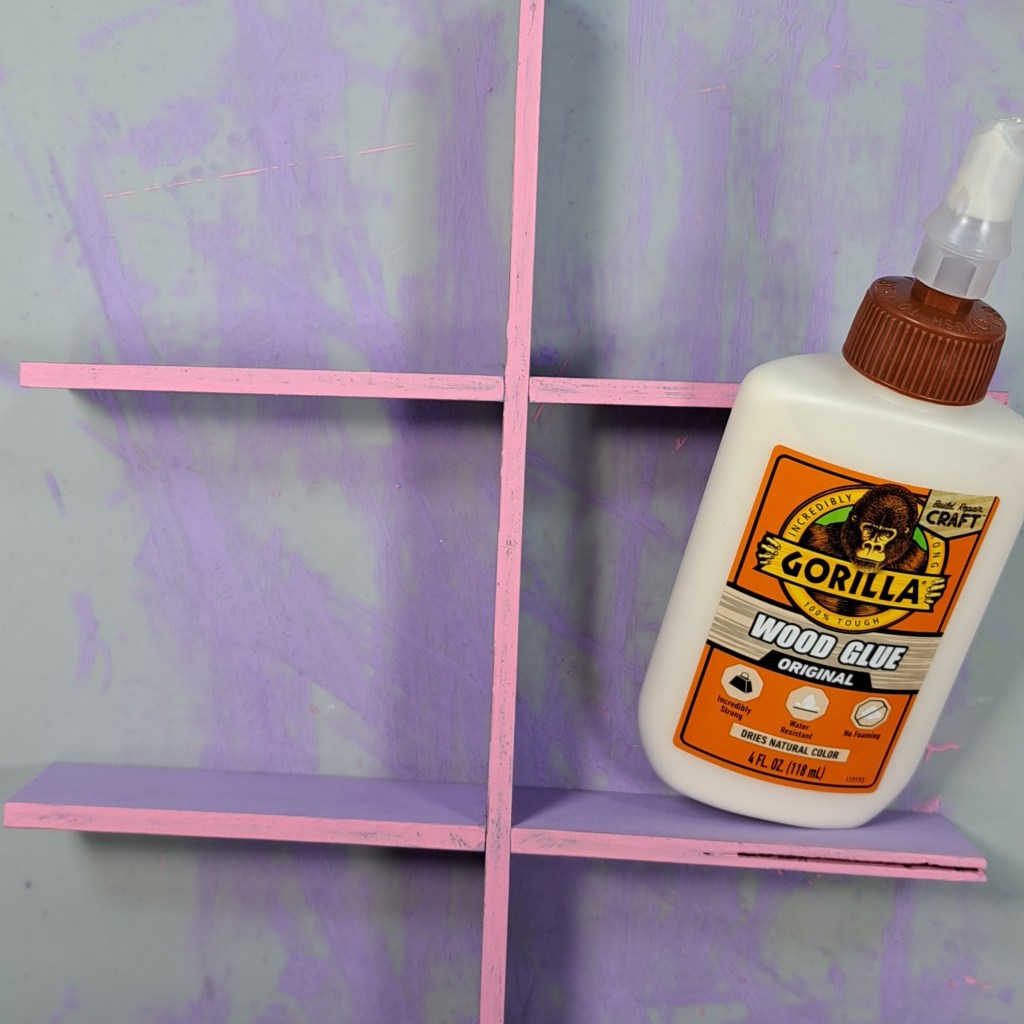
Wood Glue & Masking Tape
Brushes, Make Up Sponges, Paint Tray, Water bucket and Paper Towels
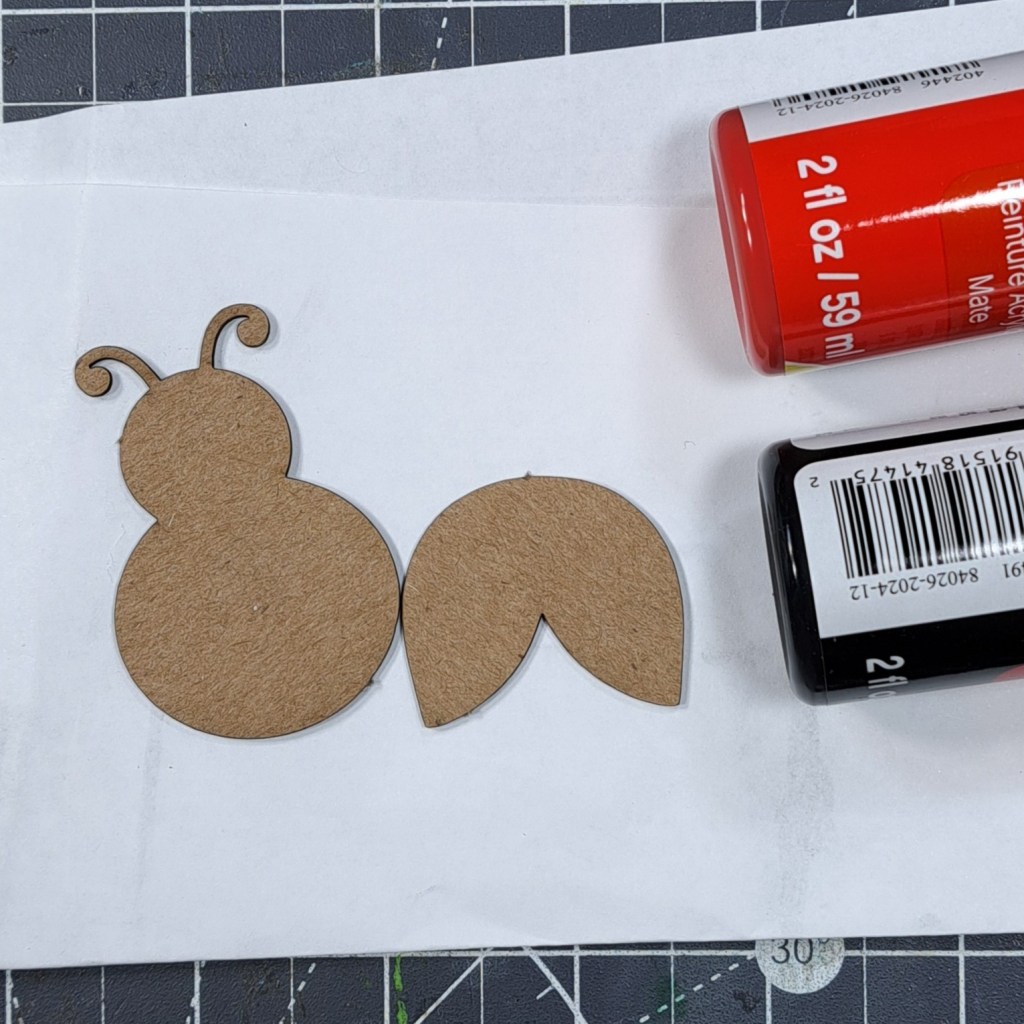
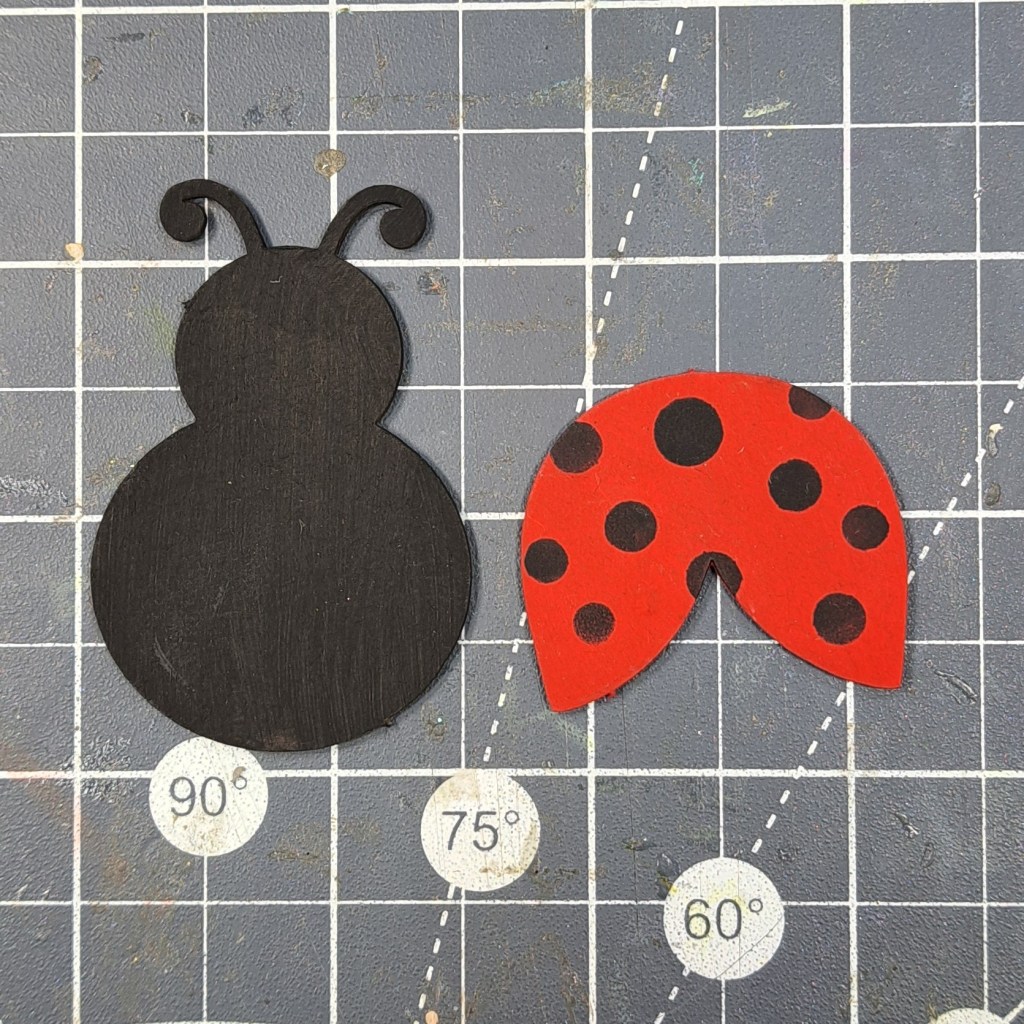
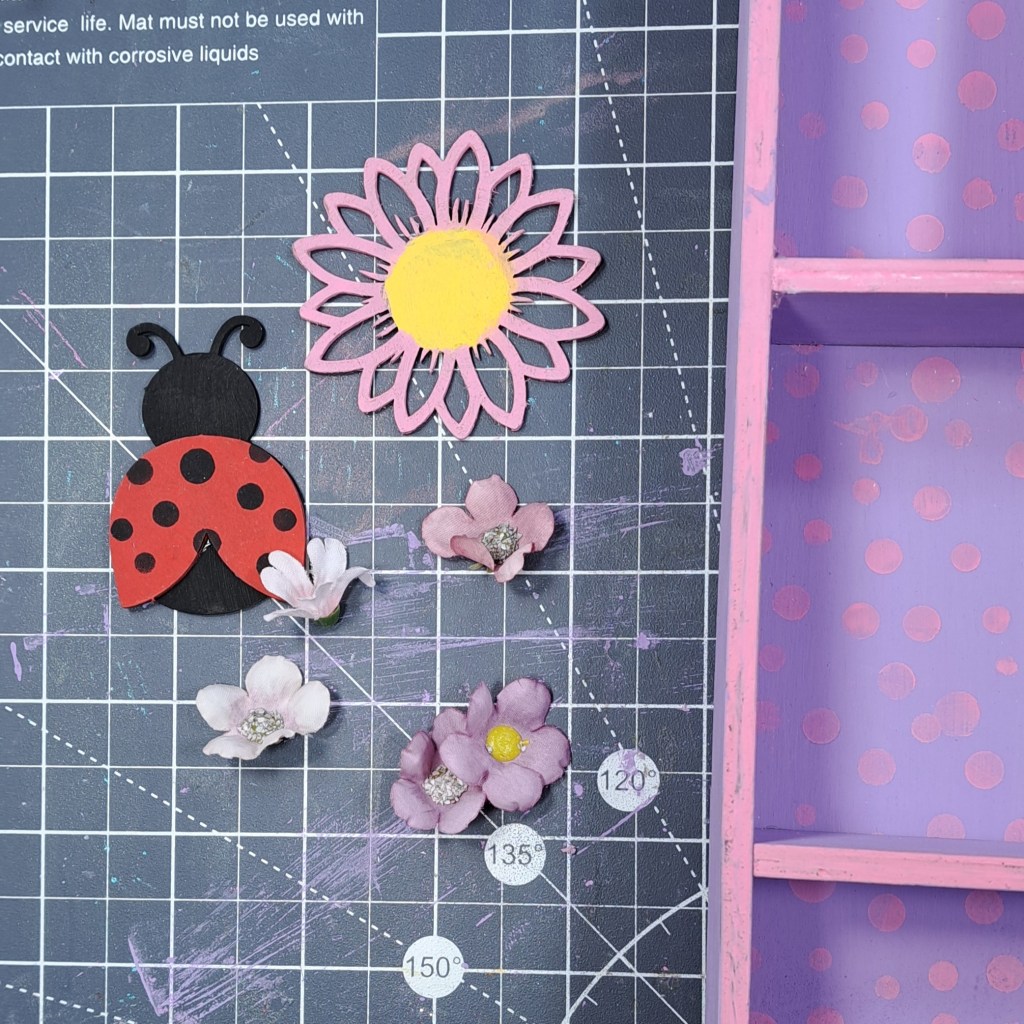
Step 1. I start by painting the lady bug from the Chipboard Punchout Embellishments Spring with red and black paint.
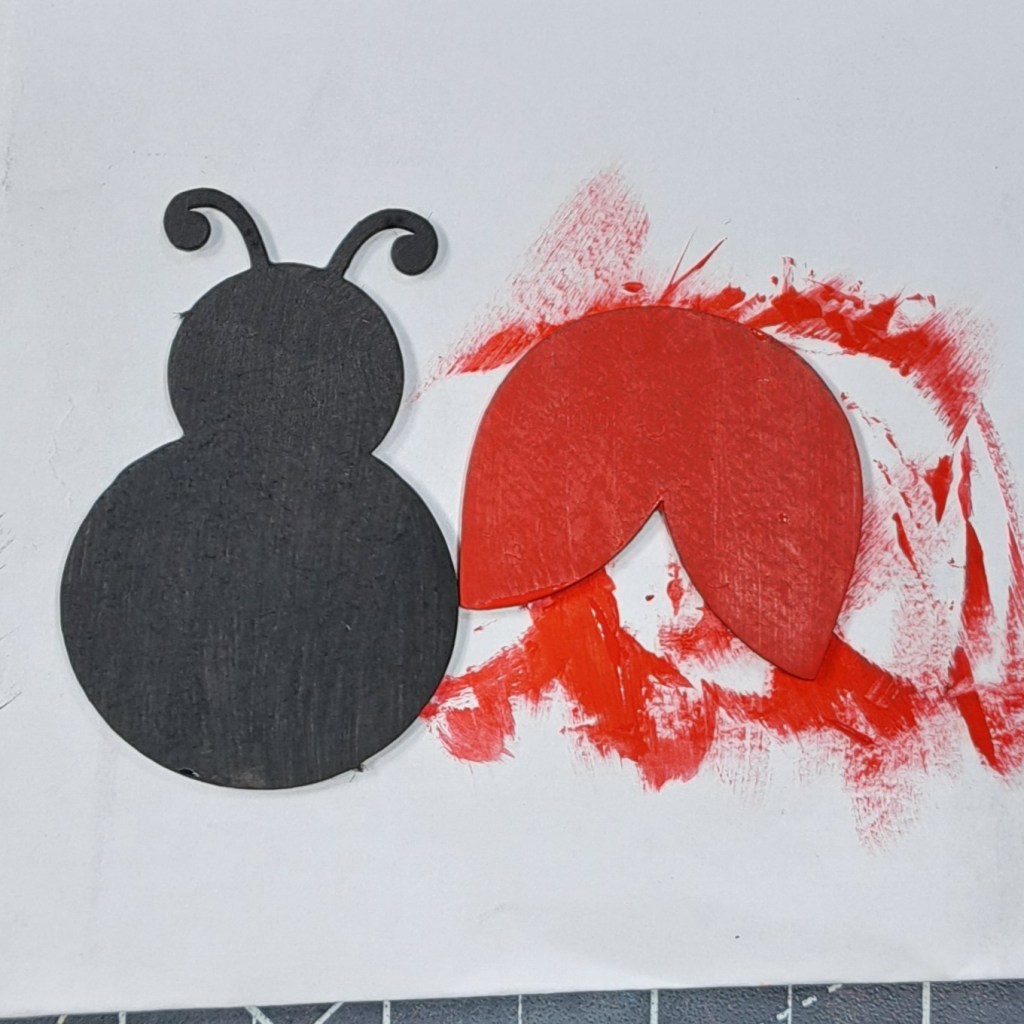
I then used the circle stencil(not pictured) from my stash to sponge on the dot with black paint.
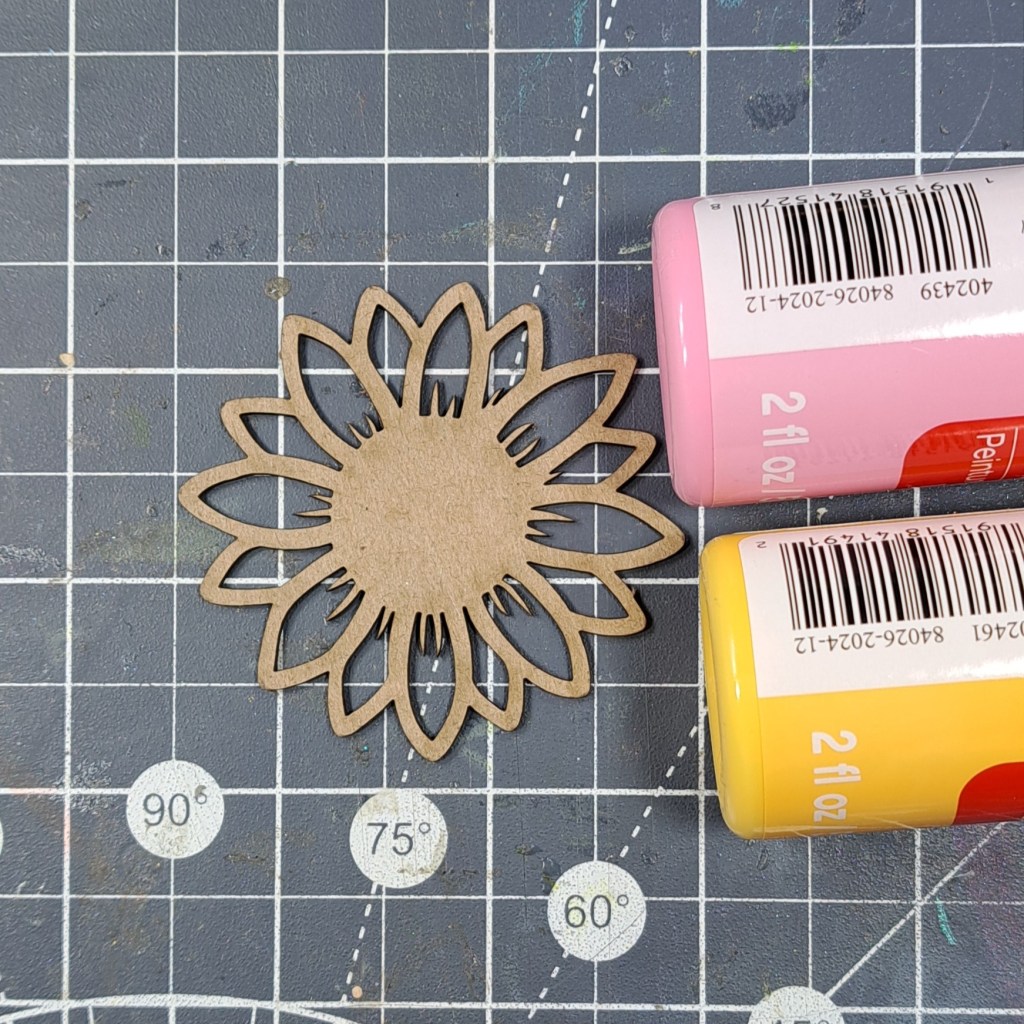
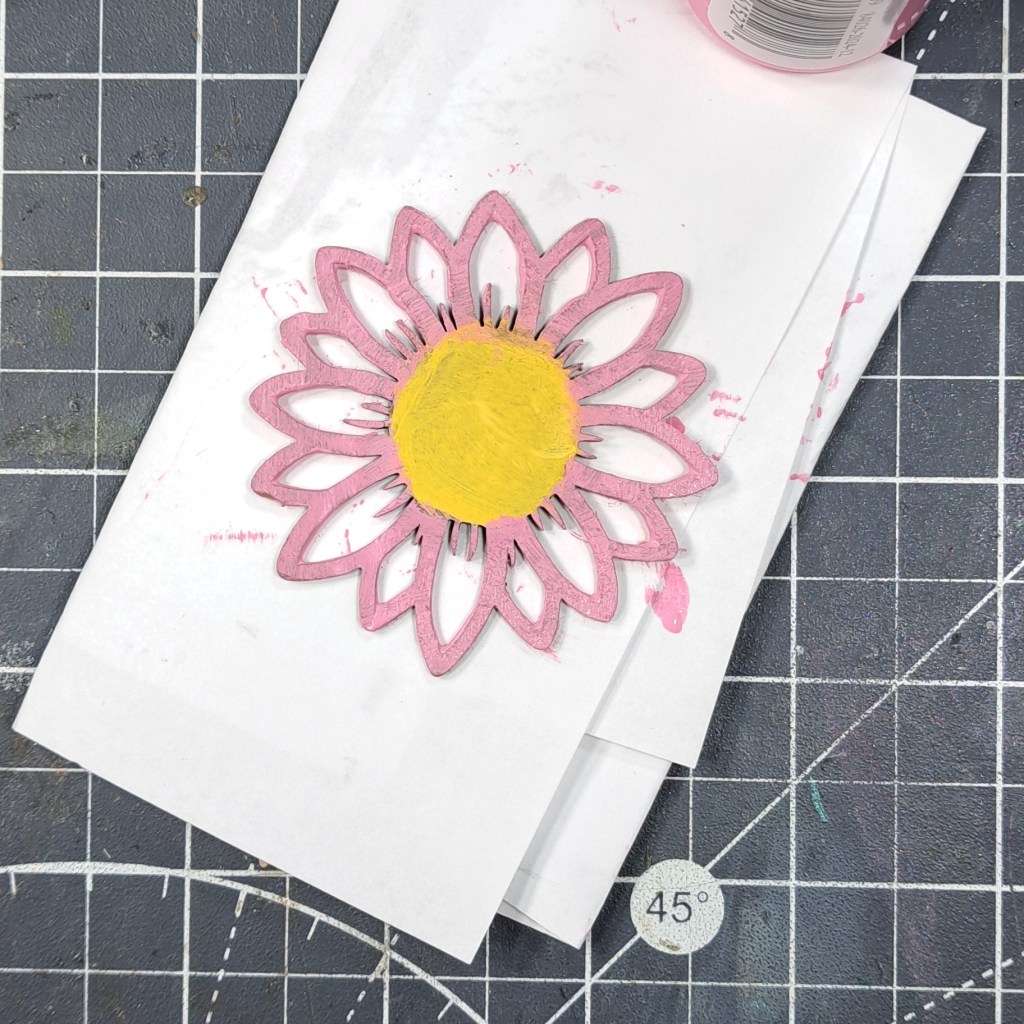
Next, I paint the flower from the Chipboard Punchout Embellishments Bee Happy with Pink Blast and Dark Yellow Acrylic paint and set. I set both to the side to dry.
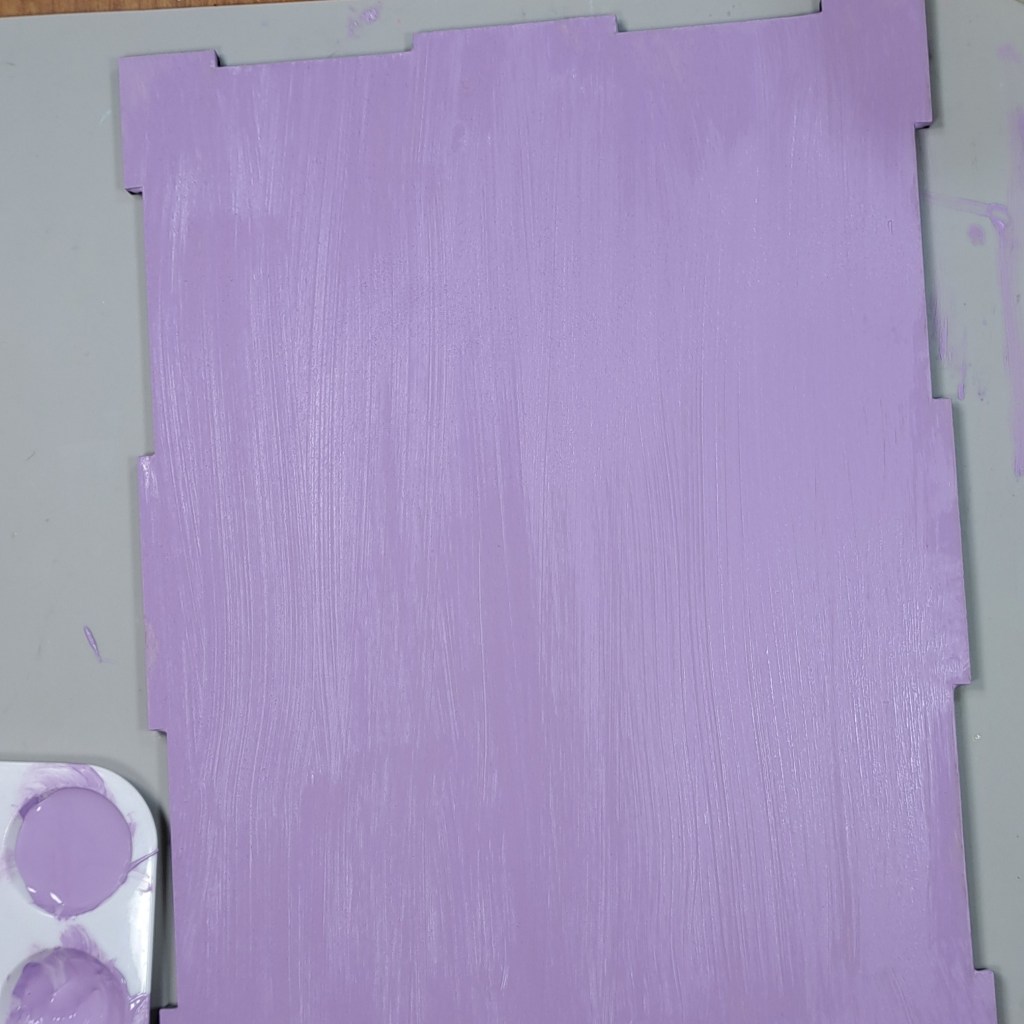
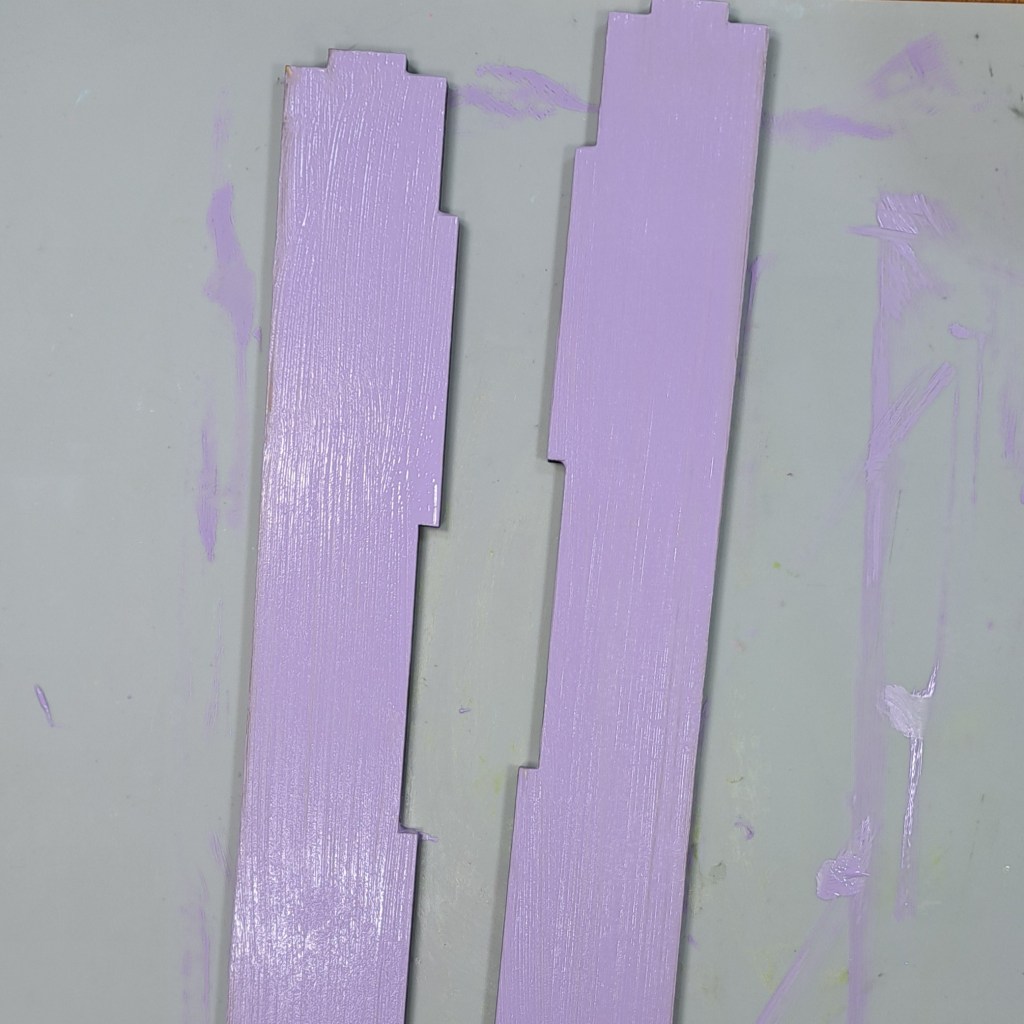
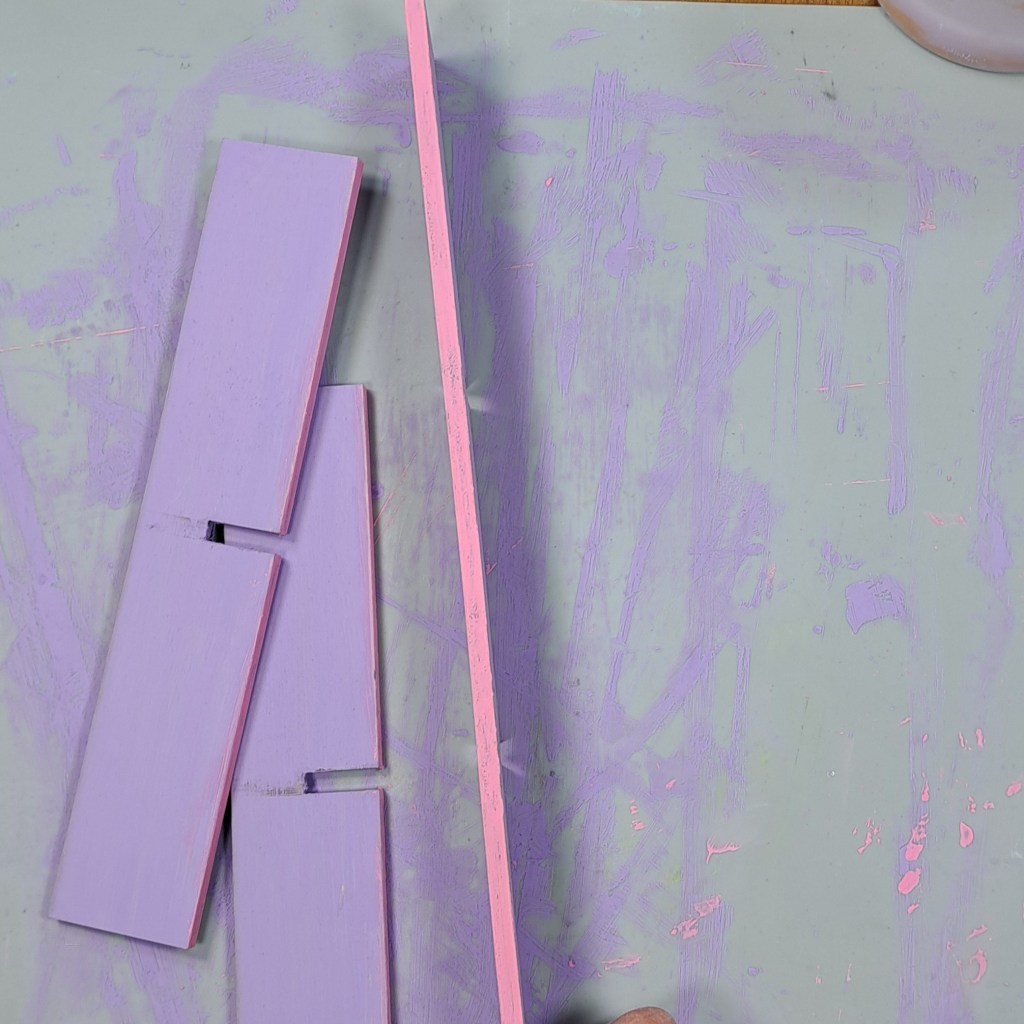
Step 2. I gather all the piece from the Wood Shadow Box 8×11 along with the Grape Taffy paint and the Pink Blast.
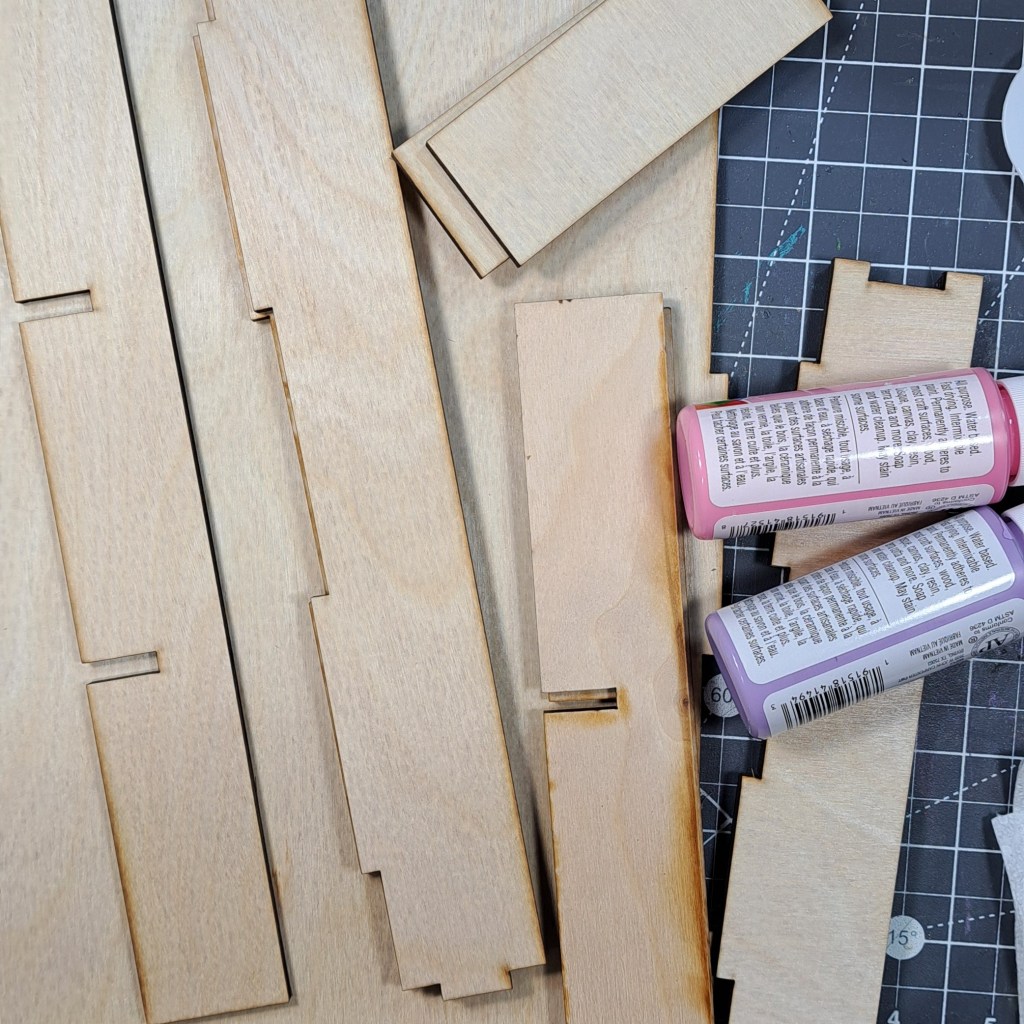
I paint the back panel, side panel and insert of the Wood Shadow Box 8×11 with the Grape Taffy paint.
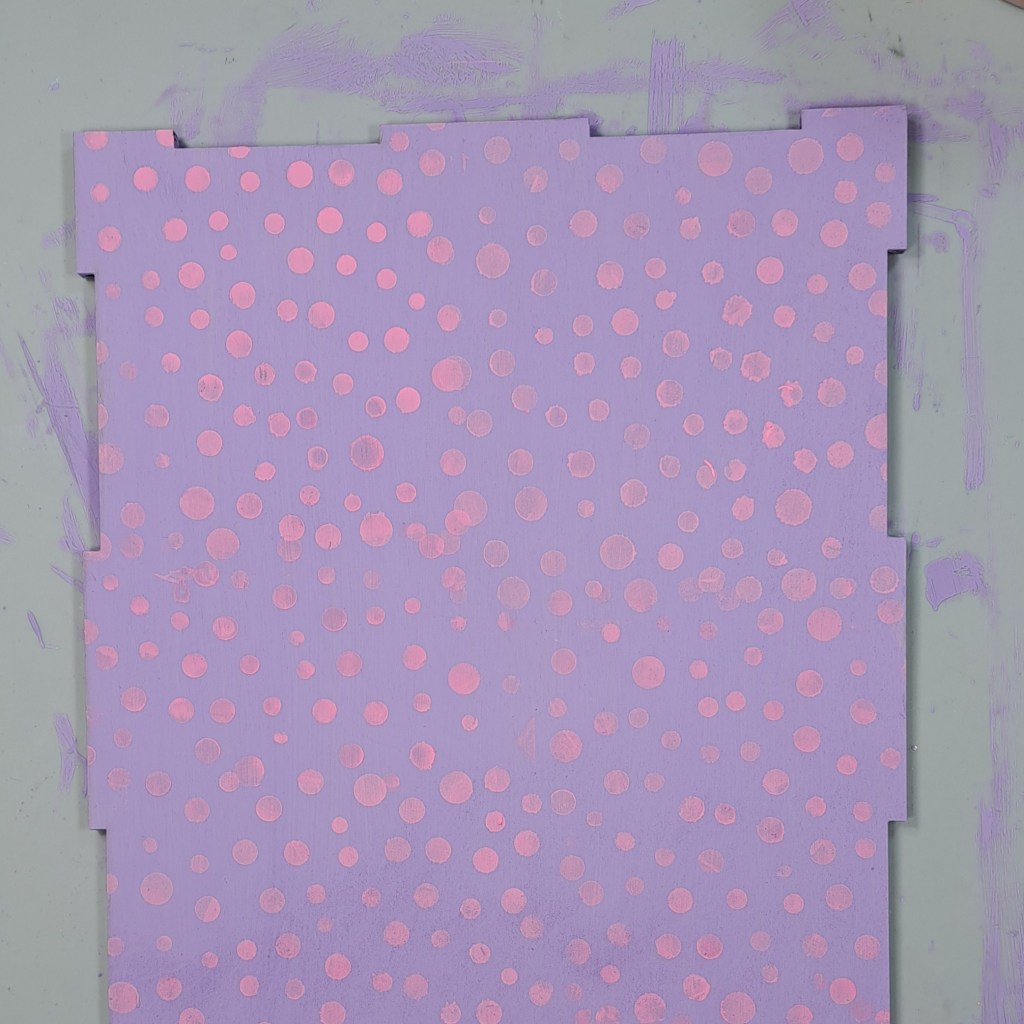
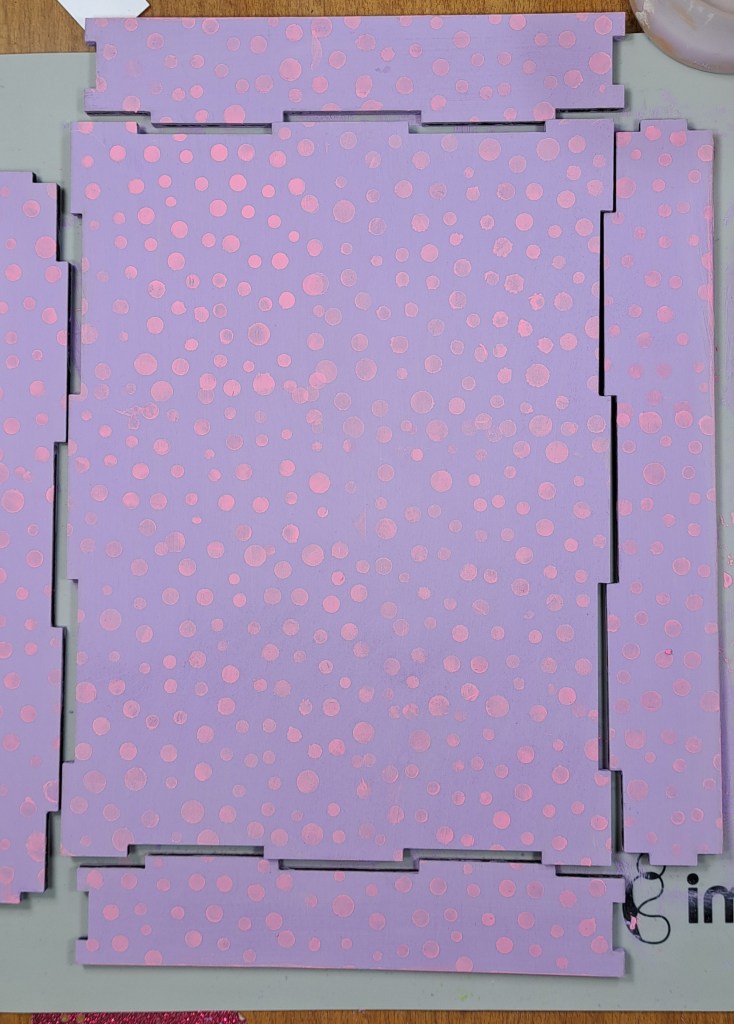
Step 3. Once the Grape Taffy paint is dry I the use a make-up sponge along with the circle stencil and Pink Blast paint to make some pink polka dots on all the pieces.
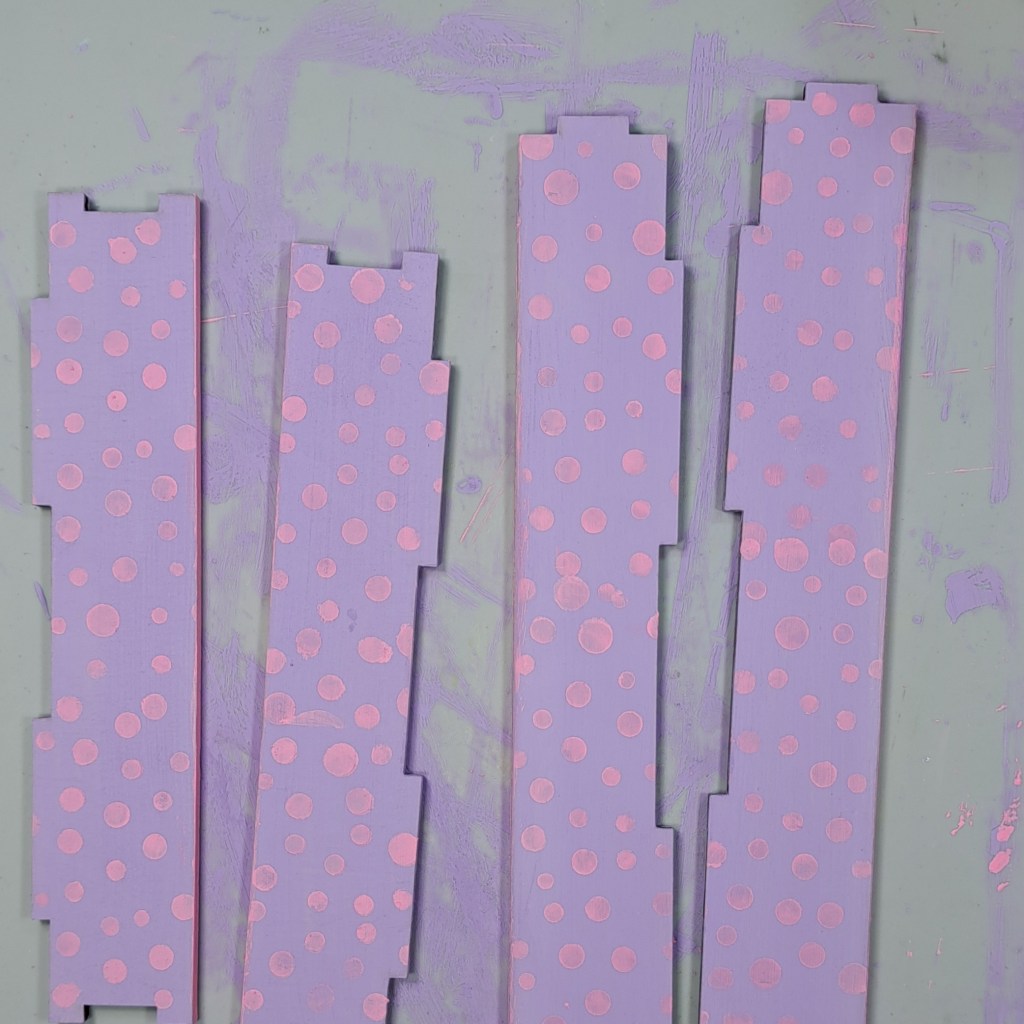
Step 4. I paint all the edges with the Pink Blast paint.
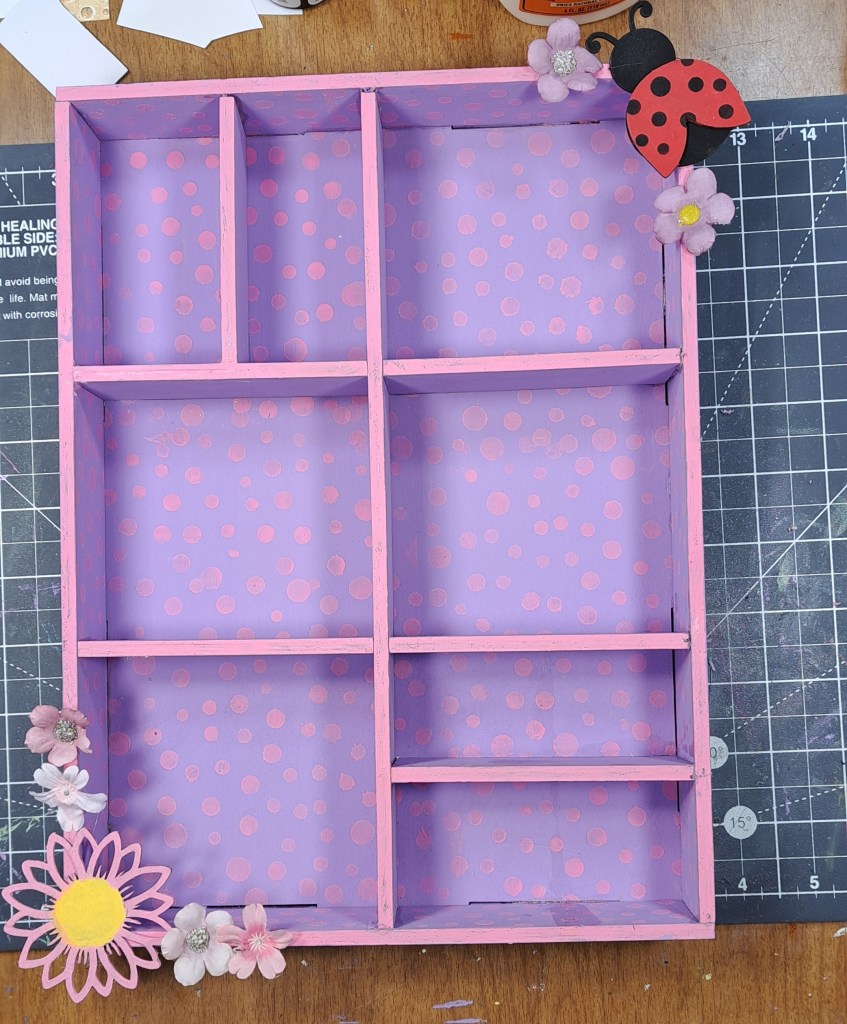
Step 5. Once all the pieces are dry. I adhere the insert pieces with wood glue. Set it aside.
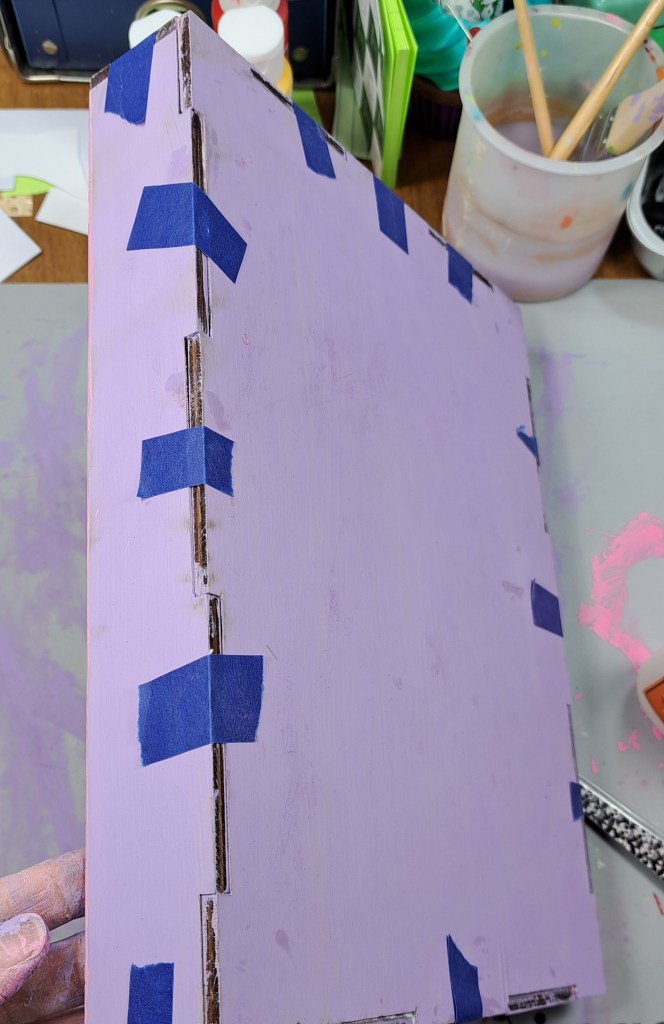
Next, I dry fit my Wood Shadow Box 8×11 pieces making sure I have everything in it proper place then I adhere it with wood glue.

I used some making tape to hold all the pieces in place while the glue dries. I insert the inner pieces and set it aside to dry.
Step 6. Once dry it time decorate. I gather the painted Ladybug and Flower along with a few fabric flowers.
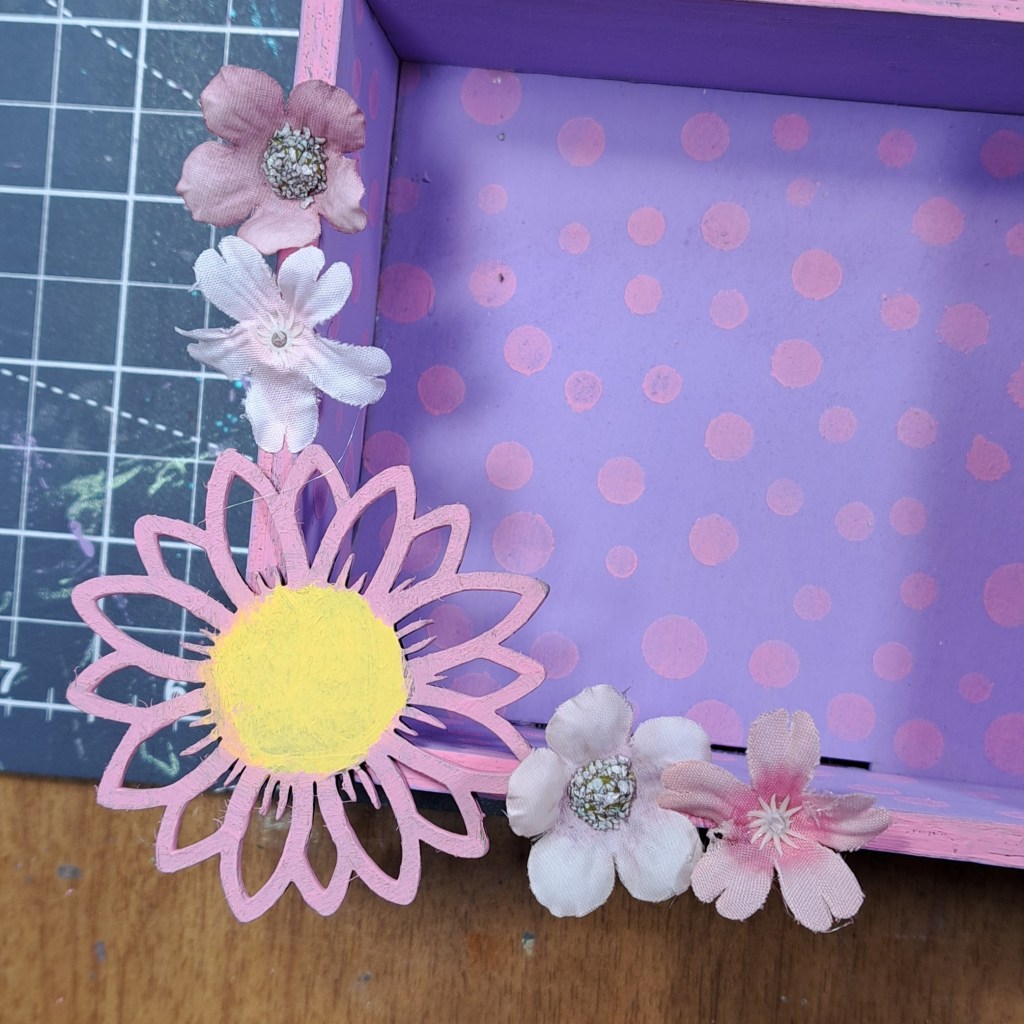
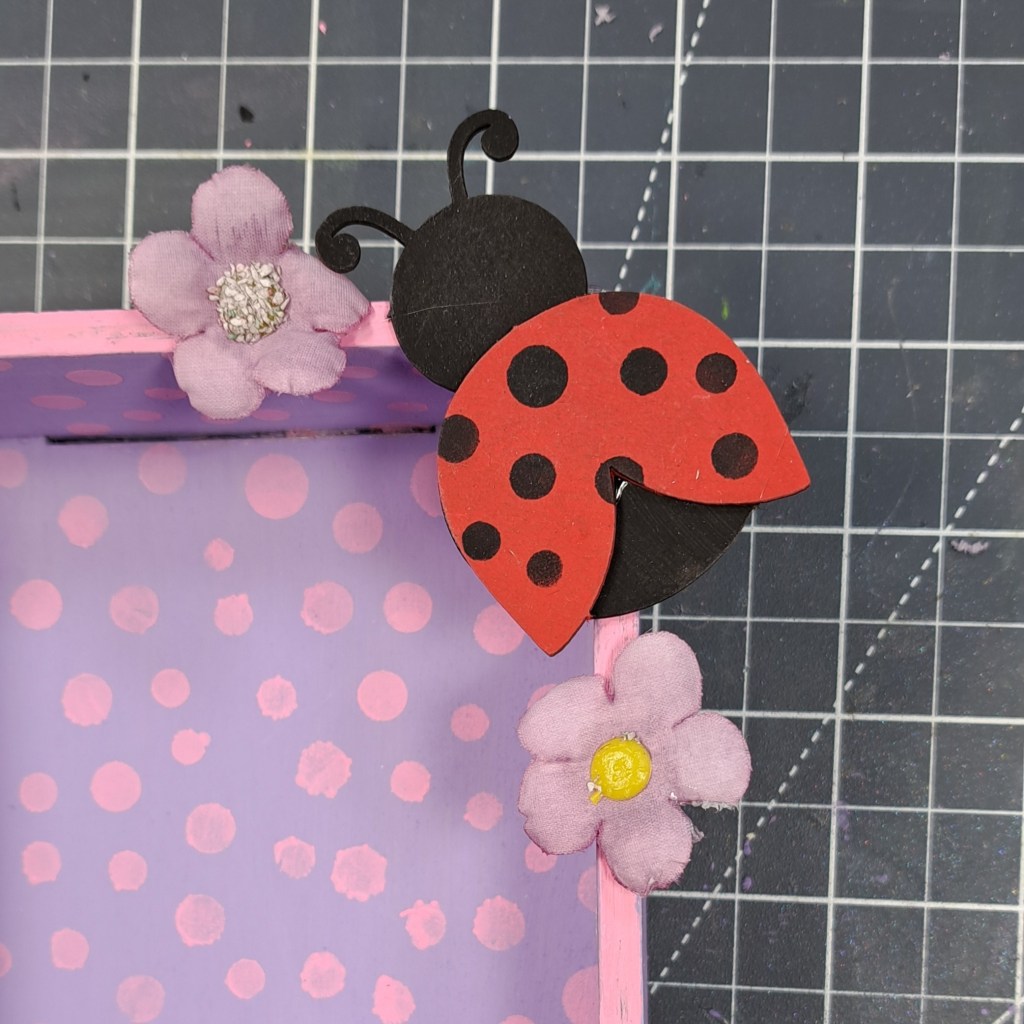
I used the hot glue tool and glue stick to adhere the ladybug to the top right corner along with a few fabric flowers. and the Chipboard Flower to the bottom left corner with a few fabric flowers
A few close ups of the corners.
Now, the Wood Shadow Box 8×11 is now complete!! I can’t wait to give this shadow box to my granddaughter and watch her place her favorite collectables in the box.
Thank you for stopping by the blog today. I hope you found some inspiration!
You can find even more chipboard shaker and a variety of amazing products on the Clear Scraps site.
Follow us for more inspiration on social media:


Leave a comment