Hello all my Clear Scraps Friends! Misty @Mommyofkidz here with you on this magnificent Monday Morning! Hopefully you all had a wonderful and restful weekend and are ready to tackle this week with great aspirations! Whether you are ready or not, I do hope that you make this week a productive one…starting with your crafty hobby! The project that I am sharing today is a segway from summer to autumn…and I hope it inspires y’all to do something crafty this week!
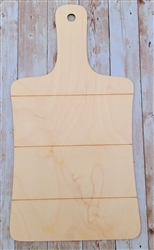
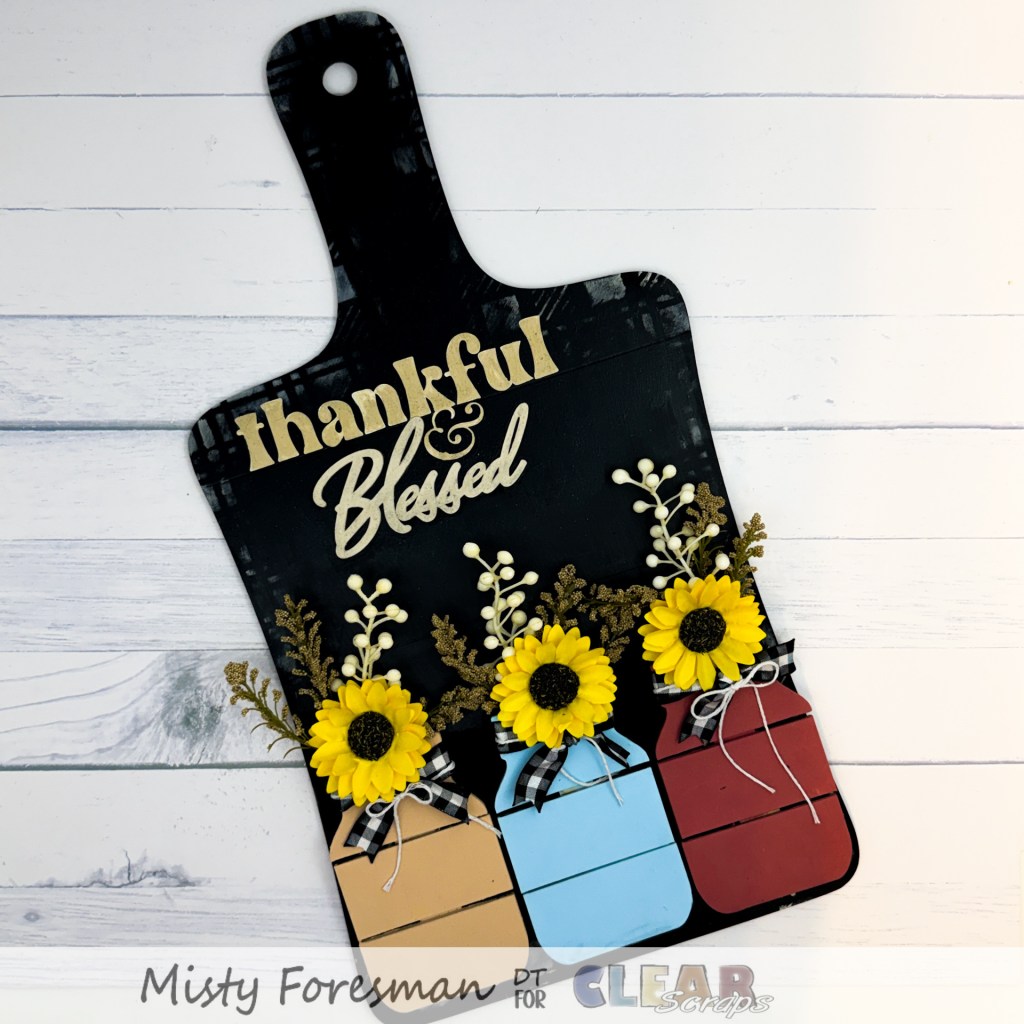
I decided to work with a shiplap cutting board for my first project for this month. The large Shiplap Cutting Board is the perfect size to create some kitchen decor! When paired with the Small Wooden Mason Jar, it can make a perfect gift!
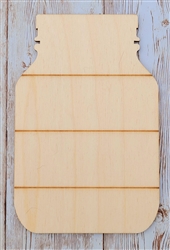
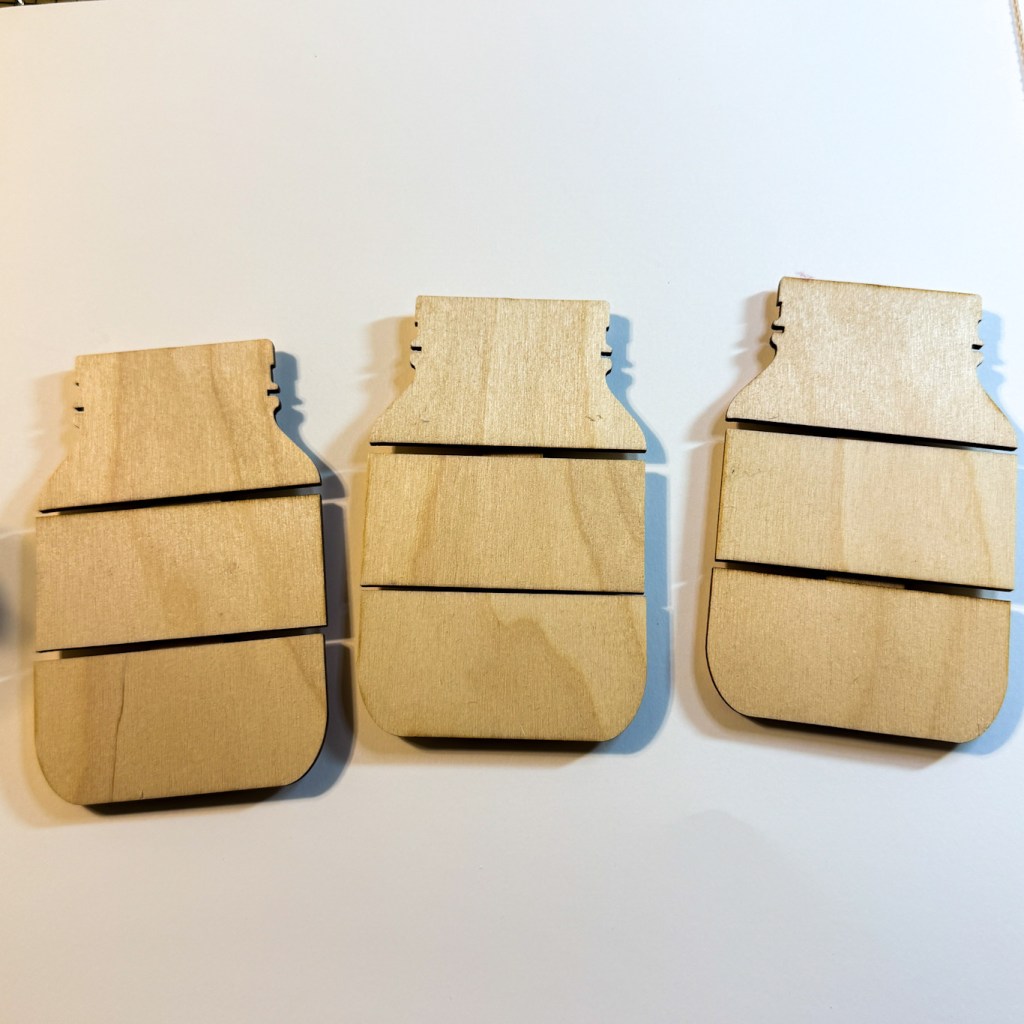
In the photo below, you can get an idea of my vision for the project that I am about to begin. I used THREE of the small Mason jars, not just one. Also, sometimes the pieces do come apart during the shipping process, from all the tossing, shaking and jiggling… as you can see the jars all had a piece or 2 dislodged. NOT TO WORRY THOUGH!! It is a simple fix with a bit of wood glue!!! I mean, if you are working with wood, then of course you have some wood glue handy, right!!
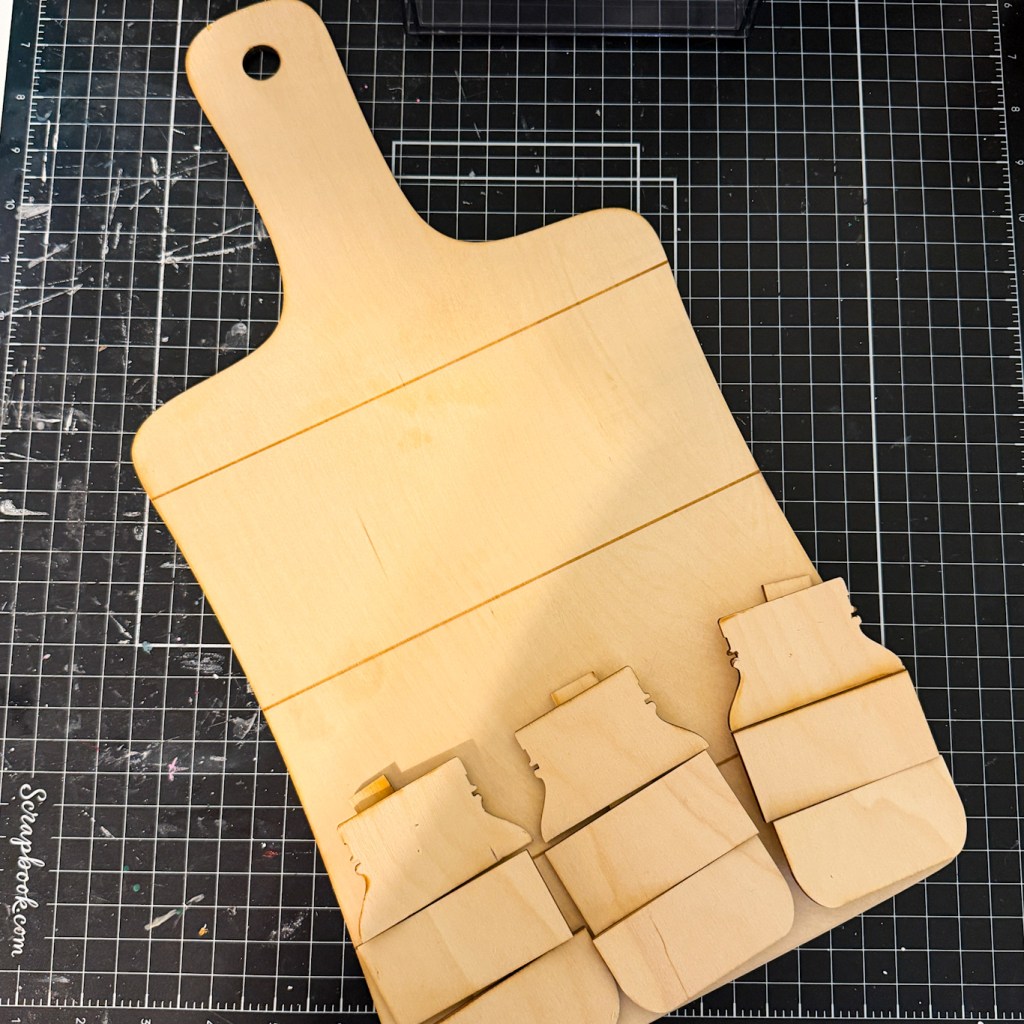
And BAM!!! Here are the 3 jars all fixed up with wood glue! You can’t even tell they were ever separated! I LOVE that the items from Clear Scraps are soooooo easy to work with!!
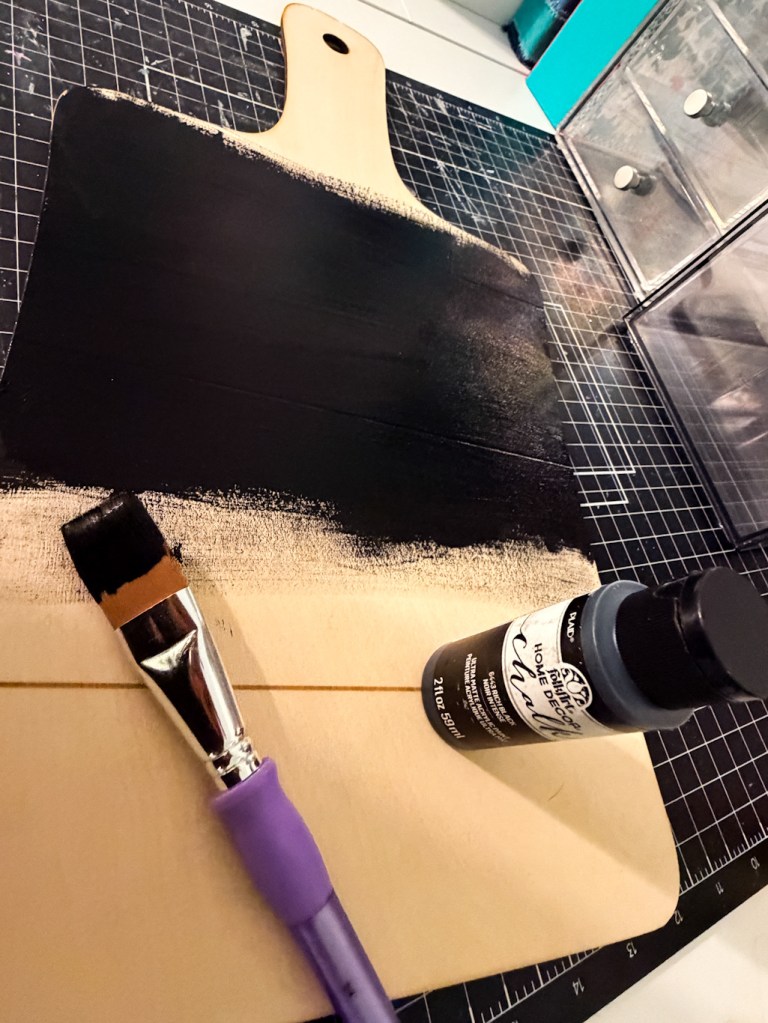
So, once I knew what direction I wanted to go with my project and had all the pieces prepared, I started painting! That is always the first step! For the Large Cutting Board, I chose to use a plain Chalk board Black. I order it straight from the Clear Scraps Store because why not!! It is a gorgeous deep clack and high quality paint…and it makes it so easy when everything comes together! Y’all, I absolutely LOVE to paint. I am not all that great at it…but I love to do it!
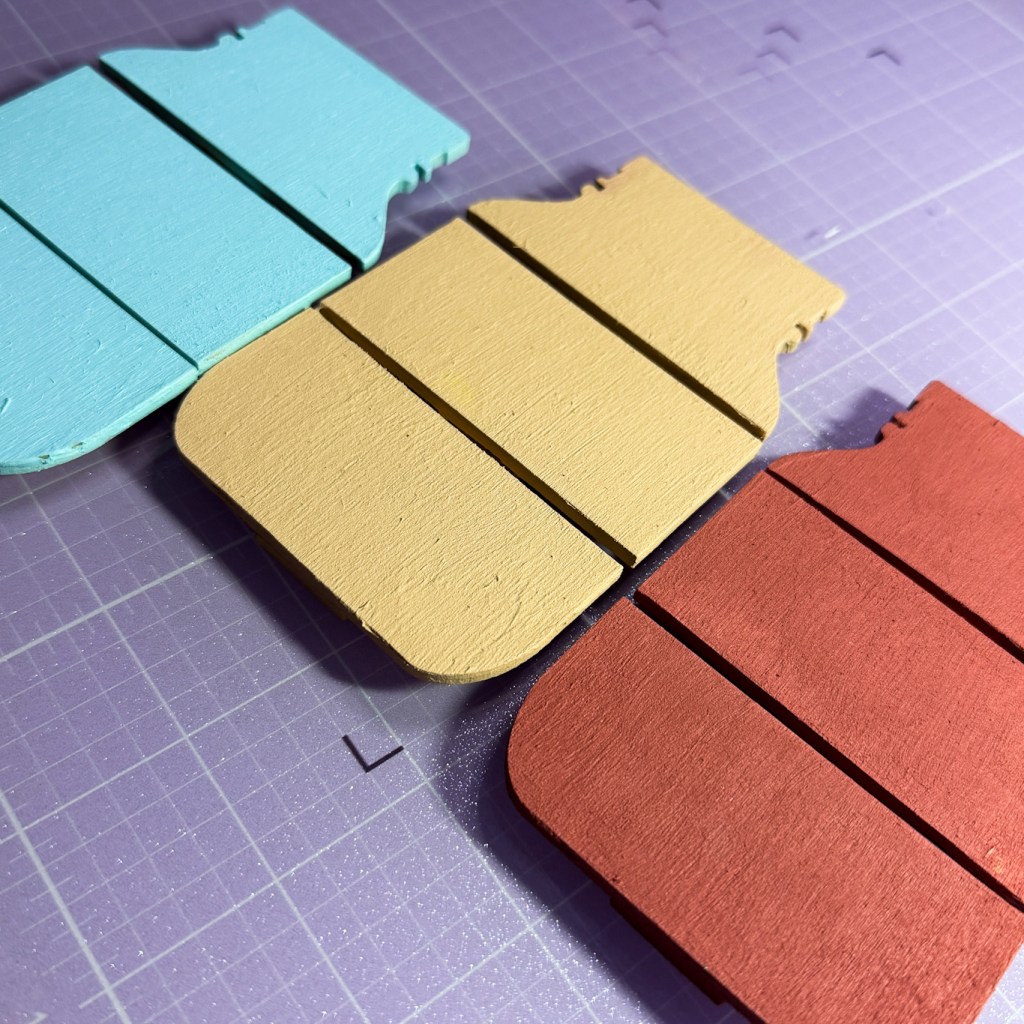
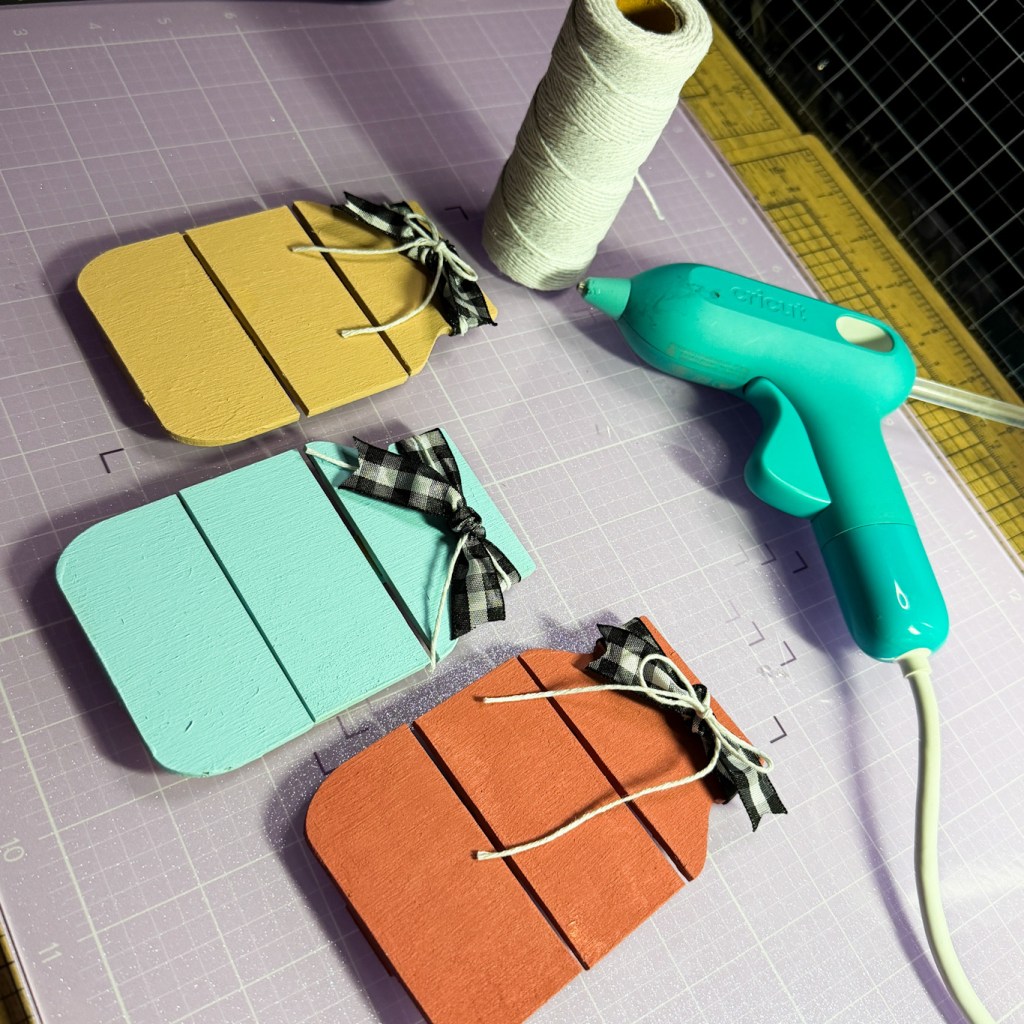
For the Small Mason Jars, I went a little different route. I wanted rich, vibrant colors that screamed FALL. So…I went with the colors below. I admit, I was a little skeptical of the light blue at first, but my husband loved the combination, so I kept it. After adding a bit of decoration, I loved my jars!!
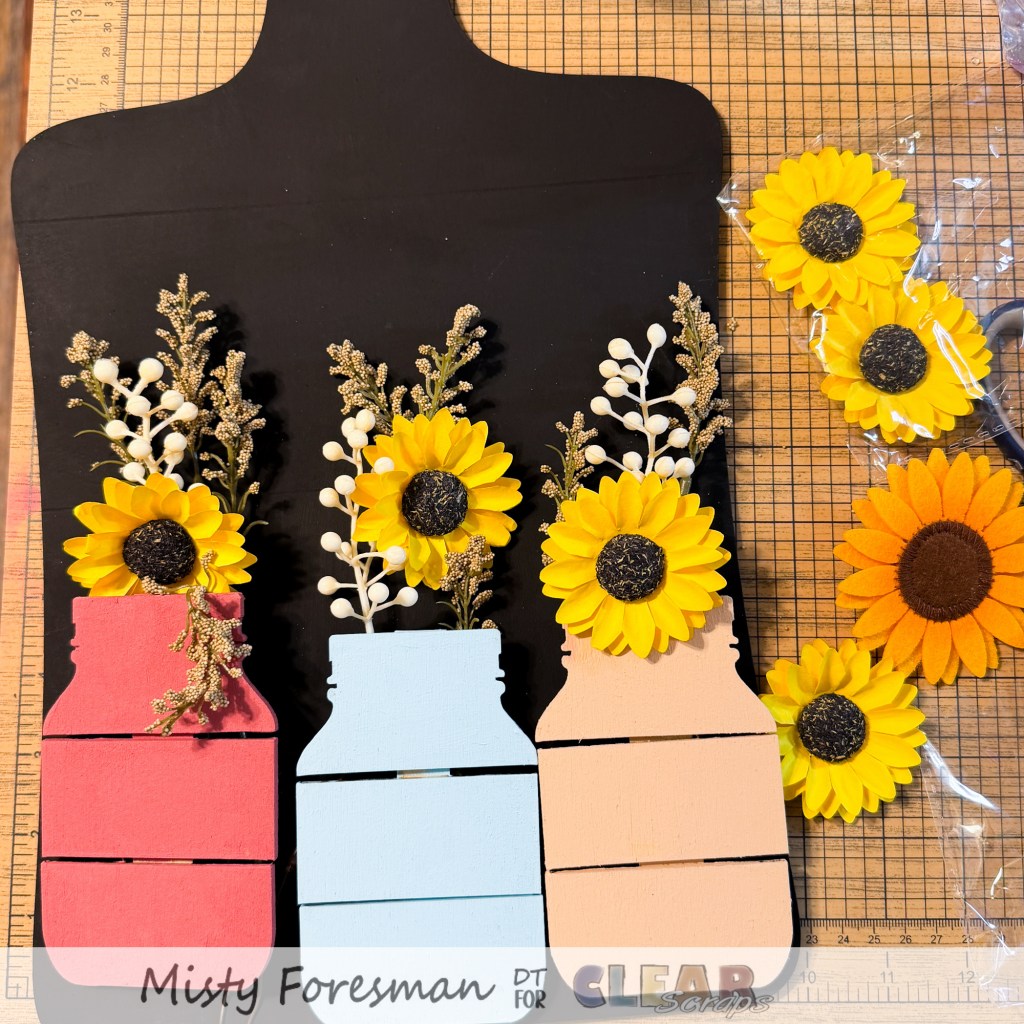
So, before I ever glue things down, I put it all together in a “rough draft” of what it should look like. This was just kind of thrown together …
While I LOVE how it is turning out, I thought that it needed something more. SOOOO, I pulled out my handy dandy 5×9 Mixer Stencil. Y’all, I think this is my favorite stencil. Do I have others? YES. Do I use the others. Almost NEVER.
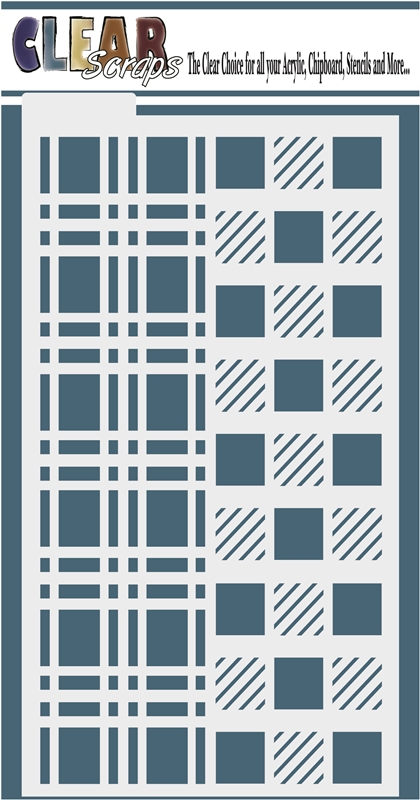
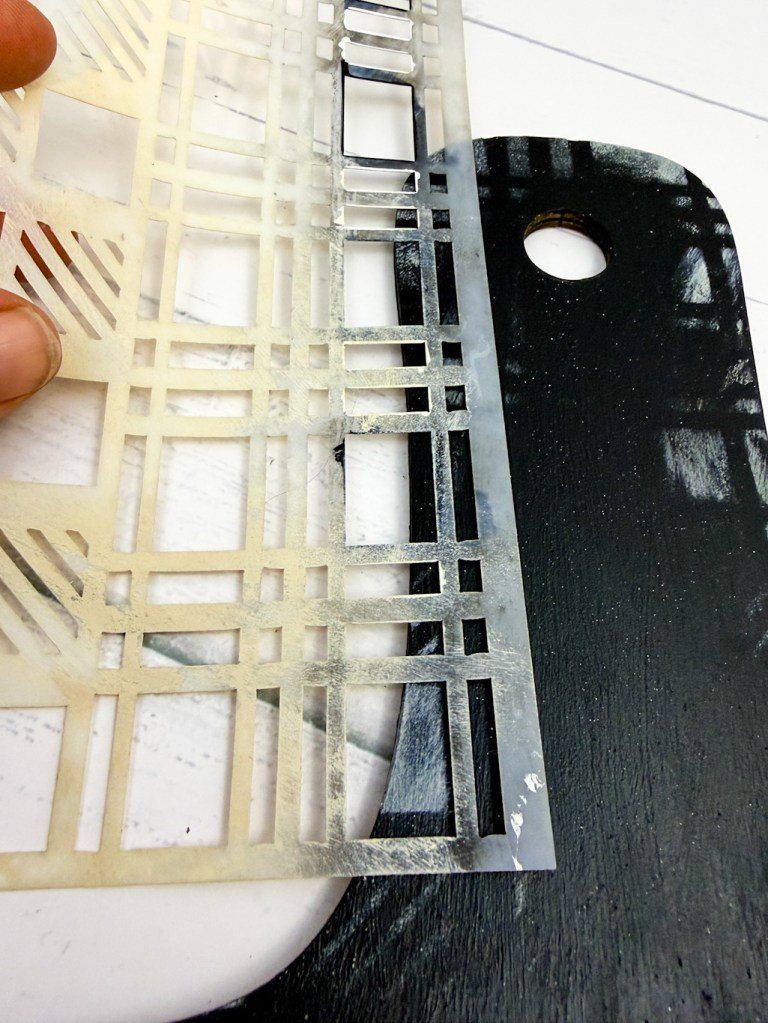
I very lightly added a border around the edges using the 5×9 Mixer Stencil and an off white color paint. I wanted it to look almost weathered, so when I say LIGHT layer…I mean it. I just barely brushed in the color and if I got too heavy handed or added too much, I simply painted over it with the black and tried again until it was exactly what I wanted. That’s the great thing about paint! You can start over and over and over again!
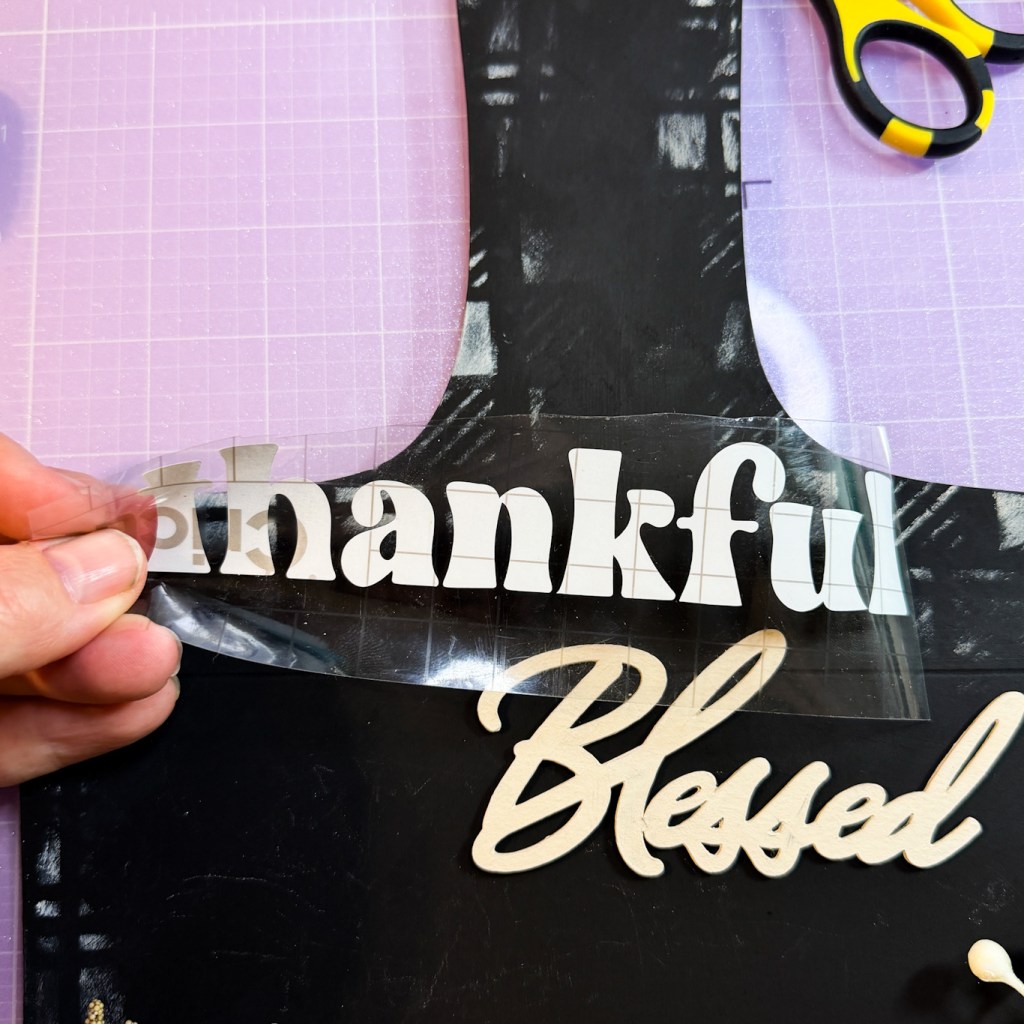
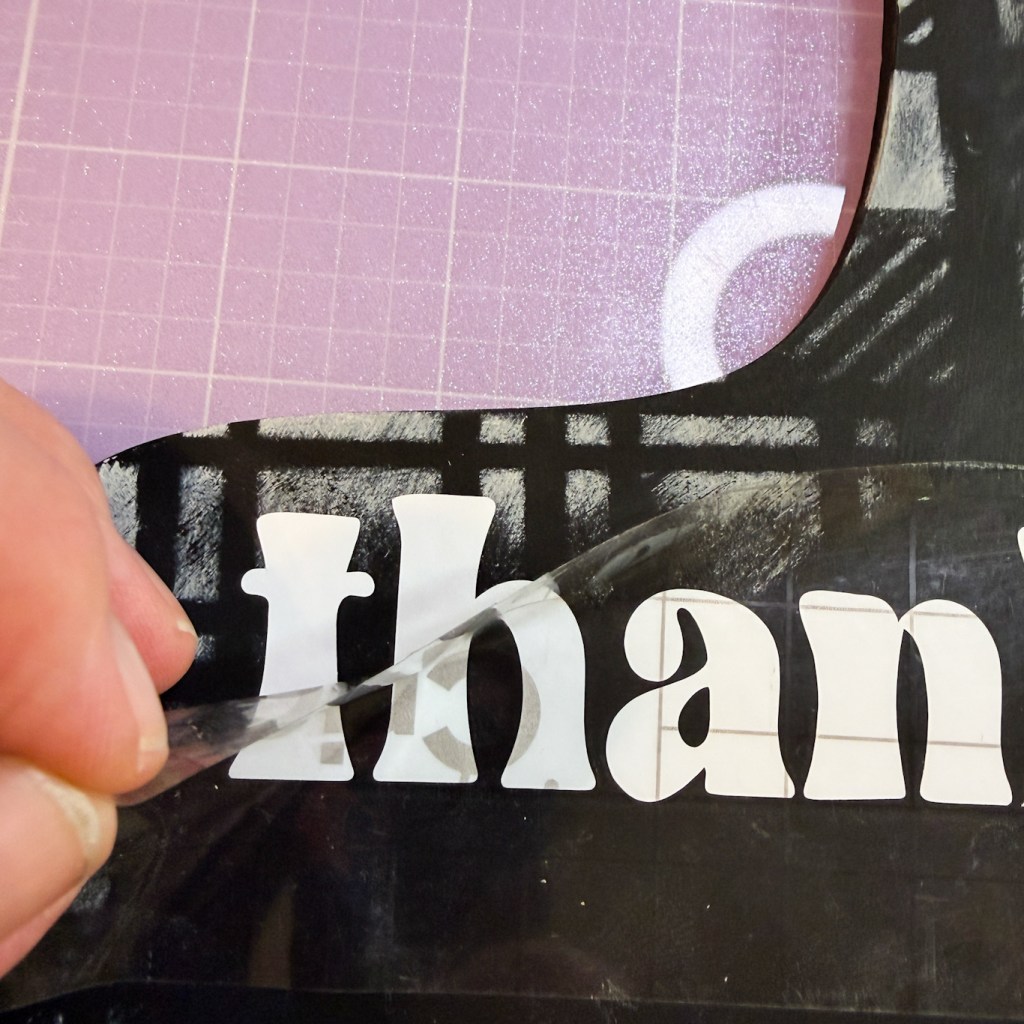
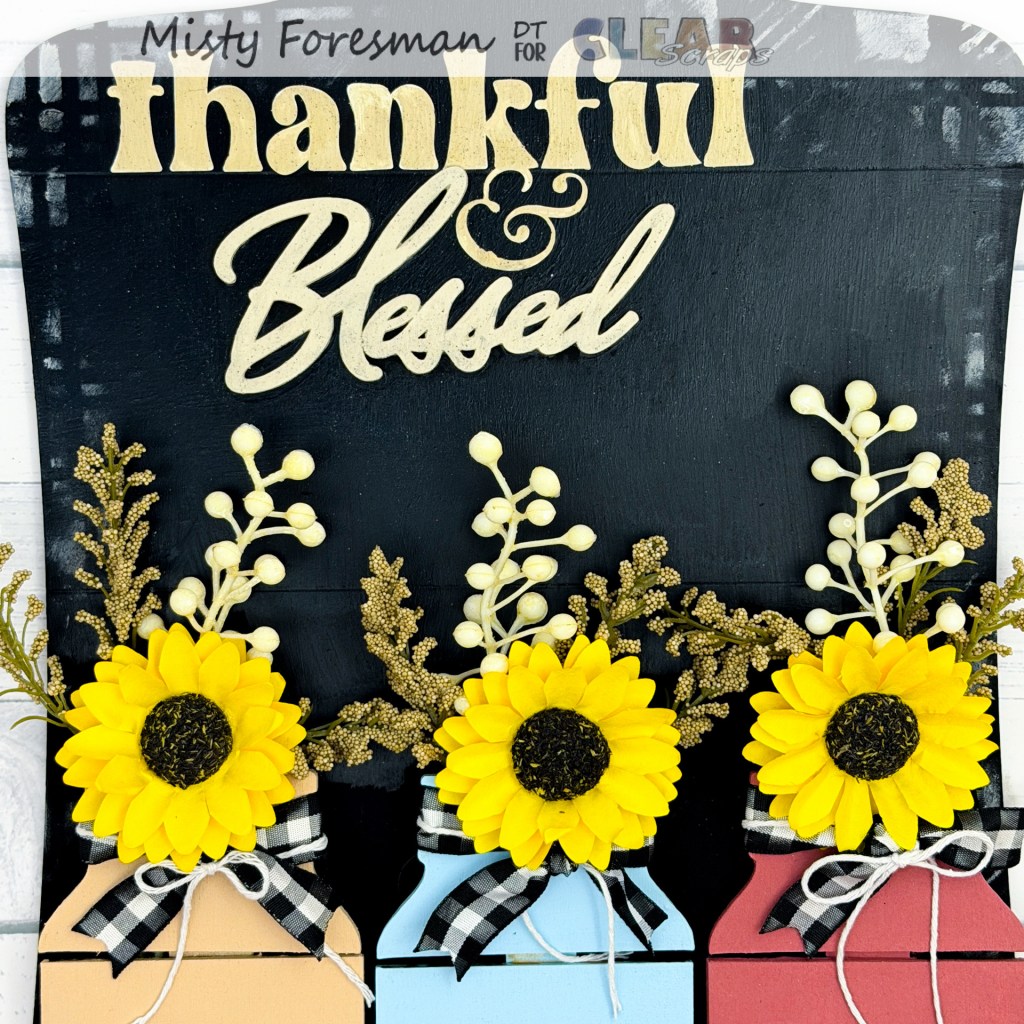
Once the border was dry, I began adding the decoration. You already know I am doing a fall project, so it will not surprise you to know that I chose to use the Chipboard Title “Blessed”. I painted it with the same off white color that I used for the border, and, when I went to add it to the Cutting Board, it just wasn’t enough. I wanted something more. I used my Cricut and some vinyl, and cut out the word THANKFUL. There…that will do. And so I added both words to my cutting board before adding the mason jars.
By this point, I am sure you have an idea of what the finished project is going to look like. I ABSOLUTELY love the final result! It is a perfect decoration to hang in my kitchen or dining room, or even to give as a gift.
Thank you all for stopping by today and checking out my project. What fall projects will you be doing? Pop over to the Clear Scraps Store and fill your cart with lots of fun things!




Leave a Reply